Main tutorial
Snare Ghost Maps Across Eight Bars (DnB Groove in Ableton Live) 🥁⚡
1. Lesson overview
Ghost snares are the micro-events that make a DnB beat roll instead of loop. In this lesson you’ll build an 8‑bar “ghost map”: a deliberate plan for where ghost notes do and don’t happen across an 8‑bar phrase—so your groove evolves like a real drummer and keeps energy moving forward.
You’re advanced, so we’ll go beyond “add a few quiet hits” and focus on:
- Phrase-level variation (8 bars, not 1 bar)
- Velocity + timing micro-shifts
- Layering + filtering so ghosts add motion without clutter
- Ableton workflow for fast iteration and control
- A 2 & 4 main snare (or 2/4-style backbeat)
- A ghost snare layer with controlled tone and transient
- An 8‑bar ghost map that changes density and placement across the phrase
- Groove that supports jungle/DnB energy without stepping on the kick, hats, or bass
- Main snare: punchy transient + body around 180–250 Hz, crack 2–5 kHz.
- Ghost snare: lighter, papery, shorter tail; or even a rim-ish/foley-ish snare.
- Place main snare on beat 2 and beat 4.
- Add your kick and hats elsewhere if you want, but for this lesson we’re focusing on snare ghosts. (You can keep the rest simple.)
- Bars 1–2: establish groove (low density)
- Bars 3–4: add conversation (medium density)
- Bars 5–6: push momentum (higher density, tighter edits)
- Bars 7–8: tension + release (setup + payoff into loop)
- Pre-2 ghost: 1.4.4 (the last 16th before beat 2)
- Post-2 ghost: 2.1.2 or 2.1.3 (right after beat 2)
- Pre-4 ghost: 3.4.4 (last 16th before beat 4)
- Post-4 ghost: 4.1.2 or 4.1.3
- Late bar tick: 4.3.3 / 4.3.4 (helps pull into the next bar)
- Bar 1: Pre‑2 only
- Bar 2: Pre‑4 only
- Bar 3: Pre‑2 + Post‑2 (choose one post slot, not both)
- Bar 4: Pre‑4 + late bar tick (near end of bar)
- Bar 5: Pre‑2 + Pre‑4
- Bar 6: Pre‑2 + Post‑2 + Pre‑4 (but keep velocities low)
- Bar 7: Remove one expected ghost (e.g., skip Pre‑2) + add a late tick
- Bar 8: Add two-step pickup into bar 1 (two ghosts in last 2–3 sixteenth slots)
- Main snare: 100–120 velocity
- Ghost snares: 18–45 velocity (yes, that low)
- Bars 1–2 ghosts: 18–28
- Bars 3–4 ghosts: 22–35
- Bars 5–6 ghosts: 28–45
- Bars 7–8 ghosts: vary 20–40, with the final pickup slightly louder (e.g., 35–50) but still clearly a ghost.
- Use the nudge in the MIDI editor (or adjust note start with zoom).
- Alternatively, apply a Groove Pool groove only lightly:
- Low-pass around 6–10 kHz, envelope amount small
- This makes ghosts “airless” and behind the main snare.
- Put both snares into a Drum Group or route to a Snare Bus track.
- Add Compressor on the ghost snare pad with Sidechain from Kick:
- A section (32 bars): Use your 8‑bar map as-is
- A2 (next 32): Keep placements, but:
- B section: Swap ghost sample (rim/foley), keep the same MIDI map for instant variation
- Make ghosts midrangy, not toppy: push the “paper” zone (600 Hz–1.5 kHz) a touch, roll off highs.
- Parallel “dirt ghost bus”:
- Use shorter ghost samples than your main: tight ghosts read as articulation; long ghosts smear your groove and bass.
- Automate ghost tone across the 8 bars:
- Ghosts as pre-drop psychology: in the last 2 bars before a drop, reduce ghost density to create “space,” then bring them back on impact.
- Ghost snares are phrase tools, not random embellishments.
- Build an 8‑bar ghost map: density and placement evolve over time.
- Control ghosts with velocity (18–45), microtiming (±2–8 ms), and tone shaping (HPF + darkening).
- Use Ableton’s Drum Rack, EQ Eight, Saturator, Auto Filter, and selective sidechain to keep ghosts rolling but invisible in the mix.
---
2. What you will build
A tight, rolling DnB drum phrase in Ableton Live featuring:
End result: an 8‑bar loop that feels performed, not programmed. 🎛️
---
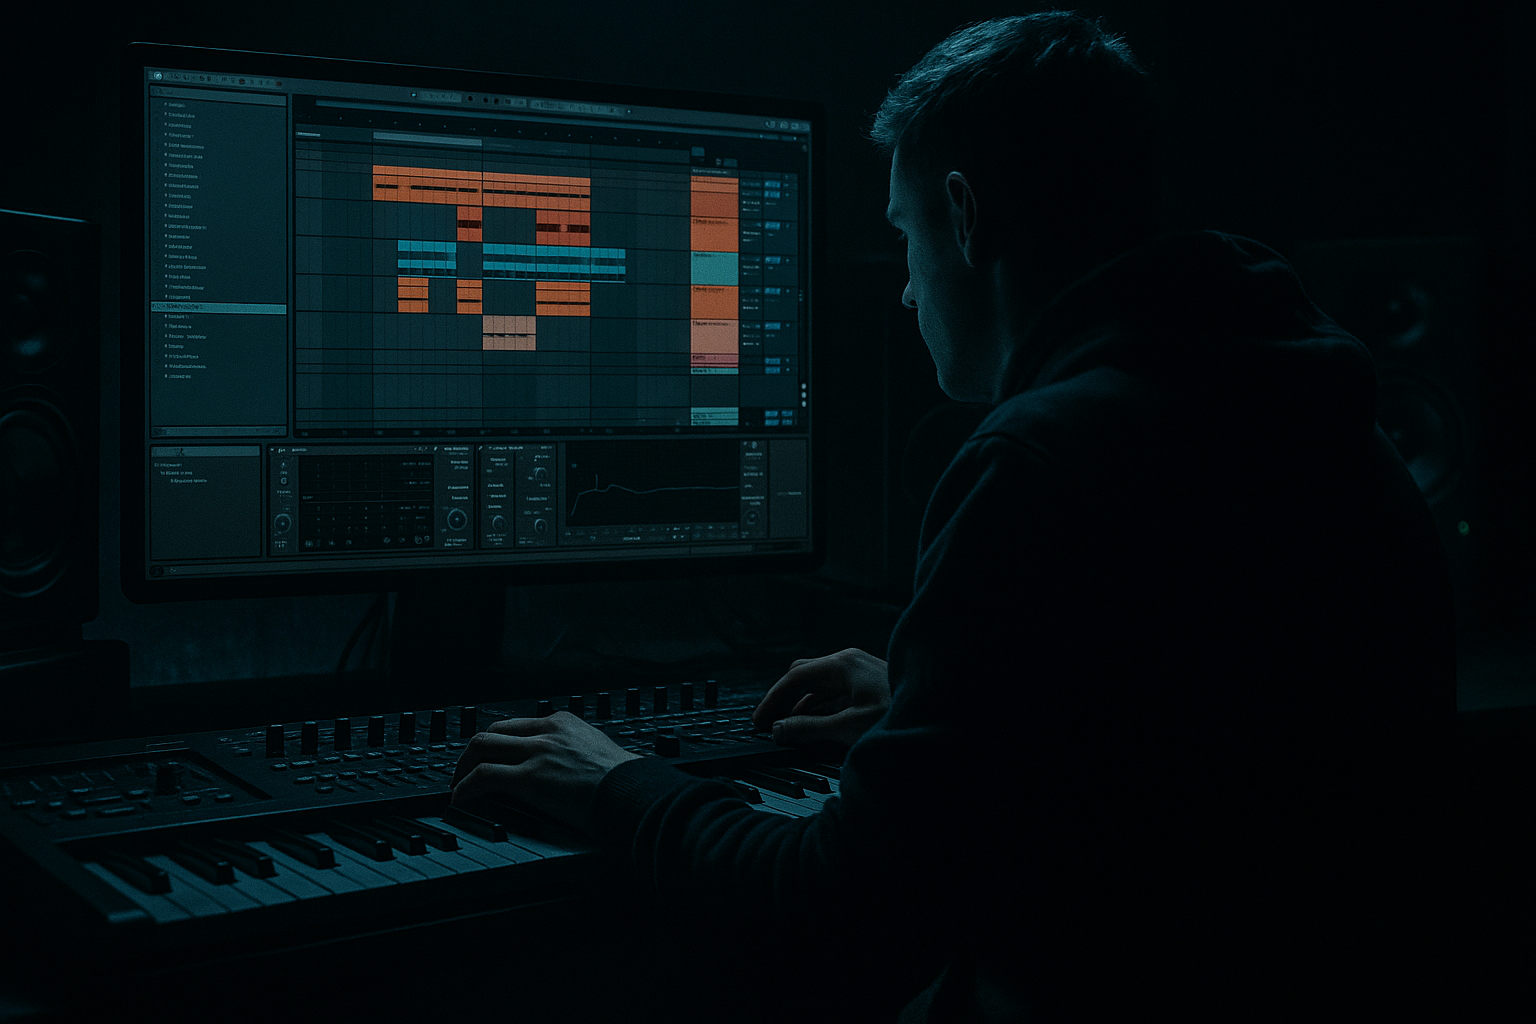
3. Step-by-step walkthrough
Step 0 — Session setup (fast + clean)
1. Tempo: 172–176 BPM (start at 174).
2. Create a MIDI track: Drums – Snare.
3. Load Drum Rack.
4. In Drum Rack:
- Put your main snare on D1 (or whatever you prefer).
- Put a ghost snare (separate sample) on D#1/Eb1.
Sample choice (important):
> If your ghost snare is the same sample as the main, at least shorten it and darken it so it reads as “movement,” not “another backbeat.”
---
Step 1 — Program the anchors (bar 1 template)
In a 1‑bar MIDI clip, set grid to 1/16 (we’ll add micro later).
Now duplicate that bar to 8 bars (Cmd/Ctrl+D until you have 8 bars). This gives you a stable backbeat while ghosts do the phrasing work.
---
Step 2 — Build an “8‑bar ghost map” (concept first)
Think of ghosts like a story arc:
We’ll implement this with placement, velocity, timing, and tone.
---
Step 3 — Ghost placement that actually rolls (usable DnB positions)
Open the 8‑bar clip and focus on ghost snare lane (D#1/Eb1).
Use these classic DnB ghost slots:
> Don’t fill everything. Ghosts should “answer” the main hits and glue hats/kicks.
---
Step 4 — Program the 8-bar map (practical pattern)
Below is a practical 8‑bar ghost plan you can copy quickly. Assume 16th grid. “Pre‑2” = last 16th before beat 2, etc.
#### Bars 1–2 (low density: establish)
Why: you’re hinting at motion without revealing the full rhythm.
#### Bars 3–4 (medium density: call/response)
Why: creates a conversational push/pull around the backbeat.
#### Bars 5–6 (higher density: drive)
Why: density increases, but placement remains intentional and repeatable.
#### Bars 7–8 (tension + release / turnaround)
Why: subtraction creates tension; the pickup makes the loop feel like it wants to restart.
---
Step 5 — Velocity mapping (the “ghost” part) 🎚️
This is where advanced groove lives.
Starting ranges (adjust to taste):
Now shape across the phrase:
Technique: Use the MIDI velocity lane and draw gentle “ramps” into beat 2 or 4 rather than random values. Ghost notes should imply hand motion.
---
Step 6 — Microtiming: make it feel played (without flamming)
Ghosts shouldn’t be perfectly on-grid. But DnB needs precision, so we use tiny offsets.
1. Select only ghost notes.
2. Nudge timing:
- Push some ghosts +3 to +8 ms late (common for laid-back roll)
- Pull occasional pickup ghosts -2 to -6 ms early (adds urgency into beat 1)
Ableton tools:
- Try a swing groove at Amount 10–20%, Timing 10–20%, Velocity 0–10%
- Commit it only if it improves the pocket.
> If you hear a “double snare” effect, your ghost is too close to the main snare (or too loud). Move it earlier/later or reduce transient.
---
Step 7 — Tone shaping for ghosts (so they sit behind the kit)
Inside Drum Rack, on the ghost snare pad, add a small chain:
Device chain (stock):
1. EQ Eight
- High-pass: 250–400 Hz (12 or 24 dB/oct)
- Small dip: 2–4 kHz if it competes with the crack
- Optional gentle shelf down above 8–10 kHz to keep it dark
2. Saturator
- Mode: Analog Clip
- Drive: 1–4 dB
- Output down to match level
3. Compressor (optional, subtle)
- Ratio: 2:1
- Attack: 10–20 ms
- Release: 60–120 ms
- Aim for 1–2 dB gain reduction to smooth peaks
Optional but powerful: Auto Filter
---
Step 8 — Group control & sidechain (keep bass/kick clean) 🔧
If your ghost layer adds clutter:
- Sidechain ON → Audio From: Kick track
- Ratio 4:1, Attack 1–3 ms, Release 40–80 ms
- Only 1–3 dB ducking—just enough to keep low-end punch.
---
Step 9 — Arrangement idea: ghost maps that evolve with sections
Use your 8 bars as a phrase unit:
- Reduce ghost velocities by 10% for bars 1–4
- Add the pickup only every 16 bars
This is how you get “same groove, new energy”—a classic rolling DnB move.
---
4. Common mistakes
1. Ghosts too loud → they become extra snares, not groove.
2. Too many ghosts everywhere → groove loses contrast, drums feel “busy” not “rolling.”
3. Ghosts too bright → conflict with hats and snare crack; leads to harshness.
4. No phrase logic → bar-to-bar copy/paste sounds static even if the bar is “good.”
5. Microtiming extremes → flams with main snare, messy transient stack.
---
5. Pro tips for darker/heavier DnB 😈
- Send ghosts to a return with Overdrive or Roar (if you have it), then EQ Eight to band-limit (e.g., 300 Hz–4 kHz).
- Blend quietly for gritty movement.
- Slightly open a low-pass on bars 5–6 for intensity, then darken again on bar 7 for tension.
---
6. Mini practice exercise (15 minutes) ⏱️
1. Create an 8‑bar clip with only main snares on 2 and 4.
2. Add exactly 6 ghost notes total across 8 bars.
3. Rules:
- No two ghosts in the same bar (forces phrasing).
- Velocities between 18–40.
- At least 2 ghosts must be late by 3–8 ms.
4. Bounce to audio and listen with bass on:
- If the bass groove feels clearer, you did it right.
- If the snare feels messy, reduce brightness and velocity first.
---
7. Recap
If you want, tell me your substyle (jungle, rollers, neuro, minimal) and I’ll give you a ready-to-program 8‑bar ghost map tailored to that vibe plus suggested samples and swing settings.

