Main tutorial
Soul Pride jungle air horn hit: layer and arrange in Ableton Live 12
1. Lesson overview
In this lesson, you’ll build a classic jungle/dnb air horn hit inspired by that rude, celebratory “Soul Pride” energy: bright, short, aggressive, and designed to cut through dense drums and bass without sounding weak or cheesy.
We’re not just making one horn sample louder — we’re going to:
- Layer multiple sources for body, bite, and attitude
- Shape the transient so it punches like a DJ reload moment 🔥
- Process it inside Ableton Live 12 with stock devices
- Arrange it musically so it feels like part of the groove, not a random noise blast
- Make it work in a proper DnB mix, especially with rewinds, drops, fills, and call-and-response
- EQ Eight for carving
- Saturator or Drum Buss for density
- Transient shaping using Gate, clip gain, or envelope editing
- Utility for width control and mono compatibility
- Optional Auto Filter, Reverb, Echo, or Hybrid Reverb for arrangement variation
- drop intros
- turnaround fills
- 8-bar switch-ups
- pre-drop tension moments
- jungle-style call-and-response phrases
- a classic air horn sample
- a brass stab
- a synth brass patch
- a vocal horn-like shout
- a resampled rave stab with a horn character
- one sharp and bright
- one thick and mid-heavy
- Mode: One-Shot
- Trigger: Gate or Trigger depending on your performance style
- Start: trim to the actual transient
- Fade: very short, unless the sample clicks
- Warp: usually off for one-shots unless you need tempo-sync stretching
- Set the pitch envelope to taste if you want a slight “blat” attack
- Keep the sample start tight
- Use velocity if you want different layers to respond dynamically
- Keep this as the primary character
- Tune it to the track key if possible
- If it feels too long, shorten the decay with clip envelopes or fades
- a trombone hit
- a detuned brass stab
- a re-sampled horn pitched down 3–7 semitones
- EQ Eight: low-cut around 80–120 Hz to avoid stepping on sub
- Slight boost around 180–350 Hz if it needs chest
- Gentle cut around 500–800 Hz if it gets boxy
- white noise burst from Analog or Operator
- distorted version of Layer A
- a short vocal “ha” / “hey” style cut
- a resampled top-end crack layer
- EQ Eight: high-pass around 300–600 Hz
- Saturator or Pedal for bite
- Optional Auto Filter with a tiny resonance bump for movement
- Main horn: root or fifth of the track key works well
- Body layer: often sounds great one octave down
- Edge layer: can be left at pitch or shifted slightly up for aggression
- The transient of the bright layer should lead
- The body layer can be a tiny bit behind if you want a bigger slap
- The noise layer should be instant for impact
- High-pass around 60–100 Hz if the horn is muddy
- Small dip around 250–400 Hz if it clouds the mix
- Presence boost around 2–5 kHz for readability
- Gentle shelf above 8–10 kHz if it needs air
- Drive: 2–6 dB
- Soft Clip: On
- Use Analog Clip or Soft Sine style depending on the tone
- Keep an eye on output gain
- Drive: subtle to moderate
- Crunch: low to medium
- Transients: slightly positive if the attack needs more snap
- Boom: usually off or very restrained for horn layers
- Use Width if you want to control stereo spread
- For a heavy drop hit, keep the core of the horn closer to mono
- If the edge layer is too wide, narrow it a bit so the mix stays solid
- Ratio: 2:1
- Attack: 3–10 ms
- Release: Auto or fast depending on the rhythm
- Aim for just a few dB of gain reduction
- fills
- breakdown returns
- DJ-style switch-ups
- bar 1: drum fill
- bar 2: horn hit
- bar 3: bass reply
- bar 4: horn variation
- Full hit
- Short hit
- Filtered hit
- full hit for drop
- short hit for groove accents
- filtered hit for transition or tension
- Low-pass the horn slightly before a drop
- Open it on impact
- Add resonance sparingly for tension
- small room or plate
- short decay
- pre-delay around 10–25 ms
- automate a brief send only on the last horn of a phrase
- short delay time
- low feedback
- filter the repeats so they don’t clutter the mix
- automate a tiny send for “echo-out” moments
- Intro: filtered horn tease every 8 bars
- Drop 1: full horn on bar 1 or bar 9
- Mid-drop: short horn answers every 4 bars
- Breakdown: half-time horn with more reverb
- Drop 2: layered horn with distortion and tighter timing
- Bar 1: full hit
- Bar 2: silence or bass response
- Bar 3: short hit
- Bar 4: fill + reverse horn into next section
- easier editing
- cleaner arrangement
- faster CPU
- more control over fades and reversal
- Create a new audio track
- Set Audio From to Resampling
- Record your horn hits as audio
- Slice or consolidate the best version
- tighten the start
- apply a short fade-out
- reverse some hits for risers
- chop micro-versions for fills
- snare crack around 2–5 kHz
- bass harmonics in the mids
- cymbal energy in the top end
- If the snare is losing punch, cut a little horn around 3–4 kHz
- If the bass is getting masked, reduce horn low-mids
- If the horn is too harsh, use a gentle dip around 2.5–6 kHz
- If it disappears, try saturation before boosting EQ
- fast attack
- short release
- subtle reduction only
- Pitch the body layer down a few semitones
- Add Saturator before EQ for nastier harmonics
- Use Corpus very subtly if you want an aggressive resonant metallic edge
- Filter out excessive top-end so it feels less playful
- Layer in a short metal hit or brake noise
- Use Redux lightly for a gritty digital texture
- Add a tiny bit of frequency modulation with Shifter if you want an unstable tone
- Keep the horn mostly above the sub range
- High-pass aggressively if needed
- Use the horn as a midrange punctuation mark, not a bass element
- Check mono compatibility with Utility
- Test the horn at low volume
- If it still reads on quiet playback, it will destroy on a big rig 💥
- Shorten reverb
- Use darker room or plate settings
- Emphasize midrange bite rather than bright air
- Build multiple layers for blast, body, and edge
- Tune and align them tightly
- Process with EQ Eight, Saturator, Drum Buss, Utility, and optional Glue Compressor
- Arrange the horn like a rhythmic punctuation mark
- Use automation and resampling to create variations
- Keep it tight, rude, and mix-friendly for proper DnB impact
- a MIDI + audio rack blueprint
- a step-by-step Ableton session template
- or a Soul Pride-style horn + amen breakdown arrangement map
This is an advanced groove-focused technique because the horn has to behave like a rhythmic instrument. In jungle and drum & bass, the air horn is not just an effect — it’s percussion with personality.
---
2. What you will build
You’ll create a layered air horn hit with three main parts:
Layer A: The “blast”
A bright horn/sample with strong attack and midrange presence.
Layer B: The “body”
A lower, brassier layer that gives weight and stops the hit from sounding thin.
Layer C: The “edge”
A noisy or distorted layer that helps the horn read on small speakers and over heavy drums.
Then you’ll build a simple processing chain:
By the end, you’ll have a horn hit you can place in:
---
3. Step-by-step walkthrough
Step 1: Find or create your horn source material
You can use:
For best results in DnB, choose at least two contrasting sources:
#### Good starting point
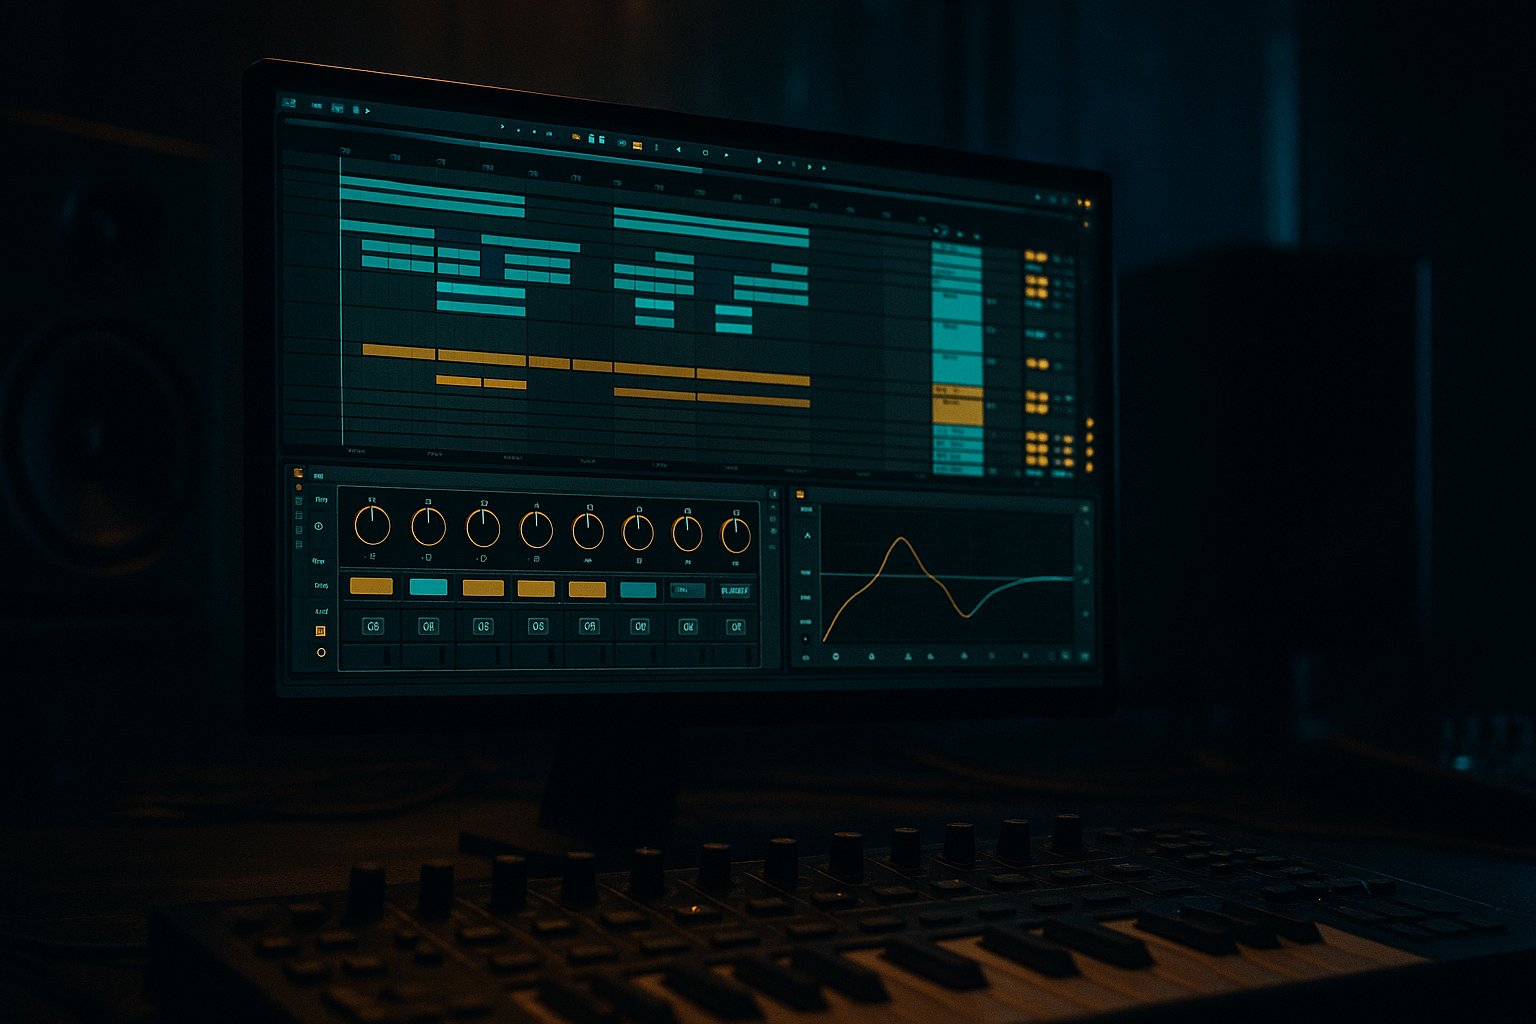
In Ableton Live, drag your samples into a Sampler or Simpler so you can tune and shape them quickly.
If you’re using Simpler:
If you’re using Sampler:
---
Step 2: Build the layer stack
Create an Audio Effect Rack or Instrument Rack and map each layer to separate chains. This makes balancing fast and musical.
#### Layer A: Main horn
Use your strongest horn sample.
#### Layer B: Low brass/body
Options:
Process this layer to keep it thick:
#### Layer C: Noise/edge
Options:
Process this layer:
---
Step 3: Tune the layers so they hit as one
This is where advanced layering starts sounding pro.
#### Check pitch relationship
Use Transpose in Simpler/Sampler or Pitch in Shifter if needed.
#### Align the transients
Zoom in and make sure the start of each layer is tight.
If one layer feels late, trim the start or use a tiny Track Delay adjustment.
---
Step 4: Shape the horn with a clean device chain
Here’s a practical chain for the horn group:
#### Suggested chain on the horn bus
1. EQ Eight
2. Saturator
3. Drum Buss
4. Utility
5. Optional Glue Compressor
##### EQ Eight
Use it to carve space, not to over-polish.
Typical moves:
##### Saturator
This is great for making the horn feel more “rude.”
##### Drum Buss
Very useful for DnB horn hits because it adds punch and density.
##### Utility
##### Glue Compressor
Use lightly if the layers are jumping around too much.
---
Step 5: Add rhythm and groove logic
A jungle horn works best when it interacts with the drums.
Try these placement ideas:
#### A. Offbeat response
Place the horn on the “and” after a snare or just before a bass answer.
This makes it feel like a hype response, not a lazy downbeat hit.
#### B. End-of-phrase punctuation
Use the horn at the end of 4-bar or 8-bar phrases.
This is ideal for:
#### C. Call-and-response with drums
For example:
That push-pull is very DnB/jungle.
#### D. Duplicate and vary
Don’t spam the exact same horn every time. Make 3 versions:
Use them strategically:
---
Step 6: Create variation with automation
This is where the arrangement starts feeling alive.
#### Automate filter movement
Use Auto Filter on the horn group:
#### Automate reverb throws
Use Send A or a return track with Hybrid Reverb:
#### Automate delay for one-hit hype
Use Echo on a return:
This is perfect for a jungle reload feel.
---
Step 7: Place the horn in the arrangement
Let’s make it function like a real DnB arrangement element.
#### Suggested arrangement usage
#### Example phrase structure
Silence is powerful. If the horn hits too often, it loses authority.
---
Step 8: Resample for control and bounce
Once the layer stack sounds right, resample it to audio.
Why?
#### How to resample in Ableton Live 12
After resampling:
This is especially useful for jungle, where chopped audio feels more authentic than endlessly live-routed processing.
---
Step 9: Make it sit with drums and bass
An air horn can easily fight with:
#### Mix strategy
#### Sidechain option
You usually do not want heavy sidechain on the horn, but a tiny amount of ducking can help if the drop is crowded.
Use Compressor or Shaper:
The goal is not pumping — just making room.
---
4. Common mistakes
1. Making the horn too long
A DnB horn hit should be sharp and controlled.
If it rings too long, it will smear the groove.
2. Over-widening the main layer
Huge stereo width sounds exciting solo, but in a dense jungle mix it can collapse the center.
Keep the core solid and widen only the edge layer.
3. Overdoing distortion
A little grit is great.
Too much saturation and the horn becomes harsh, fizzy, and fatiguing.
4. Ignoring pitch
A horn that clashes with the track key can sound amateur fast.
Tune it if possible, especially the body layer.
5. Placing it with no rhythmic intent
If the horn is just dropped randomly, it won’t groove.
Place it like a drum fill or phrase marker.
6. Not editing the start
A sloppy transient makes the hit feel late and weak.
Trim tightly and align layers properly.
---
5. Pro tips for darker/heavier DnB
If you want the horn to work in a darker, heavier mix, use these approaches:
Make it more menacing
Make it more industrial
Make it work with heavy sub/bass
Make it “sound system” ready
Make it darker without losing impact
---
6. Mini practice exercise
Exercise: Build a 3-version horn phrase in 8 bars
#### Goal
Create a small DnB phrase using three horn variations that support the groove.
#### Steps
1. Build your layered horn hit from at least two samples
2. Resample it to audio
3. Create these 3 versions:
- Version 1: full dry hit
- Version 2: filtered hit with low-pass automation
- Version 3: short echo throw or reverse pre-hit
4. Arrange them across 8 bars
- bar 1: full hit
- bar 3: filtered hit
- bar 4: reverse or echo variation
- bar 7: full hit again
5. Add drum fills or bass answers between the horn hits
6. Compare the groove with and without the horn
#### Challenge
Make the phrase feel good at 174 BPM without overcrowding the snare and bass.
If it feels messy, simplify. The strongest horn parts usually come from smart placement, not more layers.
---
7. Recap
You now have a practical method for creating a Soul Pride-style jungle air horn hit in Ableton Live 12:
In jungle and drum & bass, a great horn hit is more than a sound — it’s a moment. Make it hit like one 🎛️🔥
If you want, I can also turn this into:

