Main tutorial
Lesson Overview
In this lesson, you’ll build a Soul Pride-style percussion color lab in Ableton Live 12 by resampling your own drum FX, break edits, and percussive layers into a playable, reusable palette for jungle and oldskool DnB. The goal is not just to make “cool percussion,” but to create character FX that can be dropped into intros, fills, breakdowns, and post-drop switch-ups without sounding random or generic.
This matters in DnB because a lot of the genre’s energy comes from micro-arrangement detail: chopped breaks, ghost-note momentum, reversed tails, call-and-response percussion, and short bursts of texture that keep a loop evolving. In jungle especially, the ear expects movement. If your drums are strong but your FX are flat, the track can feel looped instead of alive. This workflow lets you turn a simple percussion phrase into a signature sonic identity using Ableton’s stock tools and resampling, which is perfect for oldskool-inspired pressure with modern control.
We’ll focus on FX as a creative tool for:
- adding grit and swing to break loops
- creating transition elements from your own drum source
- building tension before a drop
- making fills feel musical instead of random
- creating a consistent “color” that ties the track together
- a tight mid/high percussion layer
- a distorted ghost-hit layer
- a reverse swell / downlift texture
- a short impact fill
- a filtered atmospheric tail for intro or breakdown use
- oldskool intro build-ups
- 2-bar drum fills before the drop
- half-time breakdown textures
- call-and-response with the bassline
- post-drop variation when the main break repeats
- Leaving too much low end in the FX layer
- Over-processing before resampling
- Not committing to a clear function
- Making the FX too loud in the mix
- Ignoring mono compatibility
- Using the same loop all track long
- Use distortion as tone, not just aggression
- Automate a band-pass for tension
- Pair the percussion FX with the bass call-and-response
- Use ghost-hit layers behind snares
- Print a “dirty” version and a “clean” version
- Keep your drop intro controlled
- Let the FX evolve every 4 or 8 bars
- process the source first
- resample to commit the character
- slice the result into usable hits and textures
- give each print a clear arrangement role
- keep low-end clean and mono-compatible
- use subtle automation to make the FX feel alive
Why this works in DnB: resampling forces commitment. You print the texture, then shape the result like an instrument. That’s ideal for jungle and rollers, where short, intentional audio objects often hit harder than endlessly tweaking MIDI.
What You Will Build
You’ll build a multi-layer percussion FX rack made from a Soul Pride-style break/percussion loop that has been resampled into:
Musically, the result should feel like a jungle percussion colour bed: subtle enough to sit behind your main drums, but interesting enough to become a hook during switches or 8-bar transitions. Think of it as a toolkit for:
By the end, you’ll have a sample group you can trigger like a mini-library inside your track, all derived from one source and processed in a way that feels coherent and “record-like.”
Step-by-Step Walkthrough
1. Choose a strong source and keep it rhythmically simple
Start with one short percussion/break source that has character: a chopped break loop, a dusty conga/percussion phrase, or a Soul Pride-style rhythmic phrase with a lively swing feel. If you’re using a jungle break, pick something with ghost notes, hats, and midrange crackle rather than a fully polished loop.
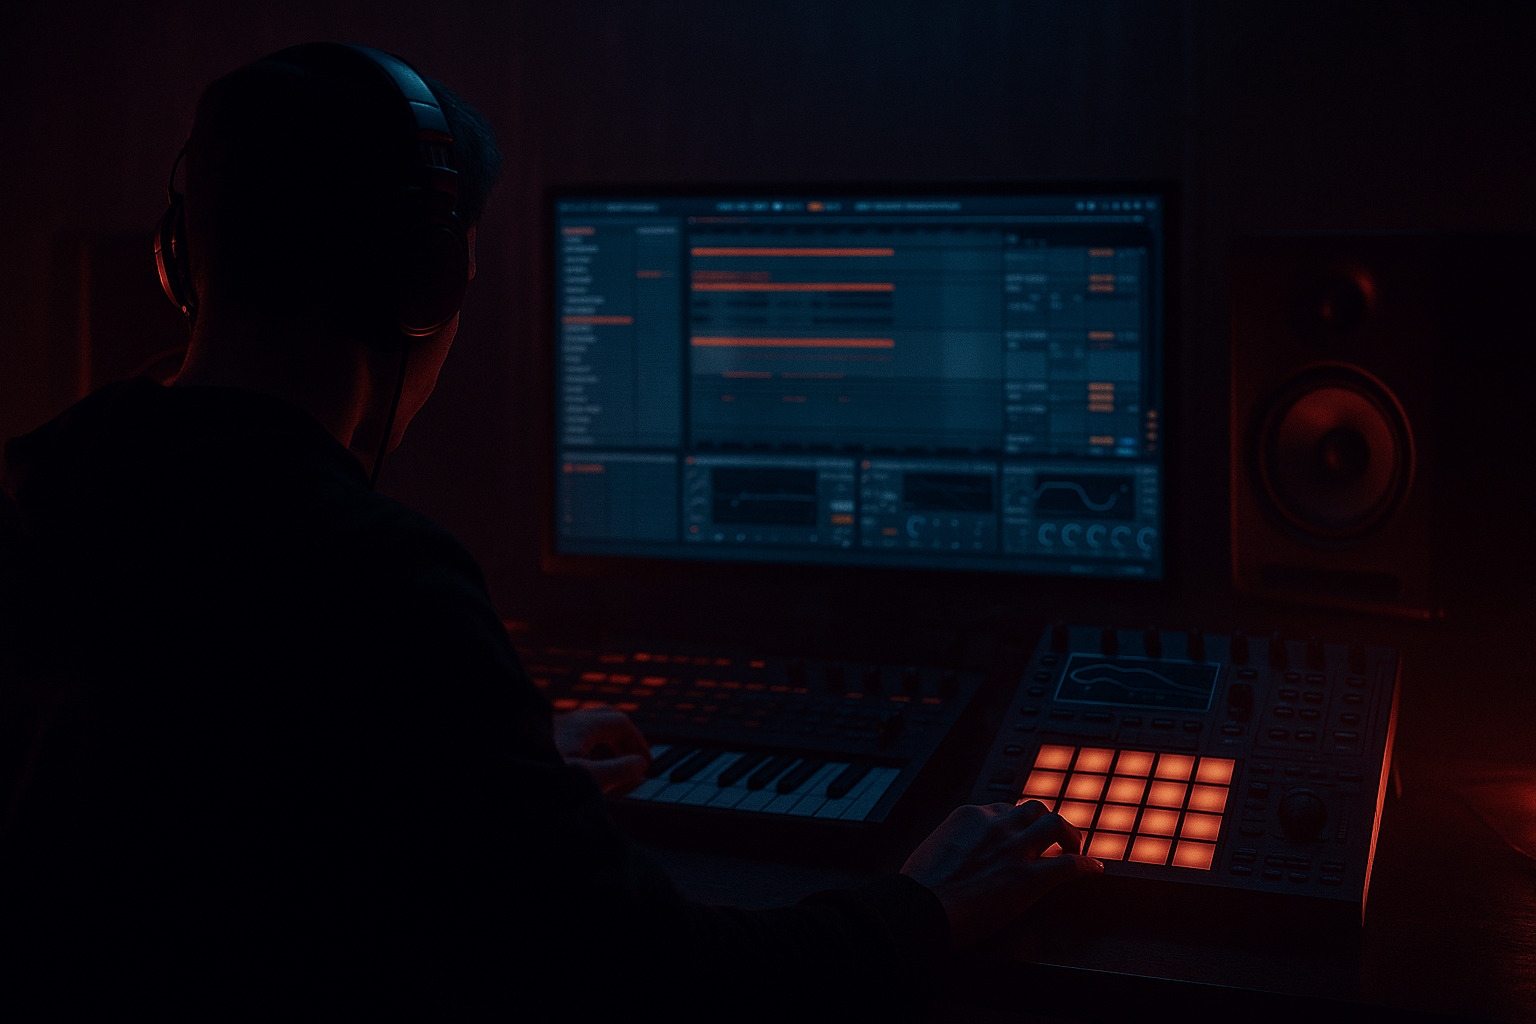
In Ableton Live:
- Drag the source into an audio track.
- Set Warp to Beats for drum loops.
- Try transient preservation settings around 1/16 or 1/8 depending on the source.
- Keep the loop to 1–2 bars at first.
Goal: identify a section with enough movement to generate multiple FX from the same material. If the source is too busy, you’ll lose definition after processing. If it’s too clean, the resampled result may sound sterile.
2. Build a color-lab chain with stock devices
Put a processing chain on the source that will create a distinct tonal character before you resample it. A good starting chain is:
- EQ Eight: high-pass at 120–200 Hz to keep the color layer out of sub territory
- Drum Buss: Drive around 10–25%, Boom off or very low
- Saturator: Soft Clip on, Drive 2–6 dB
- Echo: very short time or slap-style feel, low feedback
- Auto Filter: assign to Macro or automate cutoff
- optional Redux: subtle bit reduction for grit
Keep this focused on the mid and high percussion character. You want enough processing that the sample sounds “new,” but not so much that the groove collapses.
A useful setting combo:
- Drum Buss Transients: +5 to +20
- Saturator Drive: 3 dB
- Echo Feedback: 10–25%
- Auto Filter resonance: low to medium
Why this works in DnB: a lot of classic jungle FX are really just drum material processed into a new rhythmic texture. That keeps the groove anchored while giving you the strange, dusty edge DnB loves.
3. Resample the processed loop into a new audio track
Create a new audio track and set its input to Resampling. Arm the track and record 8–16 bars of your processed percussion loop while the original plays.
During recording, automate or manually move:
- Auto Filter cutoff
- Echo feedback slightly on selected repeats
- Saturator drive for rising intensity
- Drum Buss transient amount if you want a more aggressive fill
Don’t over-automate. You’re capturing a performance, not designing a static loop. Let a few moments “misbehave” so the audio contains surprises.
After recording:
- Trim the best sections
- Consolidate usable phrases with Cmd/Ctrl + J
- Rename clips clearly, e.g.:
- `SP_col_01_mid`
- `SP_col_02_grit`
- `SP_col_03_revr`
- `SP_col_04_hit`
This is where the lab starts to feel useful: you’re creating a small, curated set of percussion FX that can be dropped into the arrangement quickly.
4. Slice the resample for playable jungle edits
Take your best resampled loop and slice it to Simper or Transient mode in a Drum Rack. If the loop has strong hits and gaps, use transient detection. If it’s more atmospheric, slice by 1/8 or 1/16.
In Drum Rack:
- Put the resampled clip into a Simpler on a pad
- Set Warp off inside Simpler if it’s already audio-locked
- Use Slice mode for quick triggering
- Map 4–8 slices to pads for performance-style arrangement
Aim to create categories:
- one pad for a tight tick/ghost layer
- one pad for a mid punch
- one pad for a reverse or swell
- one pad for a noise tail or filtered wash
If your slices are too long, shorten the start/end in Simpler so each hit feels like a deliberate FX stab rather than a chopped loop.
5. Create a reverse swell and downlift from the same material
Duplicate one of your best clips and reverse it. Then treat it as a transition element. This is especially useful for jungle drops where you want a quick pre-hit lead-in or a nasty pull-back before a switch.
Processing ideas:
- Reverse the clip
- Add Auto Filter with a rising cutoff automation
- Use Echo at low feedback for tail smear
- Add Reverb with decay around 1.2–2.5 s for a darker space
- High-pass the result above 180–300 Hz so it sits as texture, not mud
Arrange it as:
- 1-beat swell into a snare or break fill
- 2-beat downlift before the drop
- final bar texture before a bassline change
This gives the arrangement that classic DnB “I know something’s about to happen” energy without needing a big cinematic riser.
6. Print an impact fill and a micro-loop from the best moment
Find one section of the resampled audio where the groove hits hardest, then print two derivatives:
- a single-hit impact
- a 2-beat micro-loop
For the impact:
- Consolidate a short transient-rich moment
- Add Drum Buss for punch
- Use EQ Eight to notch harsh resonances if needed around 2.5–6 kHz
- Optionally add a very short Reverb on a return, not inline, for space
For the micro-loop:
- Loop 2 beats of the most interesting rhythmic detail
- Filter it lightly with Auto Filter
- Use it as an 8-bar variation layer under the main break or during a breakdown
This is a great way to create variation in a roller or oldskool drop: the loop keeps the listener engaged while the main drums remain recognizable.
7. Shape the layer for mix placement and mono discipline
FX percussion in DnB can get messy fast, so place the layer intentionally in the frequency spectrum.
For the main color layer:
- High-pass at 150–250 Hz
- If needed, dip 300–500 Hz to reduce boxiness
- Use a gentle shelf or boost around 6–10 kHz only if it needs air
- Check mono compatibility with Utility and set Width around 70–100% depending on how wide you want it
If the resample is too wide, narrow it before printing. If it’s too narrow, create width with:
- very short stereo delay from Echo
- subtle chorusing from Chorus-Ensemble
- parallel reverb on a return
Keep the sub and main bass in mono. Let this percussion FX layer live above the bass, not compete with it.
8. Map the FX into arrangement roles
Don’t just loop the layer endlessly. Assign each printed sound to a clear arrangement function.
Example 16-bar jungle phrasing:
- Bars 1–4: filtered intro texture from the resampled loop
- Bars 5–8: add ghost-hit layer lightly under break
- Bars 9–12: introduce reverse swell into the snare fill
- Bars 13–16: full impact fill leading into the drop
Or in a darker roller arrangement:
- use the color layer only in the last 2 bars before each bass phrase change
- mute it during the main eight for contrast
- bring it back on the 2nd and 4th 8-bar sections to maintain interest
This keeps your FX purposeful. In DnB, repetition with variation is the game. The listener should feel momentum, not random decoration.
9. Resample one more time for a “finished” darker texture
For extra character, route your selected FX layers to a group bus and resample the group. This creates a more cohesive, finished sound that feels glued together.
On the group bus:
- Glue Compressor with a slow attack and moderate release
- Saturator with small drive
- EQ Eight to clean low-end buildup
- optional Roar if you want a heavier, more modern dark edge, used subtly
Resample a few bars of the grouped layer, then cut the best moments into one-shots. This final print often sounds more “record-like” than the individual layers because the processing bakes the elements together.
You now have a final set of FX assets:
- loops
- fills
- hits
- swells
- texture beds
Save them in a dedicated project folder so they become reusable across tracks.
Common Mistakes
Fix: high-pass aggressively. Most percussion color layers should stay out of the sub range entirely.
Fix: use enough saturation and modulation to change the source, but not so much that the groove collapses.
Fix: each printed sample should do one job — texture, fill, swell, impact, or loop.
Fix: keep the layer under the main break. In DnB, the best FX often feel bigger when they’re quieter.
Fix: check in Utility and on headphones/speakers. Wide percussion can sound exciting but disappear in club playback if it’s phasey.
Fix: print multiple versions with different automation states and switch them every 8 or 16 bars.
Pro Tips for Darker / Heavier DnB
A subtle Saturator or Drum Buss pass can help the resampled percussion sit like part of the record instead of a loop pasted on top.
A narrow Auto Filter band-pass sweeping into the drop creates an oldskool, claustrophobic feel that works brilliantly in jungle and darker rollers.
Let the FX fill the spaces where the reese or subline drops out. That makes the arrangement feel intentional and musical.
Tiny resampled hits tucked under the backbeat can make the drum groove feel denser without sounding louder.
Keep one bright, punchy version and one lo-fi, saturated version. Swap between them in different sections for contrast.
In heavier DnB, a filtered percussion color bed can add tension without stealing from the bass entry. Less is often more here.
Small changes in filter cutoff, decay, or delay feedback prevent the loop from becoming wallpaper.
Mini Practice Exercise
Set a 15-minute timer and do this:
1. Pick one 1–2 bar percussion or break loop.
2. Build a processing chain with EQ Eight, Drum Buss, Saturator, and Auto Filter.
3. Resample 8 bars while automating cutoff and drive.
4. Slice the best printed section into a Drum Rack or Simpler.
5. Create:
- one ghost-hit layer
- one reverse swell
- one impact hit
- one 2-beat texture loop
6. Place them in a rough 16-bar DnB arrangement:
- intro texture
- pre-drop swell
- drop impact
- mid-section variation
7. Do one mono check and one bass balance check.
Goal: by the end, you should have at least 4 usable FX elements from a single source.
Recap
The key idea is simple: turn one percussion source into a full FX palette through resampling. In Ableton Live 12, stock devices are enough to create a Soul Pride-style color lab that fits jungle and oldskool DnB beautifully.
Remember:
If your drums and bass are the backbone, this percussion color lab is the atmosphere, motion, and glue that makes the track feel like a finished DnB record.

