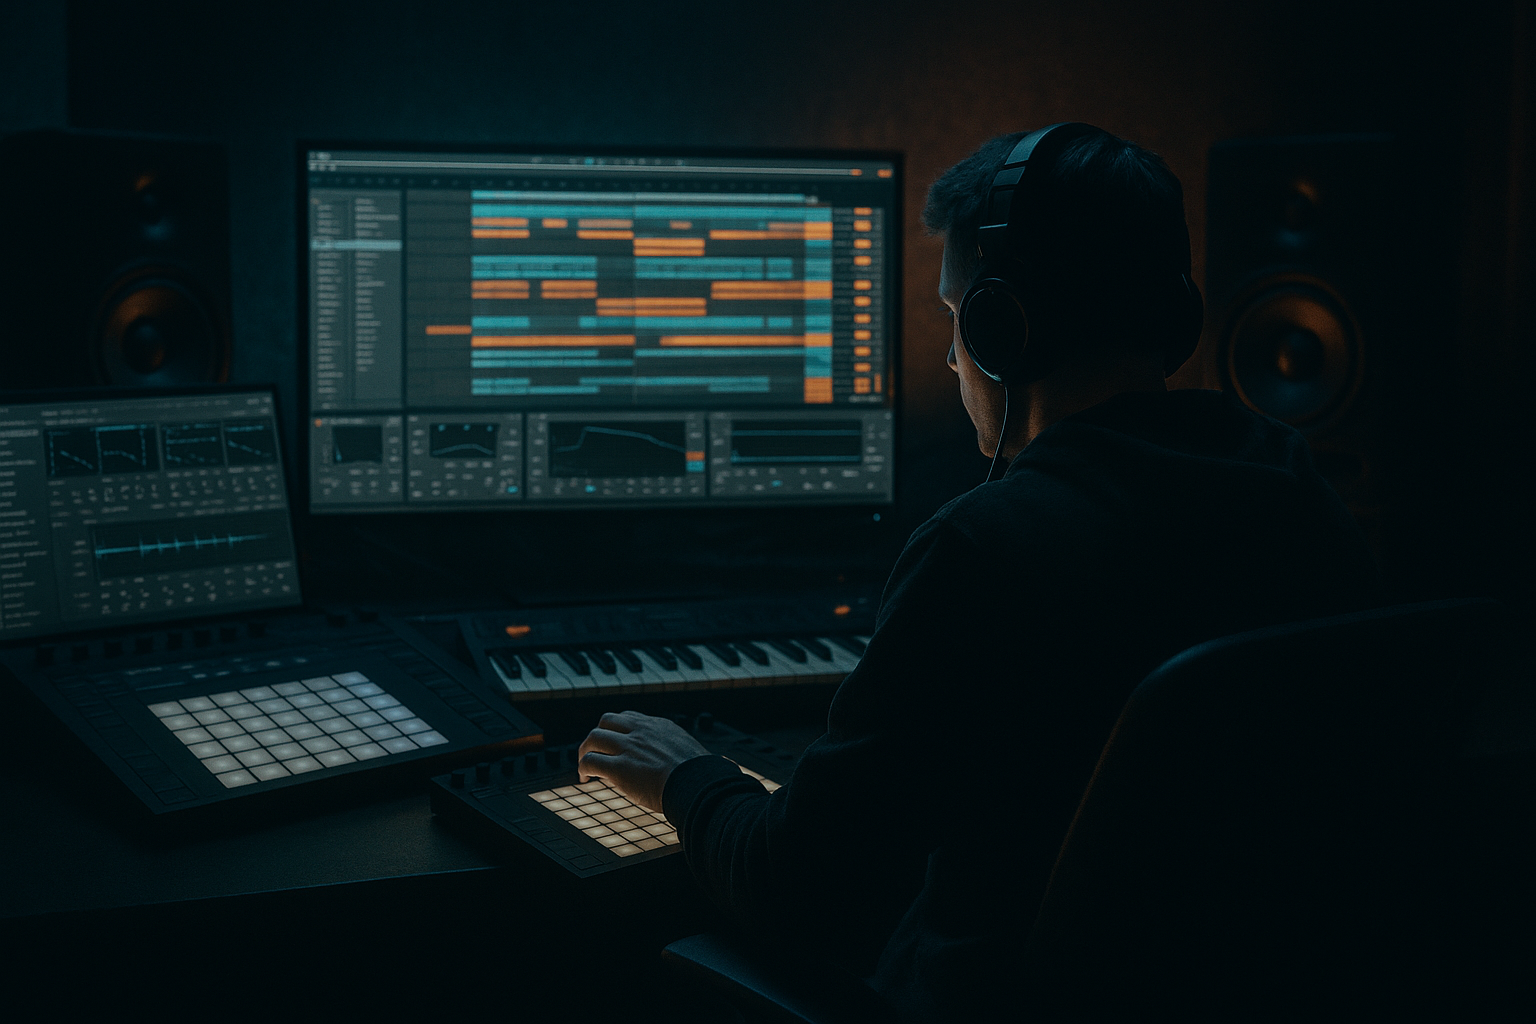
DNB COLLEGE

Drum & Bass Ableton Live 12 Tutorials

LESSON DETAIL

Stack a jungle pad drift with automation-first workflow in Ableton Live 12 (Beginner)

An AI-generated beginner Ableton lesson focused on Stack a jungle pad drift with automation-first workflow in Ableton Live 12 in the Groove area of drum and bass production.

Back to lessons
Stack a jungle pad drift with automation-first workflow in Ableton Live 12 (Beginner) cover image

Narrated lesson audio

The voice track includes the tutorial plus extra teacher commentary.

Open audio file

Main tutorial

Lesson Overview

A jungle pad drift is one of the easiest ways to make a Drum & Bass track feel alive without overcrowding the drums or bass. In this lesson, you’ll build a pad layer that slowly moves over time using an automation-first workflow in Ableton Live 12. The goal is not to make a giant dreamy ambient pad — it’s to create a controlled, moody atmosphere that sits behind the break, supports the bassline, and adds motion between drum phrases.

This matters in DnB because the genre is all about tension, release, and forward motion. A static pad can make a track feel flat. A drifting pad, on the other hand, helps the loop evolve while the drums stay aggressive and the sub stays focused. That’s especially useful in jungle, rollers, darker liquid, and neuro-influenced DnB where the atmosphere often needs to feel hypnotic but not messy.

You’ll use stock Ableton devices and simple automation to create a pad that shifts in filter tone, stereo width, reverb space, and pitch detail over time. The result is a “set it and ride it” workflow: instead of constantly changing clips or writing loads of notes, you’ll automate the pad so it breathes with the arrangement and helps guide the listener through the track.

What You Will Build

You’ll build a drifting jungle pad layer that:

  • sits behind a breakbeat loop and bassline
  • slowly opens and closes with filter automation
  • adds subtle pitch drift and stereo movement
  • works in a 16-bar or 32-bar DnB loop
  • creates tension before drops and switch-ups
  • stays out of the way of the kick, snare, and sub
  • Musically, think of a dark minor-key pad holding long notes or a simple chord shape, then slowly shifting in tone so it feels unstable and alive. In a jungle intro, this can sit under chopped breaks and rain/noise textures. In a roller, it can appear in the background of a 16-bar groove to keep the loop from feeling too static. In a darker drop, it can be heavily filtered and automated to make the bassline feel bigger when it opens up.

    Step-by-Step Walkthrough

    1. Set up a clean DnB session loop first

    Start with a basic 16-bar loop at a DnB tempo, usually around 170–174 BPM. Put your drums and bass in place before the pad. This matters because the pad needs to support the groove, not fight it.

    If you already have a breakbeat, loop 8 or 16 bars of it. If you’re starting from scratch, use a stock drum rack or audio break and keep the arrangement simple for now. The pad should sit behind:

    - kick and snare

    - ghost notes or break slices

    - sub and mid-bass movement

    Leave headroom on the master and keep your mix balanced early. A pad that sounds huge solo can wreck the low-mid space in a DnB track.

    2. Build the pad with stock Ableton instruments

    Use Wavetable for a clean, flexible pad, or Analog if you want a warmer, more classic texture. For a beginner-friendly jungle pad, Wavetable is a great choice because you can shape movement easily.

    Simple starting setup in Wavetable:

    - Oscillator 1: a smooth wavetable like a basic or soft harmonic shape

    - Oscillator 2: add a second voice an octave up or at unison for width

    - Filter: low-pass, start fairly closed

    - Amp envelope: long attack and release

    - Detune: keep it subtle

    Good starting ranges:

    - Attack: 80–300 ms

    - Release: 1.5–4 seconds

    - Filter cutoff: start around 200 Hz–2 kHz, depending on how dark you want it

    - Resonance: 10–25%

    - Unison detune: light, around 5–15%

    For a more vintage jungle feel, you can also layer a Sample or Simpler pad under it with a noisy, washed-out texture. Keep it simple: one musical pad layer is enough for this exercise.

    3. Write a minimal chord shape or drone note

    You do not need a busy chord progression. In DnB, especially darker styles, the pad often works best as a sustained harmonic bed rather than a piano-style progression.

    Use one of these beginner-friendly options:

    - a single minor chord held for 4 or 8 bars

    - a two-chord loop like i to VI in a minor key

    - a drone note with a fifth above it for tension

    Musical context example: in A minor, hold A–C–E for 4 bars, then move to F–A–C for 4 bars. That’s enough harmonic movement to support a jungle break without distracting from the bass.

    Keep the notes simple and long. Let automation do the movement work.

    4. Shape the pad with an automation-first mindset

    This is the core of the lesson. Instead of adding lots of effects and hoping the pad comes alive, automate a few key parameters from the start.

    Focus on these in Ableton Live 12:

    - Filter cutoff on Wavetable or Auto Filter

    - Resonance for subtle tension

    - Device Dry/Wet on reverb or delay

    - Pan position or stereo width, if needed

    - Oscillator wavetable position or a macro mapped to tone movement

    Add Auto Filter after the instrument if you want a dedicated automation target. Start with:

    - Filter type: low-pass

    - Cutoff: around 400–1,200 Hz

    - Resonance: 10–20%

    - Drive: light, if you want extra bite

    Then draw a slow 8-bar automation curve that opens the pad during the second half of the phrase. For example:

    - bars 1–4: darker and more closed

    - bars 5–8: gradually brighter and slightly louder in perception

    - bars 9–16: open more in the build, then pull back before the next section

    Why this works in DnB: the drums and bass need consistency, but the atmosphere around them benefits from gradual change. Automation creates motion without adding clutter, which is perfect for fast, loop-based music.

    5. Add movement with subtle modulation, not chaos

    The “drift” part comes from tiny movement over time. Use LFO or slow automation on a few parameters, but keep it gentle.

    In Wavetable, map a slow LFO to:

    - wavetable position

    - filter cutoff

    - fine pitch, very lightly

    - pan, if you want a slow stereo sway

    Beginner-safe ranges:

    - LFO rate: 1/2 bar to 4 bars

    - LFO amount on cutoff: small, around 5–15%

    - LFO amount on pitch: extremely small, just enough to feel unstable

    If the pad starts sounding seasick, back it off. The goal is “alive,” not “wobbly.”

    A useful trick is to automate the LFO amount itself. Keep the pad steadier in the intro, then increase movement in the buildup or breakdown so the arrangement feels like it’s evolving.

    6. Place effects in a DnB-friendly chain

    Keep the effect chain practical and focused. A good beginner chain for this pad is:

    - Auto Filter

    - Chorus-Ensemble or a light Phaser-Flanger

    - Echo

    - Reverb

    - optional Saturator

    Suggested settings:

    - Chorus-Ensemble: low depth, subtle mix, just enough stereo bloom

    - Echo: short feedback, filtered repeats, low mix

    - Reverb: decay around 1.5–4 seconds, low-cut engaged if needed

    - Saturator: soft drive, around 1–3 dB of color

    Keep the reverb and echo controlled so they don’t smear the snare or wash into the sub. In jungle and rollers, a pad that’s too wet can blur the break groove. You want depth, not fog.

    7. Automate space and width for arrangement moments

    Now make the pad feel like it belongs in the arrangement, not just the loop.

    Use automation to create clear section changes:

    - Intro: narrow, darker, more reverb

    - Pre-drop / build: filter opens, reverb tightens slightly, movement increases

    - Drop: reduce pad volume or filter it down so drums and bass dominate

    - Switch-up: bring the pad back in brighter or wider for contrast

    A very effective beginner move is to automate the pad’s utility gain or instrument volume down by 2–6 dB during the drop, then bring it back in the breakdown.

    For arrangement context, this works well in a classic DnB structure:

    - 16-bar intro with drums, ambience, and filtered pad

    - 16-bar build with rising filter automation

    - 16-bar drop with pad tucked under the bass

    - 8-bar switch-up where the pad opens again to refresh the groove

    That contrast keeps the track DJ-friendly and gives the listener breathing room.

    8. Lock the pad against the drums and bass

    This is where the groove really starts to work. Your pad should support the rhythm, not blur it.

    Make sure:

    - the pad is high-passed if needed so it doesn’t conflict with the sub

    - low-mid buildup around 200–500 Hz is controlled

    - the snare still feels punchy and forward

    - the bassline remains the main rhythmic anchor

    Helpful stock tools:

    - EQ Eight: high-pass the pad somewhere around 150–300 Hz depending on the sound

    - Use a gentle dip in the low mids if the pad clouds the mix

    - Utility: check mono compatibility and reduce width if the pad is too wide

    Groove tip: if your pad is sustaining across the bar, make sure the automation changes happen on phrase boundaries, like every 4 or 8 bars. That way the atmosphere feels musical and supportive, not random.

    9. Resample if you want a more authentic jungle texture

    Once the pad is moving nicely, consider resampling it to audio. This is a classic DnB workflow because it gives you more control and can create gritty, imperfect texture.

    In Ableton:

    - record the pad to a new audio track

    - warp lightly if needed

    - chop a few interesting moments

    - reverse a tail or two for transition energy

    - add tiny fades so it stays smooth

    You can then automate the audio clip’s volume or filter for extra drift. A resampled pad often sounds more “finished” in a jungle context because the little imperfections feel organic and less synthetic.

    Common Mistakes

  • Making the pad too bright.
  • Fix: high-pass it and keep the filter mostly closed during the drop. DnB needs space for snare crack and bass presence.

  • Using too much reverb.
  • Fix: lower the wet mix, shorten decay, and cut low end from the reverb return. If the pad washes over the drums, it’s too much.

  • Automating too many things at once.
  • Fix: start with filter cutoff and one extra parameter only. In beginner DnB, simple automation usually sounds more professional than over-designed movement.

  • Letting the pad fight the bassline.
  • Fix: remove low frequencies with EQ Eight, and keep the pad out of the sub and low-mid lane.

  • Random automation that doesn’t follow phrases.
  • Fix: move the pad in 4-bar or 8-bar shapes so it feels intentional and groove-aware.

  • Stereo widening without checking mono.
  • Fix: use Utility to test mono. If the pad disappears or gets hollow, reduce width or simplify the effect chain.

    Pro Tips for Darker / Heavier DnB

  • Use minor seconds or suspended harmony for tension. A pad with a note clash can feel unsettling in a good way, especially in darker rollers or neuro-intro sections.
  • Add gentle saturation before reverb. A touch of Saturator or Overdrive can make the pad feel denser and more underground without getting harsh.
  • Automate a low-pass opening into the drop. This creates a classic “reveal” moment that works well under a bass switch-up.
  • Layer a quiet noise or vinyl-style texture. A very low-level atmospheric layer can make the pad feel less clean and more jungle-authentic.
  • Use short reverse pad swells before snare hits or section changes. These can help transition into fills without stealing attention from the drums.
  • Keep the pad slightly behind the beat emotionally. Even though it’s sustained, the slow automation should feel like it’s leaning into the groove rather than competing with it.
  • For heavier tracks, let the pad disappear during the first 8 bars of the drop. Bring it back later so the drop feels bigger when the atmosphere returns.
  • Mini Practice Exercise

    Spend 10–20 minutes making one drifting jungle pad loop in Ableton Live.

    1. Set your project to 172 BPM.

    2. Create a simple 8-bar drum loop with a breakbeat or drum rack.

    3. Load Wavetable on a MIDI track and make one minor chord or drone note.

    4. Add Auto Filter and automate cutoff over 8 bars.

    5. Add Reverb and keep it subtle.

    6. Add one extra movement source: a slow LFO, a little chorus, or a small pan automation.

    7. High-pass the pad with EQ Eight so it stays away from the sub.

    8. Write one arrangement change: make the pad darker in bars 1–4 and brighter in bars 5–8.

    9. Bounce or resample the pad if you have time.

    10. Listen back and ask: does this pad support the groove, or does it distract from it?

    If you want to level it up, try making two versions:

  • one for a jungle intro
  • one for a darker drop

Compare which one helps the drums and bass feel stronger.

Recap

A good jungle pad drift is about controlled motion, not huge sound design. In Ableton Live 12, build a simple pad, automate the filter and space, and let the arrangement guide the movement. Keep it dark, phrase-aware, and out of the sub range. For DnB, the best atmosphere is the one that makes the drums and bass feel bigger without getting in the way.

Ask GPT about this lesson

Chat with the lesson tutor, get follow-up help, or use quick actions.

Bigup 👽 Ask me anything about this lesson and I’ll answer in context.

Narration script

Show spoken script
Welcome to this beginner Ableton Live 12 lesson on stacking a jungle pad drift with an automation-first workflow.

If you make drum and bass, especially jungle, rollers, darker liquid, or anything with that nervous forward motion, this is a super useful move. We are not trying to build some massive dreamy ambient pad that takes over the whole track. We want a controlled, moody layer that sits behind the breakbeat and the bassline, and slowly shifts over time so the loop feels alive.

That is the whole game here. In DnB, the drums and sub need to stay focused, but the atmosphere around them should keep evolving. A static pad can make everything feel flat. A drifting pad gives you tension, release, and movement without clutter.

So in this lesson, we are going to use stock Ableton devices, simple automation, and a beginner-friendly workflow to make a pad that breathes with the arrangement. Think of it like this: set it up, automate the important stuff, and then let it ride.

First, start with a clean DnB loop.

Set your tempo somewhere around 170 to 174 BPM. For this lesson, 172 BPM is a great place to land. Before you even touch the pad, get your drums and bass in place. That matters because the pad has to support the groove, not fight it.

If you already have a breakbeat, loop 8 or 16 bars of it. If you are starting from scratch, just use a simple drum rack or a stock break and keep it basic for now. You want to hear where the kick, snare, ghost notes, and bass are sitting before you add atmosphere.

Also, leave yourself some headroom. A lot of beginners make a pad sound huge in solo, then wonder why the mix gets muddy. In DnB, especially, low-mid buildup can get out of hand fast. So keep the mix clean early.

Now let’s build the pad itself.

For a beginner-friendly jungle pad, Wavetable is a really solid choice because it gives you easy movement and a clean sound. Analog can work too if you want something warmer and more classic, but Wavetable is great for this exercise.

Load Wavetable on a MIDI track and start with a smooth wavetable shape. Keep the sound simple. You do not need a complicated sound design patch here.

Try this as a starting point:
Oscillator 1 with a smooth, soft harmonic shape
Oscillator 2 slightly up an octave or in unison for a little width
A low-pass filter, fairly closed
A long attack and release
Very subtle detune

A good starting range is an attack somewhere around 80 to 300 milliseconds, and a release around 1.5 to 4 seconds. Keep the cutoff fairly dark at first, maybe somewhere between 200 Hz and 2 kHz depending on how moody you want it. And keep resonance modest, around 10 to 25 percent.

What we are after is not a giant airy pad. We want a pad that sits behind the break and adds tone, not a big cloud that hogs the mix.

Now write a very simple musical idea.

Do not overcomplicate the harmony. In dark DnB, the pad often works better as a sustained bed than as a busy chord progression. You can hold one minor chord for 4 or 8 bars, or use a simple two-chord loop. A drone note with a fifth above it can also sound really effective.

For example, in A minor, you could hold A minor for 4 bars, then move to F major for 4 bars. That is enough harmonic movement to support the groove without distracting from the bass.

Keep the notes long. Keep them simple. Let the automation do the heavy lifting.

And that brings us to the core idea of this lesson: automation first.

Instead of loading a pile of effects and hoping the pad feels alive, we are going to automate the important parameters right away. That is the smart move. It gives you motion without clutter.

The first thing to automate is the filter cutoff.

You can use the filter inside Wavetable, or you can add Auto Filter after the instrument. I actually like Auto Filter for this kind of workflow because it gives you a really clear automation target.

Set it to low-pass, keep the cutoff fairly low to start, maybe around 400 to 1200 Hz, and add a little resonance, maybe 10 to 20 percent. If you want a touch more edge, add just a bit of drive.

Now draw a slow automation curve across 8 bars.

Here is the basic shape:
Bars 1 to 4, darker and more closed
Bars 5 to 8, gradually opening up
Then in the next phrase, open it a little more, and pull it back before the next section

That slow opening and closing is what makes the pad feel like it is drifting through the arrangement.

Why does this work so well in drum and bass? Because the drums and bass can stay consistent while the atmosphere changes around them. That gives the listener motion without wrecking the groove.

Next, add subtle movement.

This is the drift part. We want tiny motion over time, not a wobble fest. If the pad starts sounding seasick, you have gone too far.

In Wavetable, you can use a slow LFO or automation to move things like wavetable position, filter cutoff, or even pan. You can also modulate pitch very lightly if you want a more unstable, worn-in feel.

Keep the LFO slow. Think half a bar to four bars. Keep the amount small. For cutoff, maybe 5 to 15 percent. For pitch, even smaller. Just enough that the sound feels alive when it sits behind the drums.

A nice beginner trick is to automate the amount of movement itself. Keep the pad steadier in the intro, then let it become a little more animated in the build or breakdown. That way the arrangement feels like it is evolving naturally.

Now let’s build a practical effect chain.

A good chain for this kind of pad is Auto Filter, Chorus-Ensemble or a light Phaser-Flanger, Echo, Reverb, and maybe a bit of Saturator.

Keep everything subtle.

The chorus should just add some stereo bloom. The echo should be filtered and low in the mix so it does not smear the groove. The reverb should have a sensible decay, maybe around 1.5 to 4 seconds, and a low-cut if needed so it does not wash over the low end. If you use Saturator, just add a little color, not obvious distortion.

This is important: in jungle and rollers, too much reverb can blur the breakbeat and make the track feel soft. We want depth, not fog.

Now automate the pad for arrangement.

This is where the track starts to feel like a real song instead of a loop.

In the intro, keep the pad darker and a little more open in space. You can let it feel wide and moody there.
In the build, open the filter, tighten the reverb a little, and increase the motion.
In the drop, pull the pad back so the drums and bass can dominate.
Then in a switch-up or breakdown, bring it back brighter or wider for contrast.

A really effective beginner move is to automate the pad volume down by 2 to 6 dB during the drop, then bring it back for the breakdown. That tiny change makes the section feel bigger without losing the atmosphere completely.

A classic DnB shape could look like this:
16-bar intro with drums, ambience, and filtered pad
16-bar build with rising filter automation
16-bar drop with the pad tucked under the bass
8-bar switch-up where the pad opens again

That contrast is what keeps the track DJ-friendly and stops it from feeling looped.

Now we need to make sure the pad actually locks in with the drums and bass.

The pad should support the rhythm, not smear it. So use EQ Eight if needed and high-pass the pad somewhere around 150 to 300 Hz, depending on the sound. If the low mids are piling up around 200 to 500 Hz, trim a little there too.

Also, check mono compatibility with Utility. If the pad gets hollow or disappears in mono, it is probably too wide or too phasey. Reduce the width or simplify the stereo effects.

And here is a really good phrase-aware tip: make sure your automation changes happen on 4-bar or 8-bar boundaries. That makes the movement feel intentional and musical, which is especially important in loop-based genres like DnB.

If you want a more authentic jungle texture, resample the pad.

This is a classic workflow and it can make the sound feel more finished. Once the pad is moving the way you want, record it to a new audio track. Then you can warp it lightly, chop a few interesting moments, reverse a tail, or add tiny fades for smoothness.

Sometimes resampled pads sound better than the original MIDI version because the little imperfections make them feel more organic and less pristine.

Let’s talk about common mistakes, because these are easy to run into.

One mistake is making the pad too bright. If it starts competing with the snare and bass, it is probably too open. Keep it darker, especially in the drop.

Another mistake is too much reverb. If the pad turns the groove into a wash, lower the wet mix, shorten the decay, and cut the low end from the reverb return.

Another big one is automating too many things at once. For beginners, less is usually better. Start with filter cutoff and one extra movement source. That is enough to sound professional if the movement is well placed.

Also, do not let the pad fight the bassline. If the sub is getting blurry, high-pass the pad harder.

And finally, make sure your automation follows the phrasing of the track. Random movement can sound cool for a second, but phrase-based movement sounds intentional and musical.

Here are a few pro tips if you want this to hit harder in darker or heavier DnB.

Try using minor seconds or suspended harmony for tension. That little clash can sound really eerie in a good way.
Add gentle saturation before reverb to make the pad feel denser and more underground.
Automate a low-pass opening into the drop for a classic reveal moment.
Layer a very quiet noise texture or vinyl-style ambience underneath for that jungle-authentic feel.
Use short reverse swells before snare hits or section changes to help transitions.
And in heavier tracks, it can be smart to let the pad disappear for the first 8 bars of the drop, then bring it back later so the return feels bigger.

Now let’s do a quick practice version.

Set the project to 172 BPM.
Make an 8-bar drum loop with a breakbeat or drum rack.
Load Wavetable and create a simple minor chord or drone.
Add Auto Filter and automate the cutoff over 8 bars.
Add Reverb, but keep it subtle.
Add one more movement source, like a slow LFO, light chorus, or a little pan automation.
High-pass the pad with EQ Eight so it stays out of the sub.
Then write one arrangement change, like darker in bars 1 to 4 and brighter in bars 5 to 8.
If you have time, bounce or resample it and listen back.

Ask yourself one question: does the pad support the groove, or does it distract from it?

If you want to push the exercise further, make three versions. One for a jungle intro, one for a build, and one for a drop. Keep the MIDI notes the same and change only the automation, layering, and effect balance. That is a really strong way to hear how much arrangement and automation matter.

So to recap: a good jungle pad drift is about controlled motion, not massive sound design. Build a simple pad in Ableton Live 12, automate the filter and space, keep it dark and phrase-aware, and stay out of the low end. The best atmosphere in DnB is the one that makes the drums and bass feel bigger without getting in the way.

That is the move. Clean, moody, and alive. Set it up, automate it, and let the groove do the rest.

mickeybeam

Go to drumbasscd.com for +100 drum and bass YouTube channels all in one place - tune in!

Generating PDF preview…