Main tutorial
Lesson Overview
In this lesson, you’ll build a dark Amen-style atmosphere in Ableton Live 12 using an automation-first workflow. That means you’ll design the mood of the section by moving filters, reverbs, delays, and texture over time instead of trying to “fix” the vibe later with static sounds.
This is a huge part of real Drum & Bass arrangement. In jungle, rollers, neuro, and darker bass music, the atmosphere often does the heavy lifting before the drop, during breakdowns, and in switch-up sections. A great Amen break alone is not enough — the space around it needs motion, tension, and depth.
Why this matters:
- It helps your track feel alive instead of looped
- It creates tension for the drop without needing too many sounds
- It makes your arrangement feel intentional and DJ-friendly
- It keeps your project manageable because you’re shaping energy with automation, not stacking endless layers
- An Amen-style break with light edits and groove
- A dark atmospheric bed underneath it
- Filter automation that opens and closes the tension
- Reverb and delay movement that makes the space feel cinematic
- A clean low end so the atmosphere doesn’t fight the kick/sub
- A simple intro-to-drop transition you can reuse in future DnB tracks
- a 16-bar intro
- a breakdown before the drop
- a mid-track switch-up
- or a DJ-friendly tension section before the next phrase
- 1 Audio Track: Amen Break
- 1 Audio Track: Atmosphere
- 1 Audio Track: Noise/Texture
- 1 MIDI Track: Sub or Bass placeholder
- 2 Return tracks: Short Verb and Delay Space
- Bars 1–4: intro texture, filtered break
- Bars 5–8: more break presence, tension rising
- Bars 9–12: atmosphere opens, bass hint appears
- Bars 13–16: peak tension or lead-in to drop
- Trim the clip so it starts cleanly on the grid
- Turn on Warp if needed
- Set the clip to Beats mode for rhythmic material
- Use Transients or Complex Pro only if needed for handling; for breaks, Beats is usually the first choice
- If you want a more chopped jungle feel, duplicate the clip and cut a few slices manually
- In the Groove Pool, try a light swing groove
- Keep it subtle, around 10–25% groove amount
- EQ Eight: cut unnecessary sub below around 30–40 Hz
- Drum Buss: Drive around 5–15%, Crunch low or off, Boom very lightly or off for now
- Utility: keep width controlled; leave the break mostly centered
- Let the Amen break come in filtered or reduced first, then build toward fuller presence by bar 9 or 13
- an atmospheric sample
- a recorded texture
- a resampled break tail
- a synth pad from a stock instrument like Wavetable or Analog
- Load a sustained sound with noise or gritty harmonics
- If using a synth, use a low-pass-friendly patch
- Keep the note choice minimal: one or two notes, or a single drone
- EQ Eight: high-pass around 120–250 Hz so it stays out of the sub region
- Auto Filter: start with cutoff around 200–500 Hz
- Reverb: decay around 3–7 seconds, Dry/Wet around 15–35%
- Utility: reduce width if the sound gets too messy in mono, or widen gently if it’s too narrow
- Duplicate the atmosphere track
- One version is more filtered and quiet
- The other is more open and delayed
- Automate between them instead of trying to make one sound do everything
- vinyl crackle
- air noise
- filtered white noise from a stock synth
- a foley loop
- a re-recorded Amen tail with effects
- Auto Filter: band-pass or high-pass, depending on the sample
- Saturator: Drive around 2–6 dB
- Echo: time synced to 1/8 or 1/4, with low feedback
- Reverb: small amount, just enough to place the noise in the room
- Bring it in under the intro
- Increase it slightly before the transition
- Pull it back when the drop hits
- Auto Filter cutoff
- Reverb Dry/Wet
- Echo feedback
- Utility gain
- Send levels to Short Verb / Delay Space
- Drum Buss drive or tone
- EQ Eight low-cut on the atmosphere
- Filter cutoff: move from about 200 Hz up to 2–6 kHz
- Reverb Dry/Wet: move from 10% to 35%
- Echo feedback: move from 10% to 35%
- Utility gain: automate small changes like -6 dB to 0 dB
- Bars 1–4: atmosphere filtered, break muted or reduced
- Bars 5–8: open the filter slightly, add more reverb send
- Bars 9–12: let the break hit harder, reduce reverb a touch so the groove stays clear
- Bars 13–16: increase delay throws or filter tension for the transition into the drop
- Automate one main “big” change and one or two smaller changes
- Don’t automate everything at once or the section loses focus
- Use clip gain or track volume to create a softer intro, then fuller later
- Add EQ Eight and slightly reduce harsh highs if the break feels aggressive too soon
- Use Drum Buss for character, but keep it controlled
- If the break feels too dry, send a small amount to Short Verb
- If the snare starts fighting the atmosphere, narrow the reverb or cut some midrange around 400–800 Hz on the atmosphere track
- Let the break answer the atmosphere
- Example: bars 1–4 are mostly ambience, bars 5–8 are break fragments, bars 9–16 bring in full break movement
- That call-and-response relationship keeps the section musical
- first 1–2 bars: just top percussion and ghost hits
- next 2 bars: add the main snare and kick
- final 4 bars: full break with accents and fills
- Use EQ Eight to cut low frequencies aggressively if needed
- High-pass atmospheric material between 120–250 Hz
- If the sound has rumble, cut more until the kick and sub have room
- Keep it simple: a sustained low note or two-note phrase
- Use Utility to keep the sub mono
- Keep it centered and clean
- If you add saturation, use Saturator lightly so harmonics are audible on smaller speakers
- Let the sub enter only in the last 4 bars of the 16-bar phrase
- Or use a bass “hint” with only a few notes before the full drop
- Reverb tail increase right before the drop
- Echo throw on the last snare or break hit
- Filter sweep up or down
- Master-safe impact layer if you have one, but keep it subtle
- In the last half-bar, automate the atmosphere filter fully open, then cut it hard at the drop
- Automate the break’s track volume down by 2–6 dB for the final bar, then restore at the next section
- Add a delay throw on the final snare hit using a send to Delay Space
- Use a short reversed texture or reversed break tail leading into bar 1 of the next phrase
- For a darker track, cut the atmosphere sharply before the drop for impact
- For a more liquid/jungle vibe, let the reverb tail smear slightly into the next section
- Mute anything not helping the phrase
- Check the arrangement in 16-bar chunks
- Make sure the atmosphere changes are obvious enough to feel intentional
- Confirm the break still punches through the mood
- Drum group
- Atmosphere group
- FX group
- Making the atmosphere too loud
- Using too much reverb on the break
- Automating too many things at once
- Ignoring the low end
- No phrase structure
- Over-editing the Amen until it loses identity
- Use Drum Buss lightly on the break group for extra smack and density, but don’t crush the transient.
- Try a Saturator on the atmosphere with soft clipping or gentle drive to give it a grimier edge.
- For heavier movement, automate Auto Filter resonance very subtly. A little goes a long way.
- Use Echo throws on snare hits or break fills for that underground halftime-to-roll transition feeling.
- Layer a very quiet noise bed under the intro and automate it out before the drop for a cinematic lift.
- If the section feels too clean, add a slightly detuned synth drone in Wavetable or Analog and filter it hard.
- Keep the sub in mono with Utility. Wide low end sounds big in theory but usually weakens the mix.
- For a darker roller feel, let the Amen stay more restrained and make the atmosphere do the emotional work.
- If your break is too busy, simplify the top end and let the reverb tails and delays create perceived complexity.
- Reference classic jungle or modern dark rollers and notice how often the arrangement is really about space, not saturation.
- Build a dark Amen-style atmosphere
- Use automation to create movement and tension
- Keep the break punchy and the low end clean
- Use stock Ableton devices like Auto Filter, Reverb, Echo, Drum Buss, EQ Eight, Saturator, and Utility
- Think in 8- and 16-bar phrases so the arrangement feels like real DnB
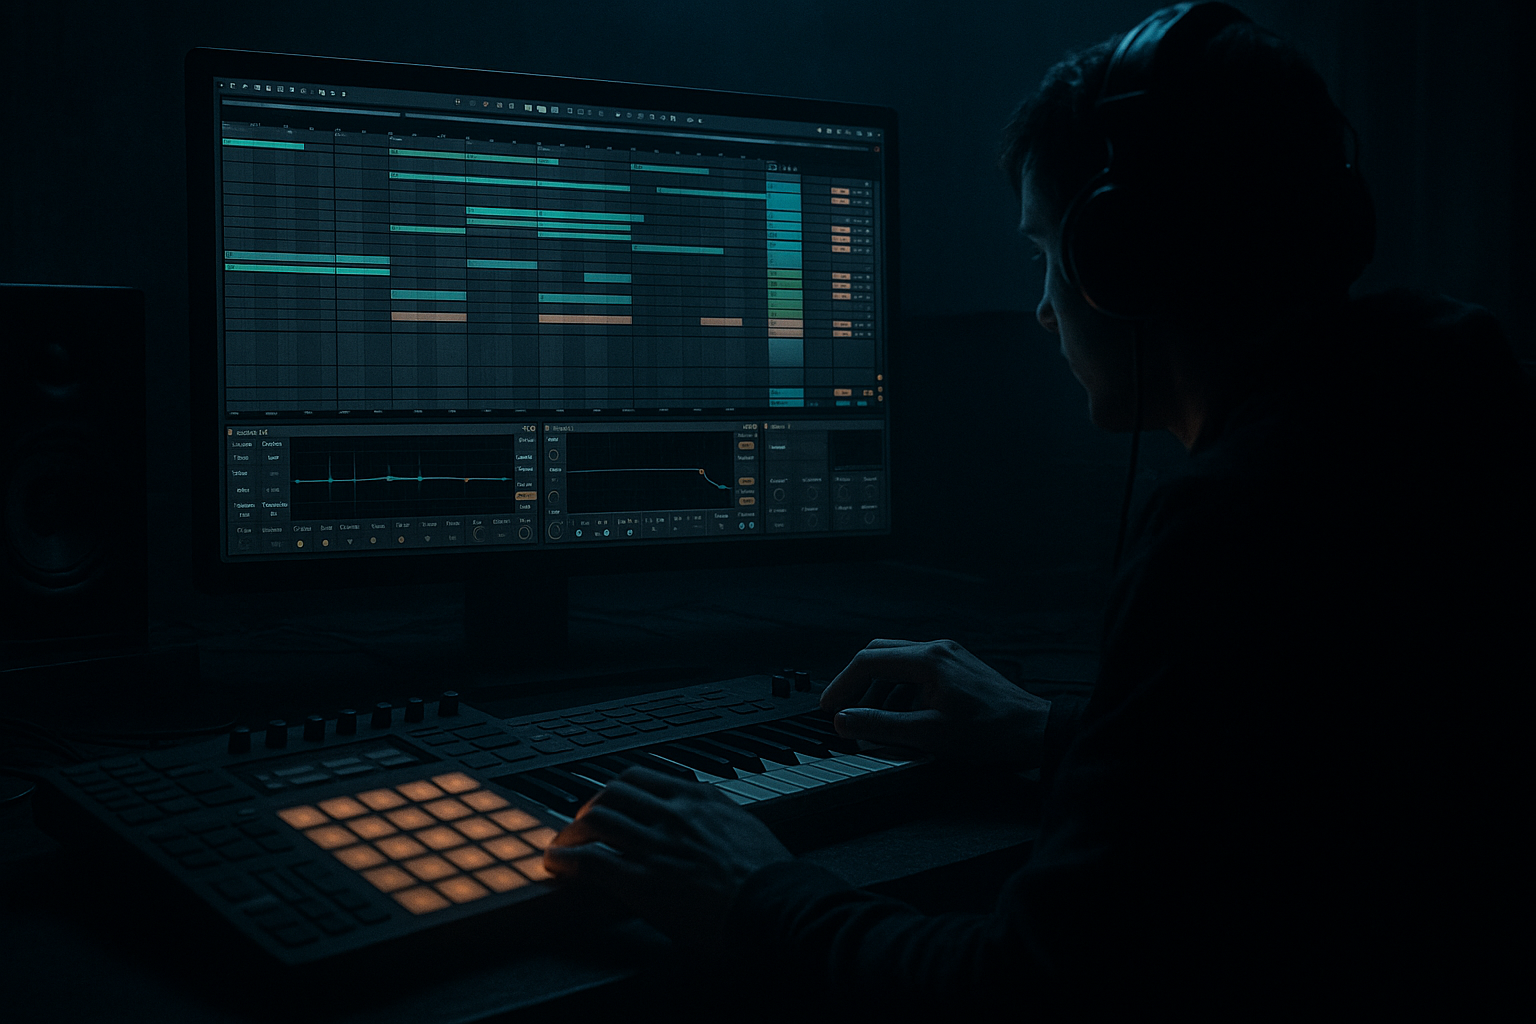
We’re going to keep it beginner-friendly, but still very real to how DnB is built in Ableton Live. You’ll use stock devices like Auto Filter, Reverb, Echo, Drum Buss, Saturator, Utility, and EQ Eight to create a moody atmosphere around an Amen break. 🎛️
What You Will Build
By the end of this lesson, you’ll have a short arrangement section built around:
Musically, this could sit in:
The vibe: dusty jungle energy with modern control — dark, spacious, and ready for a heavy bassline to enter.
Step-by-Step Walkthrough
1. Set up a simple DnB arrangement shell
Start with a new Live 12 set at 174–176 BPM. For this lesson, 174 BPM is a safe classic DnB pace.
Create these tracks:
For arrangement, place a loop region across 16 bars. This is your working section.
A good beginner structure:
Why this works in DnB: DnB arrangements are often phrase-based in 8- or 16-bar blocks. If your atmosphere evolves over those blocks, the listener feels movement even before the main bassline lands.
2. Choose or create an Amen break foundation
Drop an Amen-style break onto the Amen Break track. If you have a clean Amen sample, use that. If not, any classic jungle break with similar character works for the exercise.
Do a few beginner-friendly edits:
Add groove only if it feels stiff:
For the break’s processing, add:
Arrangement move:
3. Build the atmospheric layer with stock devices
On the Atmosphere track, create a dark bed using one of these simple options:
For beginner workflow, keep it simple:
Process the atmosphere with:
A strong beginner trick:
This gives you instant evolving space without overcomplicating the sound design.
4. Add a texture layer for dust, hiss, or tape-like motion
Create a Noise/Texture track. This can be:
The goal is not to make it loud. The goal is to create movement around the break.
Stock-device chain idea:
Automate this layer so it appears and disappears:
Why this works in DnB: texture gives the track “air” and grime without stealing attention from the break or bass. In darker DnB, that small layer of dust often makes the arrangement feel more expensive and less sterile.
5. Use automation as the main arrangement tool
This is the heart of the lesson. Don’t think of your atmosphere as static. Think of it like a performance.
Open automation lanes in Arrangement View and automate these parameters:
Beginner-safe automation ranges:
Suggested automation arc for 16 bars:
A good practical rule:
6. Shape the Amen break to support the atmosphere
Now make the break interact with the atmosphere instead of just sitting on top.
Try these Ableton moves:
Arrangement idea:
You can also edit the Amen into small phrases:
This feels authentic to jungle and roller arrangements because the drums evolve instead of looping unchanged.
7. Make the low end disciplined before the bass enters
Even in an atmosphere-focused section, you need to protect the low end. DnB depends on a clean sub space.
On your Atmosphere and Texture tracks:
On your Sub or Bass placeholder:
Arrangement example:
Why this works in DnB: if the atmosphere owns the low mids and sub zone, the drop loses impact. A clean low-end setup makes the eventual bass hit feel much bigger.
8. Add transition automation for the drop or switch-up
Now make the section feel like it leads somewhere.
Use automation for:
Easy transition ideas:
Arrangement choice:
Both work — the key is deciding the emotional direction.
9. Freeze the idea and simplify
Once the section feels good, don’t keep piling on sound layers.
Do a quick cleanup:
If you want a faster workflow, group related tracks:
Then automate the group volume or filter if needed. This is a huge speed boost in arrangement because it lets you shape entire sections with fewer moves.
Common Mistakes
Fix: lower the atmosphere by 3–8 dB and high-pass it more aggressively.
Fix: keep the break mostly dry and use sends sparingly. In DnB, too much wash kills punch.
Fix: choose one main motion, usually filter cutoff, and one support motion like reverb send.
Fix: mono the sub, cut low frequencies from atmospheres, and keep the kick/sub lane clear.
Fix: build in 4-, 8-, or 16-bar changes. DnB arrangement needs momentum.
Fix: keep the core break recognizable. Use edits as accents, not complete replacement.
Pro Tips for Darker / Heavier DnB
Mini Practice Exercise
Set a timer for 15 minutes and build this:
1. Choose one Amen-style break and loop 8 bars.
2. Add one atmospheric sound or synth drone.
3. Add one texture layer: noise, foley, or resampled break tail.
4. Put Auto Filter on the atmosphere and automate the cutoff over the 8 bars.
5. Add Reverb and automate the Dry/Wet slightly upward toward the end.
6. Put EQ Eight on the atmosphere and cut everything below 150–250 Hz.
7. Add a simple sub note in the last 2 bars only.
8. Arrange the section so it feels like it’s building toward a drop.
Goal: make the phrase feel like it’s breathing. Don’t try to finish a whole song — just make one section move convincingly.
Recap
The core idea is simple:
If you remember one thing: in Drum & Bass, atmosphere is not just decoration — it’s part of the arrangement engine. Automate it well, and even a simple break can feel huge.

