Main tutorial
Lesson Overview
Stepper formula is one of the most useful drop frameworks in jungle and oldskool DnB because it creates forward motion without needing constant note density. In Ableton Live 12, the power move is to combine a clean stepper bass phrase, tight drum edits, and resampled variations so the drop feels alive across 8, 16, or 32 bars.
This lesson is about building a drop sequence for a jungle / oldskool DnB vibe using Resampling as the engine. The goal is not just to write a bassline, but to design a full drop ecosystem: drums that answer the bass, bass that leaves space for break edits, and resampled audio that gives you the grit and unpredictability that makes classic DnB feel expensive and authentic.
Why this matters in DnB: stepper drops work because they balance repetition and mutation. The listener locks into the groove immediately, but the arrangement keeps shifting through call-and-response, small filter changes, ghost fills, and resampled one-shots. That means the drop stays DJ-friendly and functional, while still sounding heavy and musical. In darker styles, this approach is especially useful because you can keep the low end disciplined and use texture, breaks, and automation to create tension rather than overfilling the spectrum.
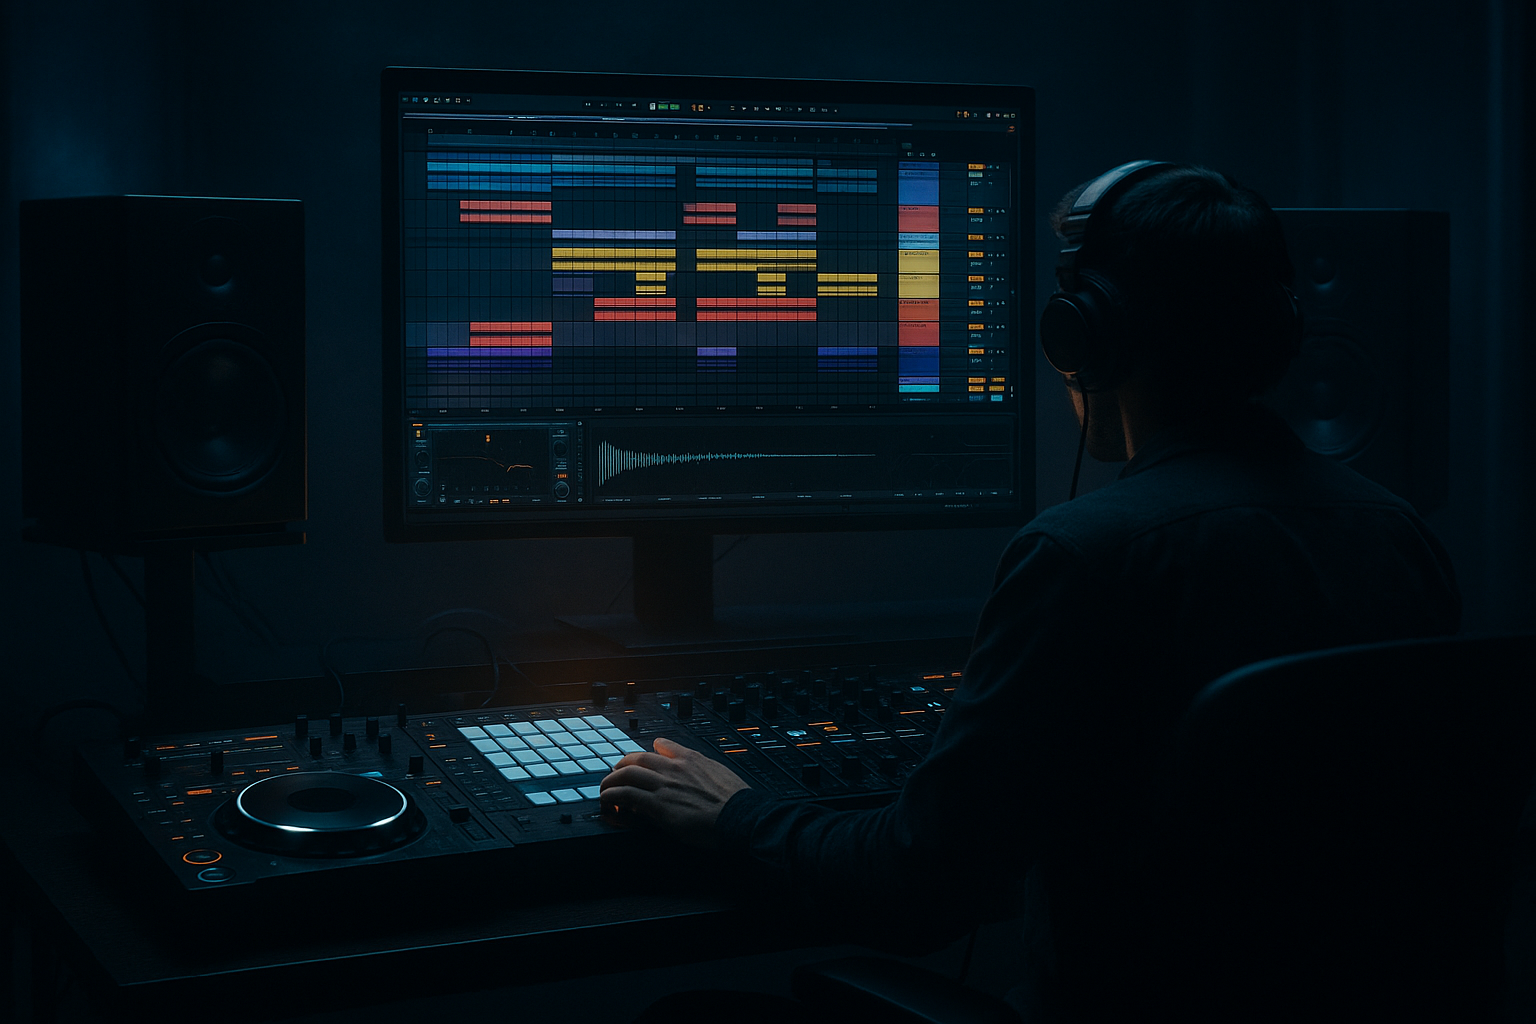
We’ll build this inside Ableton Live using stock tools like Drum Rack, Simpler, Wavetable, Operator, Saturator, Drum Buss, Auto Filter, Echo, Reverb, Utility, Glue Compressor, EQ Eight, and Resampling audio tracks. You’ll finish with a solid stepper drop sequence that can sit inside a jungle or oldskool-inspired track and still translate to modern heavier DnB systems.
What You Will Build
You will build a 16-bar drop sequence with:
- A stepping bass motif built from short, syncopated notes
- A reese or hoover-style bass layer with controlled stereo movement
- A breakbeat-driven drum pattern with chopped loop fragments and ghost notes
- Resampled hits and fills that add swing, grit, and variation
- A call-and-response structure between drums and bass
- A DJ-friendly arrangement shape that can be looped, extended, or switched up
- Bars 1–4: main stepper statement, strong sub, minimal variation
- Bars 5–8: added break edits, filter movement, and a small answer phrase
- Bars 9–12: higher-energy variation with a fill or pickup
- Bars 13–16: resampled switch-up or stripped section to reset the ear
- Too much bass note length
- Over-layering the low end
- Break and kick fighting each other
- No variation across the drop
- Too much stereo width in the bass
- Using resampling as an afterthought
- Use subtle pitch movement on bass stabs, like quick 1–3 semitone drops or rises at phrase ends, to create menace without sounding cheesy.
- Resample a bass phrase through Saturator + Auto Filter and then reverse short tails for eerie pre-drop tension.
- For darker rollers energy, keep the drum pattern relatively open and let ghost notes and hat drags carry motion rather than constant fills.
- Try a call-and-response split where bars 1–2 are mostly low-mid bass, and bars 3–4 bring a more distorted resampled answer.
- On a reese layer, use very small detune changes or LFO movement rather than giant sweeps. Heavy music often feels heavier when the movement is controlled.
- If the mix starts sounding bright and modern in the wrong way, darken the top by reducing brittle highs in the break and letting texture come from distortion, not sparkle.
- Use resampled room tone, brake noise, vinyl crackle, or filtered atmospheres very low in the mix to make the drop feel like it exists in a physical space.
- For oldskool flavor, leave a few raw, slightly imperfect break hits untouched. A little grit and timing asymmetry helps the groove feel human and period-accurate.
- Keep the sub mono and disciplined
- Let the break and bass answer each other
- Use resampling to create unique drop variations
- Shape the drop in phrases, not just loops
- Mix for clarity, movement, and impact
Musically, the result should feel like this:
Think of it as a drop sequence for a track that could sit somewhere between classic jungle tension and darker roller pressure, with enough oldskool flavor to feel authentic and enough modern control to stay mix-ready.
Step-by-Step Walkthrough
1. Set up your drop architecture before designing sound
Start by laying out a 16-bar section in Arrangement View at a working tempo around 160–174 BPM. For oldskool jungle flavor, 166–170 BPM is a sweet spot. Set up these tracks:
- Drum Rack for break chops
- Simpler track for a top loop or rim layer
- Wavetable or Operator for sub/bass
- An audio track set to Resampling
- Return tracks for reverb/delay if you want shared space
Put markers for:
- 1–4: main stepper phrase
- 5–8: variation
- 9–12: energy lift
- 13–16: switch-up or breakdown tease
Why this works in DnB: stepper drops rely on phrase memory. If your structure is clear, you can keep the groove repetitive enough for dancers but still introduce enough change to avoid looping fatigue.
2. Build the drum foundation from a chopped break, not just one-shots
Load a classic break into Simpler or directly onto an audio track, then slice it into Drum Rack. Use a break that has strong snare character and decent ghost notes. You want the feel of an Amen, Funky Drummer-style source, or a similar jungle-compatible break.
In Simpler, try:
- Mode: Slice
- Slice by: transient
- Warp: off if timing is already solid, or use Complex Pro carefully if needed
- Start: adjust slices so the kick and snare land cleanly
In Drum Rack, map key slices:
- Kick-ish slice
- Main snare
- Ghost snare
- Closed hat / hat drag
- Fill slice or break tail
Program a basic pattern with:
- Main snare on 2 and 4
- Kick accents around the snare gaps
- Ghost notes just before snares or just after kick accents
- Tiny hat pickups at the end of 2-bar phrases
Keep the break moving with Groove Pool. Try a swing around 54–58% if it needs more bounce, but don’t over-swing the core snare.
Advanced move: duplicate the Drum Rack chain and create a second version with more transient shaping. Use Drum Buss with Drive around 10–20%, Crunch lightly, and Transients slightly positive to make the break sit on top of the sub without sounding too polished.
3. Design the bass as a stepper phrase, not a sustained bassline
Open Wavetable or Operator for a bass layer. For jungle/oldskool stepper energy, the bass should be short, rhythmic, and slightly percussive.
Start with:
- A clean sub oscillator or sine layer in Operator
- A detuned saw or square layer in Wavetable for mid movement
Suggested parameters:
- Operator sine: Level to taste, keep it mono
- Wavetable filter: low-pass around 120–250 Hz depending on tone
- Amp envelope: fast attack, short decay, very little sustain
- Glide/portamento: subtle, around 20–60 ms if you want note slur between steps
Write a bass phrase that answers the drums. For example:
- Bar 1: short note on beat 1, then syncopated hits after the snare
- Bar 2: repeat with one skipped note to create tension
- Bar 3: add a pickup into the next snare
- Bar 4: leave a gap for a break fill
Keep the note lengths short enough to let the kick and snare speak. In oldskool DnB, the bass often feels like it’s “stepping” around the drum pattern rather than sitting on top of it. That rhythmic gap is the vibe.
4. Use resampling to turn your first pass into a new source of material
This is the core of the lesson. Create an audio track and set its input to Resampling. Record 4 bars of your drum+bass loop while the arrangement plays. Make sure your resampled pass includes:
- The break
- The bass
- Any automation moves you’ve already written
- A bit of room to capture transitions
Then, drag the recorded audio into a new audio track or back into Simpler for chopping.
What to listen for:
- Clean transient hits
- Accidental textures
- Bass tails with character
- Fills that can be isolated into one-shots
Slice the resample into useful pieces. You might extract:
- A bass attack
- A snare+tail combo
- A noisy transition hit
- A half-bar atmosphere with movement
Use these slices as call-and-response elements. For example, after a bass stab, answer with a resampled snare smear or a filtered break hit. This is where the drop starts sounding like a finished record rather than a loop.
5. Shape the drop sequence with call-and-response phrasing
Now arrange the first 8 bars so the bass and drums don’t all hit at once. A classic steppers approach is to let the drums lead, then let bass answer, then bring in a fill.
A strong pattern could be:
- Bar 1: main drum groove + bass phrase A
- Bar 2: same groove, but drop one bass note and add a ghost snare
- Bar 3: bass phrase A with a filter tweak or octave move
- Bar 4: drum fill + resampled impact
- Bar 5–6: repeat with added top percussion
- Bar 7–8: reduce bass density, then hit the re-entry harder
Use automation on:
- Auto Filter cutoff on the bass mids
- Utility width on any stereo texture layer
- Echo send on the last hit before a phrase reset
- Reverb send for a tail that opens the next section
Concrete setting ideas:
- Auto Filter cutoff sweep: from 180 Hz down to 80 Hz or vice versa for tension
- Echo feedback: 15–30%, short synced delay like 1/8 or 1/16
- Reverb decay: 1.2–2.5s for transitions, but keep send low on the core drop
In a DnB context, this works because you’re creating motion through arrangement, not through over-layering. The groove stays clear, and the ear stays engaged.
6. Add a reese or mid-bass layer without destroying the sub
For darker DnB weight, duplicate the bass track and build a separate mid layer. Keep the sub mono and simple; let the mid layer carry movement.
On the mid layer:
- Use Wavetable with two detuned saws or a saw/square blend
- Add a low-pass filter around 200–500 Hz to control fizz
- Add Saturator with Drive around 3–8 dB
- Use Auto Pan very subtly if you want slow internal motion, but keep width controlled
Then do a mono discipline check:
- Put Utility on the sub and set Width to 0%
- High-pass the mid layer if it’s muddy below 90–120 Hz
- Use EQ Eight to carve a small pocket around the snare fundamental if needed
Advanced trick: resample the reese after adding distortion and filter automation, then chop the printed audio into new stabs. This gives you a unique tonal fingerprint that’s much more believable than a static synth patch.
7. Program switch-ups using resampled fills and micro-edits
Bars 9–12 should feel like the drop is evolving. Don’t just add more notes—change the source.
Take your resampled audio and create:
- A 1/2-bar rewind-style fill
- A filtered snare drag
- A bass throw hit
- A break reverse into the next phrase
Use Warp markers to align the best transients, then process them:
- Reverb freeze-like wash can be simulated by duplicating a hit, adding long reverb, then resampling it
- Use Beat Repeat sparingly if you want glitchy fills, but keep it short and intentional
- Frequency Shifter at subtle settings can add metallic tension to a transition layer
A useful arrangement example:
- Bar 9: remove the bass on beat 1
- Bar 10: insert a resampled snare smear before the drop of the bar
- Bar 11: reintroduce the bass with a different rhythmic gap
- Bar 12: place a one-beat silence or half-bar drum stop before the next phrase
Silence is powerful in DnB. A tiny drop-out before the re-entry makes the next stepper hit feel bigger than adding another layer ever could.
8. Finish the sequence with mix discipline and movement control
Once the sequence works musically, tighten the mix so it translates on systems.
On the drum bus:
- Glue Compressor: slow-ish attack, medium release, just 1–2 dB of gain reduction
- Drum Buss: use carefully to add density, not squash
- EQ Eight: cut any harsh cymbal or break resonance zones around 6–10 kHz if needed
On the bass bus:
- Keep the sub mono
- Use Saturator or Soft Clip lightly for harmonics
- Check that the bass does not fight the kick in the 45–80 Hz zone
Headroom target:
- Leave enough room so the drop peak is controlled, not slammed
- If you’re bouncing resamples, keep them healthy but not clipped unless clipping is part of the sound design
Final movement check:
- Listen in mono
- Mute the mid bass layer and confirm the sub still carries the groove
- Mute the drums and make sure the bass phrase still feels rhythmic on its own
If the loop works in mono, you’ve probably built a strong DnB drop sequence.
Common Mistakes
- Fix: shorten note lengths and use the amp envelope to make room for the break. Stepper bass should punch, not smear.
- Fix: keep the sub and mid bass separated. Use Utility for mono on the sub and EQ to clean overlap.
- Fix: choose the strongest transient from the break and let the kick role be either reinforcement or a specific edited hit, not both at full force.
- Fix: resample your own loop and rearrange it into fills, stabs, and transition textures. Even one printed variation can make the whole drop feel alive.
- Fix: widen only the mid layer, not the sub. Always check low end in mono.
- Fix: treat resampling as part of composition. Print early, then chop and recompose from the audio.
Pro Tips for Darker / Heavier DnB
Mini Practice Exercise
Set a 15-minute timer and build a mini drop sequence in Ableton Live:
1. Choose one break and slice it into Drum Rack.
2. Program a 4-bar stepping pattern with snare on 2 and 4.
3. Add a short bass phrase in Operator or Wavetable using only 3–5 notes.
4. Route an audio track to Resampling and print the 4 bars.
5. Slice the resample into at least 4 usable parts.
6. Rebuild bars 5–8 using one of those slices as a fill or answer phrase.
7. Add one automation move only: filter, reverb send, or delay send.
8. Do a mono check and remove anything that weakens the low end.
Goal: finish with a loop that feels like a real drop, not just a pattern.
Recap
Stepper formula works in DnB because it gives you a strong rhythmic spine while leaving space for variation, tension, and resampled character. The core idea is simple: build a tight break foundation, write a bass phrase that steps around it, then resample the result so you can rearrange it into fills and switch-ups.
The biggest takeaways:
If you want authentic jungle / oldskool DnB energy inside Ableton Live 12, this workflow is one of the fastest ways to get there while still sounding modern, dark, and intentional.

