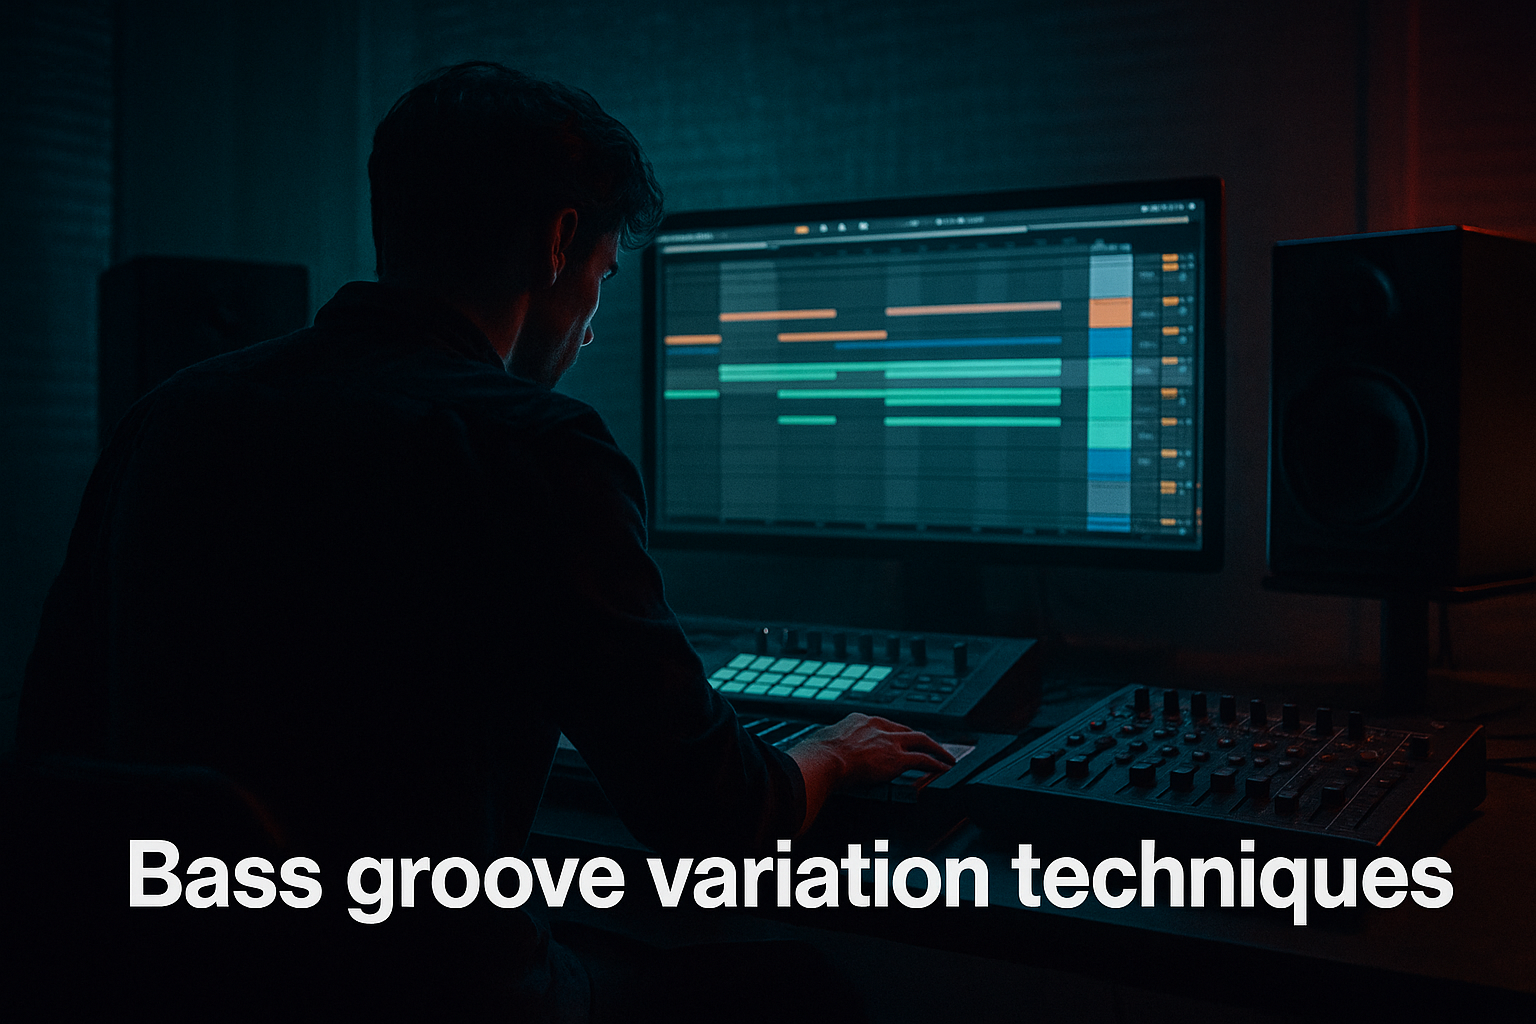
Main tutorial
Lesson Overview
The Stepper formula is a classic DnB arrangement and drum-bus approach built around a steady, forward-moving kick/snare pulse, pressure from the low end, and small but constant motion in the tops. In jungle and oldskool DnB, the drum bus is not just “glue” — it’s part of the groove. It helps make edited breaks, one-shots, and layered percussion feel like one aggressive, playable rhythm section.
In this lesson, you’ll build a drum bus design in Ableton Live 12 that works for jungle, oldskool stepper DnB, rollers, and darker club tools. The goal is to create a drum bus that can handle break chops, programmed kicks and snares, ghost notes, and occasional fills without losing punch or eating the sub. This matters because in DnB, especially DJ tools and club-facing tracks, the drums must stay solid at high energy while still leaving space for the bassline to talk.
We’ll focus on practical Ableton stock-device workflows: Drum Rack, Simpler, Glue Compressor, Saturator, EQ Eight, Drum Buss, Utility, Auto Filter, Redux, Corpus, and Return FX. You’ll learn how to shape the bus so it hits hard, keeps the low end controlled, and still has that dusty, dangerous jungle character.
What You Will Build
By the end, you’ll have a Stepper drum bus chain that turns separate drum elements into one coherent DnB engine:
- A tight kick/snare core with controlled transient snap
- Layered breakbeat edits that sit behind the main backbeat
- Ghost notes and shuffles that add forward motion without clutter
- A drum bus that adds punch, glue, grit, and transient focus
- A simple DJ-friendly intro and drop structure that lets the groove work in a set
- Room for call-and-response with the bassline so the track feels functional on a dancefloor
- Overcompressing the drum bus
- Letting breaks fight the snare
- Too much low end in the drum bus
- Widening the whole drum bus
- Saturation everywhere
- Ignoring arrangement usefulness
- Use subtle clip-style distortion on the snare layer
- Resample your break loop
- Automate grit in the drop only
- Use micro-fills every 8 or 16 bars
- Make room for the bass reese
- Check mono regularly
Musically, think: a 16-bar intro with filtered break fragments and atmosphere, a drop where the snare lands like a rail spike, and a mid-section switch-up where a chopped break or extra percussion loop answers the main kick/snare pattern. This is the kind of structure that holds up in a mix and gives DJs something easy to phrase with.
Step-by-Step Walkthrough
1. Build the drum system before you process anything
Start with a clean group called DRUM BUS and route all drum elements into it: kick, snare, breaks, hats, rides, percussion, and fills. Keep the sub bass on its own track or group — do not route it through this drum bus.
Inside the group, keep your main elements separated:
- Kick track
- Snare/clap track
- Break loop or chopped break track
- Tops/percussion track
- FX/fill track
Why this works in DnB: the stepper feel depends on clean routing and fast decisions. If everything is mixed individually forever, the groove loses cohesion. A drum bus lets you shape the whole rhythm section like one instrument, which is crucial for oldskool jungle energy.
Practical move: color-code the kick and snare tracks first. You’ll make mix decisions faster if the core backbeat is visually obvious.
2. Program the stepper backbone: kick, snare, and ghost movement
For a classic stepper foundation in 170–174 BPM, build a pattern where the snare strongly anchors the backbeat and the kick supports forward motion rather than overpowering it.
A useful starting point:
- Snare on beat 2 and 4 in a 4/4 bar
- Kick on 1, a light kick before 3, and occasional pickup kicks into the snare
- Add ghost snares or rim shots as low-velocity syncopation between main hits
In Ableton, use Drum Rack with Simpler-loaded one-shots, then add velocity variation:
- Main snare: velocity around 110–127
- Ghost hits: velocity around 35–70
- Accent hats: velocity around 70–100
Keep ghost notes slightly delayed or nudged late by a few milliseconds if needed. That tiny push-pull gives a more human jungle feel.
For oldskool character, use a snare layer with some body and a second layer with a short crack. You can control both inside Drum Rack using separate pads, then bounce to a group if needed.
3. Add a chopped break loop for jungle motion, but keep it under control
This is where the vibe becomes more authentic. Load a break into Simpler and use Slice mode or Classic mode for manual chopping. If you’re doing an oldskool-inspired stepper, aim for break fragments that sit behind the main snare rather than replacing it.
A good workflow:
- Warp the break in Complex Pro only if needed; for punchy old recordings, try minimal warping and manual slicing
- Cut a 1-bar or 2-bar loop
- High-pass the break around 120–180 Hz so it doesn’t fight the kick/sub
- Nudge slices for swing, especially the hats and little snare pickups
If the break is too busy, use EQ Eight before the group bus to reduce:
- Low mud around 200–400 Hz
- Harsh cymbal spikes around 7–10 kHz
Why this works in DnB: jungle and stepper DnB often feel alive because the break adds micro-rhythm. The main snare gives the dancefloor something to lock to, while the break gives motion and heritage.
4. Shape individual drum transients before bus processing
Before compressing the bus, make sure each core element is already behaving. Use Drum Buss or Saturator on individual tracks only when needed.
Suggested starting points:
- Kick: Saturator Drive 2–5 dB, Soft Clip on
- Snare: Drum Buss Transients +5 to +15, Drive around 5–20%
- Break loop: Utility for gain trim, then EQ Eight to clean lows
If the kick needs more punch without extra low end, try:
- Drum Buss on the kick with Drive low, Transients slightly up
- Or Saturator with Analog Clip enabled and a very subtle drive amount
Keep an eye on peaks. In DnB, it’s easy to overcook the transients and kill the headroom the bassline needs.
Practical rule: if a drum sounds “exciting” solo but makes the bus collapse, back off the transient boost and let the bus do the cohesion work.
5. Design the drum bus chain for glue, grit, and punch
On the DRUM BUS group, use a simple chain that enhances the whole kit without flattening it. A strong starting order:
- EQ Eight
- Glue Compressor
- Drum Buss
- Saturator
- Utility
Suggested settings:
- EQ Eight: gentle low cut below 25–35 Hz to remove rumble, tiny dip around 250–350 Hz if the bus clouds up
- Glue Compressor: ratio 2:1 or 4:1, attack 10–30 ms, release Auto or 0.3 s, gain reduction around 1–3 dB
- Drum Buss: Transients +5 to +20, Boom 0–10% only if the kick needs weight, Drive modestly
- Saturator: Drive 1–4 dB, Soft Clip on
- Utility: keep the bus gain conservative so your master has room
If the snare loses bite, lengthen the Glue attack. If the bus gets spiky, reduce transient boost and let the Saturator do more work.
Important: don’t use the bus to fix a bad arrangement. If the break is cluttering the snare, edit the break. If the kick is masking the sub, adjust the kick pattern or low-end tuning first.
6. Control stereo width like a DJ tool, not a mix gimmick
DnB drum buses need to feel wide enough for excitement, but stable in mono for club playback. Keep the low-end of the drums centered and use width only on tops, breaks, or FX.
Use Utility on drum elements or parallel return tracks:
- Keep kick and snare mostly mono
- Let hats, shakers, and break air sit wider
- Use Width 80–120% on tops only, not on the whole drum bus
For extra control, add EQ Eight in M/S mode:
- Reduce side energy below 150 Hz
- Keep snare crack centered
- Leave only air and texture in the sides
If you want a more oldskool, warehouse feel, avoid over-widening. Jungle often feels huge because the rhythm is sharp and the transients are focused, not because everything is stereo-washed.
7. Use parallel processing to add weight without destroying the original groove
Create two return tracks:
- Return A: Drum Crush
- Return B: Dirt/Room
On Drum Crush, try:
- Glue Compressor with a faster attack and heavier compression
- Saturator after compression
- Blend subtly, usually just enough to feel the drum bus tighten
On Dirt/Room, try:
- Echo with very short delay times or a tiny room feel
- Reverb with a short decay and high-pass filtering
- Redux lightly for crunchy top texture
Keep returns filtered so they don’t muddy the low-mid range. This gives you the option to automate more grit in drop sections while keeping intros cleaner.
Why this works in DnB: parallel processing lets you push aggression into the drums while preserving the original transient shape. That’s important when the bassline is also moving hard in the same frequency range.
8. Arrange the drum bus like a DJ tool
A stepper track needs usable phrasing. Build sections that a DJ can mix in and out of cleanly.
A strong arrangement example:
- Intro, 16 bars: filtered break fragments, hats, atmosphere, no full kick
- Build, 8 bars: bring in kick/snare pattern, low-pass opening on the break
- Drop A, 16 bars: full stepper groove, main snare, bassline answers the drums
- Switch-up, 8 bars: extra break chop, fill, or hat variation
- Drop B, 16 bars: slightly different drum edit or added percussion layer
- Outro, 16 bars: strip back to DJ-friendly mix-out
Automate:
- Auto Filter cutoff on break loops during intro/build
- Saturator drive slightly higher in the drop
- Drum Buss Transients up for switch-up bars
- Mute or thin out certain top layers for tension/release
For DJ tools, leave space at the top and bottom of the arrangement. A clean intro with drums and atmos can be very mixable even if the drop is brutal.
9. Make the drum bus respond to the bassline
In DnB, the drum bus and bassline should feel like a conversation. If the bassline is a reese or rolling sub-driven phrase, let the drums leave space for it.
Workflow options:
- Use sidechain compression on the bass from the kick or drum bus
- Use volume automation on the bass for phrase shaping
- Leave small gaps in the bassline where ghost snares or fills can speak
If the bass is very active, simplify the drum tops. If the drum pattern is busy, make the bassline more note-focused and less continuous. A strong stepper track often uses call-and-response: drums hit, bass answers, drums reset.
A practical target: your kick should feel present without dominating the sub, and your snare should always cut through even when the bassline is heavy.
Common Mistakes
- Fix: back off Glue Compressor until the groove breathes. In DnB, too much compression kills the snap that makes the track roll.
- Fix: cut or attenuate break hits that land directly on the snare’s body. Use EQ Eight or manual editing in Simpler.
- Fix: high-pass drum loops and breaks; keep true sub information out of the drum group.
- Fix: keep kick/snare mono-focused. Add width only to tops, shakers, and atmospheric textures.
- Fix: saturate for a reason. If everything is gritty, nothing feels special. Use one or two key points of distortion instead of stacking it on every channel.
- Fix: if the track is meant as a DJ tool, create clear intros, outros, and 8-bar transitions. A great groove that is hard to mix is less useful in a real set.
Pro Tips for Darker / Heavier DnB
- A small amount of Saturator or Drum Buss Drive can make the snare feel more “front-loaded” and aggressive.
- Record the processed drum bus or break to audio, then re-chop it. This often gives more underground texture than endlessly tweaking MIDI.
- Keep intros cleaner, then raise Drive by 1–2 dB or increase parallel crush at the drop. That contrast adds impact.
- Short snare rolls, reverse break fragments, or a half-bar hat rush can stop the stepper groove from feeling static.
- If the bassline has motion in the mids, reduce clutter in the 200–500 Hz zone on the drums. That range gets messy fast in darker DnB.
- Club systems reward mono-stable kicks and snares. If the drums lose attitude in mono, fix the width problem before polishing the top end.
Mini Practice Exercise
Spend 10–20 minutes building a DJ-friendly stepper drum bus in Ableton Live 12:
1. Create a new drum group with kick, snare, break loop, and top percussion.
2. Program an 8-bar loop at 172 BPM.
3. Make the snare land hard on beats 2 and 4, then add two ghost notes per bar.
4. Chop one oldskool break loop in Simpler and high-pass it so it supports, not dominates.
5. Add a bus chain: EQ Eight → Glue Compressor → Drum Buss → Saturator.
6. Aim for only 1–3 dB of compression on the bus.
7. Make a 16-bar arrangement with a filtered intro, a full drop, and a stripped outro.
8. Automate the break filter and saturation drive for section contrast.
9. Check the mix in mono and make sure the snare still cuts.
10. Export a rough bounce and listen like a DJ: does it mix in and out cleanly?
If you finish early, duplicate the loop and create a second variation with a different break chop or a new fill every 8 bars.
Recap
The Stepper formula in DnB is about rhythm control, low-end discipline, and usable energy. Build the drums in layers, route them cleanly, and shape the drum bus to glue the groove without flattening it. Use Ableton stock devices to manage punch, grit, width, and movement, and keep the arrangement DJ-friendly with clear phrasing and transitions. If the kick, snare, break, and bassline all have space to speak, you’ll get that authentic jungle/oldskool DnB pressure that works on a system and in a mix.

