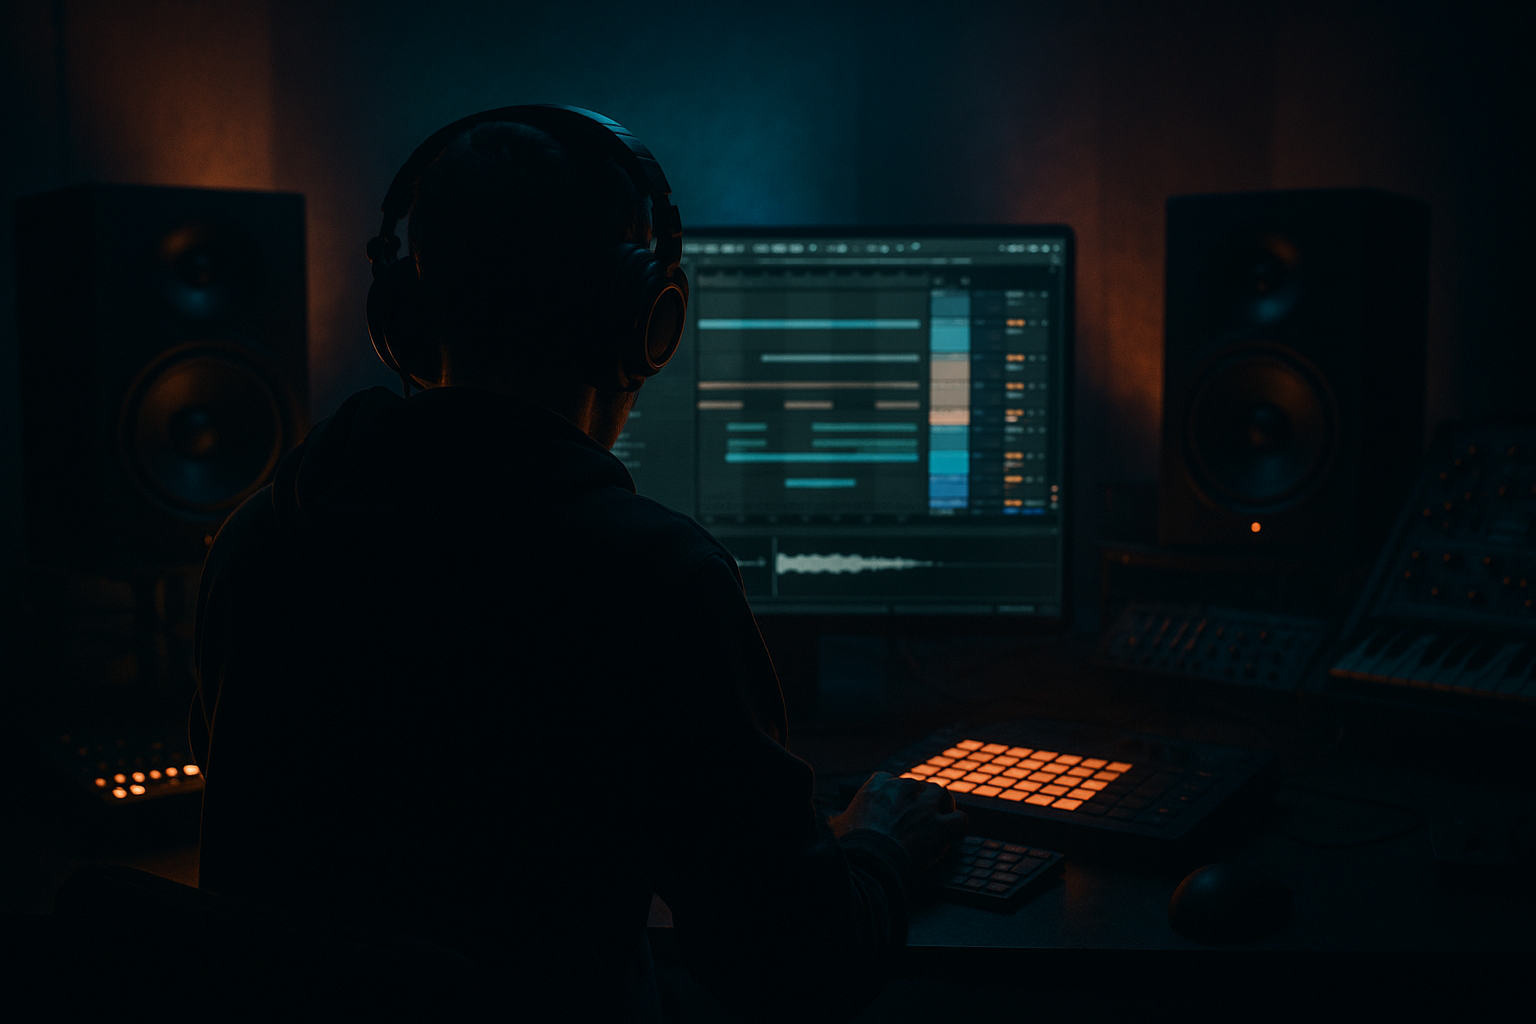
Main tutorial
Stepper Switch‑Up Sequence: Session View → Arrangement View (Ableton Live 12)
Intermediate | Breakbeats | Jungle / Oldskool DnB vibes 🔥🥁
---
1) Lesson overview
This lesson is about building classic stepper DnB momentum (steady 2‑step kick/snare drive) and then creating tight “switch‑ups” (fills, edits, drop variations) using Session View as your idea factory, and then recording a performance into Arrangement View for a proper oldskool jungle timeline.
You’ll learn a repeatable workflow:
- Create 4–8 bar stepper clip variations
- Use Scenes to structure energy
- Perform switch‑ups live using Follow Actions (optional) + clip launching
- Record the whole thing into Arrangement and polish it like a record 🎛️
- Main stepper groove (kick on 1 & 3, snare on 2 & 4)
- 2–3 switch‑up clips (amen-style fills, snare rushes, kick drops)
- Intro → Drop → Mid switch → Drop 2 → Outro structure
- A breakbeat bus chain for punch + glue
- A jungle-style “chop” layer approach (main stepper + edited break layer)
- Kick (Simpler or Drum Rack pad)
- Snare (Simpler or Drum Rack pad)
- Hats/perc (Drum Rack or Simpler)
- Kick: 1.1.1 and 2.3.1 (classic stepper pulse)
- Snare: 1.2.1 and 2.4.1 (backbeat)
- Closed hat: 1/8 notes with slight velocity variation
- Optional shuffle: add a hat at 1.1.3 / 1.2.3 etc. (tasteful, not too swingy)
- Add Groove Pool: try MPC 16 Swing 54–58 (subtle).
- Commit groove only to hats/perc first (leave kick/snare tight for that mechanical stepper push).
- Scene 1: A1 – Stepper Main (2 bars)
- Add EQ Eight:
- Right click break clip → Slice to New MIDI Track
- Scene 1 still (A1) includes this break playing a simple loop.
- Scene 2: B1 – Snare Rush (2 bars)
- Add 1/16 snare hits in the last half bar:
- Velocity ramp: start ~40 → end ~100
- Mode: HP 12 dB
- Map cutoff to a Macro (or automate in clip envelopes)
- In B1 clip: sweep cutoff down slightly toward the downbeat for impact.
- Remove the kick on bar 2 beat 3 (or mute kick for last 1/2 bar)
- Let the break layer pop out louder:
- Width: 120–140% (if it’s not mono)
- Gain: adjust so it’s exciting but not clipping your drum bus
- Create a new MIDI clip triggering 2–4 slices rapidly at the end of bar 2
- Keep it musical: repeat one slice, then a different slice, then a stop.
- Interval: 1/8
- Grid: 1/16
- Chance: 10–20%
- Gate: 60–80%
- Turn it on only in Scene 4 (use device on/off automation recorded later)
- Make clips 2 bars, then use Scene launching to “play” them into longer structure.
- Keep Global Quantization at 1 Bar so everything lands tight.
- Hit Tab to go to Arrangement View and you’ll see your full recorded performance.
- 1 bar before a drop: mute kick, keep break + snare roll, add a short vocal stab → slam back in.
- Too many switch-ups too early: If every 2 bars is a different fill, it stops feeling “rolling.” Keep A1 dominant.
- Break layer fighting the stepper: High-pass the break and/or sidechain it slightly to the kick.
- Over-swinging the groove: Jungle can swing, but stepper needs a solid spine. Keep kick/snare tight.
- Launching without quantization awareness: If quantization is too small (1/16), you’ll get messy timing. Start with 1 Bar.
- Overcompressing the drum bus: If your transients vanish, your groove loses aggression.
- Parallel distortion on breaks:
- Subtle kick-to-break sidechain:
- “Rinse” edits:
- Pitch down break slices:
- Build a strong stepper backbone first (A1).
- Create 2–3 purposeful switch-up clips (B/C/D) that enhance the groove rather than replace it.
- Use Session View Scenes to perform structure like a DJ. 🎚️
- Record into Arrangement View, then edit/automate for a finished jungle/DnB arrangement.
- Keep processing tight: EQ Eight, Glue, Saturator, Drum Buss—tasteful, not crushed.
---
2) What you will build
A 64‑bar drum arrangement with:
Plus:
---
3) Step-by-step walkthrough
Step 0 — Project setup (DnB-ready)
1. Set tempo to 172–176 BPM (try 174 BPM).
2. Global quantization: 1 Bar (top-middle of Live).
- For more frantic juggling later: switch to 1/2 Bar during performance.
Session View is where we build clips + scenes. Arrangement View is where we commit the performance.
---
Step 1 — Create your drum groups (clean routing = faster switch‑ups)
Create three tracks:
1. Stepper Drums (Group)
2. Break Layer (Audio track)
3. Drum Bus (Return or Group bus) (optional but recommended)
Inside “Stepper Drums” Group, make:
Workflow tip: Put a Drum Rack on a single MIDI track if you prefer, but separate tracks make switch-ups easier to see and automate.
---
Step 2 — Program the core stepper (your “A” clip) 🥁
On the Kick MIDI clip (length 2 bars to start):
- Add occasional ghost kick: 1.4.3 (very low velocity)
On the Snare MIDI clip:
On hats:
Groove:
Clip naming:
---
Step 3 — Add an oldskool break layer (amen-ish energy)
1. Drag in an Amen/old funk break audio loop to Break Layer.
2. Warp mode: Beats
- Preserve: Transients
- Set Transient Loop: Forward
- This keeps crisp chops without smearing.
3. High-pass the break so it layers nicely:
- HP at 120–180 Hz (24 dB/oct)
- Small dip around 300–500 Hz if boxy
4. Convert to “chop-friendly”:
- Slicing preset: Built-in
- Then you can trigger chops as switch‑ups later.
Scene label:
---
Step 4 — Build switch‑up clips (B, C, D variations)
You want small, controlled differences that feel like a DJ is teasing edits.
#### Switch‑Up B: “Snare rush into bar 2/4” ⚡
Duplicate A1 clips to a new Scene:
In the snare MIDI:
- Example: 2.3.3 to 2.4.1 as a rising roll
Add Auto Filter (on snare track):
#### Switch‑Up C: “Kick drop + break speak” (oldskool tension) 🎚️
Scene 3: C1 – Kick Drop / Break Feature (2 bars)
- Clip gain +1 to +2 dB (or automate track volume slightly)
Add Utility on Break Layer:
#### Switch‑Up D: “Amen stab fill” (micro-chop) 🔪
If you sliced the break:
Add Beat Repeat (on Break Layer or Break Group):
Scene 4: D1 – Amen Fill (2 bars)
---
Step 5 — Build Scenes like a DJ set (energy plan) 🎛️
Now stack Scenes vertically so launching feels like performing a tune:
Example 64-bar plan (each scene = 8 bars, or repeat 2-bar clips 4x):
1. Intro (8–16 bars): break filtered + hats, no full kick
2. Drop 1 (16 bars): A1 main stepper + break layer
3. Switch section (8 bars): alternate A1 / B1 every 2 bars
4. Drop 2 (16 bars): A1 + C1 inserted every 8 bars
5. Outro (8 bars): remove kick, keep break + FX
How to do it efficiently:
---
Step 6 — Add a Drum Bus chain (stock devices, jungle-friendly)
On your Stepper Drums Group (or a dedicated Drum Bus track receiving all drums), use:
1. EQ Eight
- HP: 25–35 Hz (clean rumble)
- Small shelf boost: 8–10 kHz if you need air
2. Glue Compressor
- Attack: 3 ms
- Release: Auto
- Ratio: 2:1
- Aim for 1–3 dB gain reduction
- Soft Clip: On (nice for DnB)
3. Saturator
- Mode: Analog Clip
- Drive: 2–6 dB
- Output: trim so you’re not just getting louder
4. Drum Buss (yes, use it lightly)
- Drive: 5–15%
- Crunch: 0–10%
- Boom: 0–15% (be careful—DnB sub usually lives elsewhere)
Tip: If you already have heavy break processing, don’t overcook the group—let the switch-ups provide excitement, not just distortion.
---
Step 7 — Perform the switch‑ups in Session View (then record!) 🎬
This is the core trick: perform arrangement decisions live.
1. Arm Arrangement Record (top transport).
2. Press Global Record and start playing.
3. Launch Scenes in order:
- Intro → Drop → Switch → Drop 2 → Outro
4. During “Switch section,” alternate clips every 2 bars:
- A1 → B1 → A1 → D1 → A1 → C1
5. Optional: Use Follow Actions to auto-cycle variations:
- Clip → Launch tab → Follow Action: Next
- Action time: 2 bars
- Great for controlled chaos, but keep it musical.
When you’re done:
---
Step 8 — Tighten in Arrangement View (edit like a pro) ✂️
Now you “producer edit” the performance:
1. Consolidate key sections (Cmd/Ctrl+J) so you can see structure.
2. Fix messy transitions:
- Nudge clip start points
- Add 1/4 bar mutes before drops for impact
3. Add automation lanes:
- Auto Filter cutoff on breaks in the intro/outro
- Reverb throw on a snare hit (use a Return track)
Classic jungle trick:
---
4) Common mistakes
---
5) Pro tips for darker/heavier DnB 🖤
- Return track with Saturator (Analog Clip) + EQ Eight (band-pass 200 Hz–6 kHz)
- Send break to it for gritty midrange without wrecking lows.
- Compressor on Break Layer
- Sidechain input: Kick track
- Ratio 2:1, fast attack, short release
- Just 1–2 dB duck = tighter low-end.
- Create a scene where the break stops for 1 beat (silence as a weapon).
- Or reverse a single snare slice leading into the drop.
- In Simpler (slice pad), drop -2 to -5 semitones for menace.
- Add Redux lightly for crunchy oldskool texture.
---
6) Mini practice exercise (15–25 min) ✅
1. Make three 2‑bar stepper scenes: A1 (main), B1 (snare rush), C1 (kick drop).
2. Perform a 32-bar arrangement in Session View:
- 8 bars A1
- 8 bars A1 with one B1 every 4 bars
- 8 bars A1 with one C1 at the end
- 8 bars A1 + extra fill of your choice
3. Record into Arrangement.
4. In Arrangement, add:
- One filter intro automation (break)
- One reverb throw on a snare fill
Export a draft and listen away from the DAW. Does it still roll when you’re not watching the screen?
---
7) Recap
If you want, tell me your preferred vibe (early metalheadz darkness, ragga jungle, or clean modern roller) and I’ll suggest a switch-up set (clips + processing) that matches it.

