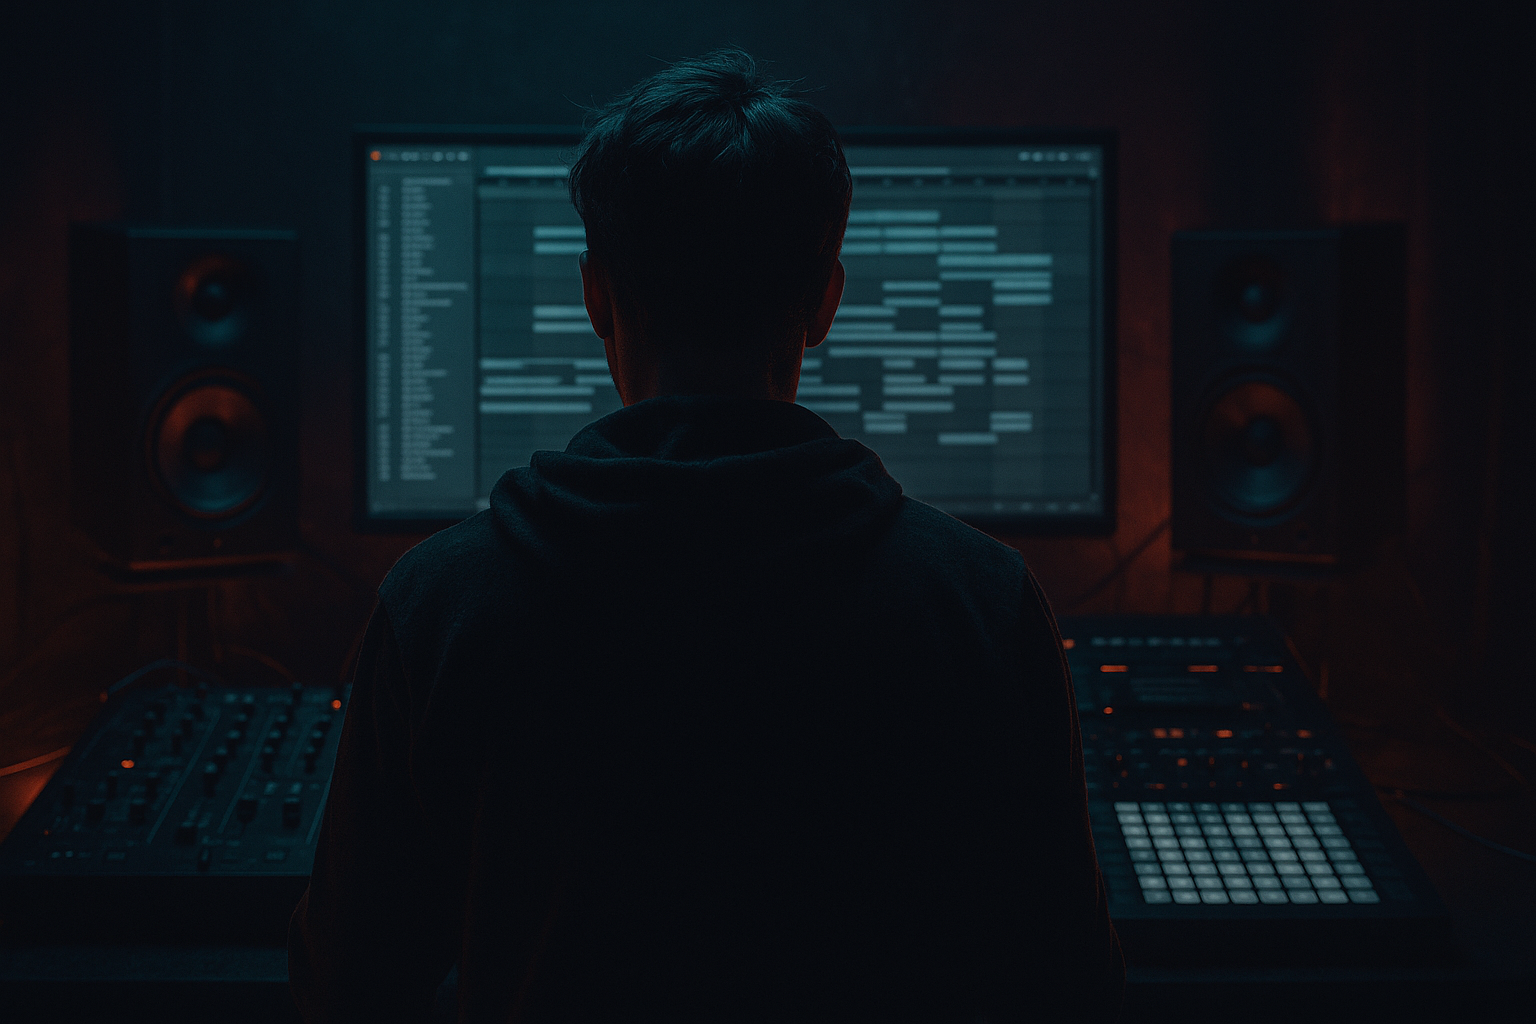
Main tutorial
Lesson Overview
Stretching an Amen-style FX chain for VHS-rave color is about turning a short, sharp drum-and-FX idea into a longer, hypnotic texture that feels like it came off a worn tape loop in a dark jungle set. In Drum & Bass production, this is especially useful for intros, breakdowns, switch-ups, and tension bars before a drop. You’re not just making an FX hit longer — you’re making it live inside the track.
The goal here is to take a sliced Amen break or Amen-flavored transient chain, stretch it musically, and process it so it gets that degraded, hazy, slightly warped VHS-rave energy without losing the rhythmic identity. Think: tape-smudged drums, ghostly echoes, crunchy top-end movement, and a restrained sense of chaos that still fits a 174 BPM arrangement.
Why this matters in DnB: jungle and rollers often rely on tension created by rhythm, not huge chord progressions. A stretched Amen-style FX chain can act as a bridge between sections, add character to DJ-friendly intros, or turn a simple fill into a memorable transition. Done well, it gives your track movement and identity while keeping the mix focused. Done poorly, it just becomes mush. The trick is using Ableton Live 12 stock tools to shape the sample like a designer would: with sampling, warping, resampling, filtering, saturation, and automation.
What You Will Build
You’ll build a VHS-rave style Amen FX chain that feels like:
- a stretched, lo-fi rhythmic wash built from an Amen break slice or drum hit cluster
- pitched and warped for a worn-tape feel
- layered with filtered noise, tape-like modulation, and subtle reverb/delay tails
- shaped to sit in a DnB arrangement as a 2- or 4-bar transition element
- controlled enough to leave space for sub, kick, snare, and bass movement
- an intro texture before the drop
- a turnaround fill between 8-bar phrases
- a breakdown bed under filtered pads or sub pulses
- a grimey transitional accent in dark rollers or neuro-influenced jungle
- Overstretching until the break loses identity
- Too much low end in the FX chain
- Using too much reverb
- Leaving the stereo image too wide
- Not resampling
- Ignoring the drop context
- Use saturation in layers, not one heavy hit
- Keep the fundamental of the FX chain out of the sub zone
- Automate stereo width for tension
- Add tiny pitch drift for tape character
- Use a separate parallel return for grime
- Pair it with a bass answer phrase
- Protect the kick/snare lane
- Start with a strong Amen-style fragment and keep its rhythmic identity intact.
- Stretch it with Warp in a way that feels musical, not overly clean.
- Use stock Ableton devices like EQ Eight, Saturator, Drum Buss, Auto Filter, Echo, and Reverb to create VHS-rave color.
- Automate filter, feedback, width, and level so the chain evolves across the phrase.
- Resample early if the sound is working — this makes arranging faster and more creative.
- Keep the FX layer clear of sub and leave room for your kick, snare, and bassline.
- The best result sounds worn, gritty, atmospheric, and fully usable in a real DnB arrangement.
By the end, you’ll have a sample-based FX layer that can be used as:
Step-by-Step Walkthrough
1. Choose the right Amen source and trim it for a usable fragment
Start with an Amen break or an Amen-style break sample that has strong transient detail. You want a source with clear kick/snare hits and some room tone or overhang — not a hyper-clean one-shot pack only. The VHS-rave effect depends on texture.
In Ableton’s Clip View, find a 1/2-bar or 1-bar fragment with:
- a snappy snare
- at least one kick-to-snare motion
- some trailing decay or hat bleed
Trim the clip down to something like 1/4 bar or 1/2 bar first. This gives you a tighter object to stretch later. If the sample is in a drum rack or audio track, consolidate the chosen slice so you’re working with one clean audio clip.
Practical target:
- source fragment length: 1/4 to 1/2 bar
- tempo context: 170–175 BPM
- keep the clip dry at this stage
Why this works in DnB: the Amen’s transient language already carries jungle identity. By isolating a small phrase, you preserve the “breakbeat grammar” while making room for sound design processing.
2. Warp it for musical stretch, not perfect realism
Turn Warp on and set the clip to a mode that behaves well on drums and textured breaks. For this lesson, start with:
- Complex Pro for a more smeared, tape-like result
- or Beats mode if you want the transients to stay more percussive before processing
Then stretch the clip to 2 bars or even 4 bars depending on the role it will play in the arrangement. You’re aiming for a time-stretched version that feels unstable but controlled.
Suggested settings:
- Warp Mode: Complex Pro
- Preserve: 0–20% if you want more smear
- Formants: leave neutral unless the clip is pitched vocal-like
- Transients: test 20–60% if using Beats mode
- Clip Gain: reduce by about -3 dB to -6 dB before processing
For VHS-rave color, slightly detune the clip pitch:
- -2 semitones for a darker, tape-worn pull
- +1 to +3 semitones if you want a more frantic rave energy
Don’t chase perfect timing here. A little warp wobble adds to the aesthetic, especially once you process it.
3. Build a sampling chain with Simpler or resample to audio
If you want fast control, drop the clip into Simpler and use Slice or Classic mode depending on the workflow. If the chain is already feeling right, resample the output to audio so you can sculpt the texture more aggressively.
Best workflow choice for this lesson:
- build the first version in an audio track
- record the output of your processing to a new audio track
- then continue editing the resampled audio
This is very DnB-friendly because it commits the vibe and makes arrangement faster.
Suggested chain order:
- EQ Eight
- Saturator
- Drum Buss
- Auto Filter
- Echo
- Reverb
- Utility
Parameter suggestions:
- EQ Eight: high-pass around 25–35 Hz to protect the sub zone
- Saturator: Drive 2–6 dB, Soft Clip on
- Drum Buss: Drive 5–20%, Crunch low, Boom off or very subtle
- Utility: reduce width to 80–100% if the sample feels too diffuse
If you resample, aim for 4–8 bars of evolving texture from a short source. That’s the whole point: turn one Amen fragment into an arrangement asset.
4. Shape the VHS tone with filtering, saturation, and mild instability
Now give it the tape-rave identity. VHS color in DnB usually means softened highs, slightly compressed midrange, and a degraded motion feel — not total lo-fi collapse.
Use Auto Filter first:
- Low-pass somewhere between 4 kHz and 9 kHz depending on how bright the break is
- Add a small resonance bump around 0.5–1.5
- Animate the cutoff slowly over 2 or 4 bars
Then add Saturator:
- Drive: 3–8 dB
- Color: experiment with a warmer tone
- Soft Clip: on
Then Drum Buss:
- Transients: -5 to +10 depending on how sharp you want the edge
- Drive: 5–15%
- Damp: 20–40% for a slightly softened high-end
- Boom: usually off for this specific FX chain unless you want a low thump underneath
Add a tiny amount of movement with Chorus-Ensemble or Phaser-Flanger if the chain needs more “degraded screen” energy:
- very low dry/wet, around 5–15%
- slow rates
- subtle depth
Keep it restrained. The goal is “worn and alive,” not “underwater and dizzy.”
5. Add delay and reverb tails that feel like a rave hallway
For VHS-rave atmosphere, Echo is often more useful than a huge reverb because it can create rhythmic smear while keeping some punch.
Try Echo settings like:
- Sync: 1/8 or 1/4
- Feedback: 15–35%
- Filter: cut lows below 200 Hz, tame highs above 6–8 kHz
- Modulation: small amount for wobble
- Dry/Wet: 10–25%
Then Reverb after Echo:
- Decay Time: 1.2–3.5 s
- Size: medium
- Low Cut: 200–400 Hz
- High Cut: 5–8 kHz
- Dry/Wet: 8–20%
This combination creates a sense of space without washing out the groove. In DnB, clarity is king — especially around the snare and low-end relationship. So the trick is to let the tail suggest a room, not become the room.
If the tail starts smearing the drop transition too much, automate Echo feedback down in the last half bar before impact.
6. Use automation to create a phrase that evolves like a proper transition
Don’t leave the chain static. A stretched Amen FX chain is most useful when it changes over time, even subtly.
Automate these parameters over 2 or 4 bars:
- Auto Filter cutoff: slowly open from ~500 Hz to 6–8 kHz
- Saturator Drive: increase slightly into the transition
- Echo Feedback: rise just before a switch-up, then drop
- Reverb Dry/Wet: swell briefly at the end of the phrase
- Utility Width: narrow in the build, widen slightly in the release
A strong arrangement move:
- bars 1–2: filtered, narrow, dusty
- bar 3: more top-end and delay movement
- bar 4: full release into the next section, then cut abruptly or duck it under the drop
For a 174 BPM roller, this could sit as a 4-bar bridge between a breakdown and a half-time drop. For jungle, it can be the last phrase before the Amen fully re-enters. For darker neuro-adjacent DnB, it can act as tension noise before a bass call-and-response.
7. Make it groove with ghost notes and drum layering
If the stretched chain is too static, layer in tiny rhythmic details. You can do this in two ways:
- add a duplicate track with a few isolated ghost hits from the Amen
- use Simpler to trigger one or two hat or snare ghosts alongside the stretched audio
Good layering choices:
- faint snare ghosts tucked under the main chain
- low-passed hat shards for extra jitter
- a reversed slice leading into the last hit
You can also use Beat Repeat lightly on a duplicate return or parallel track:
- Interval: 1/8 or 1/16
- Grid: 1/8 or 1/16
- Chance: 10–30%
- Variation: small
- Filter it so it only adds texture, not clutter
The aim is to keep the chain rhythmically alive and DJ-friendly while still sounding like one evolving object.
8. Resample, edit the best moments, and arrange it like a DnB utility
Once the chain feels good, resample it to audio. Then edit the best bars and create a reusable arrangement element.
Strong arrangement uses:
- 2-bar riser into a snare fill
- 4-bar intro texture with a filtered kick pulse underneath
- 1-bar switch-up before a bass drop
- outro texture with progressively reduced highs
Cut the resampled audio into pieces:
- keep the most interesting transient smear
- remove dead space
- use clip fades for smooth transitions
- reverse the tail of one phrase into the next for extra momentum
If your track has a breakdown, place the VHS-rave Amen chain behind:
- a filtered pad
- a sub pulse every 2 bars
- a sparse rimshot or clap on the off-beats
That contrast makes the texture feel intentional, not just decorative.
Common Mistakes
- Fix: keep one or two clear transients audible. If it becomes soup, shorten the stretch or increase transient definition.
- Fix: high-pass around 25–40 Hz, and often around 80–120 Hz for the FX layer itself if the kick/sub need space.
- Fix: lower Dry/Wet and shorten decay. In DnB, long reverb on breaks can destroy punch and blur the snare lane.
- Fix: keep the core texture mostly centered or only moderately wide. Check mono compatibility with Utility.
- Fix: if the chain feels good, print it. Resampling helps you commit and edit like a real DnB arrangement.
- Fix: design the FX chain to serve a phrase. If the next section has a busy bassline, your chain should simplify right before the impact.
Pro Tips for Darker / Heavier DnB
- A light Saturator into Drum Buss often sounds more controlled than one extreme distortion stage.
- Use EQ Eight to carve aggressively below 80 Hz if needed, especially when the actual bass enters.
- Narrow the chain as the drop approaches, then let it open slightly on the release. This gives a subtle “room expands” effect.
- A small clip transpose change, or subtle warping variation, can make the texture feel more like unstable tape playback.
- Send the chain to a return with Saturator + Auto Filter + Echo. Blend it in quietly for extra residue without destroying the main signal.
- In darker DnB, let the Amen FX chain finish with a snare smear, then answer with a short reese stab or sub drop. Call-and-response instantly makes the arrangement feel intentional.
- If your main break or kick/snare pattern enters after the FX chain, automate a quick low-pass or volume dip on the FX layer right before the downbeat.
Mini Practice Exercise
Spend 10–20 minutes making one 4-bar VHS-rave Amen transition.
1. Find a 1/4-bar Amen fragment with a snare and hat tail.
2. Warp it to 4 bars using Complex Pro.
3. Add EQ Eight, Saturator, Auto Filter, Echo, and Reverb.
4. Automate the filter from dark to bright over the 4 bars.
5. Increase Echo feedback only in the final 1/2 bar.
6. Resample the result to audio.
7. Cut the best 2 bars and place them before a drop in your current DnB project.
8. Check mono and remove any low-end buildup.
Goal: make the transition feel like it belongs in a proper 174 BPM arrangement, not like a random effect.

