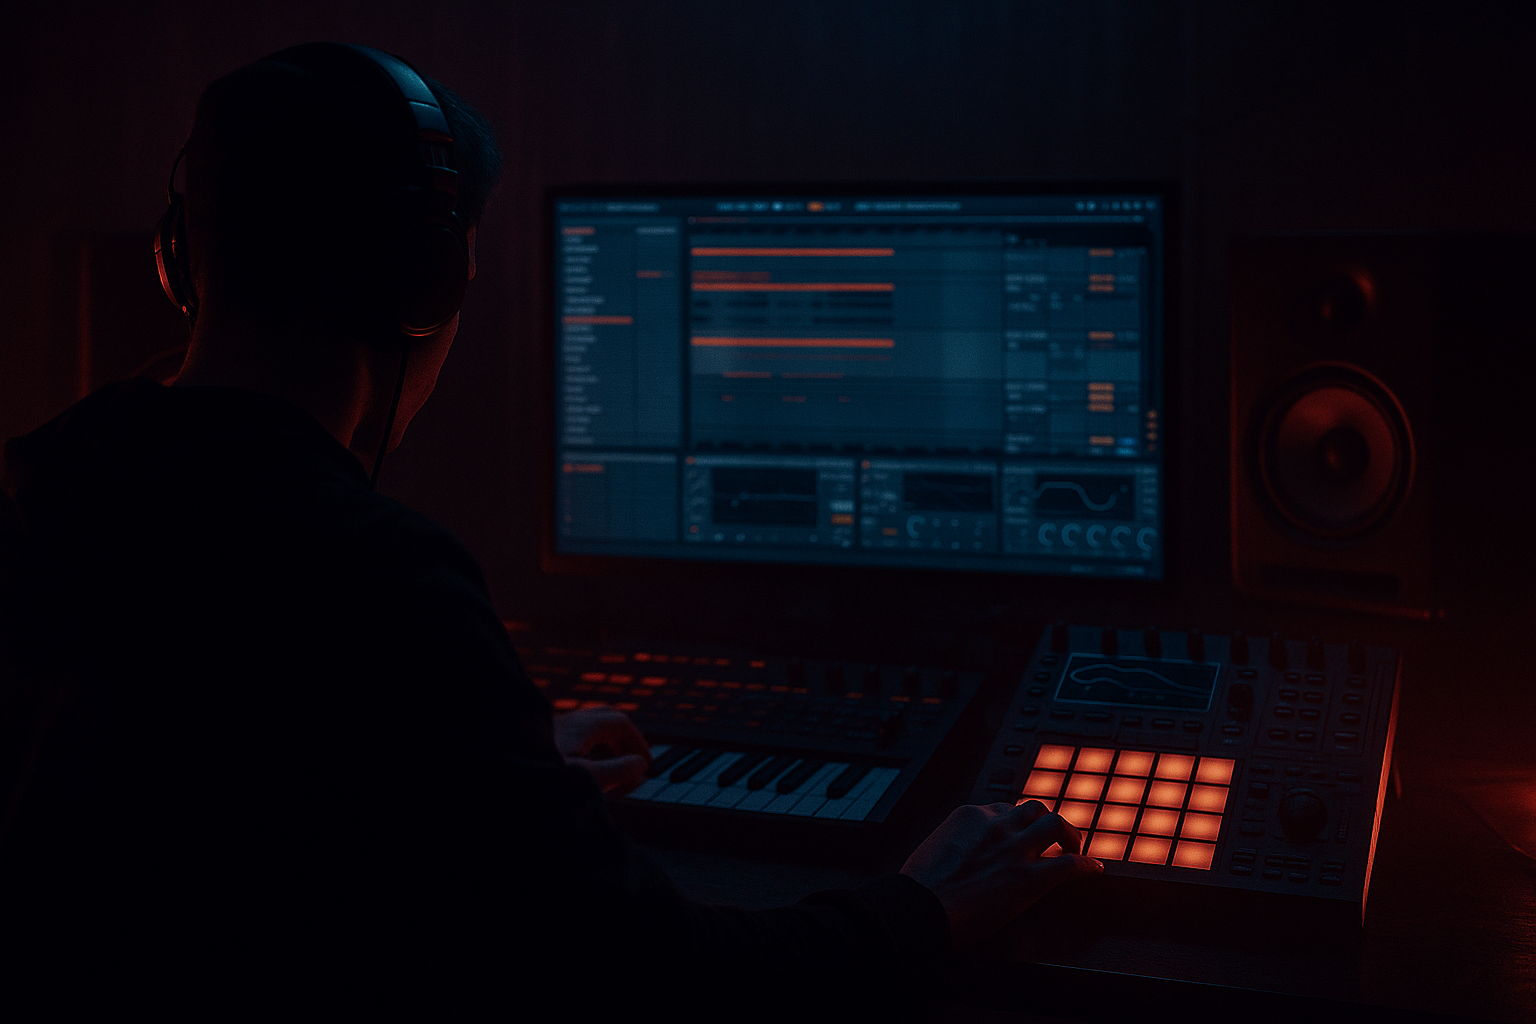
Main tutorial
Stretching Pads from One‑Shots Masterclass (Ableton Live 12)
Advanced Sampling for Drum & Bass / Jungle / Rolling Bass Music 🎛️
---
1) Lesson overview
You’re going to turn tiny one‑shot samples (vinyl stabs, orchestral hits, field recordings, foley, reese transients, vocal chops) into huge evolving pads that sit behind a rolling DnB groove without washing out the drums or bass.
This is not “slow it down and add reverb.” We’ll build pads that:
- hold pitch and vibe when stretched
- move rhythmically with DnB swing
- stay out of the way of kick/snare + sub
- can flip between liquid shimmer and dark techy fog 🌫️
- Layer A (Body): Grain-stretched harmonic bed (Sampler/Simpler + Grain Stretch)
- Layer B (Air/Texture): Time‑smeared texture with controlled noise, movement, stereo and ducking
- Pad Processing Chain: EQ shaping → modulation → spatial → sidechain / groove glue
- Jungle: strings stab, rhodes hit, choir stab, vocal “ah”, dub chord hit
- Neuro/tech: metallic impacts, reese transient, foley clangs, machine sounds
- Texture: great for airy smeared pads
- Complex / Complex Pro: best for harmonic material and vocals
- Tones: useful for simple tonal hits
- Beats: usually not for pads (unless you want rhythmic grain)
- Mode: Complex Pro
- Formants: 0 (then experiment ±20)
- Envelope: ~110–160 (smoother, less “grainy”)
- Set Seg. BPM or just drag the sample end to a longer duration
- Aim for 4 bars to start (DnB likes 4/8/16 bar phrases)
- Attack: 80–300 ms (no click, smooth pad entry)
- Decay: 2–6 s
- Sustain: -3 to -10 dB (so it breathes)
- Release: 2–8 s (long tails for breakdowns)
- Filter type: LP24 (or LP12 if you want gentler)
- Cutoff: 300–2,500 Hz depending on brightness
- Resonance: 0.20–0.45
- Drive: 2–6 dB (for weight)
- Rate: 1/2, 1 bar, or 2 bars
- Amount: subtle (5–15%)
- Phase: try 180° for stereo-ish motion if using filter morphing (or duplicate layers)
- LFO → Pitch:
- Mode: Ensemble
- Amount: 15–35%
- Rate: 0.10–0.35 Hz
- Width: 120–200%
- Mix: 15–35%
- EQ Eight:
- Saturator: Soft Clip ON
- Hybrid Reverb:
- High-pass: 120–250 Hz (steeper if needed)
- Dip 250–500 Hz if it’s boxy (1–3 dB)
- Dip 2–4 kHz if it fights snare snap (1–2 dB)
- Sidechain input: Kick + Snare bus (or dedicated Ghost trigger)
- Ratio: 2:1 to 4:1
- Attack: 3–15 ms
- Release: 80–200 ms (set to groove with your tempo ~170–175 BPM)
- Gain reduction: aim 2–6 dB
- long held chords over 4/8 bars
- two-note intervals (root + 5th / 7th)
- suspensions (sus2/sus4) to avoid clashing with bass notes
- Bar 1–2: Fm (F–Ab–C) but drop the 3rd sometimes (F–C)
- Bar 3–4: Dbmaj7 flavor (Db–F–Ab–C)
- Start with Air only, low-pass fairly closed
- Slowly open Brightness, increase Motion
- Add jungle breaks filtered, then reveal full drums
- Automate Space up (reverb mix + decay)
- Then hard cut reverb tail before the drop (classic tension move)
- High-pass higher (250–400 Hz)
- Tight ducking
- Keep it mid-focused (reduce width) so bass can own the stereo field
- Resample and re-stretch:
- Parallel distortion without ruining highs:
- Mid/Side control with EQ Eight:
- Make it “industrial”:
- Rhythmic gating for neuro pulses:
- Use Sampler + Warp (Complex Pro / Texture) to stretch one-shots into sustained material.
- Create sustain with smart looping + crossfade and a proper amp envelope.
- Add movement via Auto Filter LFO, subtle pitch drift, and modulation effects.
- Build a two-layer rack (Body + Air) so you can control weight and shimmer separately.
- Make it mix-ready with high-pass + sidechain ducking and careful width control.
- Arrange like DnB: evolving intros, controlled breakdown space, disciplined under-drop use.
We’ll do it using stock Ableton Live 12 devices and workflows.
---
2) What you will build
A two‑layer “Pad Engine” rack made from one‑shots:
End result: a 4–8 bar evolving pad that you can automate and arrange like a pro in DnB intros, breakdowns, and even under drops (tastefully).
---
3) Step-by-step walkthrough
Step 0 — Pick the right one‑shot (this matters)
Choose one‑shots that contain harmonic content or an interesting timbre:
Avoid: super percussive clicks (unless you’re intentionally making noisy texture pads).
Tip: If your tune is in F minor, pick something that’s already close to F or has a clear pitch center.
---
Step 1 — Drop the one‑shot into Sampler (recommended) or Simpler
Why Sampler? More control for advanced shaping, multi‑stage envelopes, modulation, and filters.
1. Create a MIDI track → load Sampler.
2. Drag your one‑shot into Sampler.
3. Enable Warp (in Sampler’s sample view).
Warp mode choices for pads (Ableton 12):
Starting point:
Now stretch it:
---
Step 2 — Create a stable sustain (amp + loop strategy)
Pads need consistent sustain without obvious looping artifacts.
Option A: Loop inside Sampler
1. Go to sample Loop section → enable Loop.
2. Choose a section with steady tone.
3. Use Crossfade (important)
- Start: 20–80 ms
- Increase until loop clicks disappear
Option B: No loop, pure stretch
If the sample is dense (strings/vocals), heavy stretching may already sustain well.
But watch for “frozen” static tone—movement will come later.
Amp Envelope (Sampler → Global / Volume Env):
DnB note: Keep release controlled if it’s under drums—too long = mud.
---
Step 3 — Tune it to the track (fast + musical)
Pads fighting the bass key is a classic “why does this feel wrong?” issue.
1. Use Tuner on the track.
2. Play a single MIDI note (C3 is a good reference).
3. Adjust Transpose in Sampler until it matches your key center.
If the sample is atonal: tune for vibe, then high‑pass it later.
---
Step 4 — Build movement (this is the masterclass part) 🔥
#### 4A) Filter motion (classic DnB pad behavior)
Add Auto Filter after Sampler.
Suggested settings:
Enable LFO:
DnB trick: Set LFO to Sync, then automate Rate from 2 bars → 1/2 into a transition.
---
#### 4B) Subtle pitch drift (makes it feel “alive”)
In Sampler, use modulation:
- Rate: 0.07–0.25 Hz (free-running slow)
- Amount: 2–8 cents
This simulates tape drift / analog instability—perfect for jungle warmth.
---
#### 4C) Grain/texture shimmer (without turning into mush)
Add Chorus-Ensemble (stock) or Phaser-Flanger.
Chorus-Ensemble starting point:
If it gets too wide, we’ll control it later.
---
Step 5 — Add Layer B: “Air/Noise Pad” from the same one‑shot
Duplicate your track (or create an Instrument Rack).
On Layer B, make it texture-focused:
1. Warp mode: Texture
2. Grain size: 20–60 ms
3. Flux: 20–40 (adds movement)
Then process Layer B:
- High-pass: 300–800 Hz
- Gentle shelf boost around 8–12 kHz if needed
- Drive: 2–6 dB
- Keep output matched
- Algorithm: Hall or Shimmer-ish (but subtle)
- Decay: 3–8 s
- Pre-delay: 15–35 ms
- Low Cut: 300–700 Hz
- High Cut: 8–12 kHz (depending on harshness)
- Mix: 10–25%
Goal: this layer adds “fog” and top-end movement without stepping on the mix.
---
Step 6 — Glue Layers A + B into a Pad Rack (Instrument Rack workflow)
1. Select both instruments → group into Instrument Rack.
2. Name chains: Body and Air.
3. Map key macros (super useful for arrangement automation):
- Macro 1: Brightness (Auto Filter cutoff on Body + Air)
- Macro 2: Motion (LFO amount / Chorus mix)
- Macro 3: Space (Hybrid Reverb mix/decay)
- Macro 4: Grit (Saturator drive)
- Macro 5: Width (Utility width)
- Macro 6: Duck (Compressor threshold or sidechain amount)
Now you’ve got one rack that can morph from liquid → dark in seconds.
---
Step 7 — Make it sit in a DnB mix (sidechain + EQ discipline)
Pads in DnB must respect the drums and sub.
#### 7A) EQ Eight surgical cleanup
On the rack output (after layers):
#### 7B) Sidechain ducking (clean, modern, essential)
Add Compressor after EQ:
DnB groove tip: If your pad “pumps” too obviously, shorten release or lower ratio. If it still masks drums, increase GR slightly.
---
Step 8 — Write DnB-appropriate pad MIDI (avoid chord soup)
For rolling DnB, pads usually work best as:
Try this in F minor:
Keep voicings spread: put root lower, extensions higher.
Velocity: keep it consistent; movement should come from modulation, not velocity randomness (unless you’re doing expressive intros).
---
Step 9 — Arrangement ideas (DnB/jungle context) 🎚️
Intro (16 bars):
Breakdown (8 bars):
Under the drop (use sparingly):
---
4) Common mistakes
1. Leaving low end in the pad
Even a “quiet” pad can destroy sub clarity. High-pass aggressively.
2. Over-widening
Massive width sounds cool solo, but collapses badly in mono and smears breaks.
3. Too much reverb pre-drop
You lose impact. Automate reverb down right before the drop.
4. Static stretching with no movement
If the pad doesn’t evolve, it feels like wallpaper. Use filter/LFO drift.
5. Ignoring key / bass note conflicts
Pads and reese fundamentals fighting = instant mud + dissonance.
---
5) Pro tips for darker/heavier DnB 🖤
Freeze/Flatten the pad, then warp the audio again in Texture mode for extra haunted artifacts.
Create a return track with Roar (stock in Live 12) or Saturator:
- Band-split inside Roar (focus on 200–2k)
- Blend return subtly (5–15%)
Put harsh grit in Mid, keep Side cleaner.
(EQ Eight → Mode: M/S; cut 2–5k on Sides if needed.)
Add Corpus very quietly (Metallic modes), tuned to your key root, then low-pass it.
Use Auto Pan as a tremolo:
- Phase: 0°
- Shape: square-ish
- Rate: 1/8 or 1/16
- Amount: 20–40%
Then sidechain it so it still ducks to drums.
---
6) Mini practice exercise (15–25 minutes)
1. Pick one jungle stab (or vocal hit).
2. Build a two-layer rack:
- Body: Complex Pro, loop w/ crossfade
- Air: Texture mode + Hybrid Reverb
3. Write an 8-bar chord progression at 174 BPM (2 chords max).
4. Automate:
- Brightness rising from bars 1–8
- Space rising bars 5–7 then cutting at bar 8
- Ducking slightly stronger from bar 5 onward
5. Bounce/resample the result to audio, then:
- Warp the bounced audio in Texture mode
- Reduce grain size until it gets a “ghostly” character
6. Drop it behind a simple break + sub and verify:
- sub is clean
- snare stays sharp
- pad feels wide but not messy
---
7) Recap ✅
If you want, tell me your subgenre (liquid, jungle, neuro, minimal rollers) and a rough key/tempo, and I’ll suggest exact rack macro mappings + a chord approach that won’t clash with your bass.

