Main tutorial
```markdown
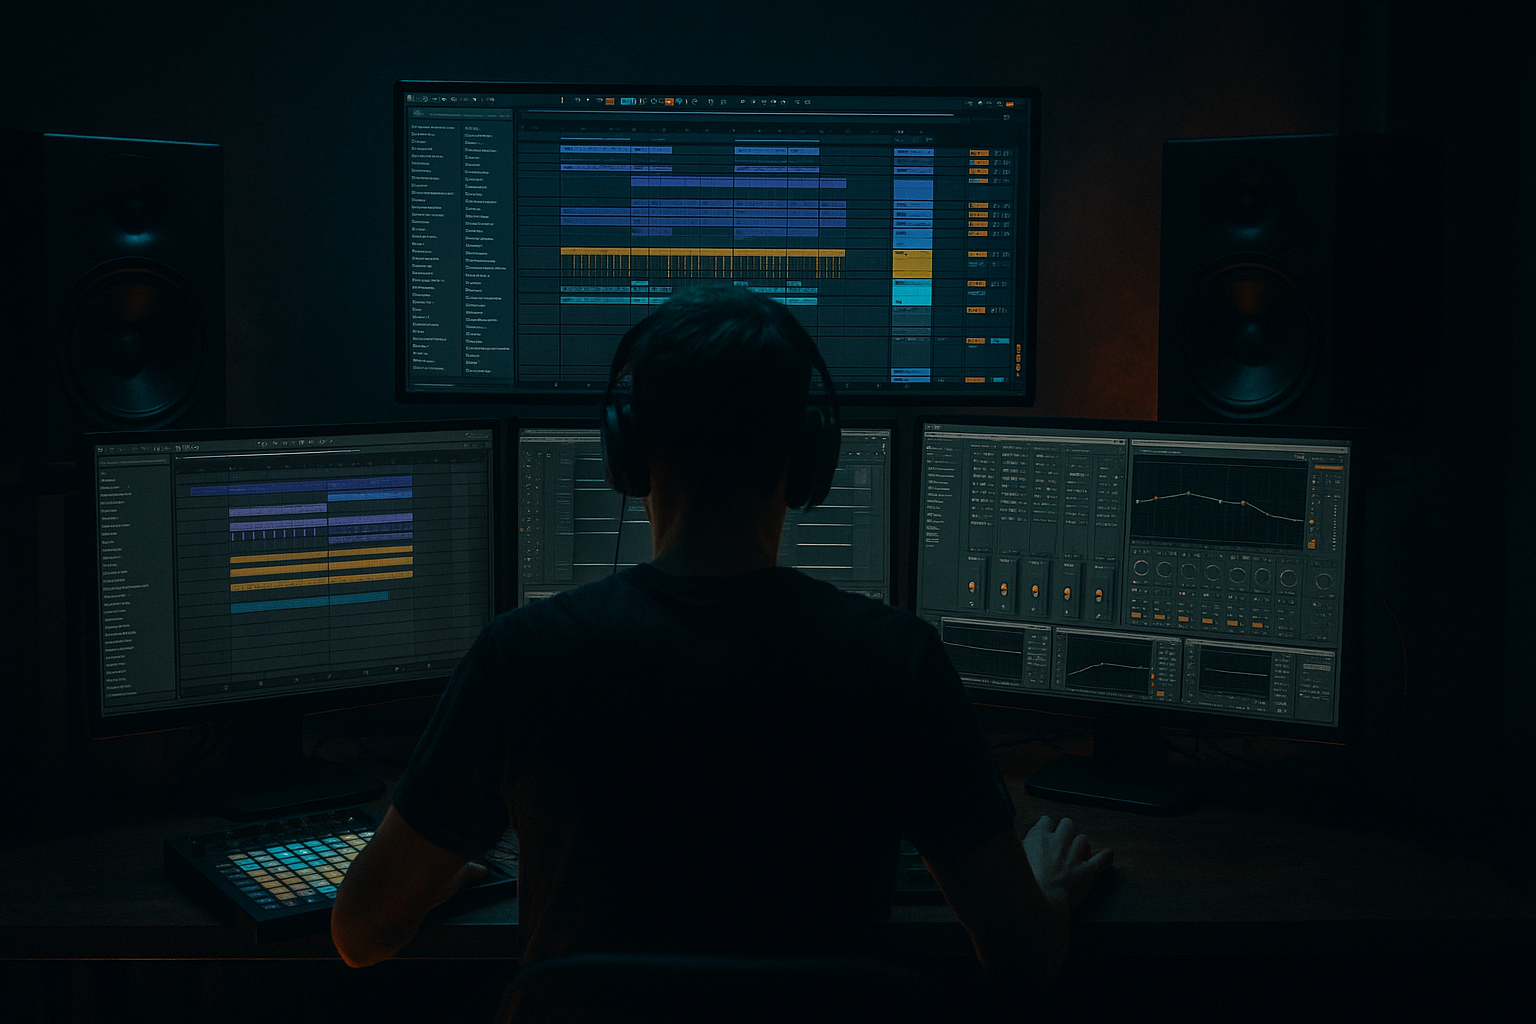
Stretching Pads from One‑Shots (Stock Devices Only) — Ableton Live for DnB 🎛️🌌
1. Lesson overview
In drum & bass, pads are often simple at the source but big in the mix: long, evolving textures that glue the intro, breakdowns, and halftime sections together.
In this lesson you’ll turn tiny one‑shots (a vocal hit, a rimshot, a foley click, a single chord stab) into lush, stretched pads using only Ableton Live stock tools—no third‑party granular plugins needed.
We’ll focus on:
- Time-stretching and texture modes
- Sampler/Simpler workflows for playable pads
- Evolving movement (so it doesn’t sound like a static loop)
- DnB arrangement use (intros, breakdowns, tension layers)
- A playable pad instrument made from a one-shot
- An evolving pad chain using stock devices:
- A DnB-ready pad layer that sits behind your drums/bass without muddying the sub
- A quick method to generate dark, cinematic atmos for intros and 32-bar transitions 🌫️
- Short vocal chop (one syllable)
- Foley (metal hit, door click, vinyl pop)
- Piano/chord stab
- Resampled reese mid (single hit without sub)
- High-pass at 150–300 Hz (12 or 24 dB/oct)
- Optional: small dip at 300–600 Hz if it gets boxy
- Optional: gentle shelf down above 10 kHz if it’s fizzy
- Filter type: LP24
- Cutoff: 300 Hz – 4 kHz (depends on brightness)
- Resonance: 5–15%
- Add LFO:
- Mode: Chorus
- Amount: 20–40%
- Rate: 0.2–0.6 Hz
- Width: 80–120% (careful: too wide can feel hollow in mono)
- Try Convolution for realistic space or Algorithmic for huge wash.
- Starting settings:
- Keep Wet around 15–35% if it’s on the insert.
- Time: 1/8 D or 1/4
- Feedback: 15–35%
- Filter inside Echo:
- Modulation: small amount for motion
- Set Bass Mono: 150–250 Hz
- Optional: reduce width if your mix collapses: Width 70–100%
- Automate Auto Filter cutoff over 8–16 bars
- Slowly increase Reverb Dry/Wet into transitions
- Automate Echo Feedback up for the last 1 bar before a drop, then cut it
- Filter cutoff
- Chorus amount
- Reverb decay
- Rate: 0.05–0.15 Hz (slow)
- Offset so it doesn’t constantly sweep the full range
- Resample 16 bars of the pad moving
- Chop the best 4–8 bars
- Use that as your final pad bed
- Intro (16–32 bars): pad + drums filtered, tease the vibe
- Breakdown: pad becomes the main harmonic bed, add vocal bits/foley
- Pre-drop: automate filter opening + reverb size increase
- Drop: keep pad very low or remove it; bring it back in the 2nd half
- Pitch down the source 3–12 semitones before stretching for instant menace.
- Use Saturator before reverb:
- Add a subtle Vinyl Distortion (yes, really) for grit:
- Gate your reverb return for punchier atmos:
- For classic jungle haze: band-limit the pad
- Stretching pads from one-shots is about Warp mode choice, printing, and controlled looping.
- Use Simpler to make the pad playable and musical.
- The winning DnB chain is: EQ (clean) → Filter (motion) → Width (chorus) → Space (reverb/echo) → Utility (mono control).
- Keep pads out of the sub, moving slowly, and arrangement-aware.
---
2. What you will build
By the end, you’ll have:
- Sampler or Simpler → Filter → Chorus-Ensemble → Reverb → Echo → Utility
---
3. Step-by-step walkthrough
Step 0 — Choose the right one-shot (this matters)
Good sources:
DnB tip: Avoid full-spectrum bass one-shots with heavy sub unless you plan to high-pass hard.
---
Step 1 — Prep the audio clip (Warp like a producer, not a tourist 😄)
1. Drag your one-shot onto an Audio Track.
2. Enable Warp.
3. Set Warp Mode:
- Texture for noisy/foley/vocals
- Complex Pro for harmonic/chords (try both)
4. Set parameters (starting points):
- Texture:
- Grain Size: 70–140 ms (bigger = smoother, smaller = more “grain”)
- Flux: 10–30% (adds natural movement; too high can get swirly)
- Complex Pro:
- Formants: On
- Envelope: 80–140
5. Now stretch it:
- Grab the clip end and pull it out to 4–16 bars.
- For classic DnB intros: try 8 bars.
Goal: You want a sustained smear that still has character.
---
Step 2 — Print (resample) the stretched pad for control
This is where you “commit” and unlock better shaping.
Option A: Freeze & Flatten
1. Right-click the audio track → Freeze Track
2. Right-click again → Flatten
Option B: Resample
1. Create a new Audio Track.
2. Set its input to Resampling.
3. Record 8 bars of your stretched result.
Now you have a clean long pad audio file.
---
Step 3 — Turn it into a playable instrument (Simpler or Sampler)
#### Using Simpler (fast and perfect for this)
1. Drag the resampled pad audio into a MIDI track → it loads as Simpler.
2. Set Mode: Classic (not One-Shot).
3. Enable Loop:
- Loop mode: Forward
- Move loop braces to a stable portion of the sound (avoid the transient start).
4. Add Fade (important to avoid clicks):
- Fade: 20–80 ms
5. Shape amplitude:
- Attack: 50–300 ms (pads need slow attack)
- Decay: ~2 s
- Sustain: -6 to -12 dB (optional)
- Release: 2–8 s (long tail for atmosphere)
Play a minor chord (e.g., F minor: F–Ab–C) and hold it—instant pad bed.
> If you own Suite, Sampler gives deeper modulation, but Simpler is enough for pro results.
---
Step 4 — Build the stock pad chain (DnB mix-safe)
Here’s a reliable chain that works in rolling DnB:
Device Chain (in order):
1. EQ Eight
2. Auto Filter
3. Chorus-Ensemble
4. Hybrid Reverb (or Reverb)
5. Echo
6. Utility
#### 4.1 EQ Eight (clean the low end like a grown-up)
DnB rule: pads are usually not allowed to fight the kick/sub.
#### 4.2 Auto Filter (movement + dark tone)
- Rate: 1/4 or 1/8 (sync)
- Amount: subtle (so it “breathes”)
- Wave: sine or triangle
#### 4.3 Chorus-Ensemble (width + lushness)
#### 4.4 Hybrid Reverb (space that feels expensive)
- Decay/Time: 4–10 s
- Pre-Delay: 15–35 ms (keeps it from swallowing the dry sound)
- Low Cut: 200–400 Hz
- High Cut: 6–10 kHz
Alternative pro workflow: Put Reverb on a Return track and send to it (cleaner mix control).
#### 4.5 Echo (subtle rhythmic haze)
- Low Cut: 300 Hz
- High Cut: 6–8 kHz
#### 4.6 Utility (mono management)
---
Step 5 — Make it evolve (so it’s not a static “aaaaah”)
Pick one of these movement methods (or combine lightly):
#### Method A: Clip automation (arrangement-friendly)
In Arrangement View:
#### Method B: LFO (stock) on key parameters (Live 11+)
Add LFO (Max for Live, stock in Suite) and map it to:
Try:
#### Method C: Resample again (classic DnB workflow)
Once it sounds good:
This is how a lot of jungle atmos gets that “printed” character.
---
Step 6 — DnB arrangement ideas (where pads actually work)
Pads are most effective when they support tension and create contrast:
Rolling DnB trick: Use pads as a mid-side texture layer behind the reese, not as the main event.
---
4. Common mistakes 🚫
1. Leaving low end in the pad
Pads with energy below ~150–250 Hz will wreck your sub clarity.
2. Over-widening
If your pad disappears in mono, it’s too wide or too phasey.
3. Too much reverb on the insert
Your whole mix turns to soup—use sends or lower wet.
4. Warp artifacts in the wrong place
Stretching transients can create ugly chirps. Trim the transient out, or loop the stable body.
5. No movement
A static pad reads as “cheap synth preset.” Motion makes it sound intentional.
---
5. Pro tips for darker/heavier DnB 🖤
(Do it in Clip Transpose or in Simpler transpose.)
- Mode: Analog Clip
- Drive: 2–6 dB
- Soft Clip: On
This makes the reverb tail denser and more cinematic.
- Tracing Model: 0.5–2
- Pinch: low
- Crackle: tastefully low (or off)
- Put Gate after reverb on the return
- Sidechain from drums (kick/snare) to make space
- EQ Eight: HP at 250 Hz, LP at 7–10 kHz
It’ll sit behind breaks beautifully.
---
6. Mini practice exercise 📝
Goal: Build an 8-bar pad for a rolling DnB intro at 174 BPM.
1. Pick a one-shot (vocal/foley/chord stab).
2. Warp in Texture mode and stretch to 8 bars.
3. Resample it.
4. Load into Simpler:
- Classic + Loop
- Attack 150 ms, Release 4 s
5. Add chain:
- EQ Eight HP 200 Hz
- Auto Filter LP24 with slow LFO
- Chorus-Ensemble (Amount 30%)
- Hybrid Reverb (Decay 7 s, PreDelay 25 ms, Low Cut 300 Hz)
6. Write a simple 2-chord progression in MIDI (minor vibe).
7. Automate filter cutoff opening slightly across the 8 bars.
Deliverable: Export an 8-bar audio loop labeled:
`174_pad_from_oneshot_[source]_v1.wav`
---
7. Recap ✅
If you tell me what kind of one-shot you’re starting from (vocal / foley / chord / synth hit) and whether you’re on Live Standard or Suite, I’ll suggest the best Warp mode + exact starting rack for your sound.
```

