Main tutorial
1. Lesson Overview
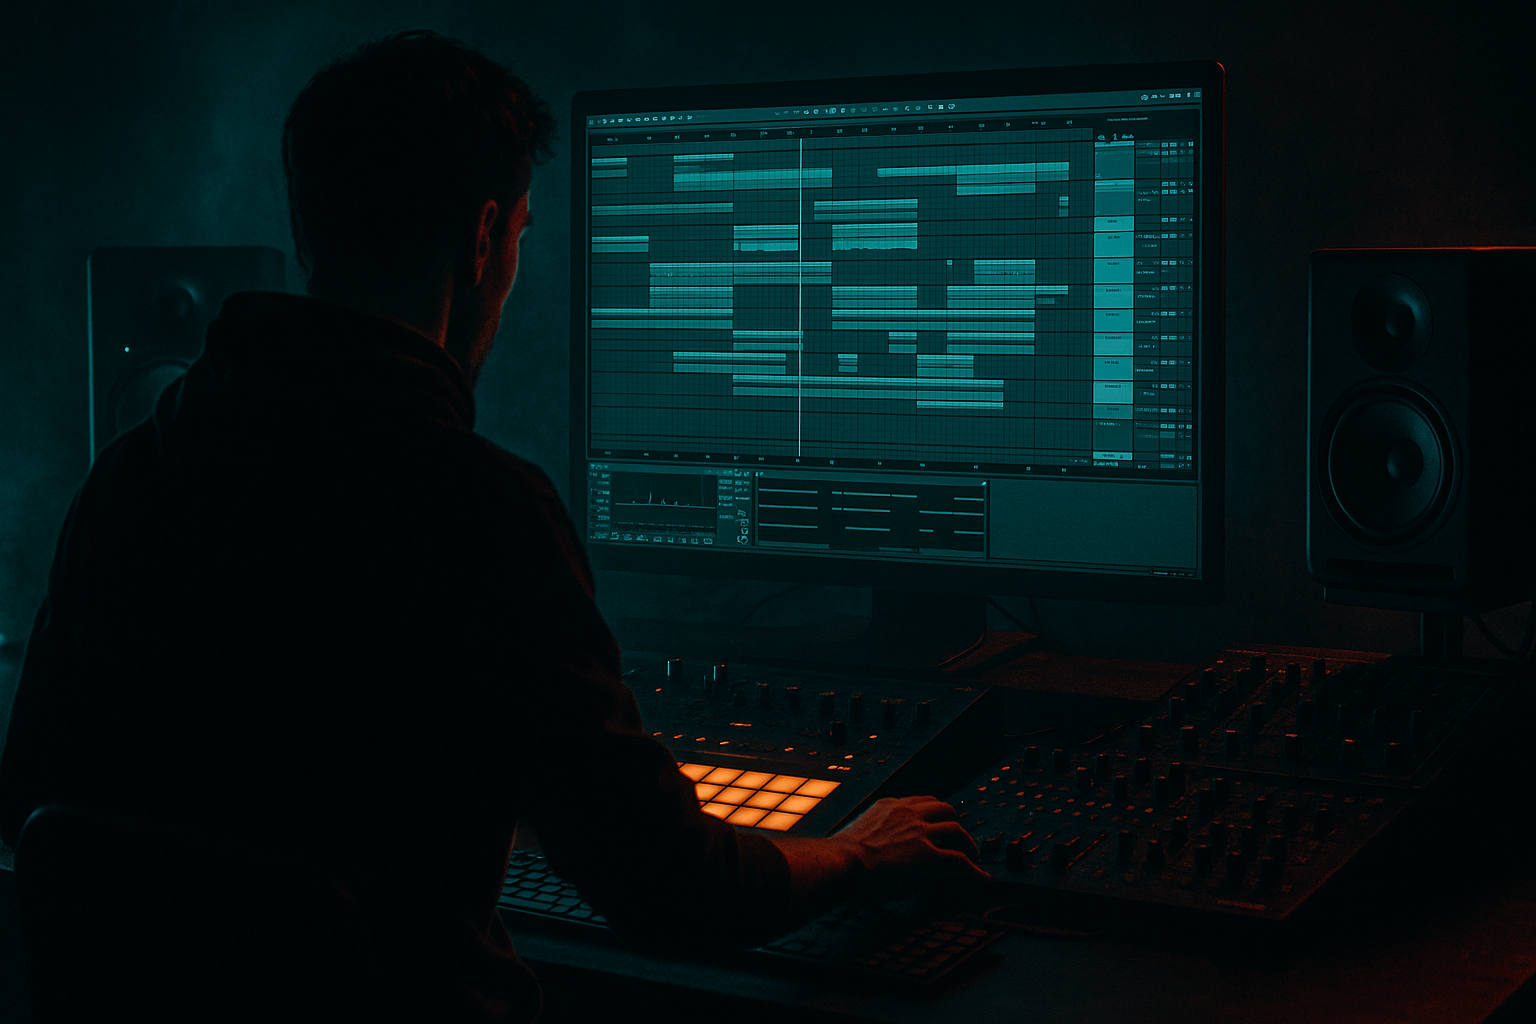
"Stu Allan style: shape a radio-ready intro in Ableton Live 12 for classic drum and bass broadcast energy" — in this beginner workflow lesson you’ll learn a practical, repeatable method to create a short, high-energy DnB intro that sounds good on radio: tight filtered breaks, punchy stabs and vocal tags, focused low end, and a final limiter chain for broadcast-friendly presence. We’ll use only Ableton Live 12 stock devices (Simpler, Auto Filter, Drum Buss, EQ Eight, Compressor, Utility, Hybrid Reverb/Echo, Limiter, etc.) and simple arrangement/automation techniques so you can produce this intro quickly and reliably.
2. What You Will Build
- A 16-bar radio-ready intro at 174 BPM in a classic drum & bass style (Stu Allan style: shape a radio-ready intro in Ableton Live 12 for classic drum and bass broadcast energy).
- Components:
- Over-filtering the break and killing its punch: if you lose transients, reduce Auto Filter resonance and ensure Drum Buss/Compression attack isn’t too slow.
- Widening the low end: applying stereo width to sub-bass or low frequencies causes phase problems on radio; always mono low frequencies below ~120 Hz.
- Too much reverb on vocal: wash will kill intelligibility. Use short pre-delay (15–30 ms) and low send amount for radio clarity.
- Crushing dynamics with the limiter: pushing for extreme LUFS makes the intro lifeless. Keep gain reduction moderate; prioritize transients.
- Not checking in mono: many broadcast chains sum to mono; failing to check can cause elements to disappear.
- Neglecting transient control: skinned transients in breaks will make the drums lose broadcast “cut-through.” Use Drum Buss/Compressor sparingly to retain attack.
- Keep the intro DJ-friendly: make loops and cues clean (no long reverb tails) so DJs can mix in.
- Use short pre-delay on reverb for vocals to preserve intelligibility on radio.
- When automating filter cutoff, create a subtle LFO on MIDI stabs to add motion without drawing attention away from the drums.
- Save this intro as a template or Rack preset (group your chains into an Instrument/Audio Effect Rack) to reuse Stu Allan–style intros quickly.
- For fast punch, a light transient boost before Bus compression (e.g., Drum Buss Transient setting) keeps the hit while Glue Compressor glues the mix.
- If you need extra presence on radio, automate a narrow-band boost (EQ Eight) around 3–5 kHz for 1–2 dB in the lead-up bars—use very short automation so it feels like a cue, not a constant lift.
- Set tempo to 174 BPM.
- Drag a break into Audio 1, warp to tempo, duplicate to 16 bars.
- Add Auto Filter and automate cutoff from ~600 Hz to fully open over bars 1–16.
- Create a 2-bar stab in Wavetable; place 4 stabs across bars 9–16.
- Add a vocal word (one-shot) at bar 13 processed with EQ, short compression, and 15 ms reverb pre-delay.
- Add Drum Buss and Glue Compressor on the drum track/group.
- Add master Limiter with ceiling -1 dB and push until the track feels radio-present but not squashed.
- Export and listen on headphones and a phone speaker (mono check) — iterate one change (e.g., reduce reverb or increase stab presence) and re-export.
- Warped Amen/breakloop with HP filter automation and transient processing
- Short sampled stabs and a spoken DJ tag or hook
- Atmospheric pad/FX low in the mix for width
- Mono-compatible low end (sub control)
- A simple master chain for punch and broadcast-level loudness
3. Step-by-Step Walkthrough
Note: set your Live Set to 174 BPM (common classic DnB tempo) and work in Arrangement view for precise automation.
A. Project setup
1. Create tracks:
- Audio 1: BreakLoop
- MIDI 1: Stabs (Wavetable or Operator)
- Audio 2: Vocal Tag (small spoken hook or sample)
- Audio 3: Atmosphere/Pad
- Return A: Hybrid Reverb (send)
- Return B: Echo (send)
- Master: will get final processing
2. Tempo and Bars:
- Set Tempo = 174 BPM.
- Work with a 16-bar intro template (e.g., bar 1–16 for intro, drop at bar 17).
B. Break Loop (the backbone)
1. Drag a clean amen/break or a DnB-compatible drum loop into Audio 1.
2. Double-click the clip → Warp mode = Beats. Set 1/16 transient preservation if you want micro-break edits (leave 1/16 or 1/8 notes).
3. Duplicate the loop to cover 16 bars (Cmd+D / Ctrl+D).
4. Add devices (in this order):
- EQ Eight: High-pass at 30 Hz (slope 12 dB/oct) to remove rumble; gentle cut -3 dB around 300–500 Hz if muddy.
- Drum Buss: Drive = 3–5, Boom = 15–25% (adds body), Transient section: set to tighten up attack (reduce “Transient” if too soft).
- Auto Filter (low-pass or band-pass choice): Mode = Low Pass (24 dB), initial cutoff around 2–3 kHz.
- Utility (after filter): set Width = 100% for full stereo; we’ll mono low end separately.
5. Automation (key Stu Allan-style energy shaping):
- Automate Auto Filter Cutoff: start low for bars 1–4 (e.g., 400–800 Hz) and open progressively to full by bar 13–16. Use an exponential curve for a natural “open” feel.
- Automate Drive/Transient inside Drum Buss (or add Compressor) to slightly increase punch in bars 13–16 (e.g., Drive +1–2 dB).
C. Stabs & Musical Hooks
1. Create a simple stab patch in Wavetable or Operator:
- Short envelope (Decay 120–240 ms), no sustain.
- Slight pitch envelope for attack (tiny down or up pitch).
- Add Filter cutoff around 1–2 kHz and route a little bite.
2. Play a 2-bar stab pattern that repeats; quantize to be tight with the break.
3. Add devices:
- Saturator (Soft Clip) Drive 2–4 dB, Dry/Wet 20–30%.
- EQ Eight: high-shelf boost at 3–6 kHz for presence + small cut 300–500 Hz if clashing with drums.
- Compressor (standard) lightly compress (Ratio 2:1, Attack 5–10 ms, Release 200 ms, Threshold to get 1–3 dB gain reduction).
4. Arrangement tip:
- Place stabs sparsely in bars 5–16 to build excitement; sync one stab with the drum open point when Auto Filter is highest (bar 13–16).
D. Vocal Tag / Spoken Hook
1. Import or record a short vocal tag (1–3 words).
2. Processing chain:
- EQ Eight: High-pass 100 Hz, slight boost 2–4 kHz to increase intelligibility (+2–4 dB).
- Compressor (stock Compressor): Ratio 3:1, Attack ~10 ms, Release ~100–200 ms, Threshold to get 3–6 dB gain reduction.
- Utility: place after EQ/Comp and set Width ~100% or slightly wider if you want presence.
- Send small amount to Hybrid Reverb (Pre-delay 15–30 ms, Dry/Wet on return 15–25%) to give it air without blur.
3. Placement & automation:
- Place the vocal at bars 9 and 13 to call attention before the drop.
- Automate clip gain or track volume gently upward in final bars to sit clearly over the drums (avoid clipping).
E. Atmosphere / FX
1. Create a long pad sample (Audio 3) or a soft Wavetable pad low in the mix.
2. Put Auto Filter with band-pass or low-pass to keep it airy.
3. Send to Hybrid Reverb heavy on early reflections / long decay but keep send level low (10–20%) to avoid wash.
4. Automate send level into the last 4 bars to widen the mix into the drop.
F. Low-End Mono and Glue
1. Group bassful elements (if any) or ensure sub is mono:
- Add Utility on bass/sub channel(s) and set Width = 0% below 120 Hz (use an EQ Eight before Utility to split by frequency if you need frequency-aware mono).
- Alternatively, on master add a Multiband Dynamics if you need more control — low band compressed lightly.
2. On a Drum Group bus:
- Add Glue Compressor: Ratio 2:1, Attack 10 ms, Release auto/200–600 ms, Threshold for 2–4 dB gain reduction to glue drums/stabs.
G. Master Chain (quick broadcast polish)
1. EQ Eight (first): HP at 20–25 Hz; subtle “air” boost around 8–12 kHz +1–2 dB if needed.
2. Saturator: Soft Clip to tame peaks, Drive 1–2 dB, Dry/Wet 20–30%.
3. Multiband Dynamics (optional): slightly tame low-mid build-up, but keep subtle.
4. Limiter (last): Ceiling = -1.0 dB; Gain to taste to reach target loudness. Aim for a clean upfront sound rather than crushing dynamics — for radio-friendly punch aim Integrated loudness around -8 to -10 LUFS for energetic DnB intros (adjust by ear).
H. Final checks and export
1. Mono check: toggle master Utility width to 0% to confirm low end and important elements sum cleanly.
2. Clip fades: draw tiny fade-ins at audio clip starts to prevent clicks.
3. Export: File → Export Audio/Video. Render as 24-bit WAV, sample rate 44.1 kHz, normalize off. Set rendering range to your 16-bar intro.
4. Common Mistakes
5. Pro Tips
6. Mini Practice Exercise
Goal: Build the 16-bar intro in 30–60 minutes
7. Recap
This lesson showed how to make a short, Stu Allan style: shape a radio-ready intro in Ableton Live 12 for classic drum and bass broadcast energy. You used a filtered break loop with Auto Filter automation, Drum Buss + Glue compression for punch, short stabs and a vocal hook for character, mono-safe low-end practice with Utility, tasteful reverb/delay on returns, and a conservative master limiter for broadcast presence. Keep the intro tight, loud enough to stand out on radio, and always check in mono to ensure compatibility. Save the chain as a template and repeat this workflow to produce consistent radio-ready intros.

