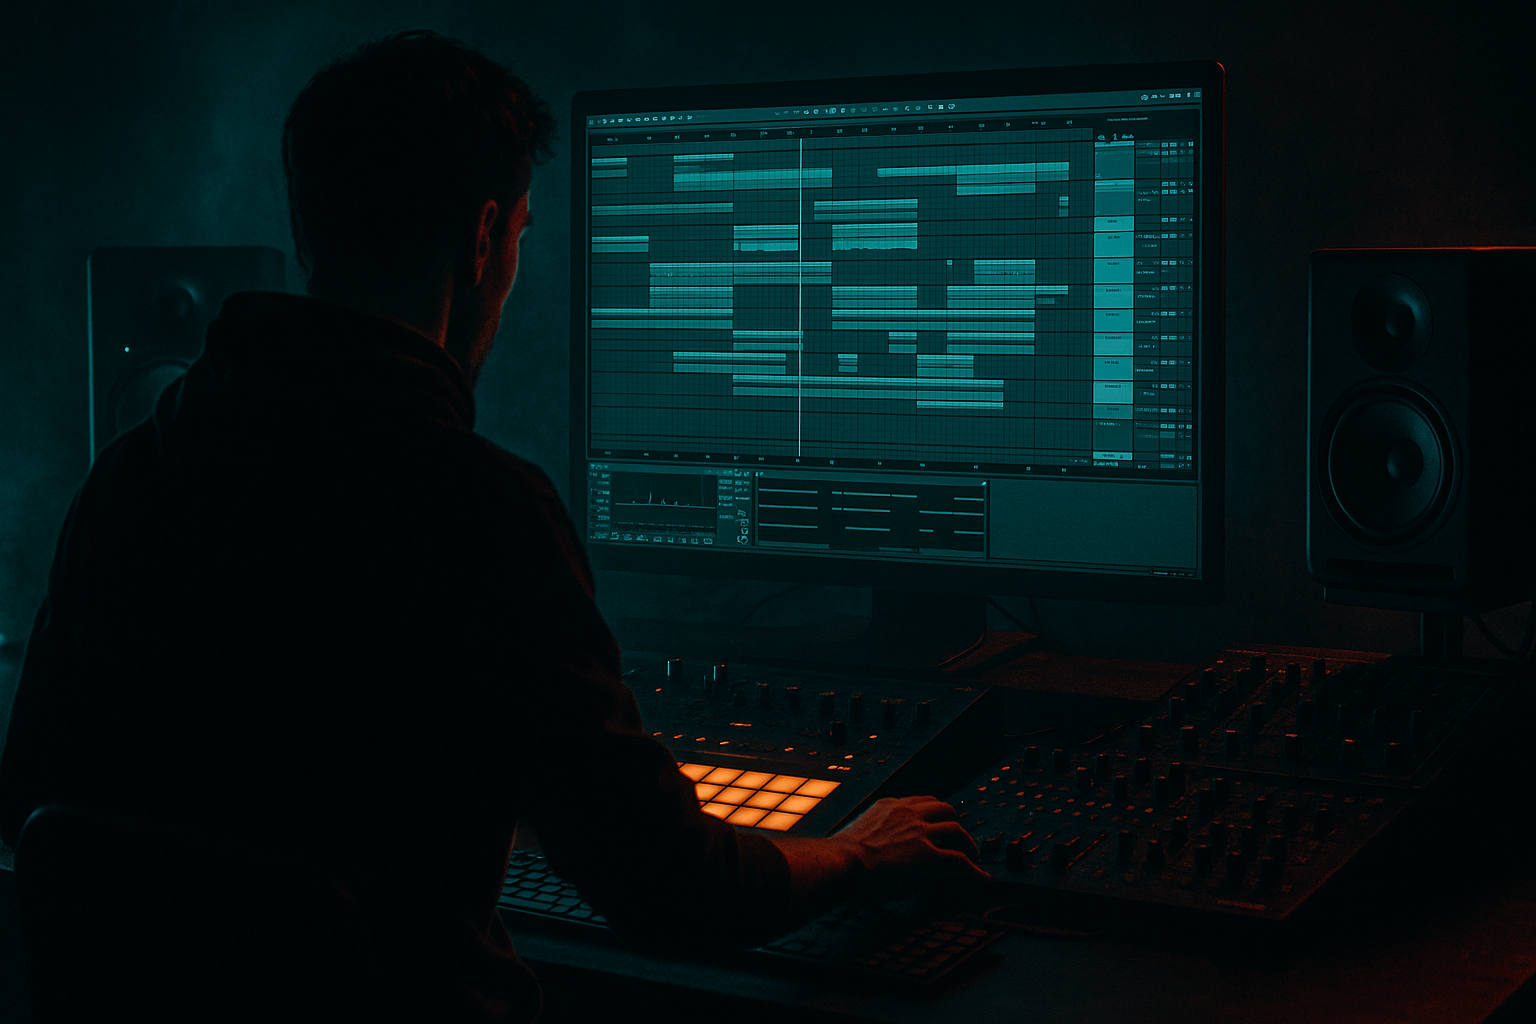
Main tutorial
Sub & Kick Balance Masterclass (DnB) — Ableton Stock Only 🔥🥁🎛️
1) Lesson overview
In drum & bass, the kick and sub are your engine. If they fight, your whole tune feels weak—even if everything else is sick. In this lesson you’ll learn a repeatable Ableton Live workflow to make the kick punch through while keeping the sub huge and stable without any third‑party plugins.
We’ll focus on:
- Frequency separation (not just EQing blindly)
- Phase/time alignment (why “it sounds quieter” is often timing)
- Sidechain done right (transparent vs aggressive)
- Mono management for club translation
- Arrangement decisions that make mixing easier
- A Kick track that hits hard around 90–120 Hz (typical DnB punch zone) without muddying the sub
- A Sub track that’s stable, mono, and consistent on every note
- A clean routing system:
- A stock-only device chain using:
- Punch kick (short, tight): good for rolling basslines
- Thuddy kick (longer body): can clash with sustained subs unless shaped
- Sub fundamental: 45–55 Hz (roughly F–G)
- Kick body: 90–120 Hz
- Kick click/attack: 2–5 kHz
- Oscillator A: Sine
- Envelope:
- Voices: 1 (mono)
- Glide/Portamento: off for now (add later if stylistic)
- Enable HP filter at 20–25 Hz (24 dB/Oct)
- Optional: tiny bell cut if there’s mud around 120–200 Hz (only if needed)
- Mode: Soft Clip
- Drive: 2–6 dB
- Output: reduce to match level (don’t “win” by being louder)
- Optional: enable DC filter
- Width: 0% (mono) ✅
- Gain: leave for now
- Optional: if the sub feels inconsistent, you’ll level it later rather than widening.
- HP filter: 25–35 Hz (12–24 dB/Oct)
- If the kick has a strong fundamental that fights the sub (common at 45–70 Hz), do a gentle dip:
- Optional: add presence if needed:
- Drive: 2–10% (taste)
- Crunch: 0–10%
- Boom: OFF at first (Boom can wreck low-end balance fast)
- Transients: +5 to +20 for punch
- Attack: 10 ms
- Release: Auto
- Ratio: 2:1
- GR: aim 1–3 dB on the loudest hits
- Try `Sub` at -5 ms to -15 ms (earlier) OR `Kick` at small offsets.
- Pick the setting that gives the biggest, cleanest combined low end.
- Transparent ducking (rolling, clean, modern)
- Audible pump (jump-up, dancefloor, dramatic)
- Compressor → open Sidechain section:
- Settings to start (transparent DnB):
- Very gentle cleanup only:
- Ratio: 2:1
- Attack: 30 ms (let transient through)
- Release: Auto
- Aim GR: 0–2 dB
- Width: 0% (you can keep the entire low-end bus mono if your kick/sub are the only elements here)
- Gain: adjust to hit your mix bus cleanly
- Typical DnB pattern: kick on 1 and 3, snare on 2 and 4
- Bass rolling 1/8ths or 1/16ths between
- You don’t need the kick peak higher than the sub peak—often the sub will look bigger.
- You want the kick to be heard, not necessarily “taller.”
- Remove sub under fills: automate sub volume down during busy kick fills or snare rushes.
- Sub “breaths”: in rolling sections, shorten sub note lengths so there’s micro-space for the kick.
- Drop contrast: in the 1–2 bars before the drop, high-pass the sub or mute it, so the drop low end hits harder.
- Clip automation on Sub track (volume or Utility gain)
- MIDI note length edits (often the cleanest fix)
- Use harmonic layers above the sub:
- Kick transient focus for neuro/dark rollers:
- Controlled dirt without losing weight:
- Mono discipline below 120 Hz:
- Breaks management (jungle influence):
- Pick sounds that naturally fit: kick punch higher, sub owns the floor.
- Make the sub mono, stable, and harmonically audible with Saturator.
- Shape the kick to avoid low fundamental conflict using EQ Eight.
- Fix “mystery low-end weakness” by checking timing/phase (nudge or Track Delay).
- Use sidechain compression with a filtered detector for clean, controllable space.
- Treat kick + sub like a system via a Low End Bus, with gentle glue if needed.
- Use arrangement to reduce conflicts—shorter notes, automation, and drop contrast.
---
2) What you will build
By the end you’ll have:
- Kick + Sub → Low End Bus
- Optional “Sub Sidechain Trigger” ghost track
- EQ Eight, Compressor, Glue Compressor
- Saturator, Utility
- Spectrum (and Ableton’s meters)
---
3) Step-by-step walkthrough
Step 0 — Session setup (fast but important)
1. Set your project to typical DnB tempo: 170–176 BPM.
2. Turn on Warp and make sure your kick sample is tight to the grid (no lazy start).
3. Create tracks:
- `Kick`
- `Sub`
- `Sub SC Trigger` (optional ghost)
- Group `Low End Bus` (group Kick + Sub)
Why: Low end balance is easier when you can A/B quickly and process together when needed.
---
Step 1 — Choose a kick that actually fits the bass
DnB kicks come in a few common “roles”:
Quick test: Solo kick + sub together early. If you need extreme EQ to make them coexist, your sound choice is fighting you.
Kick sample tip: Look for a kick whose “body” sits higher than the sub’s fundamental. For example:
---
Step 2 — Build a stable, mixable sub (stock only)
On the `Sub` track, use Operator (clean + consistent).
Operator settings (example):
- Attack: 0–5 ms
- Decay: Short or 0
- Sustain: 0 dB
- Release: 50–120 ms (avoid clicking but keep it tight)
Add this device chain on the Sub track:
#### ✅ Sub Device Chain
1) EQ Eight
Removes rumble that steals headroom.
2) Saturator (for harmonics & translation)
3) Utility
Check: Put Spectrum after Utility and confirm your sub fundamental is consistent note-to-note.
---
Step 3 — Shape the kick to leave room for the sub (without killing it)
On the `Kick` track:
#### ✅ Kick Device Chain
1) EQ Eight
Kicks often have useless sub-rumble.
- Bell cut: -2 to -5 dB, Q ~ 1.0–1.8, sweep to find the “fight”
- Small bell boost 2–4 kHz (+1 to +3 dB) for beater/click
2) Drum Buss (optional but powerful)
3) Glue Compressor (optional, for consistency)
Goal: A kick that feels loud because it’s defined, not because it’s eating sub headroom.
---
Step 4 — Align timing/phase (the “invisible” low-end fix) 🧠
If the kick and sub hit at slightly different times, your low end can cancel or feel flabby.
#### Method A: Nudge the sub in time
1. Loop a section with kick + sub hitting together.
2. Zoom in on the waveform (Arrangement view helps).
3. Try micro shifts:
- Nudge the sub MIDI notes slightly earlier/later (start with ±5 ms, then ±10 ms).
4. Listen for:
- More “push” and weight
- Less hollow/phasey low end
#### Method B: Track Delay (fast A/B)
Use Ableton’s Track Delay (bottom of mixer or in track controls):
Rule: Don’t chase perfect visuals—chase maximum solid impact.
---
Step 5 — Sidechain: make room without making it pump (or do pump on purpose) 💨
You have two common DnB approaches:
#### Set up a ghost trigger (recommended)
1. Create `Sub SC Trigger` track.
2. Drop a short click/kick-like sample (or duplicate your kick).
3. Turn its output to Sends Only or set fader down, so it’s inaudible.
4. Make it hit exactly when you want the sub to duck (usually with the kick).
#### On the Sub track: Ableton Compressor sidechain
- Sidechain Input: `Sub SC Trigger` (or Kick)
- EQ (sidechain filter): enable ✅
- Filter to focus on kick transient/body:
- HP around 60–90 Hz
- LP around 2–5 kHz (optional)
- Ratio: 3:1
- Attack: 0.5–3 ms
- Release: 40–90 ms (tempo-dependent)
- Threshold: adjust for 2–5 dB gain reduction on kicks
If the sub “wobbles” or feels late: shorten release.
If the kick still doesn’t read: slightly increase GR or reduce sub sustain/length.
---
Step 6 — Control the “low end bus” as a system (not two enemies)
Group `Kick` + `Sub` into `Low End Bus`.
On the Low End Bus, use:
#### ✅ Low End Bus Chain
1) EQ Eight
- HP at 20 Hz (24 dB/Oct) if needed
- Avoid heavy EQ here—fix at the source first
2) Glue Compressor (optional “glue,” not squish)
3) Utility
Important: Don’t put big saturation on the low-end bus unless you really want distortion. Saturate the sub/kick individually first.
---
Step 7 — Balance by ear using a repeatable reference moment
Pick a reference bar in your drop:
Balancing method:
1. Start with the sub at a solid level (feels big but not dominating).
2. Bring kick up until it’s clearly audible on small speakers (harmonics/attack).
3. Check in context with snare + break:
- In jungle/rolling tunes, breaks often add low-mid “thump” around 150–250 Hz.
Use Spectrum only as a sanity check:
---
Step 8 — Arrangement choices that make low end effortless 🎚️
Even a perfect mix falls apart if the arrangement stacks low energy.
Try these DnB-safe moves:
Ableton tools for this:
---
4) Common mistakes ❌
1. EQing the sub to “make room” instead of sidechaining
You end up with a weak bassline that still clashes dynamically.
2. Over-long sub notes
Sustained subs mask the kick’s body; shorten notes or add release discipline.
3. Stereo sub
Wide low end collapses in clubs and can vanish in mono. Use Utility width 0%.
4. Too much kick low fundamental
A kick with huge 50 Hz content often fights the sub. Dip it or choose a different kick.
5. Sidechain release not matched to tempo
Too long = the bass feels late and “breathing” awkwardly. Too short = distortion/warble.
6. Mixing low end in solo
Always re-check with breaks + snare + bass. Jungle elements can change everything.
---
5) Pro tips for darker/heavier DnB 🖤
Duplicate the sub to a `Mid Bass` track:
- EQ Eight: HP at 120–180 Hz
- Saturator: Drive 5–10 dB
- Auto Filter (optional): movement
This keeps the sub clean while the heaviness lives above.
Add a tiny transient click layer (very short) above 2 kHz, so the kick reads through reese/noise.
Put Saturator on sub but keep Drive modest and use Soft Clip.
If it fuzzes too much, reduce Drive and raise monitoring volume—don’t overcook.
If you have other bass layers, keep them mono-ish down low and widen higher layers only.
Many breaks have hidden low-end. High-pass breaks around 80–120 Hz so they don’t compete with your sub.
---
6) Mini practice exercise 🧪
Goal: Make a 16-bar rolling drop with clean kick/sub relationship.
1. Program a classic DnB drum pattern:
- Kick: bars 1–16, on 1 and 3
- Snare: 2 and 4
- Add hats/shuffles if you want
2. Create a subline with Operator:
- Use 4 notes total (e.g., F–G–Ab–G) in 1/8 notes
- Make note lengths short (try 1/8 length, not tied)
3. Do the full workflow:
- Utility mono sub
- Saturator drive 3–5 dB
- Kick EQ: dip conflict frequency if needed
- Sidechain compressor on sub: 3:1, attack 1 ms, release 60 ms, GR 3 dB
- Try Track Delay: Sub at -10 ms, then 0 ms, then +10 ms—pick best
4. Export 8 bars and test:
- Laptop speakers / phone
- Headphones
- Mono check (Utility on Master: Width 0% temporarily)
Pass condition: Kick is clearly defined, sub feels steady, and mono doesn’t destroy your low end.
---
7) Recap ✅
If you want, tell me your sub note range (key), kick style (short punchy vs thuddy), and whether you’re going for roller / jungle / dancefloor / neuro, and I’ll suggest exact starting values tailored to that vibe.

