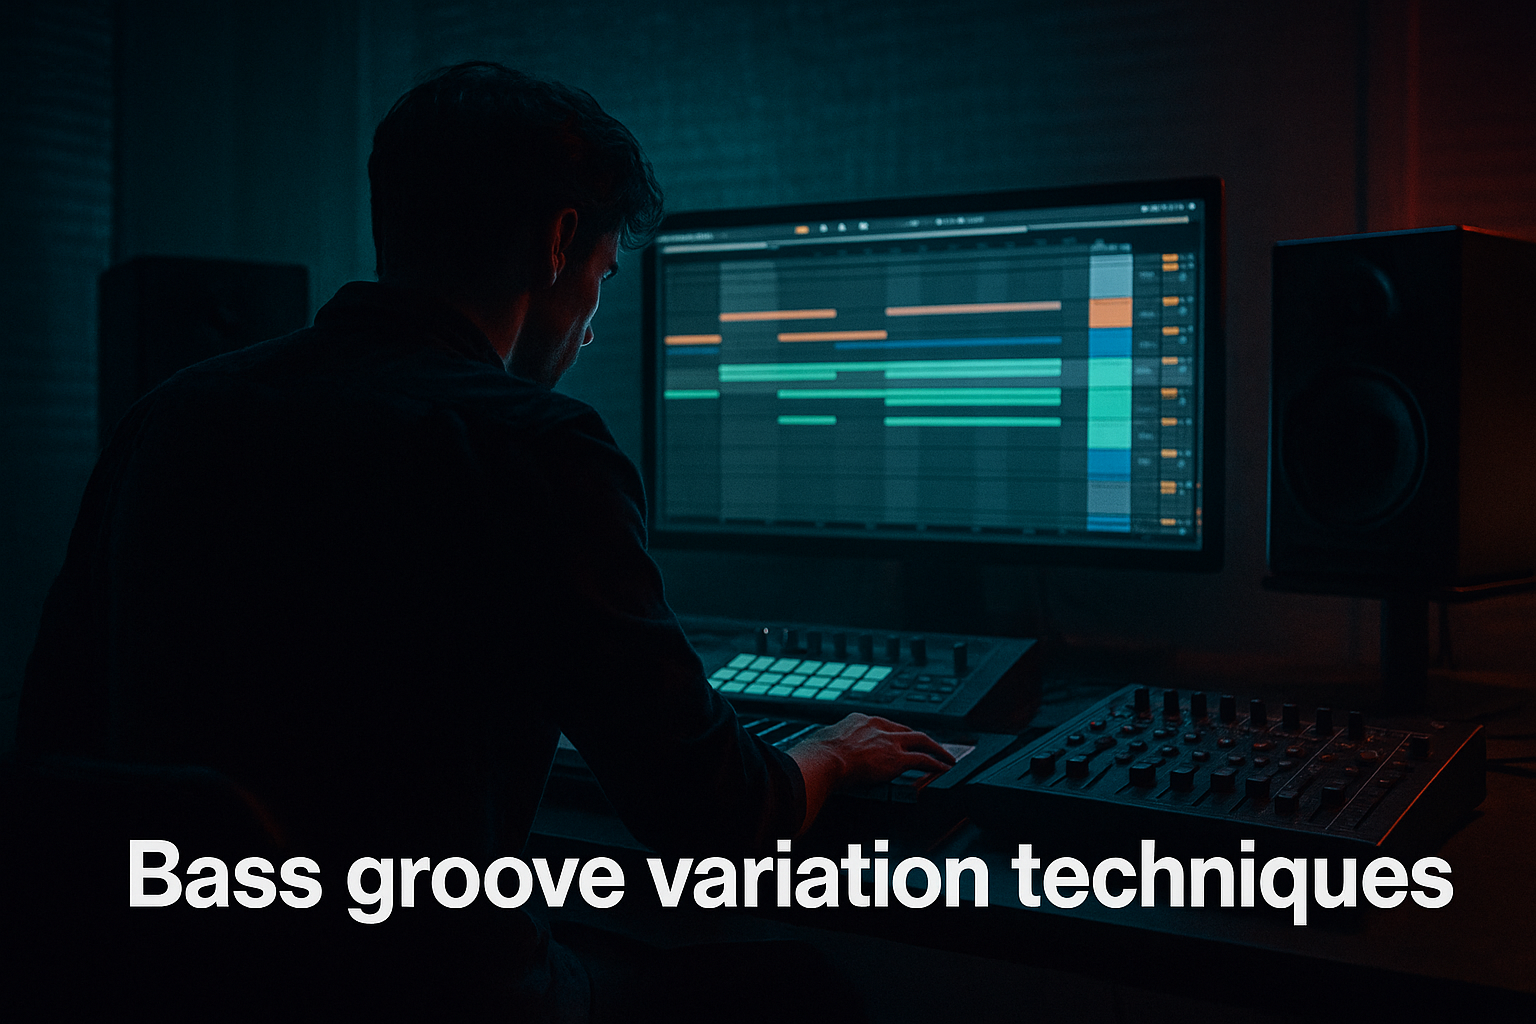
Main tutorial
```markdown
Sub Groove vs Sub Melody Balance (DnB in Ableton Live) 🥁🔊
1. Lesson overview
In drum & bass, the sub is the engine—it pushes the track forward and makes people move. But beginners often choose one extreme:
- Too much groove, no melody → the bass feels repetitive and “one-note”
- Too much melody, no groove → the bass feels busy, weak, or loses weight
- A clean mono sub (sine/triangle)
- A mid-bass layer for character (optional but recommended)
- A bassline pattern that grooves (syncopation + note lengths)
- A simple melodic “answer” that adds identity without wrecking the low end
- Utility
- Saturator (very gentle)
- Put the melodic notes on weaker positions (like 2& or 4&)
- Avoid changing pitch on every hit—this kills weight.
- You can make MID BASS more melodic (more pitch movement)
- Keep SUB simpler and groovier
- Bars 1–8 (Intro): drums + atmos, tease MID BASS only (filtered)
- Bars 9–16 (Drop A): SUB groove (mostly root), minimal melody
- Bars 17–24 (Drop B): introduce 1–2 melodic sub notes + louder MID BASS
- Bars 25–32 (Variation): remove one sub hit (silence = tension), add a fill
- Automate MID BASS filter to open slightly in Drop B
- Keep SUB consistent (clubs love consistency)
- Sub stays mono
- Kick is clear (2–4 dB ducking)
- Melody is mostly in the mid layer
- Groove still works if you mute the mid layer
- Sub groove = rhythm, syncopation, note length, and controlled silence.
- Sub melody should be minimal; too much pitch movement in the sub weakens impact.
- Best workflow:
- Use sidechain compression to make kick + sub coexist cleanly.
- Arrange like DnB: introduce melody as variation, not as constant information.
In this lesson you’ll learn a practical method to balance a sub groove (rhythm + movement) with a sub melody (pitch + hooks), without losing weight or clarity, using Ableton Live stock devices.
---
2. What you will build
You’ll create a classic rolling DnB sub setup:
Target vibe: rolling liquid / jungle-influenced step that can be pushed darker later. 🌒
---
3. Step-by-step walkthrough
Step 0 — Session setup (fast + important)
1. Set tempo: 172–175 BPM
2. Create tracks:
- MIDI Track: SUB
- MIDI Track: MID BASS (optional layer)
- Audio/MIDI Track: KICK
- Audio/MIDI Track: SNARE
3. On the Master, drop Spectrum (stock) so you can see sub fundamentals around 40–60 Hz.
DnB note: Most rolling subs sit around F–G (43–49 Hz) or G#–A (51–55 Hz), but key is flexible.
---
Step 1 — Build a clean sub (Operator = quickest)
On the SUB MIDI track:
1. Add Operator
2. Oscillator A:
- Wave: Sine
- Level: ~-6 dB (leave headroom)
3. Amp Envelope:
- Attack: 0–5 ms
- Decay: ~200 ms
- Sustain: -inf or very low
- Release: 80–150 ms (avoid clicks, keep it tight)
Then add:
- Mono: ON
- Width: 0%
- Gain: leave at 0 dB for now
Optional safety:
- Drive: 1–3 dB
- Soft Clip: ON
- This helps translate on smaller speakers without turning the sub into fuzz.
✅ Result: a stable, clean sub that will survive club systems.
---
Step 2 — Establish the groove first (before melody)
Think of “sub groove” as rhythm + note length + silence. The silence is part of the groove.
1. Create a 1-bar MIDI clip on SUB.
2. Grid: 1/16
3. Write a simple rolling rhythm using one note only (e.g., G1):
- Place notes on:
1, 1a, 2&, 3, 3a, 4&
(That’s a classic “rolling” syncopation.)
4. Now shape groove with note lengths:
- Make some notes short (1/16–1/8)
- Let one or two notes “hang” longer (1/8–1/4) to feel heavier
Why this works:
Groove comes more from when the sub hits and how long it hits than from pitch changes.
🎯 Quick checkpoint: If you mute the drums, the sub rhythm should still nod.
---
Step 3 — Lock it to the drums (sidechain with Compressor)
DnB kick + sub can fight. We’re going to duck subtly, not pump like house.
On the SUB track after Utility/Saturator:
1. Add Compressor
2. Enable Sidechain
3. Input: Kick
4. Settings starting point:
- Ratio: 3:1
- Attack: 5–15 ms (let sub transient exist a bit)
- Release: 60–120 ms (fast enough for 174 BPM)
- Threshold: adjust for 2–4 dB gain reduction on kick hits
✅ Result: kick reads clearly, sub stays loud without mud.
---
Step 4 — Add melody without destroying the low-end
Now we introduce “sub melody” carefully.
#### Rule of thumb for beginners:
Keep sub pitch changes simple and not constant.
1. Duplicate your 1-bar clip into 2 bars
2. Keep bar 1 mostly on the root (e.g., G1)
3. In bar 2, change only one or two notes to a nearby chord tone:
- Example in key of G minor:
- Root: G1
- Flavor notes: Bb1 or D2 (but be careful with D2 if it feels too “talky”)
Practical approach:
🎧 Listen for: does the bass still feel like one strong engine, with a little “conversation” on top?
---
Step 5 — Separate sub function vs character (mid layer)
If you want more audible “melody” but still keep the sub rock-solid, don’t force it into the sub. Add a mid layer.
On MID BASS track:
1. Add Wavetable (or Operator)
2. Choose a harmonically rich wave (Wavetable: Basic Shapes → saw-ish)
3. High-pass it so it never interferes with sub:
- Add EQ Eight
- High-pass at 120–180 Hz
- Slope: 24 dB/oct
4. Add a bit of movement:
- Auto Filter
- LP mode
- Env Amount small
- Or an LFO on filter cutoff (slow, subtle)
Now copy the same MIDI clip from SUB to MID BASS, but:
✅ Result: Sub = groove + weight, Mid = melody + identity. This is a pro workflow.
---
Step 6 — Arrangement idea (make it feel like DnB)
A common DnB trick: groove first, melody later.
Try this 32-bar skeleton:
🎛 Automation:
---
4. Common mistakes 🚫
1. Trying to make the sub do everything
Sub should be simple and stable. Put “talk” in the mids.
2. Too many pitch changes below ~80 Hz
This often sounds weak or “wobbly” in a bad way.
3. No mono control
If your sub isn’t mono, it’ll disappear on big systems.
4. Over-sidechaining
If the sub is pumping hard, you lose weight and momentum.
5. Ignoring note length
DnB groove is often note-off timing, not just note-on timing.
---
5. Pro tips for darker/heavier DnB 🌑💥
1. Use a triangle sub instead of pure sine (sometimes)
- Operator Osc A: Triangle
- Slightly more harmonics = more presence without extra layers.
2. Add controlled grit (but only above the true sub)
- On MID BASS: Saturator (Drive 4–8 dB) + EQ Eight to tame harshness
3. Sub “call”, mid “response”
- Keep sub mostly root
- Let mid layer do a nasty little 3-note phrase
4. Tension notes sparingly
- Try a brief b2 or tritone in the MID BASS only (not always in the sub)
5. Use Gate for tighter stops
- If your sub tails blur: add Gate (very gentle) or shorten MIDI notes
---
6. Mini practice exercise 🎯
Goal: Make two 8-bar drops: one groove-led, one melody-led, and compare.
1. Drop 1 (Bars 1–8):
- SUB: 1 note only (root), focus on rhythm + note length
- MID: very quiet or muted
2. Drop 2 (Bars 9–16):
- SUB: add only two pitch changes total across 8 bars
- MID: add a simple 3–4 note phrase (repeat every 2 bars)
Checklist:
---
7. Recap ✅
SUB = clean mono foundation (Operator + Utility)
MID BASS = character + melodic identity (Wavetable + EQ Eight HP)
If you want, tell me your target sub key (e.g., F, F#, G) and whether you’re going for liquid rollers, jump-up, or techy neuro vibes—and I’ll give you a ready-to-program 16-bar MIDI pattern blueprint.
```

