Main tutorial
Lesson Overview
In this lesson, you’re building a Sub Pressure vocal texture pull formula: a dark, low-end vocal chop effect that feels like it’s being dragged out of the sub pressure zone and pulled into the room with that 90s-inspired jungle / oldskool DnB tension. Think of those haunted, gritty vocal fragments that sit between the kick, snare, and subline in a roller or jungle track and make the drop feel deeper and more cinematic.
This technique matters because in DnB, especially darker styles, vocal texture is not just decoration — it can become part of the groove, the tension, and the identity of the track. A short phrase, a breath, a word, or even a tiny vocal noise can be resampled and shaped into a rhythmic texture that works like another percussion layer. When you combine that with sub-pressure filtering, resampling, and careful automation in Ableton Live 12, you get a sound that feels old, tense, and dangerous without cluttering the mix.
You’ll use Ableton’s stock tools to:
- chop a vocal into a tight dark texture
- process it so it feels low, gritty, and “pulled”
- resample it into a new audio clip
- place it in a jungle/DnB arrangement where it supports the drums and bass instead of fighting them
- intro tension sections
- builds into drop phrases
- call-and-response moments with the bass
- top-layer ear candy in rollers and darker neuro-leaning DnB
- sit in the background or mid-layer of a DnB drop
- pulse in rhythm with the drums
- feel like a haunted chant, breath, or chopped phrase
- be easy to duplicate, rearrange, and resample into variations
- work in both jungle breakbeat sections and rollers with sparse bass
- one version for the intro
- one version for the first drop
- one version with extra distortion for a switch-up
- one resampled tail for transitions or fills
- Making the vocal too loud
- Leaving too much low-end in the vocal
- Over-reverberating the sample
- Not resampling
- Putting the vocal on top of the snare transient
- Using too much stereo width in the low mids
- Use a darker filter automation curve
- Layer the resampled vocal with a quiet noise hit
- Use short, sharp call-and-response
- Try a second resample pass
- Use Automation Lanes for tension
- Keep the sub clean underneath
- Use ghosted vocal tails
- keep the vocal short and characterful
- use EQ Eight, Auto Filter, and Saturator to shape the pressure
- resample the processed sound so it becomes new DnB material
- place it like a percussion layer, not a lead vocal
- use subtle automation and arrangement movement to create tension
This is especially useful in:
Why this works in DnB: the genre thrives on contrast and motion. A sub-heavy drum loop is already powerful, so when you add a small vocal texture that has been filtered, distorted, and resampled, it creates a sense of depth without needing more notes. That’s very much the oldskool jungle mindset: make one sound do several jobs.
What You Will Build
By the end of this lesson, you’ll have a dark vocal texture pull that sounds like a short vocal phrase being sucked through pressure, tape grit, and low-mid shadow. It will:
The final result is not a full lead vocal. It’s a texture tool:
Musically, it might sound like a chopped “yeah,” “hey,” “run,” “pressure,” or even a single syllable stretched and filtered so it becomes almost unrecognizable. The key is that it should feel dark, rhythmic, and low-pressure heavy, not poppy or polished.
Step-by-Step Walkthrough
1. Choose a vocal source with attitude
Start with a short vocal phrase, spoken line, ad-lib, or even a single breathy word. For this style, the best source is something with:
- a dry recording
- a rough or emotional tone
- short consonants or a strong vowel
- no huge reverb baked in
Good examples for this DnB context:
- a spoken “pressure”
- a chopped “step”
- a gritty “run”
- a whispered phrase
- a short crowd-like vocal shout
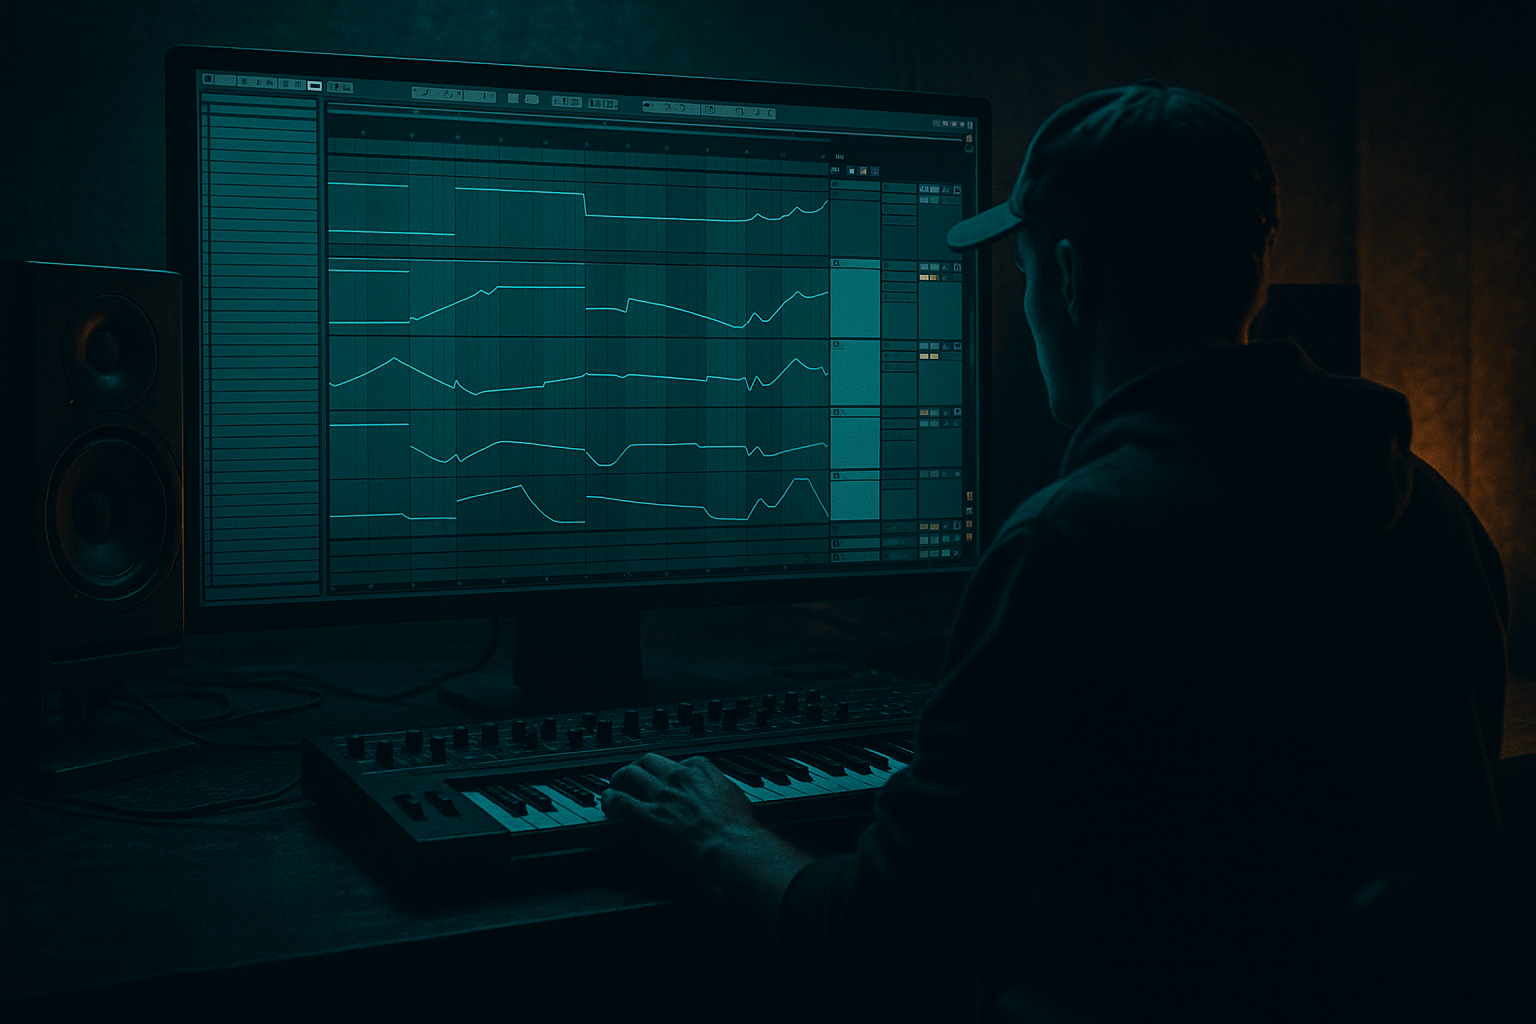
Drag it into an Audio Track in Ableton Live 12. Keep it simple. You’re not trying to build a full vocal arrangement — just one usable fragment.
If you don’t have a vocal sample, record your own with a phone or mic. A close, dry voice works surprisingly well once processed. In jungle and darker DnB, roughness often matters more than perfection.
2. Clean and isolate the usable slice
Use Ableton’s sample view to find the most interesting part of the vocal. You want a slice with a strong character — a breath, a consonant, a vowel tail, or a syllable with movement.
In the clip:
- turn on Warp
- set Warp mode to Complex Pro for smoother vocal shaping, or Texture if you want more grain
- trim the clip to the most usable part
- set the start marker tightly
Beginner tip: don’t stretch the vocal too far yet. Just find a short slice that loops or hits well.
If the vocal has too much low-end rumble, add EQ Eight:
- high-pass around 120–180 Hz
- if it sounds muddy, dip 250–400 Hz by 2–4 dB
- if it feels harsh, watch 2.5–5 kHz
This matters in DnB because the sub region is sacred. The vocal texture must leave space for the kick/sub relationship.
3. Build the “pull” with filter movement
Add Auto Filter after EQ Eight. This is where the sub-pressure idea starts to come alive.
Try these starting settings:
- Filter type: Low Pass 24
- Cutoff: start around 200–500 Hz
- Resonance: 10–25%
- add a tiny bit of Drive if needed
Automate the cutoff so it opens slightly on the last beat before the snare or drop hit, then closes again. This gives the feeling of the vocal being pulled through a tunnel or pressure valve.
A good DnB phrasing idea:
- let the vocal sit mostly filtered during the bar
- open it briefly on the “and” before the snare
- snap it back down on the next downbeat
Why this works in DnB: the listener feels motion even if the actual note content is minimal. The filter movement creates tension and release, which is a huge part of drop design in jungle and darker rollers.
4. Add grit and low-mid character with stock saturation
After Auto Filter, add Saturator.
Starting range:
- Drive: 2–7 dB
- Curve: leave default or slightly softer if it gets too sharp
- turn on Soft Clip if peaks jump out
- use Dry/Wet around 50–80% if you want parallel-style control
If you want a more damaged texture, try Pedal or Drum Buss very lightly:
- Drum Buss Boom: usually off for vocals
- Drive: low, around 5–15%
- use only a touch of Crunch if you want extra edge
The goal is not to destroy the sample. You want the vocal to feel like it has been pushed through old tape, PA speakers, or a worn sampler. That’s very on-brand for 90s-inspired DnB.
5. Turn the vocal into a rhythmic texture
Now place the vocal so it answers the drums. A simple starting rhythm in DnB is:
- one short hit on beat 2
- another on the offbeat before beat 4
- a small tail or repeat into the drop
You can do this by:
- duplicating the audio slice
- shortening clip edges
- moving the clips into rhythmic positions
- using Clip Gain to make some hits quieter
If you want more motion, add Simple Delay:
- set Left/Right to a small synced value like 1/8 or 1/16
- keep Feedback low, around 10–25%
- use Dry/Wet around 8–20%
Or use Echo if you want more atmospheric tail:
- Time: 1/8 or 3/16
- Feedback: low to moderate
- Filter: darker side
- keep it subtle
In darker DnB, the vocal texture often works best when it behaves like a percussion layer. You’re not mixing a singer — you’re building a rhythmic ghost.
6. Resample the processed vocal into a new audio layer
This is the heart of the lesson. Once you like the processing, you’re going to resample the sound so you can work with it as a new, editable audio texture.
In Ableton:
- create a new Audio Track
- set its input to Resampling
- arm the track
- play the vocal texture in context with drums and bass
- record 4–8 bars of the processed result
Why resample? Because in DnB, resampling helps you:
- commit to a sound
- capture accidental movement and texture
- simplify CPU load
- create new material that feels more organic and less “plug-in polished”
Once recorded, you now have a fresh audio file. This is where the texture starts to feel like part of the track instead of a separate effect chain.
After recording:
- zoom in on the best moments
- cut the resampled audio into tiny phrases
- reverse one or two pieces if it helps the tension
- fade clip edges for smoother transitions
7. Shape the resampled texture with envelope-style automation
Add Utility and Auto Filter on the resampled track if needed.
Useful automation ideas:
- automate Utility Gain down by -3 to -8 dB in busy sections
- automate Auto Filter cutoff to open on phrase transitions
- automate pan very slightly left/right for movement
- automate reverb send only at the end of phrases
Keep the movement subtle. In a jungle or roller arrangement, too much motion in the vocal layer can distract from the break edits and sub line.
A nice beginner arrangement trick:
- first 8 bars: filtered texture only
- next 8 bars: add a short resampled vocal pull before each snare
- drop: keep only the most effective chop and mute the rest
- switch-up: bring back the full texture with more echo or distortion
This gives you a clear arrangement arc without overcomplicating the track.
8. Place it against drums and bass so it supports, not competes
Play the vocal texture with your drum break and bassline.
If the drums are a classic jungle-style break:
- keep the vocal texture short and percussive
- place it between snare hits or after ghost notes
- avoid masking the snare transient
If the bassline is a rolling sub/reese combination:
- make sure the vocal isn’t too loud in the 120–300 Hz area
- use EQ Eight on the vocal if it crowds the bass
- use Utility to keep it narrow or mono where needed
Good placement idea:
- vocal pull on the last half of bar 2
- snare hit on bar 3
- bass answer on bar 4
That call-and-response shape is classic DnB energy. The vocal texture becomes a bridge between drum phrases and bass movement.
9. Make a few variations for arrangement use
Duplicate your resampled texture and create 2–3 versions:
- Version A: filtered, subtle intro texture
- Version B: more saturated drop texture
- Version C: reversed or delayed transition version
Quick variation tools in Ableton:
- reverse one clip
- change Warp mode
- move the start point
- cut a different syllable
- add a small Reverb before resampling again
In darker DnB, small variations keep the loop alive. You don’t need a brand-new sound every bar — you need enough change to keep the ear moving.
Common Mistakes
- Fix: pull it down and treat it like a texture, not a lead. Try lowering by 3–8 dB.
- Fix: high-pass with EQ Eight around 120–180 Hz so it doesn’t fight the sub.
- Fix: use short, dark reverb or delay in small amounts. Too much wash smears the break.
- Fix: once the chain sounds good, record it. Resampling helps you commit and creates more natural variation.
- Fix: move the texture slightly earlier or later so the snare stays punchy.
- Fix: keep the important part of the texture narrow. DnB needs strong mono compatibility in the low end.
Pro Tips for Darker / Heavier DnB
- Instead of sweeping wide open, open the filter only a little. That creates a tighter, more underground feel.
- A tiny vinyl crackle or room noise under the vocal can make it feel more like a real sampled jungle record.
- Place the vocal in the spaces where the drums breathe. That’s often more powerful than continuous playback.
- Record the vocal again after adding a little extra saturation or delay. Two-stage resampling often gives you that worn sampler character.
- Automate cutoff, dry/wet, and gain across 8 or 16 bars. Small moves create the sense of pressure building.
- If your bassline is the main weight source, let the vocal texture live higher up. Darkness comes from contrast, not mud.
- Short faded tails after a phrase can create a haunted atmosphere without taking up much space.
Mini Practice Exercise
Spend 10–20 minutes making three versions of the same vocal texture:
1. Pick one short vocal sample.
2. Process it with EQ Eight, Auto Filter, and Saturator.
3. Resample 4 bars of the result.
4. Make three edits:
- one filtered and subtle
- one gritty and louder
- one reversed or delayed
5. Place each version in a different arrangement section:
- intro
- pre-drop
- drop or switch-up
Goal: get all three versions working with your drums and bass without clashing with the snare or sub. If it feels crowded, reduce the vocal level and high-pass a little more.
Bonus challenge: automate the filter so the vocal opens briefly right before the snare hit in a 16-bar phrase.
Recap
The key idea is simple: take a short vocal, darken it, rhythmically place it, then resample it.
Remember the main takeaways:
If you do it right, this technique gives your jungle and oldskool DnB tracks that haunted, pulled-under pressure feeling that hits hard without overcrowding the mix.

