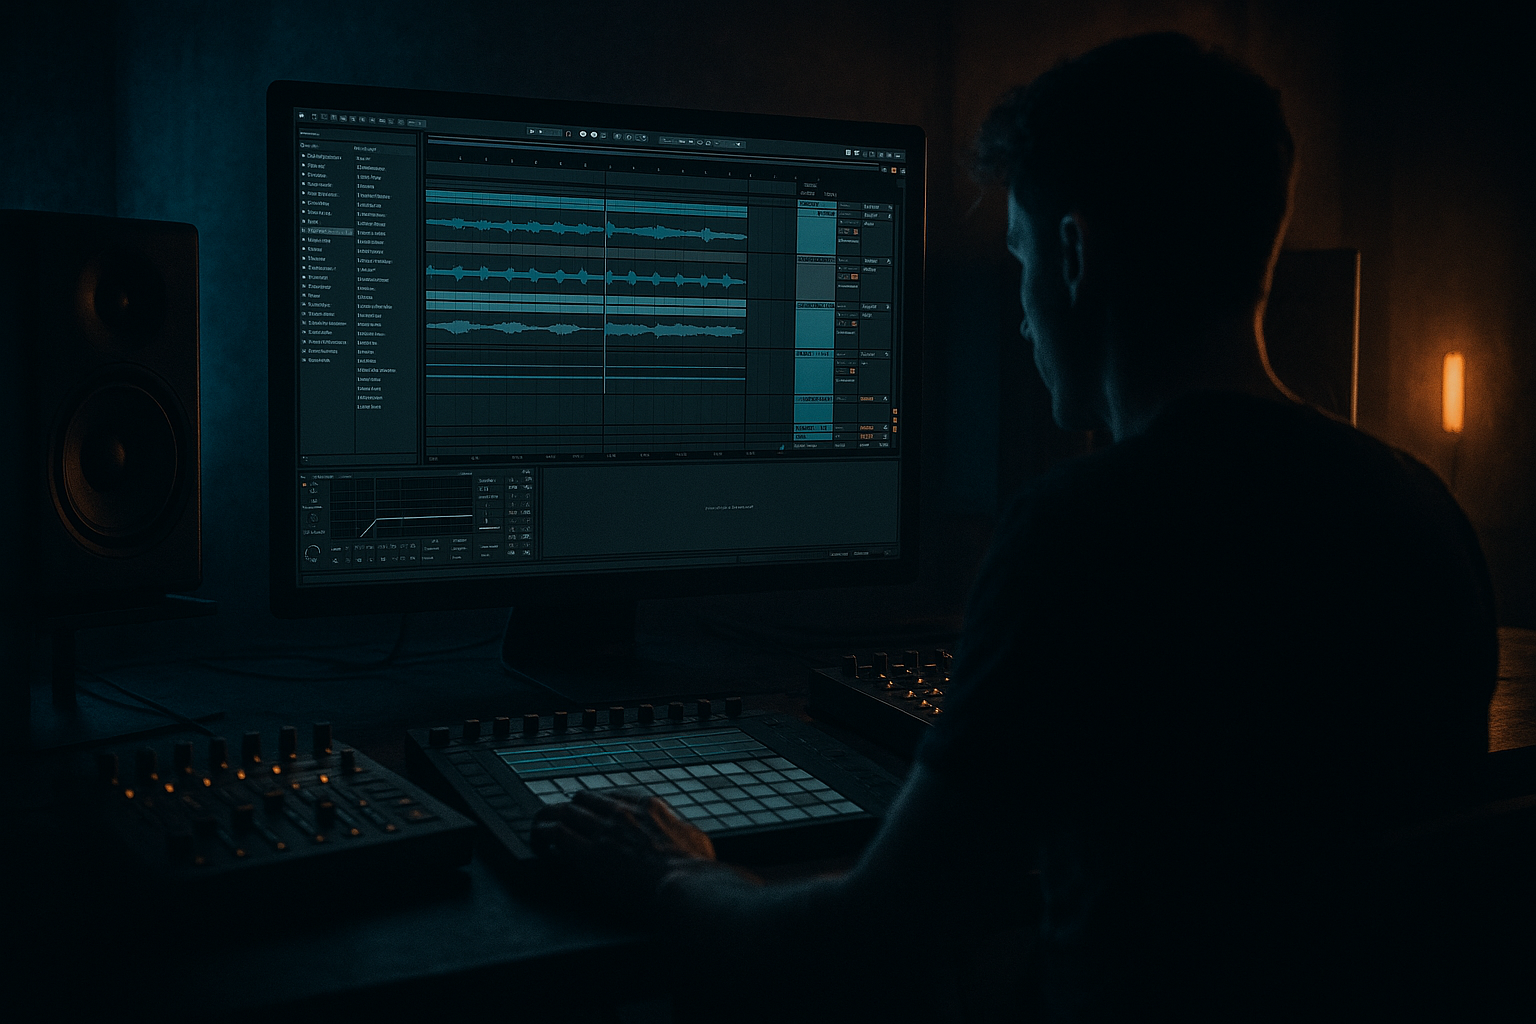
DNB COLLEGE

Drum & Bass Ableton Live 12 Tutorials

LESSON DETAIL

Sub sustain shaping for jungle spaces (Beginner)

An AI-generated beginner Ableton lesson focused on Sub sustain shaping for jungle spaces in the Basslines area of drum and bass production.

Back to lessons
Sub sustain shaping for jungle spaces (Beginner) cover image

Narrated lesson audio

The voice track includes the tutorial plus extra teacher commentary.

Open audio file

Main tutorial

```markdown

Sub Sustain Shaping for Jungle Spaces (Ableton Live) 🥁🎛️

1. Lesson overview

In jungle and drum & bass, the sub isn’t just “a low note” — it’s the floor your breakbeats bounce on. But the classic jungle vibe needs space: the kick, the ghost notes, the reese/top bass, and the room/ambience all need breathing room.

This lesson shows you how to shape sub sustain (how long the sub “holds”) so your bass feels deep and rolling without swallowing the drums. You’ll learn a practical Ableton workflow using stock devices to:

  • Control sustain per note (plucks vs holds)
  • Make the sub groove with the break
  • Keep low-end clean while still heavy
  • ---

    2. What you will build

    You’ll build a two-layer bass system:

  • Sub layer: clean sine/triangle focused on 40–60 Hz, with controlled sustain
  • Mid/top layer (optional but recommended): adds character while the sub stays stable
  • You’ll also create a “jungle pocket” where:

  • Sub sustains between kick hits (or ducks out of the way)
  • Breakbeat transients stay sharp
  • The groove feels rolling instead of flat
  • ---

    3. Step-by-step walkthrough

    Step 0 — Set up a jungle-friendly session 🎚️

    1. Set tempo to 165–175 BPM (try 170 BPM).

    2. Drop in a break (Amen, Think, etc.) or a DnB drum loop.

    3. Add a clean kick (or use the one in the break if that’s your style).

    Goal: You need drums playing while you shape sustain — don’t design sub in solo.

    ---

    Step 1 — Create a dedicated Sub track (clean + controlled)

    1. Create a new MIDI Track → name it `SUB`.

    2. Add Operator (stock synth).

    3. In Operator:

    - Oscillator A: Sine

    - Level: around -12 dB to start (leave headroom)

    Envelope (Operator Amp Envelope)

  • Attack: 0–5 ms (tiny fade helps clicks)
  • Decay: 200–500 ms (depends on groove)
  • Sustain: -inf to -6 dB (we’ll shape this intentionally)
  • Release: 50–150 ms (avoid long tails in fast DnB)
  • ✅ If you want a slightly more audible sub on smaller systems, switch Sine → Triangle (still clean but adds harmonics).

    ---

    Step 2 — Write a simple rolling sub pattern (the “spaces” come from notes)

    Create a 2-bar loop. In MIDI, try something like:

  • Root note on 1 (long-ish)
  • Short notes that answer the kick/snare
  • A couple of gaps (silence is part of the bassline!)
  • Example rhythm idea (1 bar, 170 BPM):

  • Beat 1: note length 1/4
  • Beat 2 “and”: note length 1/8
  • Beat 3: note length 1/8
  • Beat 4: rest or very short note
  • 🎯 Jungle tip: let the break’s ghost notes breathe by not sustaining sub across every micro-hit.

    ---

    Step 3 — Shape sustain with note length + envelope (the beginner superpower)

    This is the big concept: note length controls sustain, but the amp envelope determines how that sustain behaves.

    #### Method A: Plucky/rolling sub (classic jungle pocket)

    In Operator Amp Envelope:

  • Attack: 2 ms
  • Decay: 250 ms
  • Sustain: -inf
  • Release: 80 ms
  • Now your sub becomes a controlled “thump” per note, which leaves space for breaks and reese.

    #### Method B: Held sub with controlled tail (deep rollers)

  • Attack: 2 ms
  • Decay: 600 ms
  • Sustain: -10 dB
  • Release: 120 ms
  • Now the sub can hold but won’t endlessly smear.

    ✅ Practical approach: Start with Method A, then increase Decay/Release until it just starts to feel too long, then pull it back slightly.

    ---

    Step 4 — Add sidechain ducking without destroying the groove 🦆

    Ducking is essential, but over-ducking makes the bass feel like it’s “wobbling” in a bad way.

    1. On `SUB`, add Compressor (stock).

    2. Turn on Sidechain.

    3. Choose your kick track (or a dedicated ghost trigger if using breaks).

    4. Starting settings:

    - Ratio: 4:1

    - Attack: 5–15 ms (let some sub transient through)

    - Release: 80–140 ms (time it to the groove)

    - Threshold: adjust until you get 2–5 dB gain reduction on kicks

    🎯 Jungle feel: keep the ducking subtle. You want the kick to speak, not the bass to disappear.

    Optional advanced-but-easy improvement:

    Create a ghost kick trigger (a MIDI kick playing where you want ducking) so break-only sections still duck consistently.

    ---

    Step 5 — Control the sustain only in the low lows using Multiband Dynamics

    This is a killer stock-device trick: shape sub sustain without choking your mids.

    1. After Compressor, add Multiband Dynamics.

    2. Solo the Low band (L) for a moment and set crossover around:

    - Low band up to 90–120 Hz (depends on your bass note range)

    3. In the Low band:

    - Use Downward compression gently:

    - Ratio around 2:1

    - Threshold so it catches only the longer sustain

    4. Turn off solo and A/B.

    What this does:

    The initial hit stays punchy, but the tail/sustain gets controlled so your jungle space stays clean.

    ---

    Step 6 — Keep sub mono + clean (but still present)

    On `SUB`, add:

    1. EQ Eight

    - High-pass: OFF (don’t cut your sub unless there’s rumble)

    - Optional tiny dip if muddy: -2 dB at 200–300 Hz (only if needed)

    2. Utility

    - Width: 0% (mono)

    - Gain: adjust so the sub sits under drums (don’t chase loudness)

    ✅ If you need more definition without more sustain, add Saturator very lightly:

  • Drive: 1–3 dB
  • Soft Clip: On
  • Keep it subtle — you’re not making a reese here.
  • ---

    Step 7 — Arrange for “jungle spaces” (where sustain changes by section) 🧱

    Instead of one sustain setting for the whole track, automate it per section.

    Simple arrangement idea (32 bars):

  • Bars 1–9: intro breaks, short sub notes, more gaps
  • Bars 9–25: main drop, slightly longer sustain
  • Bars 25–33: variation, add call/response and reduce sustain before fills
  • Automation targets (easy wins):

  • Operator Decay or Release
  • Compressor Threshold (more ducking in dense sections)
  • Utility Gain for micro-level control (keep it consistent)
  • 🎯 Jungle classic move: before a break fill, shorten release so the bass “gets out of the way” of the fill.

    ---

    4. Common mistakes 🚧

  • Sustain too long → sub overlaps kicks/snare and makes the break feel dull.
  • Release too long → low-end smears and your track loses punch at 170 BPM.
  • Over-sidechaining → bass sounds like it’s pumping instead of rolling.
  • Trying to “EQ fix” sustain → sustain is mainly envelope + note length + dynamics, not EQ.
  • Stereo sub → phase issues, weak translation in clubs.
  • ---

    5. Pro tips for darker/heavier DnB 🖤

  • Split sub and reese: Keep sub pure; distort mids separately.
  • Device chain idea:

    - `SUB`: Operator → Compressor (SC) → EQ Eight → Utility

    - `BASS MID`: Wavetable/Operator → Saturator → Amp → EQ Eight → (optional) Chorus-Ensemble (above 200 Hz only)

  • Use “controlled dirt” on sub: tiny Saturator + Soft Clip gives weight without lengthening sustain.
  • Shorten sub sustain when adding heavy tops: When you bring in noisy breaks + reese, reduce sub release/decay slightly.
  • Let the break lead the groove: Program sub gaps to answer the Amen pattern (especially around ghost notes).
  • Use a low-end “ceiling”: Multiband Dynamics low-band compression keeps sustained notes from bloating the drop.
  • ---

    6. Mini practice exercise 🎯

    Goal: Make the sub feel deep but leave space for the break transients.

    1. Load a jungle break loop at 170 BPM.

    2. Create `SUB` with Operator (sine).

    3. Write an 8-bar bassline with at least 4 rests (intentional gaps).

    4. Make two versions:

    - Version A: Plucky (Decay 250 ms, Sustain -inf, Release 80 ms)

    - Version B: Held (Decay 600 ms, Sustain -10 dB, Release 120 ms)

    5. Add sidechain compression targeting 3 dB reduction on kick hits.

    6. Bounce both versions and compare:

    - Which one keeps the break clearer?

    - Which one feels heavier?

    - Can you automate between them (A in verse, B in drop)?

    ---

    7. Recap ✅

  • Jungle “space” comes from controlled sub sustain, not just volume.
  • Shape sustain primarily with note length + Operator envelope.
  • Use sidechain compression to carve kick room (subtle, timed release).
  • Use Multiband Dynamics to tame low-band sustain without killing punch.
  • Keep sub mono with Utility and avoid long releases at fast tempos.
  • Automate sustain settings across sections for a living, rolling arrangement.

If you want, tell me what BPM and break you’re using (Amen/Think/etc.), and I’ll suggest a specific sub rhythm + envelope timings that lock to it.

```

Ask GPT about this lesson

Chat with the lesson tutor, get follow-up help, or use quick actions.

Bigup 👽 Ask me anything about this lesson and I’ll answer in context.

Narration script

Show spoken script
Title: Sub sustain shaping for jungle spaces, beginner lesson in Ableton Live

Alright, welcome in. Today we’re dialing in one of the most important, most slept-on skills in jungle and drum and bass: shaping sub sustain so your low end is heavy, rolling, and deep… but it still leaves space for the break to smack.

Because in jungle, the sub isn’t just a low note. It’s the floor the entire breakbeat is bouncing on. And if that floor is made of mushy, over-long sub tails, you don’t get “bigger.” You get blur. Kicks lose punch, ghost notes disappear, and the groove stops feeling like it’s moving.

So the whole mission today is simple: get the sub to speak, then get out of the way, on purpose.

First, quick setup. Set your tempo somewhere jungle-friendly, like 170 BPM. Drop in a breakbeat loop, Amen, Think, whatever you like. And make sure you’ve got a kick in there, either the kick inside the break, or a layered kick if that’s your style.

Important rule: do not design your sub in solo. You need the drums playing while you shape sustain, because sustain is really about what happens between drum hits.

Now let’s build the sub track.

Create a new MIDI track and name it SUB. Load Operator, stock synth, perfect for this. On Oscillator A, choose a sine wave to start. Set the level around minus twelve dB just to give yourself headroom. You can always turn it up later, but jungle low end gets out of control fast if you start too hot.

Now let’s set the amp envelope, because this is where the entire lesson lives.

Set Attack to just a tiny amount. Anywhere from zero to five milliseconds. If you hear clicks, bump it up a little. Clicks usually mean the sound is starting too abruptly or ending too abruptly, especially on a pure sine.

For now, set Decay somewhere in the 200 to 500 millisecond range as a starting point. Release somewhere like 50 to 150 milliseconds. And Sustain, we’re going to shape intentionally depending on the vibe.

Also, quick optional move: if a sine feels too invisible on smaller speakers, switch the sine to a triangle. Triangle stays clean but gives you a bit more harmonic information, so you “hear” the bassline without needing longer sustain.

Cool. Next step: write a simple rolling pattern, and this is where a lot of beginners accidentally sabotage themselves.

The “spaces” in jungle aren’t only made by sidechain or EQ. They’re made by the notes you don’t play, and the gaps you leave.

Make a two-bar loop. Give yourself a root note on beat one that’s kind of long-ish. Then add a couple shorter notes that answer the kick and snare. And deliberately put in a few rests. Silence is part of the bassline.

Here’s a simple rhythm idea for one bar at 170: put a note on beat one, about a quarter note long. Then a note on the “and” of two, about an eighth note. Then another short note on beat three. And beat four, leave a rest… or make it very short. That gap is a jungle pocket. That’s where the break’s ghost notes get to be heard.

Now for the big concept of the lesson. I want you to lock this in.

Note length controls how long a note is held. But the amp envelope controls what “held” actually means. You can have long MIDI notes that still feel tight if the envelope tail is short. Or you can have short MIDI notes that still smear if your release is too long. We’re using both together.

Let’s build two classic sustain personalities.

First: plucky, rolling sub. This is the classic jungle pocket sound.

In Operator’s amp envelope, set Attack around 2 milliseconds. Set Decay to about 250 milliseconds. Set Sustain all the way down, basically minus infinity, so it doesn’t hold a steady level. Then set Release around 80 milliseconds.

Now play your loop with the drums. You should hear the sub as these controlled pulses. It hits, it supports, and it gets out of the way. This is the setting that usually keeps breaks crisp.

Second personality: held sub with a controlled tail, more like deep rollers.

Keep Attack around 2 milliseconds. Increase Decay to around 600 milliseconds. Bring Sustain up a little, like minus ten dB, so it can hold without being a flat drone. And put Release around 120 milliseconds.

Now you’ll feel the bass hold a bit more, but it shouldn’t smear endlessly.

Here’s a practical teacher trick: start with the plucky version, then slowly increase Decay and Release until it just starts to feel like it’s stepping on the break… and then pull it back slightly. That “just before it’s too much” point is usually where the groove feels full but still fast.

Now I want to coach your ears on what to listen for.

Don’t judge sustain on the hit. The hit always sounds exciting. Judge it between the hits. Loop one or two bars and focus on the tiny quiet moments after the kick and snare. If the low end is still talking when the break’s little ghost notes should pop through, shorten Release first. If that doesn’t do it, then shorten Decay.

And here’s another quick test that works ridiculously well: do a one-note envelope test. Temporarily program a single note, like C1, repeating every eighth note. Just like a metronome. Now adjust Release and Decay until each pulse feels separate and tight. In fast jungle, the sub should feel like individual hits, not one long ribbon. Once it’s tight, bring back your real bassline. Your envelope will already be in the right zone.

Alright, next: sidechain ducking. This is essential, but we’re doing it tastefully.

On the SUB track, add Ableton’s Compressor. Turn on Sidechain. Choose the kick as the input, or the track that contains the kick energy you want the sub to move around.

Start with Ratio at 4 to 1. Attack around 5 to 15 milliseconds. That attack matters: if it’s too fast, you erase the sub’s transient and it can feel weak. If it’s a little slower, the sub speaks, then ducks.

Set Release around 80 to 140 milliseconds and time it to the groove. Then pull the Threshold down until you see about 2 to 5 dB of gain reduction when the kick hits.

The goal is not extreme pumping. You want the kick to speak, but you don’t want the sub to vanish like someone turned it off. Jungle should roll, not wobble.

And one more coaching note: don’t let sidechain do timing work that your envelope should do. If your sub tail is too long, fix that with Release and Decay first. Then use sidechain as extra clearance. If you rely on heavy ducking to solve overlaps, your groove will start behaving weirdly when the kick pattern changes or when the break gets busier.

Optional, but super useful: if you’ve got sections where the break changes, or the kick disappears, you can make a ghost kick trigger. Basically a silent kick pattern that’s only there to drive consistent sidechain behavior. That way, the sub keeps pocketing even when your drum loop gets wild.

Next trick: controlling sustain only in the real low lows, without choking the character or the mid layer.

After the Compressor, add Multiband Dynamics. We’re going to use it gently.

Solo the Low band for a moment, and set the crossover so the low band covers up to around 90 to 120 Hz, depending on your sub note range. Then use downward compression on that low band with a mild ratio, like 2 to 1. Set the threshold so it mainly grabs the sustained part of the note, not the initial hit.

Then unsolo and A/B it.

What this does is huge: the transient stays punchy, but the tail stops blooming all over your drum transients. It’s like putting a ceiling on low-end sustain so the drop doesn’t get bloated.

Now let’s keep the sub clean and club-safe.

Add EQ Eight. In general, don’t automatically high-pass your sub. If there’s actual rumble or DC issues, sure, but beginners often cut the exact weight they’re trying to create. Instead, if you hear mud, you can try a tiny dip around 200 to 300 Hz, like minus 2 dB, but only if you genuinely hear that area building up.

Then add Utility at the end. Set Width to zero percent. Mono sub. Always. Stereo sub equals phase problems and weak translation, especially in clubs.

If you want a touch more presence without extending sustain, add a Saturator very lightly. Drive one to three dB, Soft Clip on. Keep it subtle. You’re not making a reese on the sub track. You’re just giving it a little extra “read.”

And here’s a cool optional move if you want the bassline to be audible on small speakers without making the sub longer: make a return track called SUB AIR. Put Saturator on it, then EQ Eight after it, and high-pass around 120 to 180 Hz so only harmonics come through. Then send a little bit of the sub to that return. Now you hear the line, but your true sub remains short and controlled.

Now let’s talk arrangement, because jungle space is not one static setting.

Instead of one sustain for the whole track, you change sustain based on density.

A simple 32-bar idea: early on, in the intro, keep the sub tighter and leave more gaps. When the drop hits, you can allow slightly longer sustain for weight. Then before fills or busy break variations, shorten the release so the bass gets out of the way and the fill feels louder and more exciting without turning anything up.

Easy automation targets are Operator Decay or Release, Compressor threshold if you need a touch more ducking in dense sections, and Utility gain for tiny level consistency.

A classic jungle move: two bars before a fill, gradually shorten the bass note lengths, or automate Release down. That “space ramp” makes the fill explode.

Let’s hit common mistakes so you can avoid the usual pain.

If your sustain is too long, your sub overlaps kick and snare, and the break feels dull. If your release is too long, the low end smears at 170 and you lose punch. If you over-sidechain, the bass pumps in a bad way and the groove feels unstable. If you try to EQ your way out of sustain problems, you’ll chase your tail, because sustain is mostly envelope, note length, and dynamics. And if your sub is stereo, it will betray you on big systems.

Before we wrap, here’s your mini exercise.

Load a jungle break at 170. Create the SUB with Operator sine. Write an eight-bar bassline with at least four intentional rests. Then make two versions: a plucky version with Decay around 250, Sustain all the way down, Release around 80; and a held version with Decay around 600, Sustain around minus ten, Release around 120.

Add sidechain and aim for about 3 dB of reduction on kicks. Bounce both versions and compare: which one keeps ghost notes clearer, which one feels heavier at the same perceived loudness, and could you automate between them, like plucky in a verse and held in a drop?

Recap to lock it in.

Jungle space comes from controlled sub sustain, not just volume. Shape sustain using note length and Operator’s envelope first. Use sidechain for subtle kick clearance, timed to the groove. Use Multiband Dynamics to tame low-band tails without killing punch. Keep the sub mono. And automate sustain changes based on how dense the drums and tops get, not just “intro versus drop.”

If you tell me your BPM, what break you’re using, and whether your kick is inside the break or layered separately, I can suggest a safe tail length range and a sidechain release setting that will lock right into your pattern.

mickeybeam

Go to drumbasscd.com for +100 drum and bass YouTube channels all in one place - tune in!

Generating PDF preview…