Main tutorial
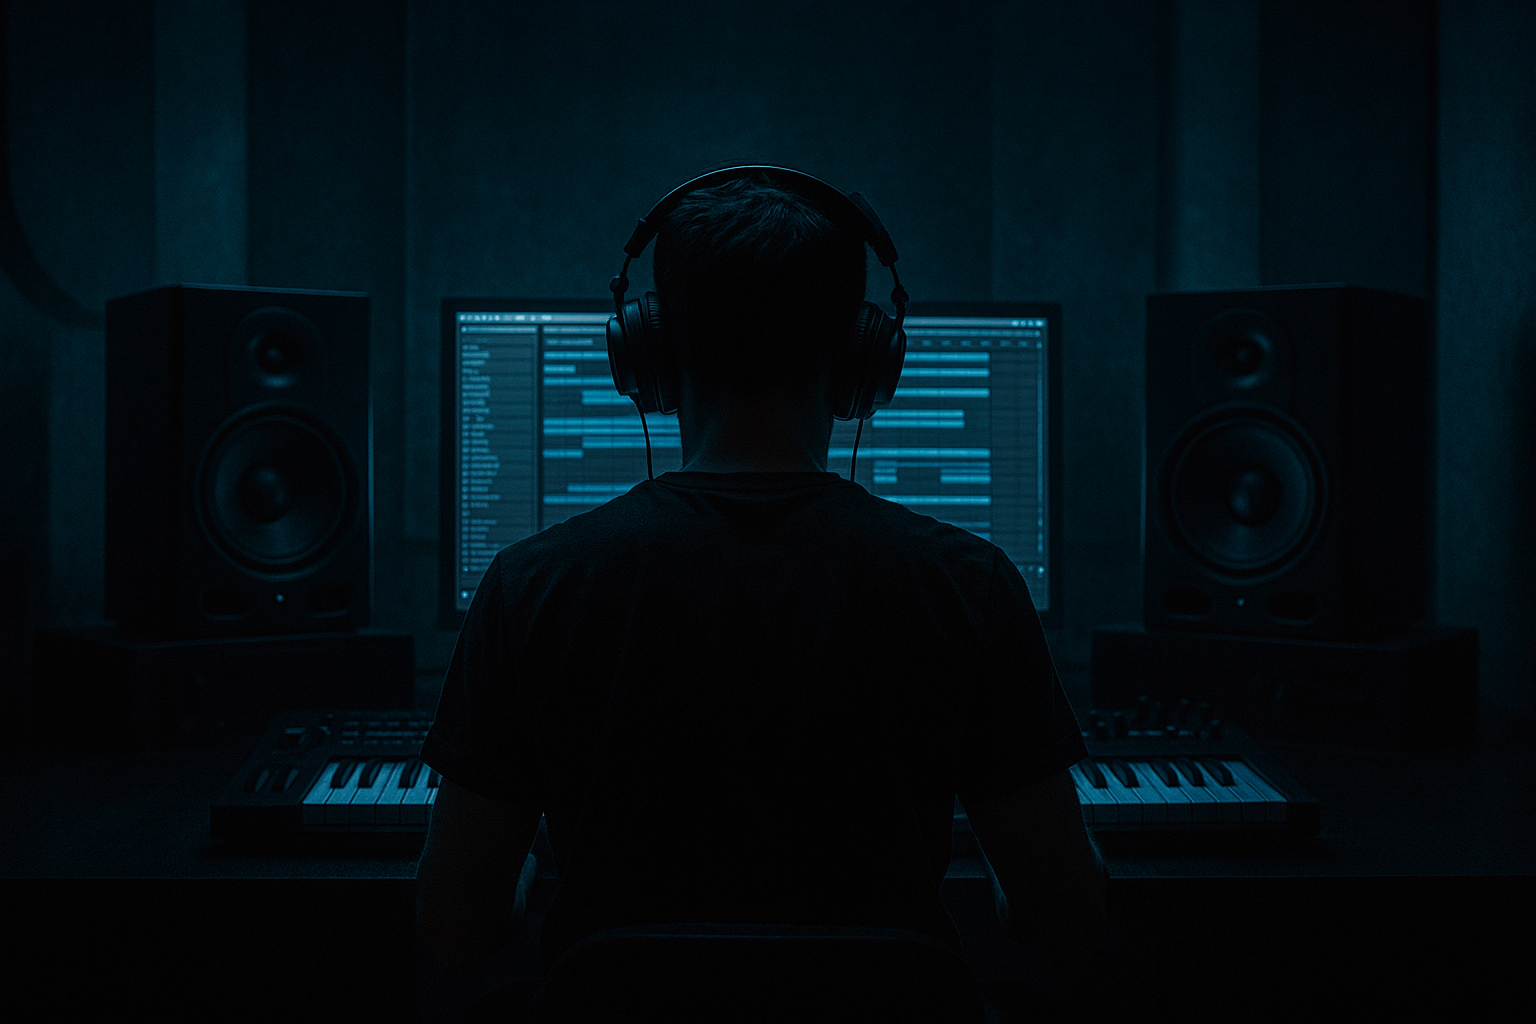
Lesson: Sub Translation Across Headphones and Monitors (Drum & Bass in Ableton Live) 🎧🔊
Teacher tone: energetic, clear, professional — let’s get your subs translating reliably between headphones and monitors so your DnB / jungle mixes hit hard and tight everywhere.
---
1) Lesson overview
In this advanced lesson you'll learn how to design, process, and verify sub-bass so it translates consistently between headphones and studio monitors (and smaller consumer systems). You’ll get concrete Ableton Live device chains, settings, workflows, and troubleshooting techniques specific to fast-paced drum & bass: rolling subs, heavy reeses, and kick/sub interplay at 170–175 BPM.
Key goals:
- Make sub energy mono and focused below a cutoff.
- Keep harmonics and stereo motion up top without polluting the subs.
- Control transient interplay between kick and sub so both punch through.
- Create a repeatable headphone/monitor checking workflow.
- "Bass – Sub" (mono, focused, tuned) — carries fundamentals below ~120 Hz.
- "Bass – Top" (stereo, texture, harmonics) — carries mid/high energy and stereo movement.
- Instrument: use Operator or Wavetable (stock) for synth subs. For reese-style bass use two detuned oscillators with low pass.
- Duplicate the bass track or route via sends. Name them:
- On Bass – Sub:
- On Bass – Top:
- Route both Sub and Top to a group “Bass Bus”.
- On Bass Bus:
- Use Tuner or Spectrum:
- If the sub fundamental sits at non-musical frequencies or clashes with kick harmonic, transpose bass pattern until it sits cleanly.
- Create a small “Translation Check” rack:
- Regularly switch Bass – Sub to Utility Width 0% (you should already have 0%). Also solo the Bass Bus and toggle the check rack.
- Phase inverts: With both sub and top playing, invert the left channel on the top track; if low end collapses, you have phase issues.
- Always compare at multiple levels:
- Practical routine:
- Use sidechain on the sub (described above). For faster rolling kicks:
- Another technique: transient shaping on kick (Transient Shaper device isn't stock, but use Compressor with fast attack and short release on Kick bus to make the transient bigger without increasing LF content).
- Use Spectrum on Bass Bus; observe energy below 120 Hz and compare with reference tracks.
- Use the Utility/Phase invert test and listen to make sure cancellation isn’t happening.
- Mono check: Utility width 0% — low end persists.
- Phase invert check: invert L or R — low end collapses (good).
- Headphones check: translate ~70–85% of power (you may need to reduce sub).
- Small speaker check: highpass around 40–60 Hz to simulate laptop speakers — essential to ensure bass hint still present in mids.
- Making the sub stereo: leads to phase cancellation on mono playback and inconsistent translation.
- Over-saturating the sub oscillator: adds harmonics but can smear the low end and create phase issues.
- Not tuning sub notes to the track key: results in muddy, unfocused low end.
- Over-reliance on headphones: headphones exaggerate bass perception differently than monitors.
- Not leaving headroom on master while mixing bass (causes masking and inaccurate decisions).
- Using a single track for everything (sub + top) and applying stereo FX before splitting — split early in the chain.
- Overdoing low-pass crossover too low or too high. If you cut too much mid-bass from Top, it might sound thin on small systems.
- Mono sub + stereo wobbles: Keep the sub strictly mono; push reese movement to the Top track. Automate Top width for build-ups to hide stereo phase issues during drops.
- Harmonic reinforcement: Duplicate the Sub track, set duplicate an octave-up, saturate heavily, lowpass around 400–700 Hz and mix very low. This “harmonic layer” gives perceived bass on small speakers without adding LF.
- Parallel saturation chain: send to a Return with Saturator + EQ and blend back to taste to add distortion without contaminating the mono sub.
- Multiband sidechain: use Multiband Dynamics on Bass Bus, compress the low band when the kick hits more heavily than mids.
- Controlled rumble: Apply a gentle shelf cut at 28–35 Hz across the master/bass bus to remove unhelpful subsonic energy that translates poorly.
- Use small, decisive EQ cuts rather than boosts. For heavy DnB, cuts remove stimulation that causes masking.
- Tighten kick-sub timing: use transient shaping and shorter release on sub sidechain to create a snappy pocket. At 174 BPM, set release to align with the groove (try 80–140 ms).
- Arrangement dynamics: during breaks, you can widen and process the Top heavily. For drops, collapse width slightly and ensure sub is rock-solid and in mono.
- Split your bass into a mono Sub and stereo Top early; low-pass the Sub (~120–180 Hz) and high-pass the Top (~100–220 Hz).
- Keep the sub mono with Utility Width 0% and use Spectrum/Tuner to tune the fundamentals.
- Use sidechain compression or volume automation to duck the sub against the kick — Attack 0.5–3 ms; Release 60–140 ms (tune to groove).
- Check phase and mono compatibility frequently (invert channels and use Width 0%).
- Translate by switching between headphones and monitors constantly and make one decisive change between swaps.
- For darker/heavier DnB, add harmonic layers, parallel saturation, and careful multiband control—don’t stereoize the sub.
Expect to use stock Live devices: Operator/Wavetable/Analog, EQ Eight, Utility, Spectrum, Compressor, Glue Compressor, Saturator, Multiband Dynamics, Drum Buss, Tuner, Spectrum.
---
2) What you will build
A two-track bass system for DnB:
Plus a bass buss with subtle glue, and a kick-sidechain setup so the kick and sub coexist cleanly. You’ll also build a simple monitoring check rack (Utility + Invert) and a visual/aural reference workflow to test translation.
---
3) Step-by-step walkthrough
Follow these steps inside Ableton Live. I’ll give exact device order, suggested params, and why we do it.
A. Prepare your bass source
- Operator: Use a sine or low-pulse for the sub oscillator. Set second oscillator for octave + detune if you want reese top content.
- Wavetable: Use a basic sine or triangle for sub oscillator, add a second wavetable (detuned) for mid harmonics.
B. Split into Sub / Top tracks
- Bass – Sub (Audio or Instrument)
- Bass – Top (Audio or Instrument)
- Insert EQ Eight first. Use it as a low-pass filter:
- Band 1: Low-pass (Type: Lowpass), Frequency: 180 Hz (start here), Slope: 24 dB/oct.
- Band 2: High cut very steep below 20 Hz? Instead set a gentle high-pass at 18–20 Hz only if you need to remove inaudible rumble.
- Add Utility (after EQ):
- Width: 0% (mono)
- Gain: adjust to match level with Top.
- Phase: leave normal.
- Add Compressor for kick ducking (I prefer a dedicated sidechain Compressor):
- Device: Compressor (stock) -> Sidechain on -> choose Kick group (or Kick bus).
- Ratio: 6:1 (start). Attack: 0.5–3 ms. Release: 70–110 ms. Threshold: adjust until you get ~2–5 dB of gain reduction on kick hits.
- Note: shorter attack keeps more transient, short release for punch — tune for tempo (at 174 BPM, use release around 80–140 ms).
- Add Saturator (very subtle if at all): Drive 1–3 dB, Soft clip preset if you need harmonic content but be careful — saturate only if you retain mono phase.
- Add Spectrum (for visual check) or Tuner to ensure fundamental is in tune with track key.
- EQ Eight:
- High-pass: 100–220 Hz (cut everything below your chosen sub crossover — often 110–160 Hz for DnB; use ear and Spectrum).
- Shape mids for texture (notch any build-ups).
- Stereo widening / texture:
- Use Chorus-Ensemble or Ping-Pong Delay, or simpler: Utility with Width 120–140% (with caution).
- Add Drum Buss or Saturator to taste to create upper harmonics and grit.
- Optional: Multiband Dynamics (tame low-mids/or upper bass band) so top content doesn't get overloaded.
C. Create a Bass Bus
- Glue Compressor (2:1, threshold for 1–2 dB GR) to glue the parts.
- EQ Eight: gentle low shelf cut at 30–40 Hz (-1 to -3 dB) if your room excites sub resonances.
- Multiband Dynamics (optional): control sub band dynamics without squashing mids.
- Monitor output level: keep the bus peaking well below 0 dBFS; leave headroom (master peak -6 dB is a good mixing rule).
D. Sub tuning and checking
- Use Spectrum set to dB, FFT size 4096 for good resolution.
- Find the fundamental — ensure sub notes are in key of the track. DnB bass notes often live around 40–120 Hz (A1–E2 region for many tracks).
E. Mono / Phase checks
- Utility -> Width 0% (to check mono).
- Utility -> Phase invert L or R to stomping test (insert another Utility to invert one side when needed).
F. Headphone vs Monitor balancing workflow
- Monitors: check at reference ~75–85 dB SPL if possible.
- Headphones: lower SPL but remember perceived bass increases — reduce sub fader if needed on headphones then adjust for monitors.
1. Set master output gain: aim for no clipping, leave ~6 dB peak headroom.
2. Turn off all master processing while designing sub (no limiter).
3. Toggle between headphones and monitors every 5–10 minutes while adjusting. Make one decisive parameter change between swaps (e.g., adjust crossover from 140 to 120 Hz), then listen on the other system.
4. Use LUFS & peaks as a reference but predominantly trust translatable listening.
G. Fast Kick/Sub interplay (critical for DnB)
- Compressor Settings: Attack 0.5–2 ms (fast), Release 60–120 ms (depends on groove).
- Alternatively, use volume automation or clip-envelope to shape the sub so it ducks right on top hits.
H. Visual metering & reference
- Set Spectrum smoothing to 0.7 and FFT size 4096. Look for peaks at your sub fundamentals.
I. Quick test checklist before exporting/arrangement moves
Example device chains (basic starting presets):
Bass – Sub (chain):
```
Operator/Wavetable -> EQ Eight (Lowpass 180Hz, 24dB) -> Utility (Width 0%) -> Compressor (sidechain kick, 6:1, Attack 1ms, Release 100ms) -> Saturator (Soft Clip, Drive 1-2dB) -> Spectrum/Tuner
```
Bass – Top (chain):
```
Operator/Wavetable (same source) -> EQ Eight (HPF 120Hz) -> Saturator/Drum Buss (subtle) -> Chorus/Delay (Stereo FX) -> Utility (Width 110-140%) -> Glue on Bass Bus
```
---
4) Common mistakes
---
5) Pro tips for darker/heavier DnB 🖤💥
---
6) Mini practice exercise (20–30 minutes)
Goal: Build a sub that translates equally on headphones and monitors.
1. Create a simple DnB bassline (1 bar loop at 174 BPM) in key of E (low E ~41 Hz).
2. Load Wavetable or Operator and make a sine-sine sub with slight sub oscillator detune for character.
3. Duplicate track: make Bass – Sub and Bass – Top.
4. Bass – Sub: EQ Eight low-pass at 150 Hz, Utility width 0%, Spectrum on. Sidechain Compressor: sidechain from Kick, Ratio 6:1, Attack 1 ms, Release 100 ms.
5. Bass – Top: HPF at 120 Hz, add Drum Buss for grit, small stereo FX.
6. Group to Bass Bus: Glue compressor 2:1, -1 dB gain reduction.
7. Mono-check: toggle Utility Width 0% (should be unchanged since Sub is mono). Invert left channel on Top — low end should collapse when inverted (if it collapses too much, check phasing).
8. Swap headphones and monitors: make one adjustment to the Sub crossover or sidechain release. Repeat until balance feels consistent in both.
9. Export a short loop and check on laptop speakers / earbuds — does the ear still perceive bass presence (via harmonics) even if LF is absent?
Send me the Ableton Live questions if you want a check on specific parameter screenshots or the project file structure.
---
7) Recap
You’re now equipped to create subs that punch on studio monitors, headphones, and small systems while keeping the body and weight every DnB track needs. Want a quick Ableton Rack template I use for splits and checks? I can draw one up with exact presets and a downloadable Live Set. 👊

