Main tutorial
```markdown
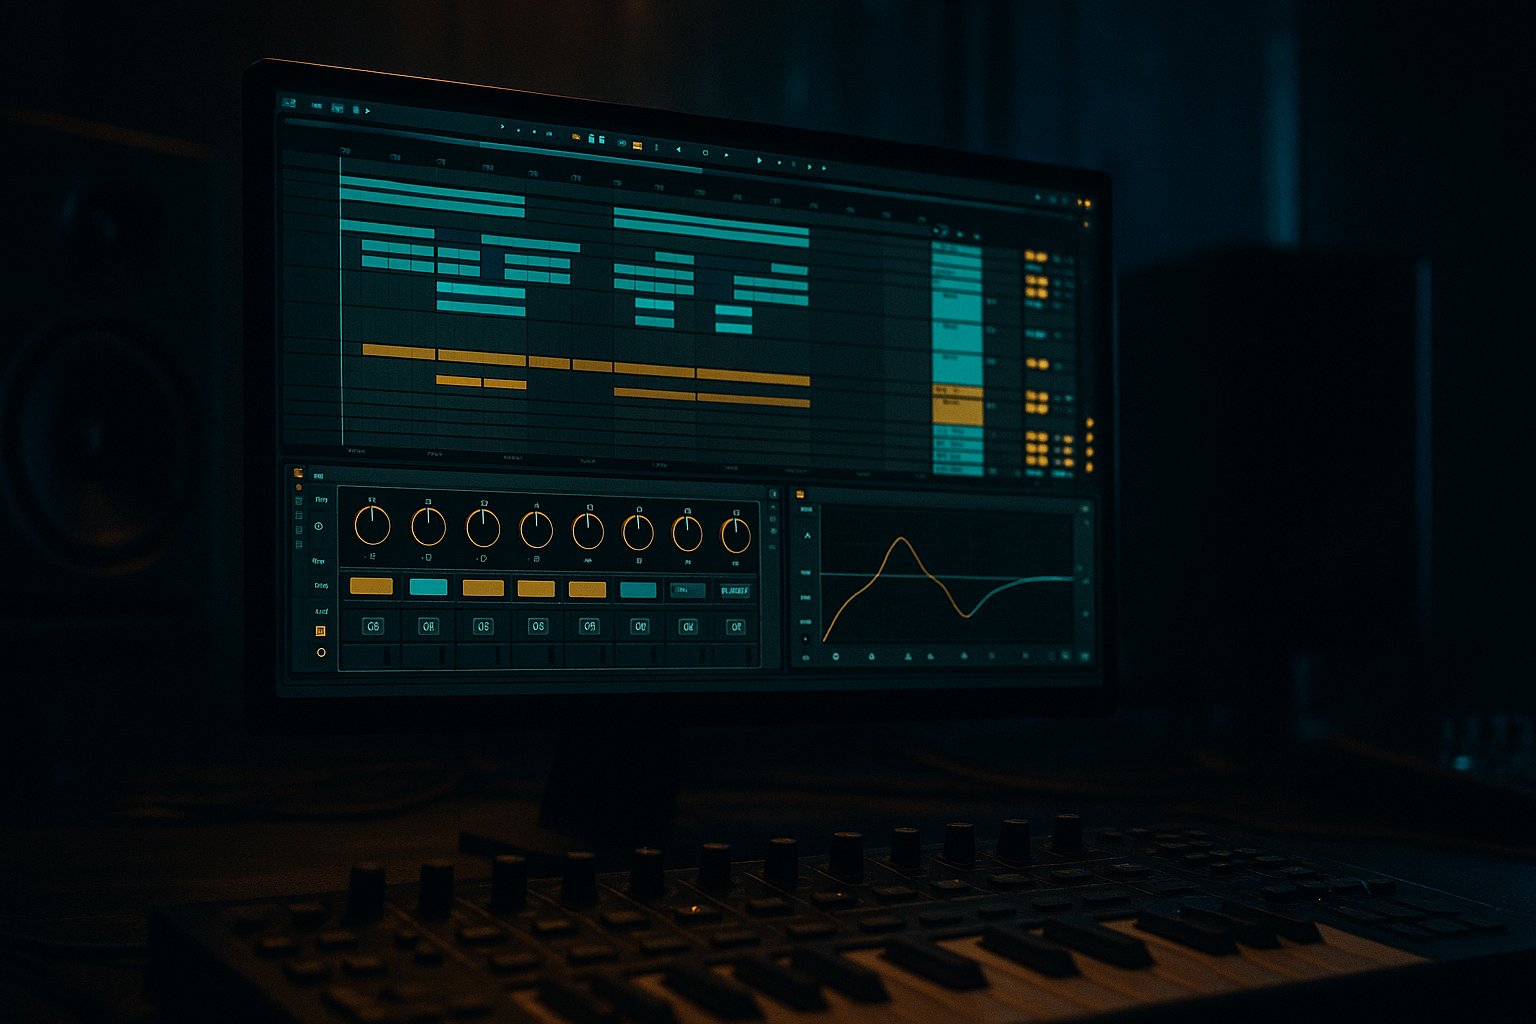
Subtle Automate + Commit Workflow (Ableton Live) — Advanced DnB Automation 🎛️⚡
1. Lesson overview
In drum & bass, the difference between “good” and “finished” is usually micro-movement: tiny changes in tone, width, transient bite, and ambience that keep a loop rolling without sounding obviously “automated.”
This lesson is about a pro workflow:
- Automate subtly (macro-level intention, micro-level ranges)
- Commit often (print/resample/freeze-flatten)
- Iterate fast (A/B against pre-commit versions)
- A Reese/rolling bass that evolves via subtle filter, drive, and width automation
- A drum bus with controlled density and movement (parallel smash + transient shifts)
- Atmos + ear-candy that rises and falls without big obvious sweeps
- A commit pipeline that prints each stage into audio so the arrangement becomes fast and decisive
- Use Wavetable or Operator.
- Example in Wavetable:
- Macro 1: “Tone” → Auto Filter Cutoff
- Macro 2: “Bite” → Saturator Drive (and optionally Auto Filter Drive)
- Macro 3: “Width (Mids)” → Chorus Mix or Utility Width
- Macro 4: “Growl Focus” → EQ Eight bell at ~1.2–2.5 kHz (gain +/- 2 dB)
- Duplicate bass track into SUB and MID.
- SUB chain: EQ Eight low-pass around 80–120 Hz, Utility Width 0%, minimal saturation.
- MID chain: high-pass around 80–120 Hz, do all the movement/width/distortion here.
- Every 8 bars, nudge Macro 1 (Tone) slightly.
- Every 16 bars, do a slightly bigger move (Bite or Growl Focus).
- At bar 31–32, do a short “turnaround” move (brief darker dip, or brief bite push).
- Filter cutoff: often only 2–8% of the knob range you’re using
- Saturator drive: +1 to +3 dB changes are huge in context
- EQ bell gain: +/- 1 to 2 dB
- On the MID bass, automate Auto Filter cutoff with tiny “breathing” changes:
- Or automate Saturator Drive slightly on the last 1/2 beat before a snare to add urgency.
- Use Arrangement automation for phrase structure (8/16/32 bar).
- Use Clip Envelopes for repeatable groove behaviors (e.g., a 2-bar “wobble” that repeats).
- Drum Buss Transients: +2 to +6 for drop impact, pull back on busy fills
- Glue Threshold: tiny threshold changes to get +0.5–1 dB more GR in energetic sections
- Reverb send on snare: increase slightly at phrase ends for tail “glue”
- Checkpoint 1: After sound design movement feels right (bass macros working)
- Checkpoint 2: After drum bus movement feels right
- Checkpoint 3: After arrangement edits (fills, edits, transitions)
- Great for instrument tracks and heavy chains.
- Workflow:
- Create a new audio track named: `PRINT_BASSMID`
- Set Audio From: BassMID track (Post FX)
- Arm and record 16–32 bars.
- Now you can chop, reverse, stretch, re-pitch, etc.
- After comping edits, select region → Cmd/Ctrl + J
- This locks timing and makes future edits cleaner.
- Duplicate track before major commit: `BassMID → BassMID_PREPRINT`
- Color code:
- Keep one previous version only (avoid hoarding 12 backups).
- Bars 1–8: Establish groove, bass fairly controlled/darker
- Bars 9–16: Slightly open Tone macro, tiny increase in Bite
- Bars 17–24: Add a new bass print layer (resampled variation), automate drum density +0.5
- Bars 25–32: Turnaround
- Automate darkness, not brightness: In heavy DnB, the drop often feels huge because the intro/first phrase is slightly filtered/damped.
- Use Roar (if you have it) as a commit stage:
- Use Auto Filter + Saturator as your “moving distortion,” not big EQ boosts.
- Add noise texture subtly (Analog or recorded hiss) and automate its level:
- Commit a parallel distortion layer:
- Keep the snare fundamental consistent; automate the air/top or verb send instead.
- Subtle DnB automation is about small ranges applied with phrase logic.
- Use macros to keep automation manageable and musical.
- Commit early and often via Freeze/Flatten or Resampling, keeping one safety version.
- After committing, lean into audio editing—that’s where fast, confident arrangement decisions happen.
- Dark/heavy DnB benefits from automating processing intensity and darkness control, not flashy modulation.
You’ll learn how to build automation that feels like analog drift and aggressive mix decisions—without getting lost in endless tweak land.
---
2. What you will build
A 32-bar rolling DnB section with:
Think: modern techy/rolling DnB with jungle discipline—tight drums, alive bass, dark tone. 🖤
---
3. Step-by-step walkthrough
A) Project setup (so automation stays musical)
1. Tempo: 172–176 BPM (we’ll use 174 BPM).
2. Warp mode: For long bass notes and resamples, prefer Complex Pro only if needed; otherwise keep things simple and avoid warping bass resamples unless necessary.
3. Arrangement grid:
- Work in 8-bar phrases, build to 32 bars (Intro → A → Variation → Turnaround).
4. Gain staging rule: Before any “commit,” aim for peaks around:
- Individual channels: -12 to -6 dBFS peak
- Busses: -10 to -6 dBFS peak
This makes resampling and saturation behave consistently.
---
B) Build a Bass Movement Rack (automation that survives committing)
Goal: Subtle evolving bass that doesn’t scream “automation,” but never feels static.
#### 1) Bass source (quick, effective)
- OSC1: Basic Shapes (square-ish)
- OSC2: Saw / Formant-ish (low amount)
- Unison: 2–4 voices, low Amount (keep it tight)
- Sub: On, but you might separate sub later
#### 2) Device chain (stock-heavy, DnB-ready)
On the Bass group (or track), place:
1. EQ Eight
- HP filter at 20–30 Hz (24 dB/oct)
- Slight dip around 250–400 Hz if boxy
2. Auto Filter
- Mode: LP24
- Drive: 2–6 dB
- Base cutoff: set so it’s already “in the pocket” (not too bright)
3. Saturator
- Mode: Analog Clip
- Drive: 2–8 dB (depends on sound)
- Soft Clip: On
4. Chorus-Ensemble (or Chorus if older Live)
- Keep Mix low (5–15%) for width texture
5. Utility
- Bass Mono: On (or Width automation if you split sub/mids)
6. Limiter (optional safety while designing)
#### 3) Create a Bass Macro Rack (the “automate” layer)
Group the devices into an Audio Effect Rack and map macros:
Range suggestion: keep narrow, e.g. only +/- 10–20% of the knob’s useful zone.
Keep it subtle: 2–3 dB movement is often enough.
Don’t automate width on sub. Ideally: split sub and mids (below).
✅ Advanced tip: If you’re going for a proper rolling bass, split sub and mids:
---
C) Subtle automation techniques (what to automate + how much)
You’re aiming for “felt” motion, not “heard” motion.
#### 1) Phrase-based automation (8/16/32 bar thinking)
In Arrangement view:
Practical ranges:
#### 2) Micro automation (the “rolling” illusion)
Pick one micro element and keep it tasteful:
- Every 2 bars, make a gentle ramp of 1–3% up then back.
This is the kind of stuff that makes a loop feel alive at 174.
#### 3) Clip envelopes vs Arrangement automation (advanced workflow choice)
DnB reality check: Too many lanes kills vibe. Use macros to keep automation count low.
---
D) Drum bus automation that stays subtle but hits hard 🥁
Your drums should “lean” into the phrase—slightly more smack in the second half, slightly drier in busy fills, etc.
#### 1) Drum Group chain (stock)
On your Drum Group:
1. Drum Buss
- Drive: 0–10 (taste)
- Boom: careful (DnB subs can clash) — keep low or off
- Transients: small moves matter
2. Glue Compressor
- Attack: 1–10 ms
- Release: Auto or ~0.1–0.3
- Ratio: 2:1
- GR: aim 1–2 dB
3. Saturator (gentle)
- Drive: 1–4 dB
4. EQ Eight (final shaping)
#### 2) Automate density, not “volume”
Pick one of these to automate over phrases:
Key idea: automate processing intensity, not just faders.
---
E) The “Commit” pipeline (freeze/flatten/resample like a pro)
This is the heart of the lesson: you’re going to print stages so you can move forward and stay decisive.
#### 1) Commit checkpoints (recommended)
#### 2) Methods (choose based on intent)
A. Freeze + Flatten (fast, keeps audio in place)
1. Right-click track → Freeze Track
2. Right-click → Flatten
3. Rename with version: `BassMID_PRINT_01`
B. Resampling to audio (best for “sound design commits”)
C. Consolidate (arrangement-friendly)
#### 3) Versioning rules (so you never regret committing)
- Pre-print = dim
- Print = bright
---
F) Post-commit creative edits (why committing is powerful)
Once you have printed audio, do “audio-native” DnB moves:
1. Transient shaping via slicing
- Warp off if possible (cleaner)
- Slice small hits or bass stabs; add micro-gaps for groove
2. Reverse resample flicks
- Duplicate a tail → reverse → fade in → reverb → commit again
3. Pitch automation on audio
- Clip Transpose: automate -1 to -3 semitones briefly before a drop for weight
4. Gate/duck ambience
- Use Gate keyed by drums (sidechain) to make atmos pump subtly
---
G) Arrangement ideas (32-bar example)
- Pull bass Tone down quickly in bar 31
- Add a short snare send reverb lift
- Quick mute/cut on bass for 1/8–1/4 beat before bar 33 (classic tension)
---
4. Common mistakes
1. Automating too wide: If your filter moves 30–40%, it’s now an effect—not subtle movement.
2. Too many lanes: 15 automation lanes = you can’t finish the tune. Use macros.
3. Committing too late: If CPU is high and you’re indecisive, you’ll stop arranging.
4. Committing too early without a “pre-print”: Always keep one safety version.
5. Width automation on sub: You’ll ruin mono compatibility and lose club weight.
6. Drum bus over-automation: If your glue threshold is constantly moving, the groove loses consistency.
---
5. Pro tips for darker/heavier DnB 🖤
- Light multiband drive on mids only, then resample.
- -30 to -20 dB is often enough—felt, not heard.
- MID bass send → return with heavy saturation → low-pass to keep it dark → blend quietly.
---
6. Mini practice exercise (20 minutes)
1. Take an 8-bar loop of your drums + bass.
2. Create a bass macro rack with Tone and Bite only.
3. Write automation:
- Tone: tiny 2–4% rise over bars 1–8
- Bite: +1–2 dB on bars 7–8 only
4. Commit:
- Resample MID bass for 8 bars to audio (`MID_PRINT_01`)
5. Make one post-commit edit:
- Reverse a tiny tail into bar 9, or add a 1/8 gap before snare.
6. Duplicate to 16 bars and make variation by editing audio, not plugins.
Deliverable: a 16-bar rolling section that feels like it evolves without any obvious sweep.
---
7. Recap
If you want, tell me your preferred sub style (clean sine, detuned reese, foghorn-ish, or neuro-y mids) and your Live version, and I’ll suggest a tailored macro rack + commit checkpoints.
```

