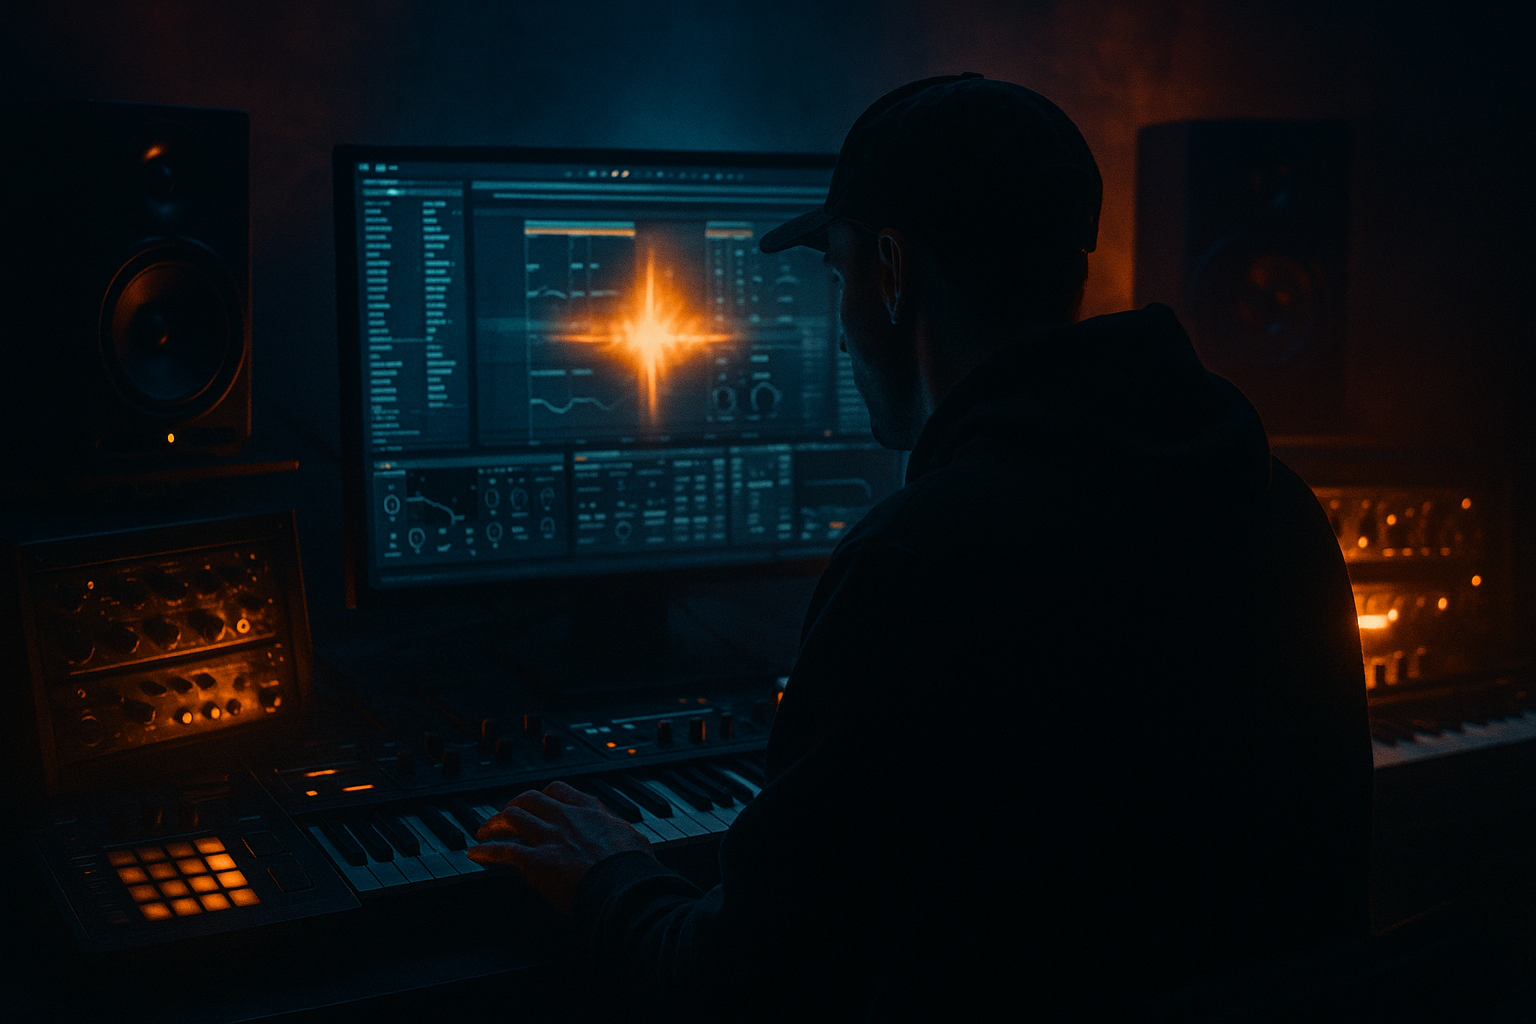
Main tutorial
```markdown
Subtle Detune Automation on Pads (DnB in Ableton Live) 🎛️🌫️
1. Lesson overview
Detune automation is one of those “you feel it more than you hear it” tricks that makes pads in drum & bass sound alive—especially in rolling, cinematic, or jungle-influenced tunes where the pad needs to move without stealing attention from the drums and bass.
In this lesson, you’ll learn practical ways to automate subtle pitch drift on pads in Ableton Live using stock devices, and how to shape it so it sits behind a heavy DnB mix instead of sounding like a broken synth.
---
2. What you will build
You’ll create a DnB pad layer that:
- Slowly “breathes” in tune with the track via micro detune automation
- Avoids obvious pitch wobble (no seasick chorus unless you want it)
- Reacts to arrangement changes (intro → drop → breakdown)
- Stays out of the way of the sub + reese while adding atmosphere
- A pad instrument rack
- A detune macro you can automate across 16/32 bars
- Optional random drift layer for extra organic movement
- Tempo: 172–176 BPM
- Write a 2- or 4-chord progression (minor keys work great: Fm, Gm, D#m, etc.)
- Pad length: 4–8 bars per chord change (classic “rolling atmosphere” style)
- Osc 1 → Detune (or “Fine” depending on view)
- Range suggestion: -8 to +8 cents
- Map Unison Amount to the same macro at a small range like 10% → 18%
- Osc 2 Detune (cents) (or Fine)
- Range suggestion: -6 to +6 cents
- Drift changes at 8-bar boundaries (intro phrases)
- Slight increase in movement in the breakdown to add emotion
- Tighten (less movement) during the drop so it doesn’t fight the bass
- 1-bar ramp up (0 → +2 cents) at the end of a phrase
- Quick return over 1/2 bar
- A crash into the drop
- A fill
- A vocal chop entry
- Intro (16–32 bars): more detune movement (sets mood) 🌫️
- Drop (32–64 bars): reduce detune depth slightly (let drums + bass lead) 🥁
- Breakdown: increase detune + reverb send (emotional lift)
- Second drop: keep drift minimal but automate a tiny upward bias (+1–2 cents) for perceived energy
- Bias downward + reduce brightness:
- Sidechain the pad hard to the kick/snare (subtle but effective):
- Automate detune more in the reverb return than the dry pad:
- Layer a noise/texture bed (very low):
- Build a stable pad first, then add movement.
- Use an Instrument Rack macro for detune so automation stays musical and manageable.
- Keep detune subtle (typically ±3–8 cents) and slow for DnB atmospheres.
- Combine Arrangement automation (intentional) with optional slow LFO drift (organic).
- Shape it with EQ Eight, Hybrid Reverb, Utility, and (if needed) gentle glue/sidechain so it sits behind drums and bass.
You’ll end up with:
---
3. Step-by-step walkthrough
Step 0 — Session context (very DnB)
Set a typical tempo:
And choose a simple harmonic loop:
---
Step 1 — Build a solid pad source (Wavetable or Analog)
You can do this with any synth, but here are two stock options:
#### Option A: Wavetable (clean + modern)
1. Create MIDI Track → Wavetable
2. Starting point:
- Osc 1: Basic Shapes (sine/triangle-ish side works well)
- Osc 2: Off (for now)
- Unison: Classic / 2 voices, Amount 10–20% (keep it subtle)
- Filter: LP24, Cutoff ~1.2–3 kHz, Resonance low
- Amp Env: Attack 30–80 ms, Release 1.5–4 s
#### Option B: Analog (warm + jungle nostalgia)
1. Create MIDI Track → Analog
2. Starting point:
- Osc 1: Saw, level ~-12 dB
- Osc 2: Square or Saw, level ~-18 dB
- Slight filter: LP, cutoff ~1–2 kHz
- Slow attack + long release
Goal: A pad that’s stable first—then we add motion.
---
Step 2 — Create a “Detune Macro” you can automate (best workflow)
We want one knob to control the drift so you can write musical automation quickly.
1. Select your synth device (Wavetable/Analog)
2. Press Cmd/Ctrl + G to put it in an Instrument Rack
3. Create a Macro called: DETUNE
4. Map it:
#### If using Wavetable
Map Macro DETUNE to:
- If your pad is exposed and tonal: ±3 to ±6 cents
- If it’s very washed with reverb: ±6 to ±12 cents
Also (optional but great): map Unison Amount slightly:
This makes the pad widen slightly as it detunes (feels lush, still controlled).
#### If using Analog
Map Macro DETUNE to:
Why this rack approach matters: you can automate ONE macro over 32 bars instead of juggling multiple parameters.
---
Step 3 — Add controlled movement: slow automation + occasional “events”
Now we’ll write automation that fits DnB arrangement energy.
#### 3A) Write slow “bed” movement (Arrangement View)
1. Switch to Arrangement View
2. Show automation (press A)
3. Choose the track → automate Macro 1: DETUNE
4. Create a slow curve:
- Over 16 bars, drift from 0 → +3 cents → 0 → -2 cents → 0
- Keep it asymmetrical (perfect symmetry feels artificial)
DnB-friendly timing ideas:
#### 3B) Add tiny “human moments” (micro ramps)
Add 2–4 little events per 16 bars:
These are great right before:
Keep them subtle—if you notice the pitch move, you’ve gone too far (most of the time).
---
Step 4 — Optional: Add natural random drift (without ruining tuning)
This is the “alive” sauce, used lightly.
#### Option A (Stock + easy): Auto Filter with very tiny envelope?
Not pitch, but can simulate movement. For actual pitch drift, better do Option B.
#### Option B (Best stock method): Max for Live LFO (if you have Suite)
1. Add LFO (Max for Live) after the Instrument Rack (or anywhere)
2. Map it to your DETUNE Macro
3. Settings:
- Waveform: Random (S&H) or Sine
- Rate: 0.03–0.08 Hz (super slow)
- Amount: tiny (aim for ±1 to ±2 cents effective movement)
- Smoothing: 60–85% (crucial to avoid stepping)
Pro workflow:
Use the LFO as the background drift, then write Arrangement automation as the musical performance.
---
Step 5 — Make it sit in a heavy DnB mix (essential processing chain)
Pads in DnB are usually wide, airy, and controlled, with the sub + drums dominating.
Suggested stock chain (after the synth/rack):
1. EQ Eight
- High-pass: 120–250 Hz (depends on bass/sub)
- Small dip: 250–500 Hz if muddy
- Gentle shelf down: 8–12 kHz if hissy
2. Chorus-Ensemble (optional)
- Mode: Chorus
- Amount low: 10–20%
- Rate slow: 0.2–0.6 Hz
3. Hybrid Reverb
- Algorithm or Convolution (plates/rooms work)
- Pre-delay: 15–35 ms (keeps it off the transient space)
- High-cut: 6–10 kHz (darker DnB vibe)
- Low-cut: 200–400 Hz
4. Utility
- Width: 120–170%
- Consider Bass Mono: 120–200 Hz (if needed)
Important: If detune automation makes the pad feel louder/phasey, use a Glue Compressor very lightly (1–2 dB GR) to stabilize.
---
Step 6 — Arrangement ideas (where detune shines in DnB)
Try these common DnB/jungle moves:
A cool trick: automate detune down slightly (-1 to -3 cents) during a “darker” mid-section, then return to 0 for clarity.
---
4. Common mistakes
1. Too much detune range
- If your chord sounds “out of tune,” you’ve overshot. Keep it micro.
2. Fast automation
- Quick pitch movement reads like FX, not atmosphere.
3. Detune fighting the bass key
- If your pad shares notes with a reese/sub, drifting pitch can cause messy beating.
4. No smoothing on random LFO
- Steppy random detune can sound like glitches (unless that’s the intent).
5. Forgetting mono compatibility
- Detune + chorus can collapse weird in mono. Always check with Utility → Mono.
---
5. Pro tips for darker/heavier DnB 🖤
Slight negative detune moments + darker reverb = instant grime.
Use Compressor with sidechain from a drum bus:
- Ratio 2:1 to 4:1, Attack 5–20 ms, Release 80–200 ms
Keep the core stable while the “tail” moves—super pro.
Add a second layer (Operator noise or vinyl field recording) and automate that slightly to enhance the illusion of motion without pitch chaos.
---
6. Mini practice exercise 🎯
Goal: Make a 16-bar atmospheric pad that evolves into a drop.
1. Create a pad chord loop (2 chords, 8 bars each) at 174 BPM
2. Build your Instrument Rack + DETUNE macro
3. Write automation:
- Bars 1–8: drift 0 → +2 → 0
- Bars 9–16: drift 0 → -2 → 0 with 1 quick ramp up in bar 15
4. Add Hybrid Reverb and automate Reverb Mix up by 5–10% in bars 13–16
5. Bounce a quick render and listen:
- Does it feel alive but still “in tune” with the bass?
- Does the drop feel cleaner when you reduce detune slightly?
---
7. Recap ✅
If you want, tell me what pad source you’re using (Wavetable/Analog/3rd-party) and the key of your track, and I’ll suggest a detune range + automation curve that fits a rolling DnB arrangement.
```

