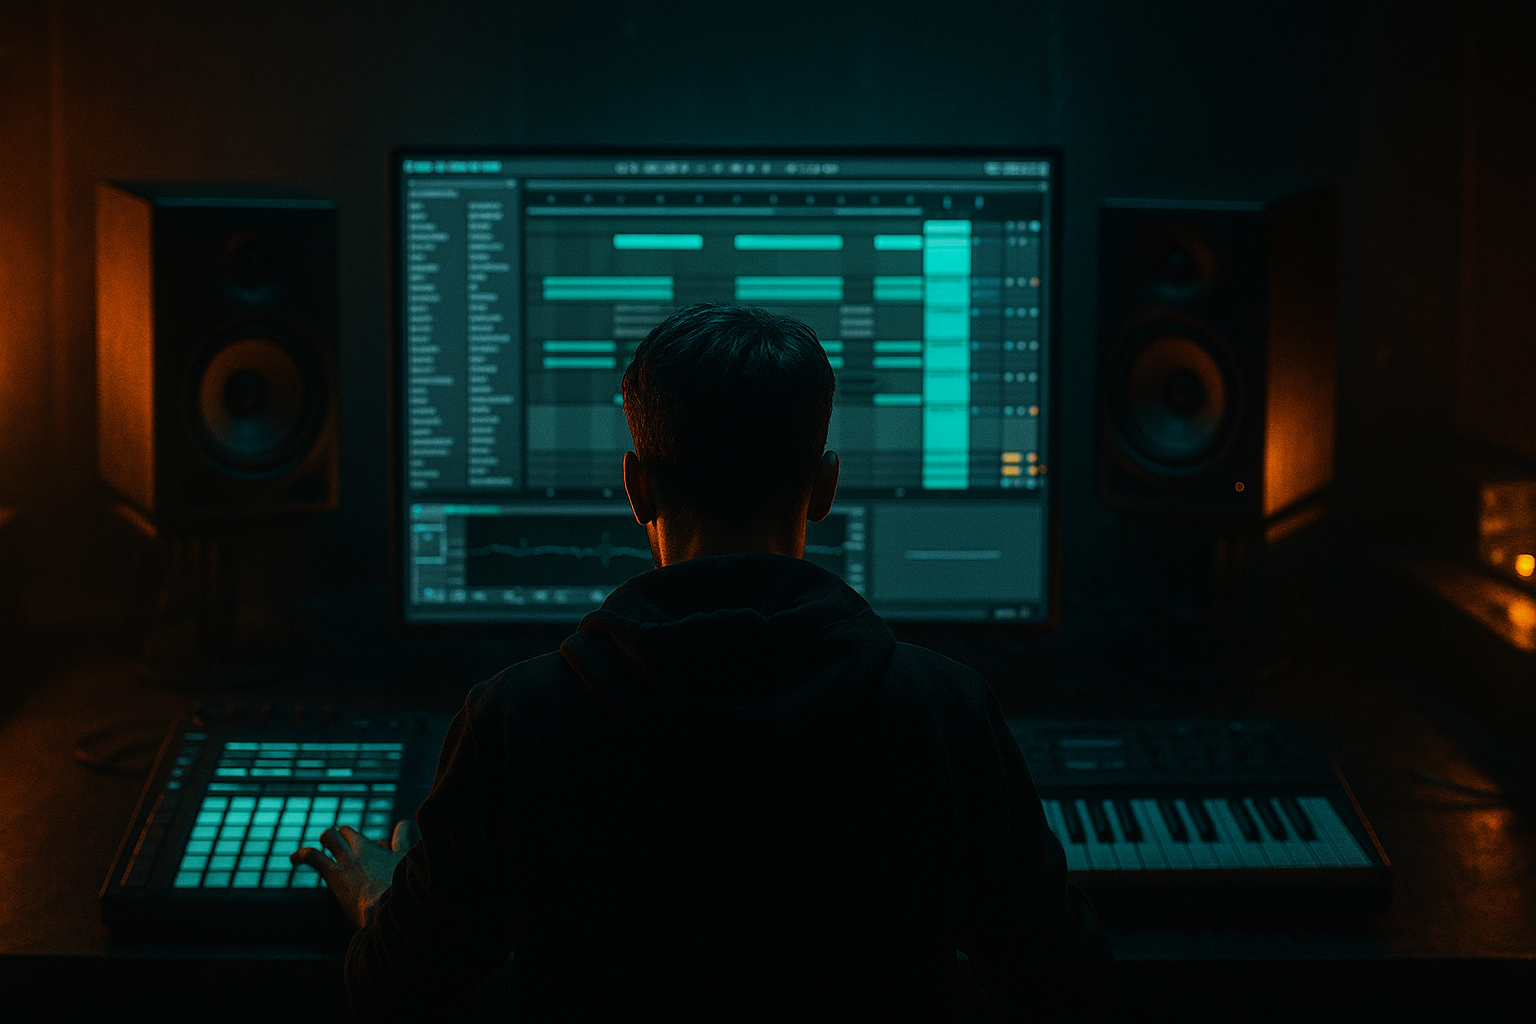
Main tutorial
Lesson Overview
In this lesson, you’ll rebuild a sub-weighted reese patch in Ableton Live 12 and arrange it into a short oldskool jungle / early DnB-style idea with atmosphere, movement, and proper low-end discipline. This is the kind of bass sound that sits at the heart of darker DnB: the sub provides the weight, the reese provides motion and attitude, and the arrangement gives it life.
Why this matters: in Drum & Bass, a great bass sound is not just about being loud. It needs to work with the drums, leave room for the kick/snare, and keep its energy moving across the bar. A sub-heavy reese can sound huge in isolation, but if it’s not shaped correctly it will blur the mix, eat the kick, or collapse on bigger systems. Building it yourself inside Ableton gives you control over the exact balance between sub, mid movement, stereo width, grit, and tension.
Because this is an Atmospheres lesson category, we’ll also treat the bass as part of the wider space: subtle ambience, delay throws, filter movement, and arrangement choices that make the bass feel like it belongs in a smoky jungle roller or a dark halftime pressure tune. ⚡
What You Will Build
By the end of this lesson, you’ll have:
- A two-layer bass patch: a solid mono sub plus a moving reese-style mid layer
- A simple oldskool DnB bass phrase that answers the drums
- A short 8- or 16-bar arrangement with intro, drop, variation, and DJ-friendly structure
- A bass sound with:
- A workflow you can reuse for jungle, rollers, darker jump-up-influenced ideas, or neuro-leaning movement
- Making the reese carry the sub
- Using too much stereo width on the low end
- Overfilling the MIDI pattern
- Too much distortion too early
- Ignoring the drums
- Letting the atmosphere compete with the bass
- Layer a very quiet noise or texture under the reese
- Automate filter movement in phrases, not constantly
- Use tiny call-and-response gaps
- Resample the bass once it feels good
- Use Drum Buss lightly on a bass bus if needed
- Try a darker note palette
- Make one phrase “open” and the next “closed”
- Build the bass in two layers: mono sub + moving reese mid layer.
- Use Operator for the clean low end and Wavetable for the reese movement.
- Keep the sub mono, and high-pass the reese so the low end stays clean.
- Write a simple, spacious bass phrase that answers the drums.
- Use automation for tension, not just more notes or more distortion.
- Add a small atmospheric layer to make the drop feel darker and more cinematic.
- Check mono, headroom, and drum/bass balance before finishing.
- strong low-end under about 100 Hz
- controlled stereo in the upper mids
- subtle distortion and movement
- optional atmospheric texture for darker vibe
Musically, think: a rolling breakbeat, a punchy snare on 2 and 4, and a bassline that leaves space on the first beat, then answers with a wobbling, subby phrase on the off-beats. That’s a classic jungle/DnB conversation.
Step-by-Step Walkthrough
1. Set up a simple DnB project and reference your grid
Open a new Ableton Live 12 set and set the tempo to 170–174 BPM. For oldskool jungle vibes, 172 BPM is a great starting point.
Create three audio/MIDI lanes:
- Drums
- Bass
- Atmosphere / FX
On the Drum track, load a breakbeat loop or build one from a sampled Amen-style break. Keep it simple at first:
- kick on the downbeat
- snare on beats 2 and 4
- hats and break chops around them
Why this works in DnB: the bassline needs a rhythmic frame. In DnB, the drum groove is the spine, and the bass should feel like it’s locked to that spine rather than floating randomly.
2. Build the sub layer first using Operator
Create a MIDI track and load Operator. This will be your sub foundation.
Start with:
- Oscillator A: Sine
- Turn off the other oscillators for now
- Set volume so it’s not too loud; leave headroom
- Play long notes around G1, A1, or D1 depending on your track key
Suggested settings:
- Attack: 0–5 ms
- Decay: 0.5–1.5 s
- Sustain: 0 dB
- Release: 80–150 ms
Keep the sub mono. You can do this by leaving it centered and avoiding any stereo widening devices on this layer.
If the notes are too boomy, use an EQ Eight after Operator:
- High-pass very gently only if needed, around 20–30 Hz
- Do not cut the real sub body around 40–80 Hz unless there’s a clear problem
Pro move: make the sub notes match the kick rhythm. In jungle and rollers, the bass often feels heavier when it breathes around the kick/snare pattern instead of fighting it.
3. Create the reese layer with Wavetable or an analog-style synth
Add a second MIDI track and load Wavetable. This will be the movement and midrange character.
Start with a saw-based patch:
- Oscillator 1: Saw
- Oscillator 2: Saw
- Detune them slightly
- Set unison modestly so it doesn’t get too wide too fast
Good beginner-friendly starting points:
- Detune: 5–15 cents
- Unison voices: 2–4
- Filter: Low-pass, cutoff around 200–600 Hz at first
- Filter envelope amount: small to medium, so the sound opens slightly on each note
Add a bit of character:
- Saturator after Wavetable
- Drive: 2–6 dB
- Soft Clip: On
If you want a slightly rougher oldskool edge, add Amp or Overdrive before the Saturator, but keep it subtle. The goal is “controlled grime,” not broken audio.
Important: this layer should not carry the sub. It’s the movement and texture on top of the sub.
4. Blend sub and reese with a simple rack
Select both bass tracks and group them, or place them into an Instrument Rack if you prefer one-track control. For beginners, grouping the tracks is often easier to understand.
Balance ideas:
- Sub layer: louder than you think at first, but still clean
- Reese layer: tuck it under the sub so it supports, not dominates
Use Utility on the reese layer:
- Width: 120–140% if needed
- But keep frequencies below around 120 Hz mono by design, not by widening tricks
If your bass feels messy, use EQ Eight on the reese layer:
- High-pass around 90–140 Hz
- Slight dip around 250–400 Hz if it sounds cloudy
- Gentle boost around 700 Hz–1.5 kHz if you want more bark
This separation is crucial in DnB: sub owns the bottom, reese owns the movement. That split keeps the mix punchy and system-friendly.
5. Program a simple oldskool jungle bass phrase
In the MIDI clip, start with a phrase that leaves space. Don’t fill every 16th note.
Try a 2-bar pattern like:
- Bar 1: note on beat 1, then a short note on the “&” of 2
- Bar 2: answer with a longer note on beat 1, then a staccato hit before beat 4
Musical context example:
- If your track is in G minor, use G, F, D, and A as a simple dark palette
- Keep the notes around G1–D2 so the phrase lives in that classic DnB bass zone
Make the notes different lengths:
- some short and punchy
- some held slightly longer for tension
For oldskool jungle vibes, call-and-response matters. Let the bass speak, then let the drums or atmosphere answer. Avoid continuous noodling.
6. Add movement with automation, not just more sounds
Open automation on the reese track and automate the filter cutoff in the bass patch or on Auto Filter.
Easy beginner automation moves:
- Open the cutoff slightly on the first hit of the phrase
- Close it down on the tail
- Add a small resonance bump for tension on one note
- Increase drive before the drop, then pull it back after the first bar
Suggested automation ranges:
- Cutoff: move between 250 Hz and 1.2 kHz
- Resonance: keep moderate, around 10–30%
- Saturator drive: automate a small rise of 1–3 dB in the drop
You can also automate Reverb send or Delay send on only the last note of a phrase for atmosphere. A tiny throw can make the bass feel bigger without cluttering the whole pattern.
Why this works in DnB: the style depends on motion. Even a simple bass riff becomes exciting when the tone changes over time.
7. Shape the drums against the bass
Bring the drums into the same loop and check the relationship.
Useful stock devices:
- Drum Buss on the drum group
- EQ Eight on kick/snare if needed
- Glue Compressor lightly on the drum bus
Starting points:
- Drum Buss Drive: 5–15%
- Boom: use carefully, and usually not too much if your sub is already strong
- Glue Compressor: low ratio, gentle gain reduction, around 1–2 dB
If the kick and bass clash:
- shorten the bass note length
- reduce sub volume slightly
- cut a little low-mid mud from the reese
- make sure the kick and sub are not hitting at the exact same time every bar
In jungle and rollers, the bass and drums should feel interlocked, not competing.
8. Add atmosphere so the bass feels like part of a scene
Since this lesson sits in Atmospheres, don’t leave the bass naked. Add a small atmospheric layer to frame the drop.
Options inside Ableton:
- A filtered noise bed from Operator
- A sampled vinyl texture or room tone in Simpler
- A pad or drone with Auto Filter and Reverb
Keep it subtle:
- high-pass the atmosphere around 200–400 Hz
- low-pass if it’s too bright, around 6–10 kHz
- add Reverb with short to medium decay
- keep it tucked behind the bass
You can also automate a distant riser into the drop and then mute it once the bass arrives. That contrast makes the reese feel heavier.
9. Arrange an 8- or 16-bar drop with variation
Build a short arrangement so the bassline has context. A good beginner DnB structure:
- Bars 1–4: drums + atmosphere only
- Bar 5: bass enters lightly
- Bars 6–8: full groove
- Bar 9: remove one bass note or mute the reese layer briefly
- Bars 10–12: bring it back with a small automation change
- Bars 13–16: add a fill, snare pickup, or filter sweep
Easy variation ideas:
- mute the reese for the first half of a bar
- change one bass note in bar 8
- add a reverse cymbal or noise swell before a new phrase
- cut the drums for a beat, then hit back in
This is classic DnB tension/release. A small change every 4 or 8 bars keeps the listener locked in and makes the bassline feel intentional.
10. Do a quick mix check: mono, level, and clarity
Before calling it done, check the fundamentals.
Use Utility on the bass bus:
- Flip to mono and listen
- If the sound disappears or thins out, the reese layer is too wide or phasey
Then check:
- bass level against the kick/snare
- whether the sub is steady and not jumping around
- whether the reese is harsh around the top mids
If it sounds sharp, use EQ Eight:
- small cut around 2–4 kHz if it bites too hard
- tame any fizzy edge above 6–8 kHz if needed
Keep headroom. In DnB, a bass patch that looks impressive on the meter but leaves no room for the drums is not a win.
Common Mistakes
- Fix: high-pass the reese around 90–140 Hz and let Operator or another mono layer own the bottom.
- Fix: keep sub mono and only widen the mid layer. Check in mono regularly.
- Fix: leave space. Oldskool jungle bass often hits harder with fewer notes.
- Fix: add saturation in small amounts. If the sound gets fuzzy and loses pitch, back off.
- Fix: make sure kick and snare still read clearly. Bass should support the break, not bury it.
- Fix: high-pass atmospheric layers and keep them softer than you think.
Pro Tips for Darker / Heavier DnB
- Use Operator noise or a sampled ambience and filter it heavily. This adds grit without obvious hiss.
- A small opening at the start of a bass phrase creates more impact than a constantly moving filter.
- Let the bass leave a short hole where the snare or break shines through. That contrast adds power.
- Record the bass to audio, then chop it into arrangement blocks. This makes it easier to commit and shape the drop.
- Very small amounts can add density, but keep it subtle so the sub stays clean.
- Minor seconds, tritones, or simple minor root movement can instantly give the bass more menace. Keep it musical and simple.
- Example: bar 1 filter slightly open, bar 2 more muted. That contrast helps the drop breathe.
Mini Practice Exercise
Set a timer for 15 minutes and do this:
1. Load Operator and make a pure sine sub.
2. Load Wavetable and build a saw-based reese with light detune.
3. Write a 2-bar bass phrase in a minor key with only 3–4 notes.
4. High-pass the reese so the sub is clearly separate.
5. Add one automation move:
- filter cutoff
- or saturation drive
- or delay send on the last note
6. Drop in a simple breakbeat loop and test the bass against it.
7. Loop 8 bars and make one variation in bars 5–8.
Goal: by the end, you should have a rough jungle-style bass and drum loop that feels weighty, not crowded.
Recap
If you can make the bass feel heavy, clear, and rhythmic in Ableton Live, you’re already thinking like a DnB producer.

