Main tutorial
Lesson Overview
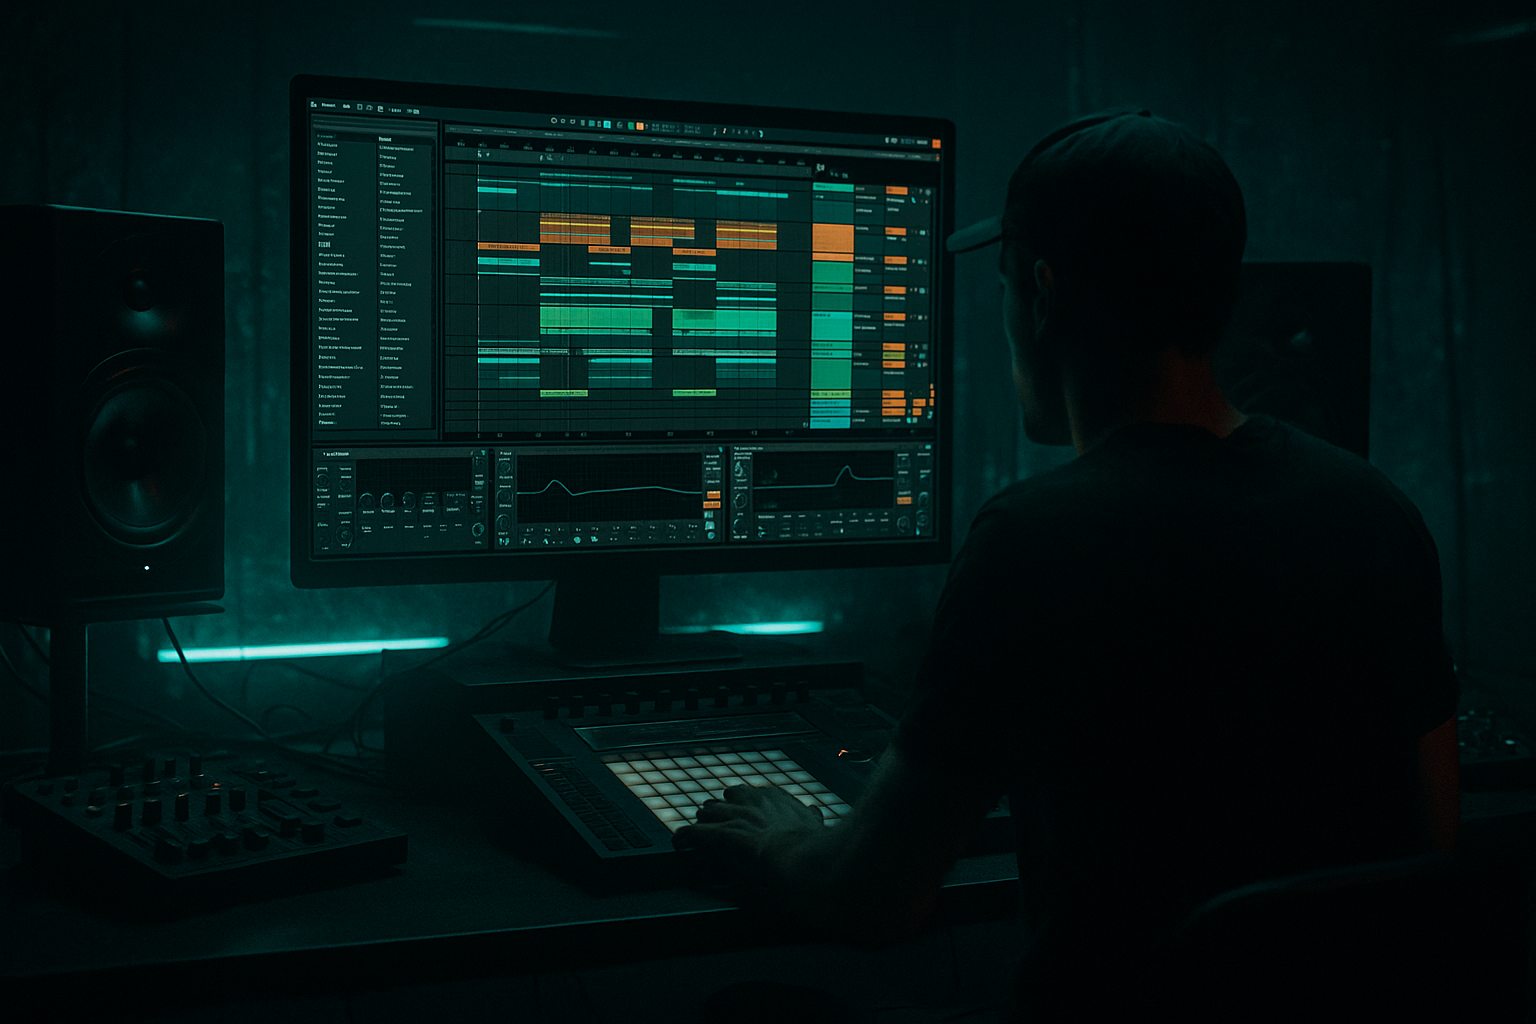
This lesson is about building a subweight ride groove framework in Ableton Live 12 for oldskool jungle / roller-style DnB, using Session View as a sketchpad and then locking the idea into Arrangement View for a full track structure. The goal is not just “making a ride pattern,” but designing a musical, tense, forward-driving drum layer that sits above the break, reinforces the swing, and helps the drop feel bigger without cluttering the low end.
In DnB, ride programming matters because it does three things at once:
1. Drives momentum between snares and breaks
2. Defines energy shape across 8-, 16-, and 32-bar sections
3. Adds high-frequency propulsion without stealing space from the kick, sub, or main break
For jungle and oldskool-inspired material, rides are often more than top-end shimmer. They can be slightly gritty, detuned, stereo-managed, and dynamically automated so they feel like part of the rhythm section rather than a pasted-on loop. This lesson shows how to build that feel in a practical Ableton workflow, then turn it into a structured arrangement with switch-ups, fills, and DJ-friendly phrasing.
You’ll use Ableton stock tools like Drum Rack, Simpler, Auto Filter, Saturator, Drum Buss, Utility, Echo, Reverb, Glue Compressor, and Envelopes in Arrangement View. The focus is on getting a ride groove that works in a proper DnB mix: sub stays dominant, break remains the groove anchor, and the ride acts as pressure and motion.
What You Will Build
By the end, you’ll have:
- A 4- or 8-bar ride groove built from one-shot rides or a tight ride loop
- A Session View rack with variations for:
- A subweight drum layer where the ride supports the break instead of washing over it
- A movement system using automation and clip variations to create tension across 16-bar phrases
- An Arrangement View structure with:
- Making the ride too loud
- Leaving too much low-mid in the ride sample
- Over-quantizing the groove
- Using one static loop for the whole track
- Too much stereo width on the ride
- Ignoring the drum bus
- Letting the ride mask snare transients
- Dual-layer your ride
- Use saturation before EQ sometimes
- Automate high-cut for tension
- Resample the ride with the break
- Keep bass and ride in separate stereo jobs
- Use ghost ride hits like percussion punctuation
- Try subtle frequency shaping instead of heavy reverb
- Build ride grooves in Session View first, then shape them into Arrangement View phrasing
- Keep the ride supportive, rhythmic, and controlled, not overly bright or wide
- Use Drum Rack or Simpler, plus EQ Eight, Saturator, Drum Buss, Auto Filter, and Utility
- Make multiple clip variations for intro, main drop, and lift sections
- Glue the ride to the break with a light drum bus
- In DnB, the best ride parts create motion, tension, and phrase awareness while preserving sub weight and snare impact
- steady ride pulse
- open ride lift
- ghosted ride fills
- filtered intro version
- intro build
- first drop ride lift
- stripped midsection
- switch-up or breakdown
- return with heavier ride variation
Musically, think of this as a groove in the territory of ’94–’98 jungle energy meets modern mix discipline: the ride is slightly dirty, rhythmically alive, and used as a phrase marker. It should help the listener feel the track “lean forward” without flattening the break’s personality.
Step-by-Step Walkthrough
1. Set up a drum-focused Session View template
Start with a clean Ableton Live 12 set at your usual DnB tempo, typically 170–174 BPM for jungle/oldskool energy or 174–178 BPM for tighter modern rollers. Create three core tracks:
- Breaks: your main sampled break or edited break stack
- Ride: one-shot ride or ride loop lane
- Drum Bus: group the drum tracks into a dedicated bus for shaping
On the Ride track, load Drum Rack if you want per-hit control, or Simpler if you’re using a single ride sample. For this lesson, a Drum Rack with 2–4 ride variations is ideal:
- main ride hit
- brighter open ride
- darker muted ride
- short metallic tick or crash-ride hybrid for fills
Why this works in DnB: a Session View template makes you think in loops, phrases, and variations, which is exactly how DnB arrangement feels. You’re not drawing a linear part first; you’re auditioning how a ride behaves against the break in real time.
2. Choose the right ride source and tune its role
Load a ride sample with enough body to survive processing, but not so much low-mid that it fights the break. For oldskool/jungle vibes, a ride with a slightly trashy tail often works better than a pristine modern cymbal.
In Simpler or the Simpler inside Drum Rack:
- Set Warp off for one-shots if possible
- Adjust Start so the transient is immediate
- Use Fade very lightly if there’s clickiness
- Keep the sample short enough that the tail doesn’t smear over ghost notes
Useful starting points:
- Pitch: detune rides subtly, around -1 to -4 semitones if the sample feels too shiny
- Volume envelope: shorten decay if the tail masks the break
- Velocity sensitivity: map or automate so softer hits feel like ghost percussion
If you’re layering two rides, keep one as the dry rhythmic layer and one as the textural lift layer. In DnB, that separation helps you control groove and energy independently.
3. Build a 2-bar ride groove that breathes with the break
In Session View, create a MIDI clip for your ride and start with a 2-bar pattern. Don’t just put rides on every beat and call it done. The trick is to create a subweight framework: the ride should imply forward motion while leaving air for kick/snare/break detail.
Try this structure:
- Use 1/8 notes as a basic pulse, then remove hits around the snare to create space
- Add offbeat accents to push momentum
- Place a lighter ghost hit before the snare or right after it to keep the groove rolling
A strong DnB starting point:
- Bar 1: hits on offbeats, with one lower-velocity pickup before beat 3
- Bar 2: slightly more active, with a fill hit on the last 1/16 or 1/8 note
Parameter suggestions:
- Velocity range: main hits around 85–110, ghost hits around 35–60
- Note length: keep MIDI note lengths short, around 1/16 to 1/8, unless the sample needs longer tail control
This matters because DnB rides should feel like part of the drum conversation, not a static metronome. Let the break own the backbeat; let the ride fill the gaps and pull the listener forward.
4. Apply groove and micro-timing for jungle swing
Oldskool jungle energy lives in slight instability. Add groove carefully so the ride locks with the break without sounding quantized to death.
In Ableton:
- Open the Groove Pool
- Drag in a groove from a break source or use a subtle swing groove
- Apply a light amount to the ride clip, usually 10–30%
Then edit note timing manually:
- Nudge some ride hits a few milliseconds late for lazy weight
- Move select hits slightly earlier if you want urgency before a snare or fill
- Avoid making every hit equally late; that kills the human feel
Advanced move: if your break is chopped and resampled, use the ride to mirror the break’s swing contour rather than impose a new one. In jungle, the ride can either reinforce the break’s drag or contrast it, but it should not fight the groove skeleton.
5. Shape the ride tone with stock Ableton processing
Put the Ride track through a focused effects chain. Keep it controlled, not overcooked.
Suggested chain:
- EQ Eight
- Saturator
- Drum Buss or Glue Compressor
- Auto Filter or Frequency Shifter for movement
- Optional Utility for stereo discipline
Starter settings:
- EQ Eight:
- High-pass around 180–350 Hz depending on the sample
- Cut harshness around 6–9 kHz if needed, usually -2 to -5 dB
- Tiny boost around 3–5 kHz if the ride lost presence
- Saturator:
- Drive around 2–6 dB
- Soft Clip on if the sample needs density
- Drum Buss:
- Drive modestly, around 5–20%
- Damp if the top end gets brittle
- Transients slightly positive if the ride is too flat
- Utility:
- Use Width 0–30% for the low ride layer if it’s too wide
- Keep the ride mostly mono-compatible in dense drops
Why this works in DnB: ride samples can sound thin on their own, but the right saturation and transient shaping make them read as weighty high-end percussion instead of harsh noise. In a crowded jungle mix, that’s the difference between excitement and fatigue.
6. Use Session View clips to create ride variations
Build at least three clip variants in Session View:
- Main Groove: steady pulse, minimal variation
- Lift Groove: extra hits and brighter EQ for drop energy
- Stripper / Intro Groove: filtered and sparse for build sections
Create clip-level differences instead of relying on one pattern:
- Main Groove: most natural, balanced velocity
- Lift Groove: duplicate the clip and add one extra hit per bar
- Intro Groove: lower velocity, reduced highs using Auto Filter or clip envelope automation
Add clip automation in Session View:
- Automate Auto Filter cutoff upward over 4 or 8 bars
- Automate Reverb wet/dry slightly higher for intro sections
- Automate Saturator drive up on the last bar before the drop
Concrete move: if your track is 16 bars per section, create a 2-bar clip that evolves over 8 bars by duplicating and muting specific hits. In DnB, subtle evolution is often more effective than dramatic changes. It keeps the listener locked while still signaling energy shifts.
7. Combine the ride with the break and manage drum bus glue
Group your break and ride tracks into a Drum Bus. This is where the groove becomes a single engine.
On the Drum Bus, use:
- Glue Compressor with light gain reduction, around 1–2 dB
- EQ Eight for cleanup if the combined top end gets spiky
- Drum Buss for a touch of density and transient control
Suggested Drum Bus settings:
- Glue Compressor:
- Ratio: 2:1
- Attack: 10–30 ms
- Release: Auto or 0.1–0.3 s
- Drum Buss:
- Drive: low to moderate
- Boom: usually off for rides unless you need extra drum room tone
- Transients: small positive move if the break feels too soft
Check the blend in context with your sub and bass. The ride should add forward motion without making the top end dominate. If the break already has plenty of hats and cymbal spill, carve more aggressively in the ride track and let the break own the texture.
8. Move from Session View into Arrangement View with phrase logic
Once the groove works in loops, record or drag the clips into Arrangement View. Structure the ride so it supports the arrangement, not just the loop.
A practical jungle arrangement map:
- Intro (16 bars): filtered ride or no ride, just hints
- Build (8 bars): ride fades in, cutoff opens, velocity rises
- Drop 1 (16–32 bars): main ride groove with break
- Switch-up (8 bars): ride simplified or moved to only bar 2
- Drop return (16 bars): heavier ride layer or open ride accents
- Outro (16 bars): strip the ride back for DJ friendliness
Use Arrangement automation:
- Cutoff automation on Auto Filter
- Volume rides to create subtle lift
- Mute or unmute specific ride hits at phrase boundaries
- Automate Reverb send for the final hit of a section only
Musical context example: for an oldskool-inspired drop, you might run a dense chopped break for 16 bars, then strip the ride for 8 bars to expose the sub and snare, then bring the ride back brighter on the next 16 to make the return feel bigger without changing the core drum loop.
9. Add tension, fills, and transitions without losing groove
Advanced DnB arrangement depends on controlled disruption. Use the ride as a transition tool:
- Add a 1-bar fill clip with extra ride hits before a section change
- Use Reverse on a tail-only ride hit for a quick pre-drop sweep
- Automate Echo very lightly on the last ride hit of a phrase for a spatial tail
- Filter the ride down for 2 bars, then reopen on the downbeat
Keep these fills short. In jungle and rollers, the groove must recover immediately after the transition. The best fills feel like pressure release, not a full stop.
Common Mistakes
- Fix: lower the ride until it feels like propulsion, not a cymbal track. In DnB, if you notice the ride first, it’s often too loud.
- Fix: high-pass more aggressively, often 200–400 Hz if needed. Low-mid buildup will cloud the break and sub.
- Fix: use light groove application and manual nudges. Oldskool jungle energy depends on micro-imperfection.
- Fix: make at least 3 clip variations and arrange them by phrase. DnB thrives on subtle evolution.
- Fix: narrow the ride or keep the core layer mono-compatible. Wide cymbals can destabilize the low-end perception.
- Fix: glue the break and ride together lightly so they feel like one performance.
- Fix: remove hits around the snare or shorten decay. The snare must cut through in jungle and rollers.
Pro Tips for Darker / Heavier DnB
- Use one dry, narrow layer for rhythm and one processed layer with more dirt for atmosphere. Blend the dirty layer low.
- A little Saturator first can reveal useful harmonics, then EQ can clean up the ugliness. Great for grimy rollers.
- Pull the ride down through an Auto Filter during breakdowns, then release the cutoff on the drop for instant energy.
- Record the break + ride combo to audio, then chop the resample. This can create a more unified, haunted jungle texture.
- Sub stays mono, ride can have some width, but don’t let high-frequency stereo clutter blur the mix.
- Very low-velocity hits before the snare or at phrase ends can create a sinister rolling feel without crowding the grid.
- Dark DnB often sounds bigger when the ride is controlled and dry, not washed out. Reverb can work, but only as an accent.
Mini Practice Exercise
Spend 15 minutes making a ride framework for a jungle/oldskool DnB drop:
1. Set tempo to 172 BPM.
2. Load a chopped break on one track and a ride sample or ride rack on another.
3. Build a 2-bar ride pattern with at least:
- 2 main hits per bar
- 1 ghost hit
- 1 fill hit in bar 2
4. Apply a light groove or manual swing to the ride only.
5. Process the ride with:
- EQ Eight high-pass around 250 Hz
- Saturator with 3–4 dB drive
- Utility width reduced if needed
6. Make three Session View clips:
- main
- filtered intro
- lift variation
7. Drag the clips into Arrangement View and map a 16-bar intro + 16-bar drop.
8. Add one automation move:
- open the ride filter over the last 4 bars before the drop
9. Bounce the drums and listen in mono for balance.
10. Ask yourself: does the ride add movement, or does it just add brightness?
Your goal is to create a ride part that feels like it belongs to the break, not above it.

