Main tutorial
Lesson Overview
This lesson is about building a subweight bass chain in Ableton Live 12, then resampling it into a crunchy sampler texture that feels right at home in jungle, oldskool DnB, rollers, and darker bass music. The goal is not just “make bass sound dirty” — it’s to create a controlled, re-usable FX layer that adds movement, grit, and personality to your bassline without destroying the sub.
In a real DnB track, this kind of texture often lives in the mid-bass and transition layer: underneath a reese, around a drop switch-up, answering the drums, or punctuating a phrase before the next 8 or 16 bars. Think of it as a resampled bass character pass — something you perform, automate, print, and then chop like an instrument.
Why it matters:
- It gives you identity fast, instead of endlessly tweaking the original synth patch.
- It helps create oldskool jungle movement through sampled crunch and playback artifacts.
- It lets you design call-and-response between sub, drums, and texture.
- It keeps the sub clean while allowing the upper bass to get wild. 🔥
- A solid mono sub layer that stays stable under the track
- A processed bass FX chain with saturation, filtering, movement, and controlled crunch
- A resampled audio clip containing gritty DnB bass texture
- A Sampler or Simpler instrument loaded with that resample, playable across the keyboard
- A pattern of automation that creates phrase movement, drops, and switch-ups
- A texture that can sound like:
- Resampling a sound that is already too busy
- Letting the crunchy texture own the sub range
- Overusing Redux or bit reduction
- Automating too many parameters at once
- Making the sampler texture too long and unshaped
- Ignoring the drums
- Print multiple versions
- Use narrow-to-wide motion
- Emphasize note placement
- Use short filter throws
- Try subtle pitch variation
- Distort the mids, not the sub
- Use drum-bass bus shaping carefully
- Build a clean mono sub and a separate dirty mid-bass layer
- Use automation first, then resample the most musical moments
- Turn the printed audio into a Sampler or Simpler instrument
- Shape it with filtering, chopping, and arrangement
- Keep the sub clean, the texture controlled, and the groove DnB-focused
- The best results come from contrast: stable low end, animated crunchy mids, and intentional phrase movement
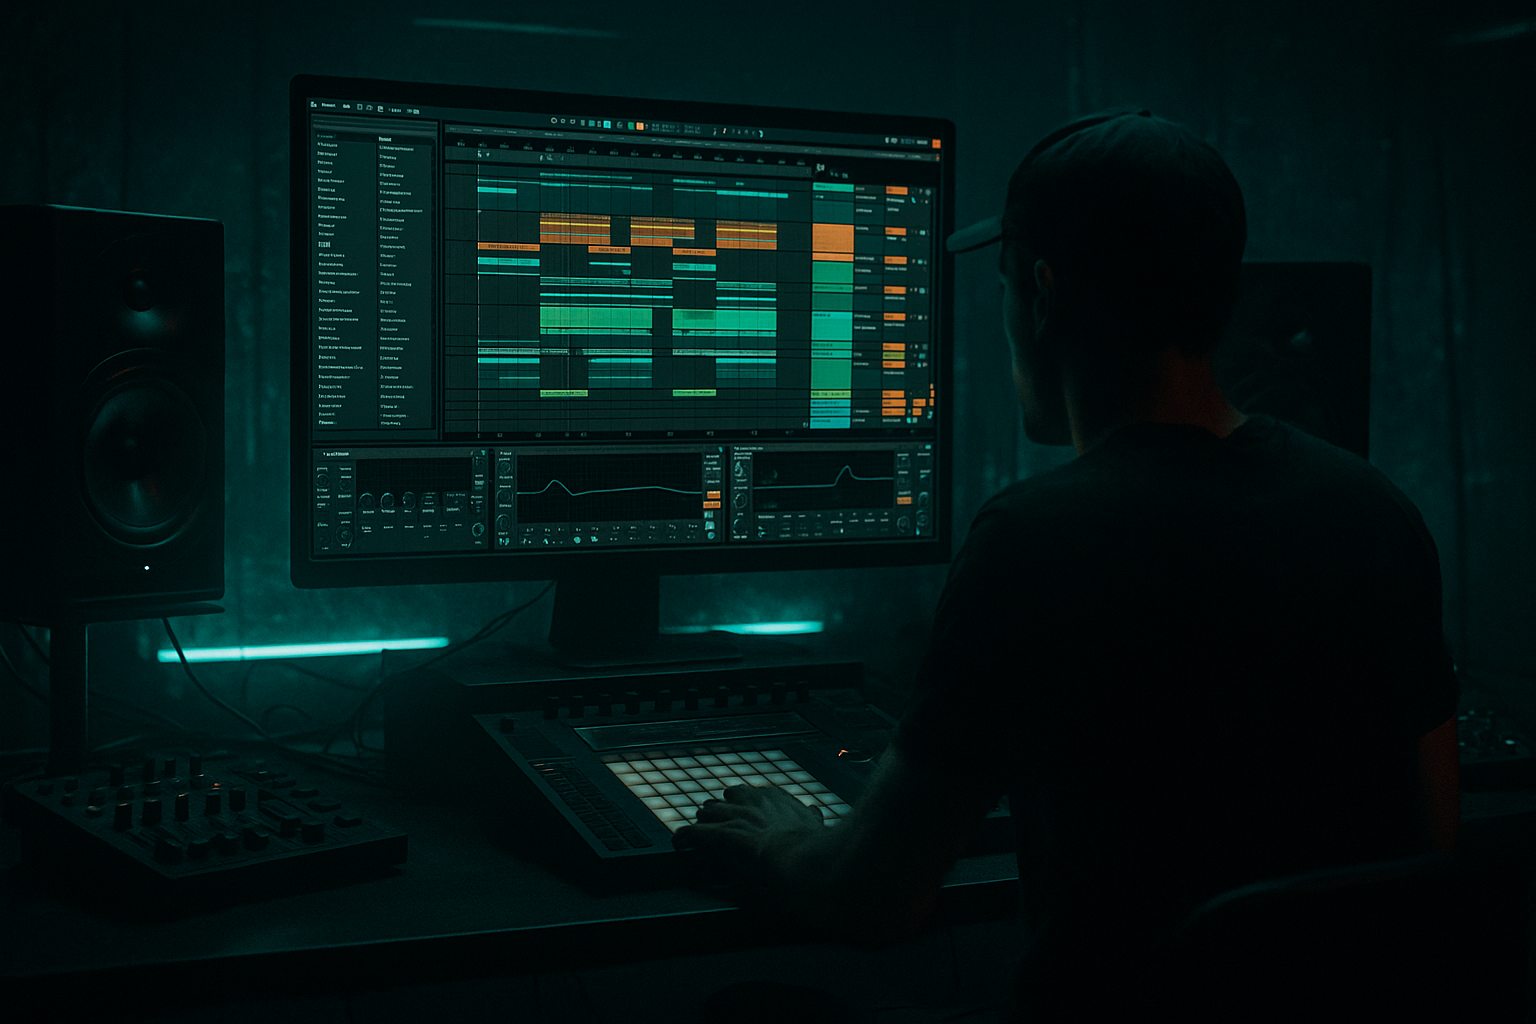
You’ll use Ableton stock devices and a resampling workflow that’s very in tune with DnB production: build a bass chain, automate it, print the best moments, then slice that print into a playable sampler texture.
What You Will Build
By the end, you’ll have:
- oldskool jungle bass stab grit
- dark roller mid-bass pressure
- neuro-ish mechanical edge
- broken sampler-style bass artifacts
Musically, this could become the kind of sound you’d place in an 8-bar drop loop: sub holds the floor, drums drive the groove, and the resampled texture spits out short, crunchy response notes every 1–2 bars for tension and bounce.
Step-by-Step Walkthrough
1. Build the bass source with a clean sub and a dirty companion layer
Start with a simple bass MIDI clip in Ableton. Keep the notes musical and loopable — for DnB, try a phrase with 1-bar or 2-bar movement, leaving space for the kick and snare.
Use two tracks:
- Sub track: Operator, Wavetable, or simpler sine-based source
- Texture track: a saw/reese-style patch or sampled bass hit for harmonics
For the sub:
- Keep it mono
- Use a sine or near-sine tone
- Low-pass if needed
- Avoid wide stereo on anything below about 120 Hz
For the texture layer:
- Build a reese-ish patch with detuning or unison
- Keep it mid-focused
- High-pass around 80–120 Hz so it doesn’t fight the sub
Why this works in DnB: the low end must remain stable and readable on big systems, while the mid-bass can carry the aggression, movement, and sampled character.
2. Create a gritty FX chain on the texture layer
On the texture track, build a stock-device chain that gives you controllable dirt before you resample.
A strong starting chain:
- EQ Eight
- Saturator
- Pedal or Overdrive
- Auto Filter
- Redux for controlled crunch
- Optional Chorus-Ensemble very lightly, if you want width only above the low mids
Suggested settings:
- EQ Eight: high-pass at 90–120 Hz, gentle dip around 250–400 Hz if muddy
- Saturator: Drive 3–8 dB, Soft Clip on
- Overdrive: Frequency around 200–500 Hz, Drive 15–35%
- Redux: sample rate reduction lightly, try 12–16 bits and a subtle downsample amount
- Auto Filter: low-pass automation target around 300 Hz to 4 kHz depending on phrase position
Don’t make it full-on destroyed yet. You want a chain that can be performed and automated before printing.
3. Automate movement before resampling
This is the key step. If you resample a static bass tone, the texture won’t feel alive. In DnB, the most useful sampled bass textures usually come from moving filter points, drive changes, and rhythmic openings/closures.
Automate these parameters in a 4-bar or 8-bar loop:
- Auto Filter cutoff
- Saturator drive
- Redux bit depth / downsample
- Utility width if you want to narrow or widen the upper bass
- Amp envelope / filter envelope if using a synth source
Good automation shapes:
- Bar 1–2: filter slightly closed, moderate drive
- Bar 3: open filter for a phrase lift
- Bar 4: slam drive or reduce bit depth for a crunchy answer note
- Last half-bar: quick filter close for a transition feel
Suggested automation ranges:
- Auto Filter cutoff sweeping from 180 Hz up to 2.5–6 kHz
- Saturator Drive moving from 2 dB to 7 dB
- Redux gently toggling between clean and degraded moments, not constantly maxed
Draw automation with intention. Think like a drum edit: small changes make the loop feel engineered.
4. Resample the processed bass into audio
Create a new audio track and set Audio From to the texture track, then choose Resampling or the track’s post-FX output depending on your routing. Arm the audio track and record the section while your automation plays.
Print at least:
- one clean-ish pass
- one heavier pass
- one transition pass with a bigger filter sweep or distortion hit
Try recording:
- a full 4 or 8 bars
- plus a few extra bars for tail and variations
After recording, zoom in and listen for the most useful moments:
- crunchy note attacks
- filter-open peaks
- noisy tail sections
- unstable artifacts that sound good when chopped
If the print is too thick, don’t panic — we’ll shape it in Sampler next.
5. Turn the resample into a playable sampler texture
Drag the recorded audio into Sampler or Simpler on a new MIDI track. For intermediate workflow speed, Simpler is great for quick slicing; Sampler gives more precise control if you want a more instrument-like feel.
Two strong options:
Option A: Simpler, One-Shot or Slice
- Use Slice mode if the resample contains distinct crunchy hits
- Use One-Shot if it’s more like a continuous texture
- Set Warp thoughtfully if you want to preserve feel; otherwise keep it tighter for one-shots
Option B: Sampler for musical playability
- Map the sample across the keyboard
- Set start/end points so the crunchy part is the focus
- Use filter and envelope to shape the note response
Practical settings:
- Amp envelope: short attack, medium decay if you want stab-like texture
- Filter: low-pass around 2–8 kHz depending on how bright the resample is
- Voices: keep polyphony controlled if the sound gets messy
- Glide/portamento: subtle glide can make oldskool lines feel more liquid
Now your automation print becomes an actual playable instrument. That’s the magic: you stop treating the FX chain like a final stage and start using it like a source generator.
6. Chop and arrange the sampler texture like a DnB phrase tool
In DnB, especially jungle and rollers, texture works best when it answers the drums rather than constantly occupying space.
Create a simple 8-bar arrangement:
- Bars 1–4: establish the main bassline with sub
- Bar 5: introduce the resampled texture on the offbeat or after the snare
- Bar 6: add a shorter chopped response
- Bar 7: increase tension with higher notes or shorter gate
- Bar 8: use a fill, reverse hit, or filter-down transition
A musical example:
- Sub plays a steady root movement
- Snare lands on 2 and 4
- The sampler texture answers on the last 1/8 of bar 2 and the last 1/4 of bar 4
- Then in the next 8 bars, the texture shifts higher and more aggressive for the second half of the drop
This call-and-response style is extremely effective in DnB because it leaves space for the break, while still making the bassline feel animated and arranged.
7. Tighten the mix so the crunch sits above the sub, not inside it
Bring in Utility and EQ Eight to keep your low end disciplined.
On the sampler texture track:
- High-pass around 80–150 Hz
- Use Utility to narrow or mono the low-mids if needed
- If the texture feels harsh, cut a little around 2.5–5 kHz with a gentle bell
- If it needs bite, add a small boost around 700 Hz–1.5 kHz
On the sub:
- Keep it mono
- Avoid distortion unless it’s specifically part of the sound design
- Make sure it doesn’t compete with the kick
Check the mix in context:
- Kick/sub balance
- Snare crack vs. bass crunch
- Mono compatibility
- Headroom for mastering
A useful habit: solo the sampler texture only long enough to shape it, then always return to the full drum/bass loop. The texture should feel nasty, but the groove must stay readable.
8. Use automation in the arrangement to create drop dynamics
This technique becomes much more powerful when the automation evolves across the arrangement, not just inside a loop.
In the intro, keep the texture filtered and faint.
In the build, automate:
- filter opening
- reverb throw on occasional hits
- reduced low end so the drop feels bigger
At the drop, let the sampler texture hit harder:
- more saturation
- more open filter
- tighter chops
- shorter release for punch
In the switch-up, automate the sampler or clip envelope so the same sample feels new:
- transpose up 3–7 semitones for tension
- shorten the decay
- change the playback start point
- alternate between two printed resamples
If you’re writing a jungle-style arrangement, this works especially well around the 16-bar mark when a break edit or bass variation drops in. The resampled texture can act like a bridge between sections.
Common Mistakes
- Fix: simplify the original bass chain first. Resample movement, not chaos.
- Fix: high-pass the texture and keep sub separate and mono.
- Fix: use grit in phrases, not constantly. DnB needs contrast.
- Fix: choose 2–3 core moves, like filter, drive, and width.
- Fix: trim the best part and use Simpler/Sampler envelopes to make it playable.
- Fix: every bass texture should respect the kick/snare pocket and the break groove.
Pro Tips for Darker / Heavier DnB
- Make one clean, one medium-crunch, one destroyed. Layering options save arrangements.
- Keep the bass more mono in the drop, then widen only the upper texture for switch-ups and fills.
- Put crunchy stabs after the snare or on the last 1/8 of the bar for that classic DnB push-pull.
- Tiny automation moves — especially in the last half-bar — can make a loop feel expensive.
- In Simpler or Sampler, small transpositions can make oldskool jungle vibes feel more organic and sampled.
- If you want more weight, saturate the harmonics above the sub instead of smashing the lowest octave.
- A light glue or bus compression on the bass texture group can make the whole layer feel unified, but don’t over-cook the transients.
Mini Practice Exercise
Spend 10–20 minutes making a single 4-bar DnB bass phrase using this method:
1. Write a simple 2-bar bassline with a clean sub and a mid-bass layer.
2. Add EQ Eight, Saturator, Auto Filter, and Redux to the mid-bass layer.
3. Automate the filter cutoff across 4 bars with one small opening on bar 3.
4. Automate Saturator Drive so the last bar is slightly more aggressive.
5. Resample the output into a new audio track.
6. Load the audio into Simpler and slice or play it as a new instrument.
7. Make a second 4-bar loop where the sampler texture answers the drums on the offbeat.
8. Compare the original and resampled versions. Choose the one that feels more musical, not just more distorted.
Goal: end with one playable crunchy texture and one arrangement idea for how it enters the drop.

