Main tutorial
Subweight Kick Weight Saturate Deep Dive with Jungle Swing in Ableton Live 12
1. Lesson overview
In this lesson, we’re building a weighty, saturated drum and bass kick that carries real subweight without turning mushy, and then we’ll make it swing like jungle without losing impact.
This is a very practical sound-design workflow for DnB, jungle, rollers, and dark half-time sections. The goal is not just a bigger kick — it’s a kick that:
- hits hard in the 80–120 Hz weight zone
- stays controlled in the sub range
- has a gritty, audible front end
- grooves with jungle-style swing
- sits well with fast breaks and sub-bass lines
- a custom DnB kick rack
- a kick layer with:
- a drum groove with subtle jungle swing
- a version of the kick that works in:
- mass
- definition
- movement
- energy
- a clean acoustic kick sample from your library
- a simple stock drum rack kick
- a kick with a short tail and clear transient
- transient is clear
- body is centered around 50–100 Hz
- tail is not too boomy
- no obvious distortion from the sample itself
- rimshot click
- short drum stick hit
- tiny snare tick
- high-frequency transient from another kick
- Simpler mode: Classic or One-Shot
- Start: very near the beginning
- Fade: minimal
- Volume: low, just enough to hear the attack
- High-pass around 1.5 kHz to 3 kHz
- Boost lightly around 4–8 kHz if needed
- Warp: off unless the sample needs timing correction
- Transpose: adjust until the kick feels anchored in the track
- Gain: set so it doesn’t clip before processing
- Filter: usually off for now
- Cut slightly around 250–400 Hz if boxy
- If the kick is too thin, try a small boost around 90–120 Hz
- If it clashes with the bass, narrow the body slightly with EQ
- Operator
- Wavetable with a pure sine
- a very clean sub sample in Simpler
- Oscillator A: Sine
- Octave: -2 or -3
- Filter: off
- Amp envelope:
- High-pass very gently below 25–30 Hz
- Cut a little around 180–250 Hz if it gets muddy
- Drive: 2 to 6 dB
- Soft Clip: ON
- Curve: default or slightly softened
- Output: trim to match level
- the kick gets more harmonic content
- the attack becomes easier to hear on smaller speakers
- the low-mid body feels denser
- Drive: 1 to 3 dB
- Soft Clip: ON
- Drive: 5 to 15%
- Transient: +5 to +20
- Boom: use carefully; start low or off
- Boom Frequency: around 50–70 Hz if used
- Damp: adjust to taste
- Crunch: small amounts only if you want grit
- Width: 100% if mono source
- Bass Mono: optional if you’re processing a full drum group
- Gain: use for level matching
- cut sub rumble below 25–30 Hz
- tame mud around 200–350 Hz
- add a very subtle presence boost if needed around 2–5 kHz
- kick on 1
- kick on 2.5
- kick on 3
- occasional offbeat kick before 4
- push some kicks slightly late
- place ghost hits a touch early or late depending on the break
- let the kick “lean” against the breakbeat
- 10% to 30% for subtle swing
- 30% to 50% for more obvious jungle movement
- put a break on another audio track
- warp it lightly if necessary
- route the kick and break together to a drum bus
- shorten the kick tail
- reduce sub layer sustain
- cut a little 100–150 Hz from the break if necessary
- lower the kick body slightly
- increase transient
- add 1–2 dB more saturation
- boost a narrow band around 90–110 Hz
- make the click a little brighter
- Attack: 1–5 ms
- Release: 50–120 ms
- Ratio: 2:1 to 4:1
- Adjust threshold until the kick can breathe
- sub
- mid bass
- main kick for the drop
- shorter kick for busy sections
- more saturated kick for breakdown returns
- filtered kick for tension moments
- ghost-kick fills before transitions
- Intro: filtered kick with minimal sub
- Build: add more click and transient
- Drop 1: full body + saturation
- Break section: reduce tail, let breaks breathe
- Drop 2: bring in the heaviest version
- one clean chain
- one distorted chain
- Attack: 3 ms
- Release: Auto or 0.1–0.3 s
- Ratio: 2:1
- Makeup: off or manual
- Aim for only a few dB of gain reduction
- a cleaner version for verse/rolling sections
- a heavier saturated version for drop moments
- Click layer
- Body layer
- Light saturation only
- Minimal swing
- Same layers
- More Saturator drive
- Drum Buss with more transient
- Slightly more groove swing
- use layered kick design
- keep the sub layer short and controlled
- use Saturator and Drum Buss for weight and harmonics
- shape the transient so the kick cuts through fast breaks
- apply subtle swing for jungle movement
- arrange multiple kick variations for impact and progression
- a device-chain cheat sheet
- a 128-bar DnB arrangement template
- or a follow-up lesson on sub-bass design to match this kick.
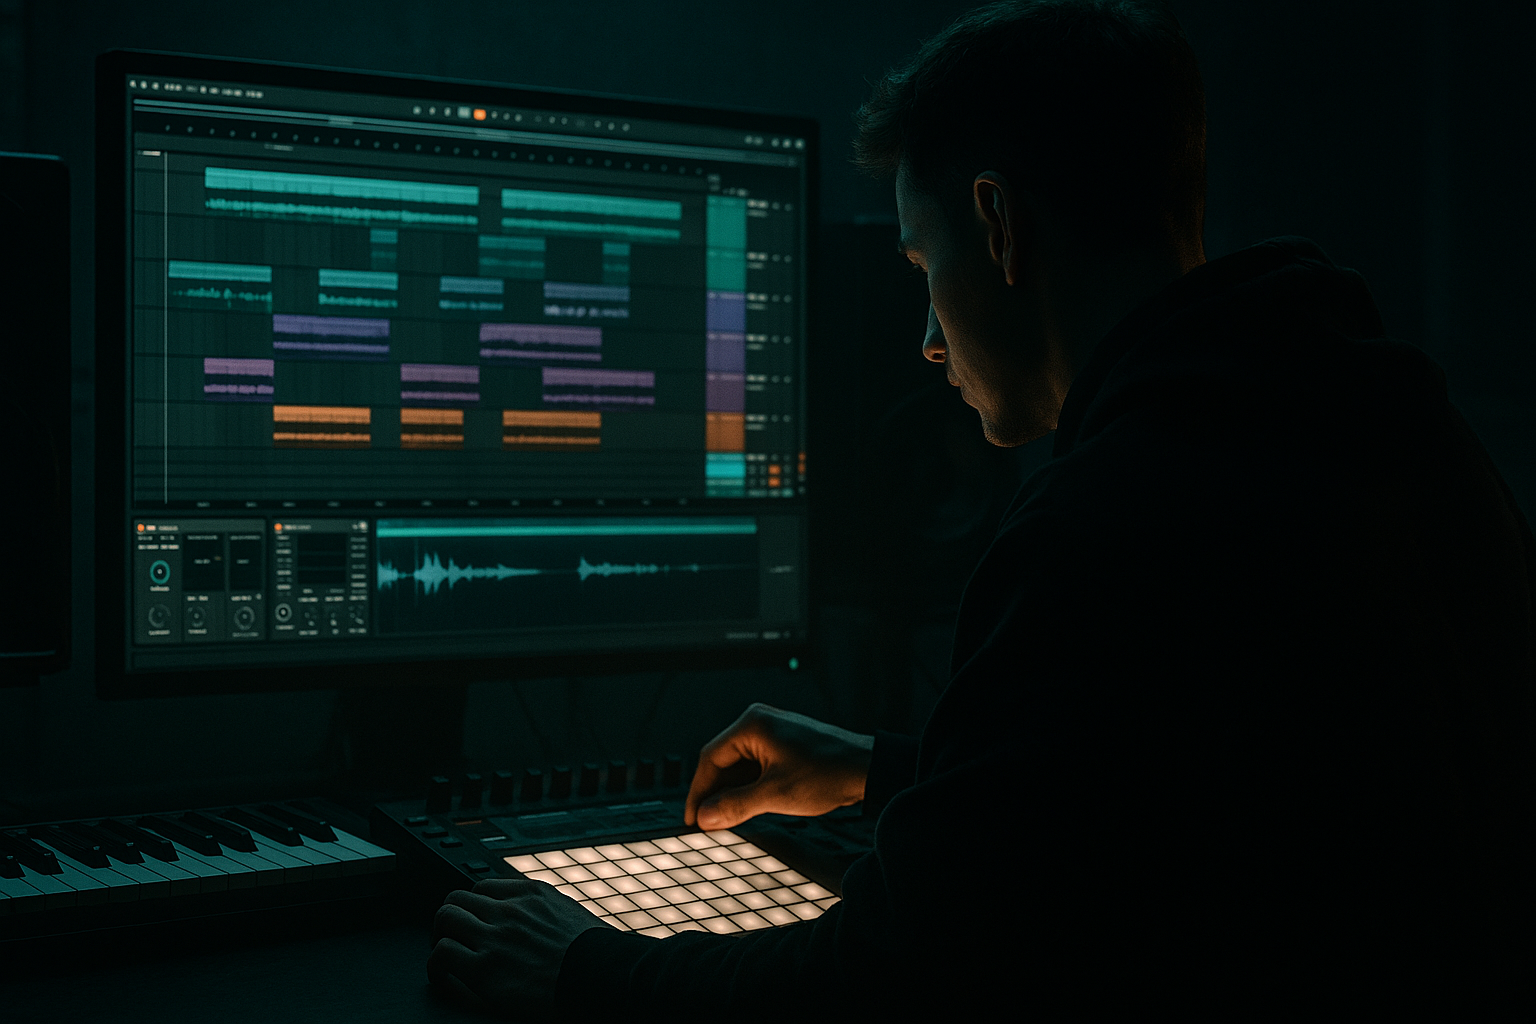
We’ll use stock Ableton Live 12 devices and a simple but powerful chain to create a kick you can actually use in a track. 🎛️
---
2. What you will build
By the end of this tutorial, you will have:
- sub body
- click/attack
- saturation weight
- roller patterns
- breakbeat layers
- intro drops
- heavier neuro / darkside sections
We’ll create a kick that feels like it has:
---
3. Step-by-step walkthrough
Step 1: Start with the right source kick
Open a new Ableton Live 12 project and create a MIDI track.
Use either:
For this lesson, avoid kicks that are already heavily compressed or super long in the low end. In DnB, you often want a kick that is tight enough to leave room for the sub.
#### Good kick source traits:
Drag the kick into a Simpler or a Drum Rack pad.
---
Step 2: Build a layered kick inside Drum Rack
Create a Drum Rack with three layers:
1. Click layer
2. Body layer
3. Sub layer
This gives you control over the kick’s character.
---
Step 3: Shape the click layer
For the click, choose a short attack sample, such as:
Put this into a Simpler on one Drum Rack chain.
#### Suggested settings:
Add an EQ Eight after it:
This layer should add presence, not sound like a separate drum.
---
Step 4: Build the body layer
Now put your main kick sample into another Drum Rack chain.
Use Simpler for this layer.
#### Suggested settings:
Add EQ Eight:
This layer defines the kick’s “thump.”
---
Step 5: Create the subweight layer
This is where the lesson gets serious.
Make a third chain in the Drum Rack and load a sine wave or near-sine source. You can do this with:
#### Using Operator:
- Attack: 0–5 ms
- Decay: 120–220 ms
- Sustain: 0
- Release: very short
You want this sub layer to bloom briefly under the kick, not become a long bass note.
#### Suggested EQ:
After Operator, add EQ Eight:
---
Step 6: Add saturation for subweight and perceived loudness
This is the core of the lesson: saturating the kick so it feels heavier.
Add Saturator to the body layer, then test it on the group as well.
#### Body layer Saturator settings:
What’s happening here:
If you want extra weight, add Saturator on the whole Drum Rack group too, but use gentler settings:
Be careful: overdoing this will flatten the transient and make the kick less punchy.
---
Step 7: Use Drum Buss for DnB punch
Add Drum Buss after the Drum Rack group for a more finished drum tone.
#### Suggested Drum Buss settings:
For a jungle/DnB kick, Transient is often more useful than heavy Boom. You want the kick to hit, not become a soft sub blob.
If you use Boom, tune it to the track key or the sub region of your bassline.
---
Step 8: Control the low end with EQ and utility
Add Utility after the processing chain.
#### Utility settings:
Then use EQ Eight to clean up:
In DnB, the kick and sub need a clean handshake. If the kick has too much uncontrolled low end, it will fight the bassline.
---
Step 9: Dial in jungle swing with MIDI placement
Now let’s make it feel like jungle, not just a straight 4/4 kick.
Create a MIDI clip with a basic kick pattern:
Then adjust the timing manually for swing.
#### Jungle swing idea:
You can also use Ableton’s groove engine:
1. Open the Groove Pool
2. Drag in a swing groove, such as:
- MPC-style swing
- triplet feel grooves
- subtle 16th swing templates
3. Apply it lightly to the kick MIDI clip
#### Suggested groove amount:
Be careful: too much groove on the kick can make the low end feel late and draggy. In jungle, the swing should feel alive, not sloppy.
---
Step 10: Make the kick work with breaks
A classic jungle/DnB kick often lives with breakbeats rather than alone.
Try this:
Then listen to how the kick interacts with the break.
#### If the kick is masking the break:
#### If the kick feels weak against the break:
---
Step 11: Sidechain the bass to the kick
In DnB, this is essential.
On your bass track, add Compressor or Glue Compressor sidechained to the kick.
#### Starting settings:
For heavy rolling bass music, you may want the bass to duck just enough for the kick’s body, not for the entire tail.
If you’re using a sub bass layer, consider splitting bass into:
Then sidechain only the sub more aggressively and the mid bass more subtly.
---
Step 12: Arrange the kick for impact
In arrangement, don’t just repeat the same kick forever.
Use variations:
#### Example arrangement idea:
This keeps the listener engaged and makes the drop feel bigger.
---
4. Common mistakes
1. Too much sub in the kick
If the kick has huge sub energy, it will fight the bassline and eat headroom.
Fix: shorten the sub layer and high-pass very gently below 25–30 Hz.
---
2. Over-saturating the kick
Too much distortion kills punch and makes the kick fuzzy.
Fix: use Saturator and Drum Buss in moderation. Compare bypassed vs processed at matched volume.
---
3. No transient definition
A round low-end kick without attack can disappear in a dense DnB mix.
Fix: add a click layer, use Drum Buss Transient, or slightly boost the attack region.
---
4. Swinging the kick too hard
If the kick is too far behind the grid, the groove feels lazy instead of tight.
Fix: use subtle groove amounts and manually nudge notes by ear.
---
5. Ignoring phase between layers
Layered kicks can cancel each other out if phase is off.
Fix: zoom in and adjust start times, or use sample start tweaks in Simpler. Listen in mono.
---
6. Not matching the kick to the bass key
A kick with a resonant body note that clashes with the bass can sound muddy or out of tune.
Fix: tune the kick body/sub layer where possible. Even small pitch adjustments matter.
---
5. Pro tips for darker/heavier DnB
Tip 1: Use controlled saturation instead of huge EQ boosts
If you want the kick to feel darker and heavier, saturate the body layer before boosting frequencies. Saturation creates harmonics that feel louder and more aggressive without needing massive EQ moves.
---
Tip 2: Pair the kick with a tuned sub layer
For darker DnB, the sub layer can reinforce the root note of the track or sit a fifth below the bass. Just keep it short.
---
Tip 3: Use parallel processing on the drum bus
Duplicate the drum group or use Audio Effect Rack chains:
Blend the distorted chain underneath. This keeps the original transient intact while adding weight.
---
Tip 4: Try Glue Compressor after saturation
A gentle Glue Compressor on the drum bus can help the kick and breaks feel like one unit.
#### Starting point:
---
Tip 5: Use transient shaping for contrast
If the mix is dense, increase attack and shorten decay rather than just making the kick louder.
---
Tip 6: Build two kick versions
Make:
This gives your arrangement more energy variation.
---
6. Mini practice exercise
Create two kick racks in Ableton Live 12:
Version A: Clean weight kick
Version B: Heavy jungle kick
Then do this:
1. Program a 2-bar drum loop
2. Place kicks against a breakbeat
3. Sidechain a sub bass
4. Compare the two kick versions in context
5. Decide which one works better for:
- intro
- drop
- breakdown
#### Challenge:
Make the heavy version feel louder without increasing peak level much.
That means you’re learning real subweight design, not just volume boosting. 💥
---
7. Recap
You’ve now built a DnB kick with subweight, saturation, and jungle swing in Ableton Live 12.
Key takeaways:
If you treat the kick as a full sound-design element instead of just a drum hit, your DnB productions will immediately sound more powerful, more professional, and more alive. 🔥
If you want, I can also turn this into:

