DNB COLLEGE

Drum & Bass Ableton Live 12 Tutorials

LESSON DETAIL

Subweight: vocal texture humanize for VHS-rave color in Ableton Live 12 for jungle oldskool DnB vibes (Intermediate)

An AI-generated intermediate Ableton lesson focused on Subweight: vocal texture humanize for VHS-rave color in Ableton Live 12 for jungle oldskool DnB vibes in the Breakbeats area of drum and bass production.

Back to lessons
Subweight: vocal texture humanize for VHS-rave color in Ableton Live 12 for jungle oldskool DnB vibes (Intermediate) cover image

Narrated lesson audio

The voice track includes the tutorial plus extra teacher commentary.

Open audio file

Main tutorial

Lesson Overview

Subweight is the art of making a vocal texture sit under a Drum & Bass or jungle groove as a feeling, not a lead. In this lesson, you’ll build a VHS-rave-style vocal layer that sounds dusty, human, slightly haunted, and glued to the breakbeats — the kind of texture that makes an oldskool roller feel alive without turning the track into a vocal song.

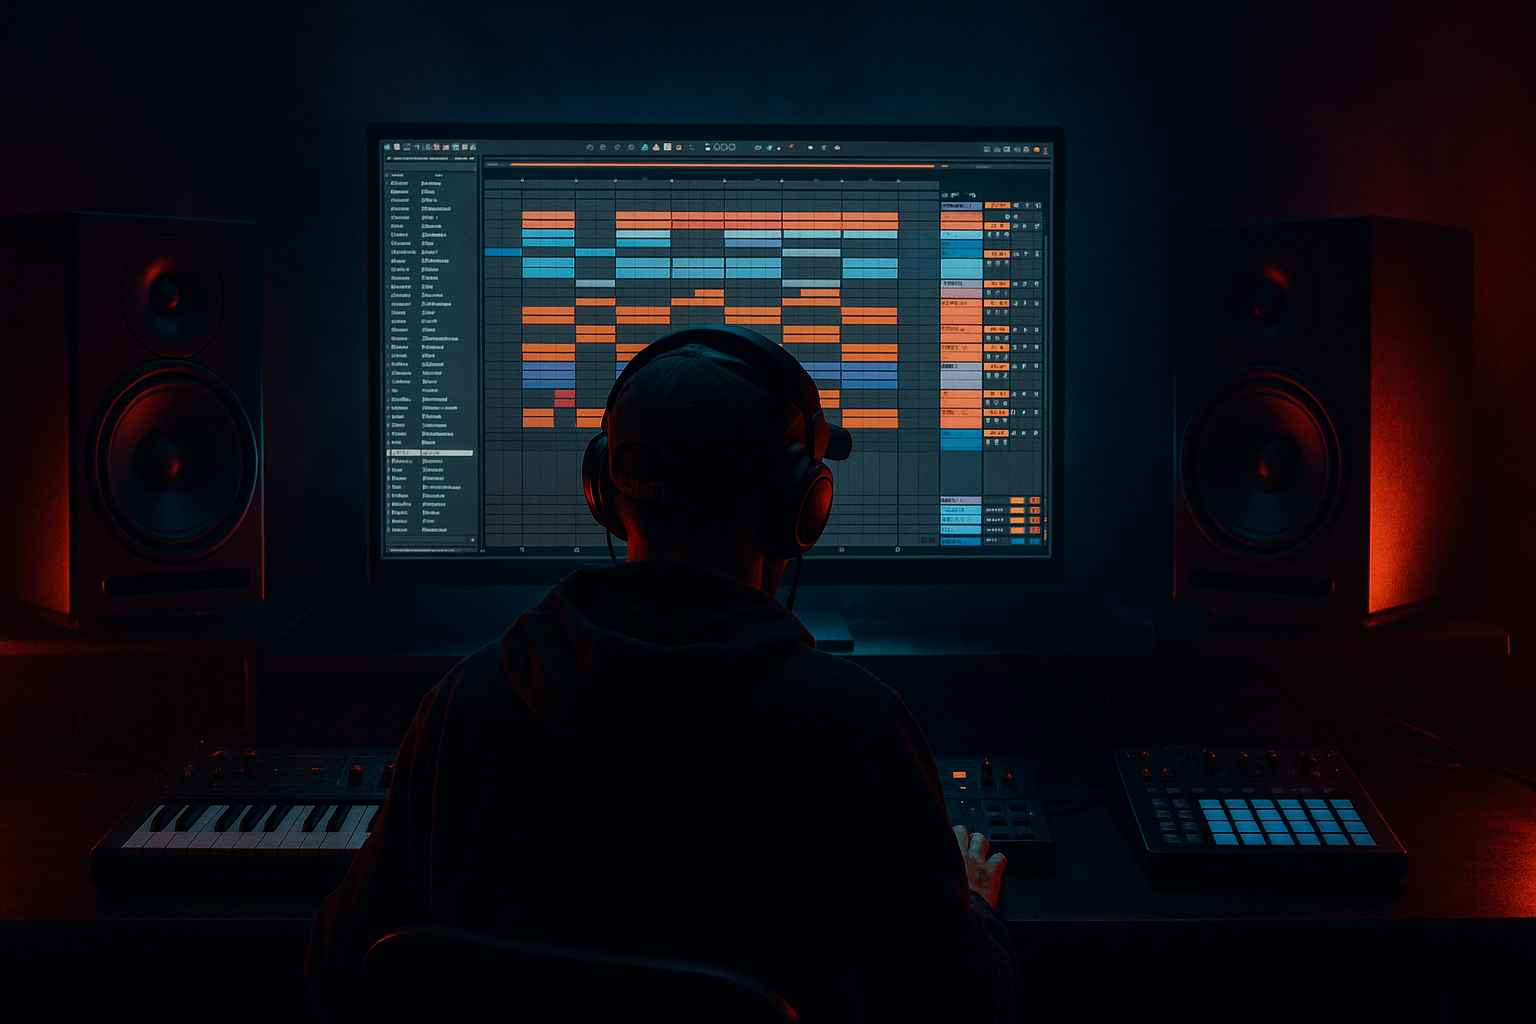
In Ableton Live 12, this is especially powerful because you can shape short vocal snippets into rhythmic support using stock devices only: warp them, degrade them, filter them, duck them, and make them dance around the break. The goal is to create a subweight vocal bed that lives in the midrange and low-mids, adding character and motion under a jungle break or darker DnB drop.

Why it matters: DnB arrangements often rely on repetition and controlled variation. A humanized vocal texture gives you movement between drum hits, adds emotional dust to the groove, and creates that VHS-rave color that feels nostalgic, gritty, and undeniably underground. It works especially well in oldskool jungle, dark rollers, breakbeat-driven halftime sections, and neuro-adjacent intros where you want atmosphere without clutter.

What You Will Build

You’ll build a short vocal texture loop that behaves like a living layer beneath your breakbeats:

  • a chopped, time-warped vocal phrase
  • filtered and band-limited to sit around the drums and bass
  • subtly detuned and degraded for VHS character
  • sidechained so the kick and snare still punch through
  • rhythmically edited so it follows the break rather than fighting it
  • automated to bloom in the intro, thin out in the drop, and reappear in switch-ups
  • By the end, you should have a texture that feels like a forgotten rave tape sampled into a modern DnB tune: dusty, emotional, and tightly locked to the groove.

    Step-by-Step Walkthrough

    1. Choose the right vocal source and place it against the break

    Start with a short vocal fragment: a spoken line, a shout, a breathy phrase, or even one word with character. For oldskool/jungle flavor, choose something with an expressive attack — not a pristine pop vocal. Think “hey,” “come on,” “inside,” or a chopped rave chant.

    Drag it into an audio track and warp it with care. In Ableton Live, turn Warp on and use:

    - Beats mode for sharp, rhythmic fragments

    - Complex or Complex Pro for more sustained, textured phrases

    If you’re making jungle-style breakbeats, set the clip so the vocal lands between snare hits or lightly offsets the snare for push-pull energy. A good starting point is to align the vocal on the “and” of 2 or 4, so it supports the break without stealing the downbeat.

    Practical tip: keep the clip short, around 1/2 to 2 bars, so it can loop like texture rather than dominate as a hook.

    2. Turn the vocal into a texture with warping and resampling

    Duplicate the vocal and make one version your “raw” layer and another your “texture” layer. On the texture layer, use warp markers to create slight time instability:

    - nudge a syllable a few milliseconds late

    - stretch one vowel slightly longer than the next

    - leave a tiny timing inconsistency so it feels hand-cut, not grid-perfect

    Then resample it. Create a new audio track, set its input to Resampling, and record 1–2 bars of the vocal processing while the break plays. This is a classic DnB workflow because it commits the vibe and lets you edit the printed audio like a sample.

    Why this works in DnB: breakbeat music thrives on micro-variation. A resampled vocal texture can sit like another percussion layer, with human timing baked in, instead of feeling like a clean studio vocal pasted on top.

    3. Shape the VHS-rave tone with stock devices

    Put an Audio Effect Rack on the resampled vocal and build a simple chain:

    - EQ Eight

    - Saturator

    - Chorus-Ensemble or Phaser-Flanger

    - Redux

    - Auto Filter

    Start with EQ Eight:

    - high-pass around 120–180 Hz to clear sub territory

    - gentle cut around 250–400 Hz if it’s boxy

    - soft dip around 2.5–5 kHz if it’s harsh

    Then Saturator:

    - Drive: +2 to +6 dB

    - Soft Clip: on

    - Output adjusted so you don’t get louder just dirtier

    Redux is your VHS secret weapon:

    - Downsample subtly, around 2x–4x reduction

    - Bit reduction: light to moderate

    - Keep it audible, but don’t crush intelligibility

    Add Chorus-Ensemble with a very small amount:

    - Amount: 10–25%

    - Rate: slow

    - Mix: low

    This gives the vocal a slightly wobbling tape-machine smear.

    Finally, use Auto Filter as a tone shaper:

    - low-pass around 6–10 kHz for haze

    - automate cutoff so the vocal opens only during fills or intros

    4. Humanize the rhythm so it feels like an MC ghost in the track

    This is where the “subweight” part really comes alive. You want the vocal to feel human, not looped.

    Use Clip Envelopes or Volume automation to shape individual syllables:

    - make some hits quieter by 1–3 dB

    - push one syllable slightly louder for emphasis

    - trim the tail of words so they don’t smear into the snare

    In Ableton Live 12, you can also use Groove Pool lightly. Try applying a swing groove from a break or a subtle MPC-style groove to the vocal clip at around 10–30% Amount. Don’t overdo it — you’re matching the pocket of the drums, not turning the vocal into a dance lead.

    If you have a chopped break, let the vocal phrasing answer it:

    - vocal hit after the snare = call

    - break fill or ghost note = response

    - silence before the next bar = tension

    This kind of call-and-response is very authentic in DnB and jungle, especially when the break is already busy.

    5. Make room for the kick, snare, and sub with sidechain and spectral discipline

    The vocal texture should sit behind the main drum and bass elements, not compete with them. Add Compressor on the vocal track and sidechain it from the kick or a ghost trigger if needed.

    Good starting settings:

    - Attack: 1–10 ms

    - Release: 80–180 ms

    - Ratio: 2:1 to 4:1

    - Gain reduction: 2–5 dB

    If the snare is the dominant anchor in your breakbeat, you can also sidechain to the snare or use a duplicate trigger track for precise ducking. This helps the vocal breathe around the backbeat, which is crucial in jungle where the snare often carries the energy of the bar.

    Then use EQ Eight again to keep the vocal out of the sub region:

    - high-pass no lower than 120 Hz, often higher

    - reduce low-mid buildup if your bassline is already thick

    The key is separation. Your subweight vocal should add emotional mass in the mids, while the actual sub remains clean and mono.

    6. Glue it to the breakbeat with transient-aware editing

    Breakbeats are the heartbeat of this technique. If your break has chopped kicks, ghost snares, or ride taps, use them as placement markers for vocal slices.

    Edit the vocal in Arrangement View or Session View so that:

    - syllable starts often land just before or just after a snare

    - breath noises can fill tiny holes in the break

    - longer vowel tails are cut before transient-heavy drum hits

    If the vocal has a strong transient, soften it with:

    - transient reduction via volume shaping

    - a tiny fade-in at the clip start

    - a high-pass filter if the consonants are muddy

    For jungle oldskool vibes, try letting one vocal chop repeat with the break pattern every 2 bars, then slightly change the second half of the phrase. That slight mutation keeps the loop from feeling static.

    7. Add movement with automation and resampled layer changes

    Once the texture feels good, automate it like part of the arrangement. Use two or three macro-style changes across the track:

    - Auto Filter cutoff opening in the intro

    - Redux amount increasing before the drop

    - Saturator drive pushed slightly in a switch-up

    - reverb send raised only on phrase endings

    A practical arrangement example:

    - Bars 1–8: filtered vocal haze only, no full-range presence

    - Bars 9–16: vocal becomes more audible, still washed

    - Drop 1: vocal ducks under the drums, becomes a texture

    - Bars 17–24: bring in a chopped call phrase with more width and grit

    - Switch-up: automate a quick low-pass sweep and an echo tail for tension

    If you want a more rave-tape feel, send the vocal to Echo with:

    - Time synced to 1/8 or 1/4 dotted

    - Feedback: 15–35%

    - Filtered repeats

    - Dry/Wet kept modest, or automate it only at phrase ends

    8. Control width carefully so the low-end stays solid

    DnB demands mono discipline where it counts. Keep the vocal texture wider only in the upper mids and highs, not in the low-mids that can cloud the bassline.

    Use Utility:

    - Bass Mono can be left for the bass channel, not the vocal

    - Width: 100–140% is usually enough for the vocal texture

    - Use the Mono switch on your master or a check group to test compatibility

    If the vocal gets too wide and starts washing over the break, narrow it until the snare and hats regain focus. A VHS-rave texture should feel like smoke around the drums, not a blanket over them.

    You can also split the sound with Audio Effect Rack:

    - low-mid lane: mono, filtered, subtle

    - top texture lane: wider, more chorused, more degraded

    This keeps the groove heavy while preserving the aura.

    Common Mistakes

  • Making the vocal too clean
  • - Fix: add subtle Saturator, Redux, or EQ band-limiting so it feels sampled and period-appropriate.

  • Putting the vocal in the sub range
  • - Fix: high-pass it. The sub should belong to the bass or reese, not the vocal texture.

  • Over-widening the whole layer
  • - Fix: keep the core midrange focused and use width sparingly. Test in mono.

  • Using too much reverb
  • - Fix: shorten the tail or automate reverb only on transitions. DnB needs space for the break and bass.

  • Ignoring the snare relationship
  • - Fix: align vocal hits around the backbeat. In jungle and rollers, the snare is often the anchor.

  • Letting the vocal fight the break
  • - Fix: cut words around transients, sidechain lightly, and simplify the phrase. Texture should support the drum statement, not compete with it.

    Pro Tips for Darker / Heavier DnB

  • Layer a second degraded pass
  • - Duplicate the vocal, push one copy through Redux and Saturator harder, then blend it quietly under the main texture. This adds menace without sacrificing clarity.

  • Use formant-like contrast through filtering
  • - One layer low-passed around 7 kHz, another band-passed around 1.5–4 kHz. The contrast creates depth and that ghost-rave feeling.

  • Build tension with delay throws
  • - Automate Echo at the end of 2- or 4-bar phrases only. A single blurred repeat before a drop can create classic rave suspense.

  • Duck the vocal from the snare, not just the kick
  • - In breakbeat-heavy DnB, the snare is often the loudest emotional point. Let it breathe.

  • Resample after every major tone move
  • - Once the texture feels right, print it. Then chop it further. This gives you more commit-driven movement and faster decision-making.

  • Use the vocal as a transition layer
  • - In darker rollers, let the vocal only appear in fills, breakdowns, or 8-bar turnarounds. That scarcity makes it hit harder when it returns.

  • Pair it with a reese answer
  • - Let the vocal phrase open space and the reese close it. This call-and-response is especially strong in neuro-adjacent or hard roller contexts.

    Mini Practice Exercise

    Spend 15 minutes making a VHS-rave vocal subweight layer from scratch:

    1. Pick a 1- to 2-bar vocal sample with attitude.

    2. Warp it and chop it into 3–5 short phrases.

    3. Add EQ Eight, Saturator, Redux, and Auto Filter.

    4. Sidechain it lightly from the kick or snare.

    5. Resample one loop of the processed vocal.

    6. Cut the resampled audio so it lands around the break’s backbeat.

    7. Automate filter cutoff for 8 bars: closed in the intro, slightly open in the drop.

    8. Test mono, then adjust width and low-mids until the break punches through.

    Goal: finish with one loop that feels like a gritty memory under the drums, not a lead vocal.

    Recap

  • Use short, characterful vocal material and warp it into a textured layer.
  • Shape it with EQ Eight, Saturator, Redux, Chorus-Ensemble, Auto Filter, and gentle sidechain compression.
  • Keep it rhythmically tied to the breakbeats, especially the snare.
  • Resample early to commit to the vibe and speed up decisions.
  • Preserve mono low-end and let the vocal live in the emotional midrange.
  • Automate the texture across the arrangement so it feels alive, not static.

If you get this right, your track gains that oldskool VHS-rave atmosphere: haunted, dusty, and glued to the break in a way that feels unmistakably Drum & Bass.

Ask GPT about this lesson

Chat with the lesson tutor, get follow-up help, or use quick actions.

Bigup 👽 Ask me anything about this lesson and I’ll answer in context.

Narration script

Show spoken script
Welcome back, and get ready for one of those small techniques that can completely change the vibe of a DnB tune.

Today we’re making what I call subweight: a vocal texture that lives underneath the break, not on top of it. Think dusty VHS-rave energy, a little haunted, a little human, and locked so tightly to the groove that it feels like it was always part of the beat.

This is not about writing a vocal hook. It’s about turning a short vocal fragment into atmosphere, rhythm, and memory. In jungle and oldskool DnB, that kind of texture can do a ton of heavy lifting. It adds movement between the drum hits, it gives the loop emotion without clutter, and it brings that classic rave tape character that feels raw and underground.

We’re going to do this in Ableton Live 12 using stock devices only, and the whole point is to keep it simple, musical, and very editable. By the end, you should have a vocal bed that sounds like a forgotten rave recording melted into your breakbeat loop.

First, choose the right source.

You want a short vocal with attitude. Not a polished pop line, not something too pristine. Go for a spoken phrase, a shout, a breath, a chopped chant, even just a single word with some personality. Stuff like “hey,” “come on,” “inside,” or some half-heard rave-style vocal works great.

The important thing is character. For this style, partial syllables and breathy fragments often sound better than fully intelligible words. If you can understand every word too clearly, the vocal may be too forward. We want it to feel like a memory inside the track, not a lead vocal performance.

Drag that sample into an audio track and turn Warp on. If it’s a punchy, chopped fragment, use Beats mode. If it’s more sustained or vowel-heavy, try Complex or Complex Pro. Then line it up against your breakbeat.

Here’s a good starting move: place the vocal so it falls between the snare hits, or just slightly before or after them. In jungle and breakbeat-driven DnB, the snare is the anchor, so you want the vocal to support that pocket, not fight it. A nice place to aim is around the “and” of 2 or 4, where it can answer the drum phrase instead of stepping on the downbeat.

Keep the loop short, around half a bar to two bars. That length is perfect for texture. We’re not trying to build a song here, we’re trying to create a living layer.

Now let’s make it feel less like a clean sample and more like a real piece of the groove.

Duplicate the vocal. One copy can stay a bit more natural, and the other becomes your texture version. On the texture copy, nudge a few warp markers around. Don’t make it random for the sake of it, just introduce tiny timing imperfections. Maybe one syllable lands a few milliseconds late, maybe one vowel stretches a touch longer than the last one. That kind of micro-instability is what makes it feel hand-cut instead of grid-perfect.

Then commit it. Resample that processed vocal onto a new audio track while the break is playing. This is a very DnB-friendly workflow because once it’s printed, you can edit it like a sample, not like a live performance. You’re baking the vibe into audio, and that makes it much easier to chop, re-place, and shape the groove.

Now we move into tone shaping, and this is where the VHS-rave color really starts to show up.

Drop an Audio Effect Rack on the resampled vocal and build a basic chain with EQ Eight, Saturator, Chorus-Ensemble or Phaser-Flanger, Redux, and Auto Filter.

Start with EQ Eight. High-pass it somewhere around 120 to 180 Hz so it doesn’t mess with the sub. If it feels boxy, make a gentle cut around 250 to 400 Hz. If it gets harsh, ease down a little around 2.5 to 5 kHz. The goal is to make room for the kick, snare, and bassline while keeping the vocal’s emotional character in the mids.

Then add Saturator. Push the Drive just enough to add dirt, maybe plus 2 to 6 dB depending on the source. Turn Soft Clip on if needed, and make sure you’re not just making it louder. You want it dirtier, not simply more present.

Next comes the VHS secret weapon: Redux. Use it lightly at first. A little downsampling and some bit reduction can make the sample feel older, grainier, and more like it came off tape or a cheap sampler. Don’t crush it so hard that it becomes useless. The sweet spot is when it still reads as a vocal texture, but with a degraded, memory-like edge.

After that, add a little Chorus-Ensemble or Phaser-Flanger. Keep the mix low and the movement subtle. This is just enough wobble to create tape-machine smear and a sense that the vocal is floating around the drums.

Finish that chain with Auto Filter. A low-pass around 6 to 10 kHz can give you that hazy, overcast quality. Then automate the cutoff so the vocal opens up only when you want it to, like in an intro, fill, or switch-up. That opening and closing motion is a big part of making the layer feel alive.

Now let’s talk about rhythm, because this is where the whole thing stops being a sound effect and starts becoming part of the arrangement.

The vocal needs to feel human. So use clip gain, volume automation, or clip envelopes to shape the individual phrases. Pull some hits down by 1 to 3 dB, bring one syllable forward for emphasis, trim tails that smear into the snare. These tiny edits matter a lot. In this style, the edit itself is part of the performance.

You can also try a subtle Groove Pool feel. If you’ve got a groove from a break or an MPC-style swing, apply it lightly to the vocal clip. Keep the amount low, somewhere around 10 to 30 percent. You’re not trying to make the vocal flashy. You’re trying to make it sit in the same pocket as the drums.

This is a great place to think in call and response. Let the vocal answer the break. Maybe it lands after the snare, or maybe it pops out in the little space before the next bar. That kind of phrasing makes the layer feel integrated instead of pasted on.

Now we need to protect the kick, the snare, and the sub.

Put a Compressor on the vocal track and sidechain it from the kick, or even better, from the snare if the snare is the main anchor in your break. In jungle, the snare often carries the emotional center of the bar, so letting the vocal breathe around it is a very smart move.

Start with a fast-ish attack, maybe 1 to 10 milliseconds, and a release around 80 to 180 milliseconds. A ratio around 2 to 1 or 4 to 1 is usually plenty. You’re looking for a few dB of ducking, not a dramatic pump unless that’s the effect you want. The point is to make room, not to crush the vocal into silence.

Then check the EQ again. If the vocal is still crowding the low end, high-pass it a bit more. The sub belongs to the bass or reese, not the vocal texture. Keep your low-end discipline solid and the whole track will feel bigger.

Now let’s make it glue to the breakbeat.

If your break has ghost snares, chopped kicks, or little ride taps, use those as reference points for where the vocal slices land. Put syllable starts just before or after a snare, let breath noises fill tiny holes in the pattern, and cut vowel tails before dense transient hits if they start to blur things up.

Small fades help a lot here. A tiny fade at the start of a clip can soften a hard transient and make the vocal feel more natural inside the beat. This is one of those cases where the edit is doing the musical work, not just the processing.

For classic jungle energy, try repeating one vocal chop with the break pattern every two bars, then change the second half of the phrase slightly. That small mutation keeps the loop from feeling static, which is exactly what you want in breakbeat music.

Now we can make the arrangement breathe.

Automate your filter cutoff so the vocal is more closed in the intro and opens up a little more in the build or pre-drop. Raise the Redux amount or the Saturator drive before a drop if you want extra grit. Bring in a little more width or a tiny echo throw during a transition. Then pull it back in the drop so the drums and bass take over.

A nice arrangement approach is something like this: in the first eight bars, keep the vocal mostly filtered and ghostlike. In the next section, let it become a little clearer while still washed. In the drop, duck it under the drums and make it feel like texture. Then bring it back in a switch-up with more grit or a chopped new phrase. That ebb and flow makes the tune feel alive.

If you want a more rave-tape feel, use Echo for little throws at the end of phrases only. Keep the repeats dark and short, and don’t leave it on all the time. A single blurred repeat before a drop can create that oldskool suspense without turning into a generic delay effect.

Now let’s talk width, because this is where a lot of people overcook it.

DnB needs mono discipline where it counts. The vocal texture can be wide in the upper mids and highs, but don’t let it spread all over the low mids. Use Utility to keep the width reasonable, maybe around 100 to 140 percent at most. Test in mono too. If the vocal disappears or smears the drums, narrow it back down.

A really good approach is to split the texture into two layers. Keep one layer more focused and restrained, and make a second layer more degraded, wider, and more atmospheric. Blend the ruined layer in quietly underneath. That gives you presence and attitude without losing clarity.

A few common mistakes to watch out for here.

If the vocal sounds too clean, dirty it up a little with Saturator, Redux, or band-limiting EQ. If it’s dipping into the sub range, high-pass it harder. If it starts fighting the break, simplify the phrase, cut it around the transients, and sidechain it more carefully. And if the reverb starts washing everything out, pull it back. DnB needs space for the drums to speak.

Here are a couple of pro moves if you want to push it further.

Try a parallel clean and ruined split. One layer stays fairly controlled, the other goes harder into distortion and bit reduction. Or try micro-pitch drifting before printing the audio so it feels sampled from old hardware. You can also reverse a tiny slice into a snare hit for that classic tape-warp sensation. And if you want a real motif, pick one chopped syllable and bring it back only every four or eight bars. Scarcity makes it hit harder.

For sound design, Simpler can be a great option too. Drop the vocal into Simpler, use Slice mode if you want to reorder phrases, and play with start offsets and filter movement. That can be faster than working purely with audio clips if you want something more playable.

And one more coaching note: think in layers of intent, not just layers of sound. One layer can handle rhythm, another tone, another atmosphere. If one clip is trying to do all three jobs at once, it’ll usually turn muddy. Split the responsibilities, and the result gets cleaner and more powerful.

If you want to practice this properly, here’s the challenge: make a 16-bar sketch using only stock Ableton devices. Start from one short vocal sample and create three versions of the texture. One should be a dry-ish rhythmic chop, one should be a degraded VHS-style layer, and one should be a wider atmospheric tail. Print it, chop it again, automate a filter move, duck it from the snare or kick, and test it in mono.

Your goal is simple: make it feel dusty, human, and integrated with the breakbeat. It should support the bass, not compete with it. It should sound like a memory underneath the drums.

If you get that balance right, you’ve got one of the most effective little secret weapons in jungle and oldskool DnB: a vocal texture that doesn’t sing over the track, but lives inside it.

And that is pure subweight.

mickeybeam

Go to drumbasscd.com for +100 drum and bass YouTube channels all in one place - tune in!

Generating PDF preview…