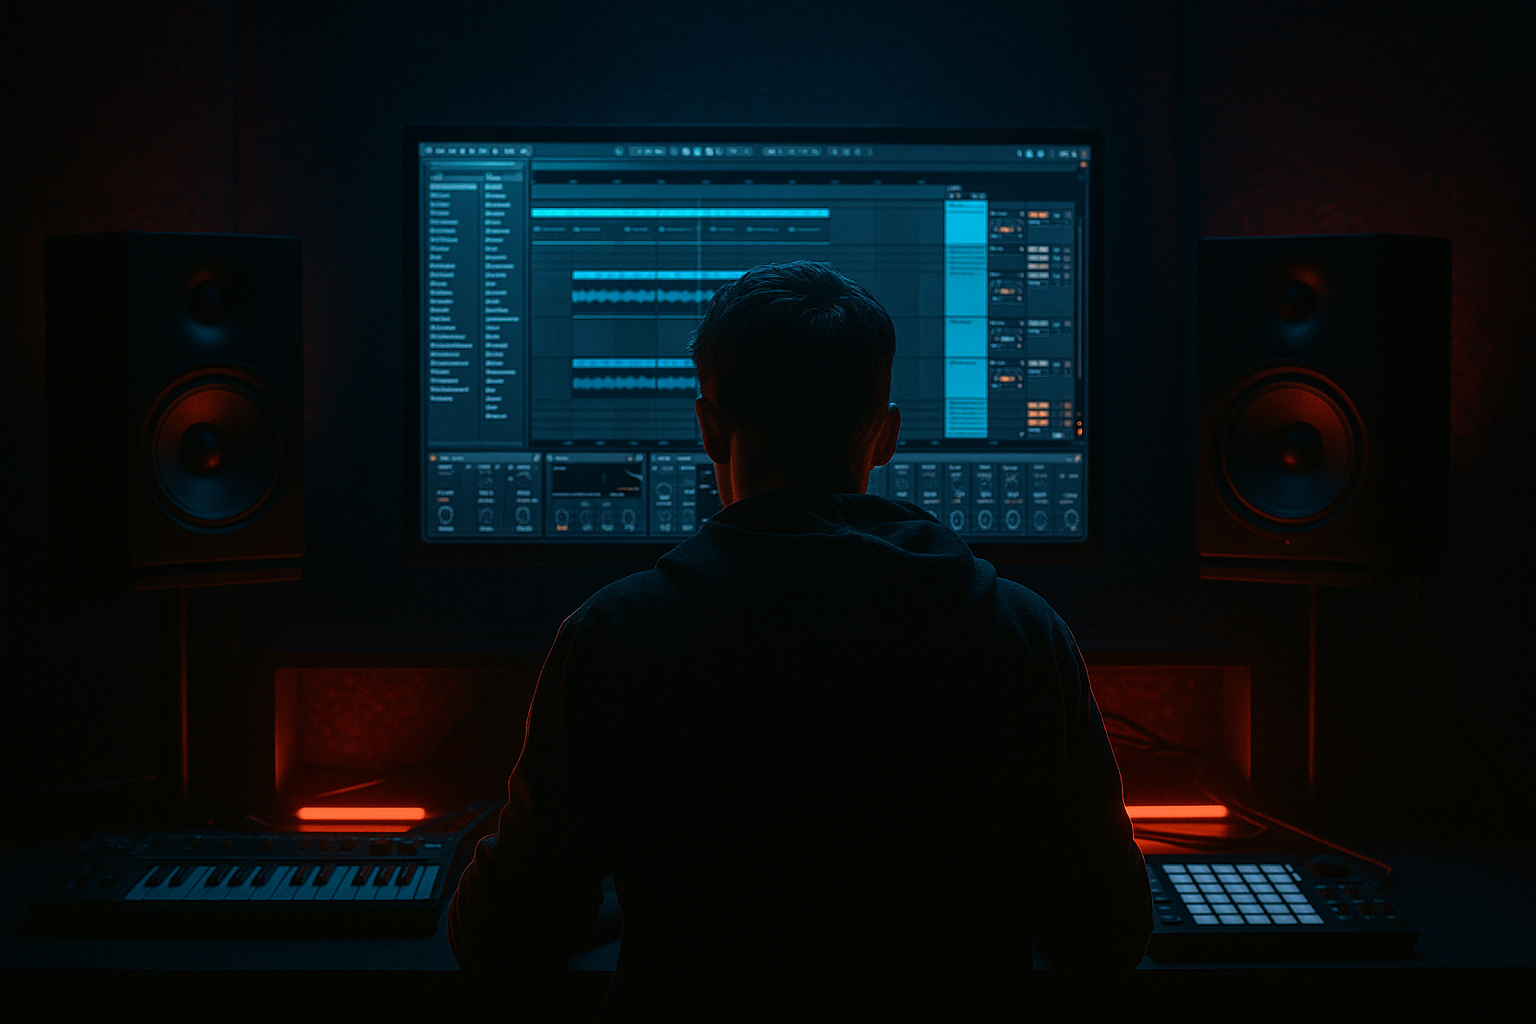
Main tutorial
Lesson Overview
In oldskool jungle and darker DnB, the snare snap is not just a backbeat hit — it’s part of the groove engine. A slightly swung snare can make a rigid 2-step pattern feel like it’s breathing, leaning, and lurching forward with that classic tape-lagged pressure. In this lesson, you’ll build an automation-first snare swing edit in Ableton Live 12 that works especially well for jungle, rollers, and darker break-led DnB.
The goal is to move the snare snap around the pocket using automation, clip timing, and transient shaping before you reach for “humanize” style randomness. That means instead of just nudging notes and hoping the groove lands, you’ll design the motion deliberately: where the snap sits, how it bends into the ghost notes, and how it interacts with hats, breaks, and the sub.
Why this matters in DnB: the snare is often the anchor between the kick and the bass. In jungle, a tiny change in snare placement can create that “lift” against chopped breaks. In rollers, it can make the groove feel deep and hypnotic. In neuro/darker styles, it can sharpen the contrast between mechanical precision and controlled swing. This technique is especially powerful in Edits, where micro-timing, transient shape, and automation can completely reframe an existing drum loop without rebuilding the whole track.
What You Will Build
You’ll create a tight 174 BPM DnB snare edit with:
- a main snare that snaps slightly late or early by section
- ghost notes that pull into the backbeat
- a controlled swing pocket created via automation rather than only groove quantize
- subtle Transient shaping, EQ, and saturation to keep the snare aggressive but not brittle
- a version that can evolve across the arrangement: straight in the intro, swung in the drop, more unstable in the switch-up
- Over-shifting the snare too far behind the beat
- Automating too many things at once
- Making the snare brighter instead of punchier
- Ignoring the bass/snare relationship
- Using groove quantize as a shortcut
- Letting ghost notes clutter the mix
- Add a tiny bit of Drum Buss Crunch before Saturator for more chest-level aggression without turning the snare into static.
- If the snare needs grime, automate a narrow boost around 1.8–3 kHz only on select hits, then pull it back in the next phrase.
- For heavier rollers, keep the snare a touch darker in the intro and open it up only on the drop. That contrast makes the drop hit harder.
- Use Echo very lightly on turnaround snares with short delay times and low feedback to create a smeared, dubby tail without washing out the groove.
- If your break is too busy, high-pass the snare layer more aggressively and let the break carry the texture while the edit snare carries the crack.
- For neuro-adjacent darkness, automate a subtle increase in saturation only on the final snare before a switch-up. That tiny buildup adds pressure.
- Try printing the snare chain to audio once the motion feels right. Resampling locks in the groove and often gives the edit more attitude.
- Build snare swing in DnB with automation-first thinking, not just manual nudging.
- Keep the snare pocket subtle: small timing shifts, controlled transient shape, and selective saturation.
- Use ghost notes, bass phrasing, and phrase automation to make the groove feel intentional.
- In Ableton Live 12, stock tools like Drum Buss, Saturator, EQ Eight, Utility, Compressor, Echo, and Enveloper are enough to get this done.
- The best results come from editing the snare in context with the full drum and bass arrangement, not in solo.
By the end, you’ll have a snare that feels like it’s dancing with the break, not just sitting on top of it.
Step-by-Step Walkthrough
1. Start with a drum edit that already has a clear snare anchor
Open a break-led drum group or MIDI drum rack pattern at 170–176 BPM. Pick a snare that already works in the mix — ideally one with a solid mid-body around 180–250 Hz and a crisp attack around 2–5 kHz. If you’re using a chopped break, duplicate the main snare slice to a separate audio track so you can edit it independently from the rest of the break.
In advanced DnB editing, you want separation first. If the snare is buried inside a full loop, the swing edit becomes vague. Pull it out, duplicate it, and treat it as its own performance layer. Keep the original break underneath at lower level if needed.
Practical move: consolidate a bar or two of your drum loop into a new clip so you can see the snare events clearly. In Arrangement View, this makes automation and timing edits much faster.
2. Decide whether the snare will “lean late” or “push early”
Before touching automation, choose the musical behavior:
- Late snare: more laid-back, weighty, ragga/jungle swagger
- Early snare: more urgent, nervous, forward-driving neuro tension
For oldskool jungle vibes, a slightly late snare often works best. Try offsetting the main snare hit by +5 to +15 ms on the second and fourth beats, but keep the kick and bass locked. The swing comes from the snap, not from wrecking the whole groove.
In Ableton Live 12, use Clip View timing tools or the track delay to test this fast. If you’re editing MIDI, nudge the note timing with the arrows or the clip grid. If you’re editing audio, use Warp markers carefully and avoid over-warping the transient into mush.
Why this works in DnB: the listener’s ear reads the snare as the “center of gravity.” Micro-offsetting it against the hats and break creates motion without losing the 174 BPM momentum.
3. Build the swing with automation, not only note movement
This is the core workflow. Instead of manually shifting every snare hit, automate a parameter that changes the perceived snap and timing energy over time.
Good stock Ableton targets:
- Drum Buss: Drive, Crunch, Transients
- Saturator: Drive, Soft Clip
- Transient shaping with Enveloper if you want precise attack/body control
- Simple Delay or Echo for tiny rhythmic smear
- Auto Filter if you want the snare to open up into the hit
A strong method:
- Put Drum Buss on the snare track or snare group
- Set Drive around 5–15%
- Set Transient slightly positive, around +5 to +20
- Automate Transient so the snare snap is sharper in the drop and slightly softer in fill bars
Then add Saturator after it:
- Drive: around 1.5 to 4 dB
- Turn Soft Clip on
- Automate Drive up by a small amount in transition bars, then back off in the main loop
The key is that the snare “feels” swingier because its transient contour changes across the phrase. Slightly reduced attack on one bar, then a sharper snap on the next, creates a push-pull effect that reads as groove rather than random variation.
4. Use clip envelopes to automate snare snap timing behavior
In Live 12, clip envelopes are ideal for precise, repeatable edit work. Use them to automate the parameters that affect how the snare lands in the pocket.
Good automation targets inside the snare clip or group:
- Drum Buss Transient
- Utility Gain for tiny emphasis changes
- Auto Filter Frequency if the snare needs opening on key hits
- EQ Eight band gain if you want the snap to be brighter on select bars
- Echo dry/wet for a subtle thrown-tail on the last hit of a phrase
Example workflow:
- Bar 1–3: snare is straight and dry
- Bar 4: automate a slight increase in Transients and High Shelf EQ around 4–8 kHz
- End of bar 4: automate a touch of Echo on the last snare only
- Bar 5–7: return to dry, slightly late snare
- Bar 8: accent the snare with extra transient and saturation as a turnaround
This creates a classic DnB edit feel: controlled repetition, but with phrase-level movement. The groove stays tough, but the listener keeps feeling micro-surprises.
5. Shape the snap with a dedicated snare processing chain
Build a snare group or return-style chain that lets you sculpt the transient without overprocessing the whole drum bus.
Suggested stock chain:
- EQ Eight
- High-pass around 100–140 Hz to keep sub out of the snare lane
- Small cut around 300–500 Hz if boxy
- Gentle presence boost around 2.5–4.5 kHz
- Drum Buss
- Drive: 5–12%
- Boom off or very low unless it’s a very tribal oldskool snare
- Transients: +5 to +15
- Saturator
- Drive: 2–4 dB
- Soft Clip on
- Utility
- Use Gain automation for accent hits
- Keep width at or near mono if the snare is fighting the break
For a more authentic jungle edge, keep the snare body a little gritty and don’t over-brighten it. The snap should cut, but the body should feel slightly worn-in. If the snare becomes too clean, it stops sounding like a sampled edit and starts sounding polished in the wrong way.
6. Edit ghost notes to make the main snap feel swung
Swing is more convincing when the surrounding notes imply motion. Add ghost snares or quieter rim-like hits before the main backbeat, especially on off-grid 16ths or the “&” before beat 2 or 4.
In MIDI or Simpler:
- Add ghost notes at -12 to -20 dB relative to the main snare
- Offset them slightly early or late, depending on the pocket you want
- Automate velocity so they vary between bars
- Keep one or two ghost notes stronger on transitions to create lift
In audio-edit workflow, duplicate a tiny slice of the snare and lower its gain with clip envelopes. Then nudge it a few milliseconds before the main hit. This is classic oldskool edit thinking: the snare doesn’t just happen, it is “announced.”
If the break already contains ghost articulation, reinforce it rather than replacing it. Let the edited snare sit in conversation with the break. That’s where the jungle feel comes from.
7. Lock the bass around the snare pocket
A swung snare only feels powerful if the bass respects it. In DnB, the snare-bass relationship is everything. If your reese or sub hits too hard into the snare, the swing gets flattened.
In your bass track:
- Use Utility to keep the low end mono
- Sidechain the bass subtly to the snare or kick using Compressor
- Try 2–4 dB gain reduction on snare hits
- If the bass sustains through the backbeat, automate a slight dip around the snare hit
- For rollers, phrase bass notes so they leave a small hole before the snare lands
This is where the edit becomes musical. If the bass ducks a hair before the swung snare, the snare seems to bounce forward even if it’s technically a few milliseconds late.
Arrangement example: in a 16-bar drop, let bars 1–4 have a more straight-pocket bassline, then bars 5–8 introduce more syncopation so the swung snare feels increasingly unstable and rude. That contrast is very DnB.
8. Use arrangement automation to evolve the snare swing across sections
Don’t keep the same swing state for the entire track. In darker DnB, the best edits often change at phrase boundaries.
Suggested arrangement plan:
- Intro: straight snare, little or no transient automation
- Drop A: snare slightly late, punchy but controlled
- 8-bar switch-up: increase saturation and ghost note activity
- Breakdown or tension bar: reduce the transient, add a tiny Echo tail
- Drop B: sharpen the snap again, maybe with a more aggressive high-mid boost
Use Arrangement View automation lanes for:
- Drum Buss Transient
- Saturator Drive
- EQ Eight high shelf
- Utility Gain
- Echo wet/dry on last-hit accents
Automation-first editing keeps the track feeling finished early. It also saves time because you’re shaping the groove as part of the arrangement, not polishing it at the end.
9. Check the edit in context, then tighten with micro-adjustments
Soloing the snare is useful for sound design, but the real test is full-loop context with hats, break, and bass.
Run these checks:
- Does the snare still punch when the bass enters?
- Does the swing disappear when the break plays underneath?
- Does the transient become harsh on brighter cymbals?
- Does the snare feel late in a bad way, or intentionally lazy in a good way?
Use Warp or clip timing only for micro-fixes after the automation feels right. If the groove collapses when everything plays, reduce the amount of snare delay before you chase EQ or compression. Often the issue is timing, not tone.
Advanced move: duplicate the snare track and create two versions:
- one dry and tighter for dense sections
- one more swung, saturated, and echoed for breakdowns or 8-bar turnarounds
Then automate between them for a proper edit-style arrangement.
Common Mistakes
- Fix: keep offsets subtle, usually within 5–15 ms. More than that can feel sloppy instead of swung.
- Fix: start with one motion source, usually Drum Buss Transients or a small gain move, then add only what strengthens the pocket.
- Fix: if the snare loses weight, reduce harsh high shelf boosts and focus on transient shape plus saturation.
- Fix: carve space with sidechain or bass note phrasing. The snare can’t swing if the bass is stepping on it.
- Fix: groove can help, but this lesson is about deliberate edit control. Use automation and micro-timing first, groove second.
- Fix: keep ghost hits low in level and high in purpose. One or two well-placed ghosts beat a messy pile of extra hits.
Pro Tips for Darker / Heavier DnB
Mini Practice Exercise
Spend 15 minutes building two versions of the same 2-bar snare phrase at 174 BPM:
1. Version A: Straight
- Main snare on beats 2 and 4
- Minimal processing
- No more than subtle saturation
2. Version B: Swung Edit
- Offset the main snare by +8 ms on beat 4 only
- Add one ghost note before beat 4
- Automate Drum Buss Transient from +6 to +14 on the final bar
- Add a tiny Saturator Drive lift of 1–2 dB on the last hit
- Use a short Echo throw only on the turnaround snare
Then loop both versions against the same bassline and break. Decide which one creates more motion without losing weight. Resample your favorite into audio and consolidate it into a clean 8-bar arrangement snippet.

