Main tutorial
```markdown
Swing Amount by Instrument Role (DnB in Ableton Live) 🥁⚡️
Skill level: Advanced
Category: Groove
Goal: Make your drum & bass grooves roll by applying different swing amounts per instrument role, instead of one global shuffle that ruins the snare/backbeat.
---
1) Lesson overview
In drum and bass, swing is less about “making it funky” and more about creating forward motion while keeping the 2 & 4 snare/clap laser-locked. The mistake most producers make is applying swing uniformly—then the snare drifts, the kick loses authority, and the bass stops locking with the drums.
In this lesson you’ll learn a workflow to:
- Keep anchors (kick, snare) tight
- Swing ghost notes / hats / percussion more aggressively
- Add micro-timing where it matters (fills, edits, bass call/response)
- Use Ableton Live tools: Groove Pool, Track Delay, MIDI note timing, Audio Warp, Drum Rack, Velocity, Saturator, Glue Compressor
- Tight kick + snare (no swing)
- Swinged hats (medium swing)
- More swing on ghost snares / shuffles (higher swing)
- Perc loop with controlled groove extraction (optional)
- Bass rhythm that selectively follows swing (or deliberately stays straight)
- Drum Buss: Drive 5–15, Crunch to taste, Boom 20–40 (tune to track key)
- Saturator: Soft Clip on, Drive 2–6 dB
- Glue Compressor: 2:1, slowish attack (3–10 ms), auto release, 1–3 dB GR
- Try something like MPC 16-57 or Swing 16-55 as your “main hat swing”.
- EQ Eight: HP at 200–400 Hz
- Auto Filter (optional): mild movement, synced 1/8 or 1/4, subtle
- Saturator: 1–3 dB drive
- Utility: width control (try 120–150% if mono-compatible)
- Main snare clip: no groove
- Ghost snare clip: heavy groove
- EQ Eight: carve lows, shape mid crack
- Redux (very subtle) for grit
- Drum Buss with light drive to glue ghosts
- Loop 1 bar → move hats by +5 ms → listen → +8 ms → decide.
- Quantize bass to 1/16 at 100%
- Let hats/ghosts provide movement
- Apply the same groove as hats but less intensity:
- Keep sub notes straight
- Swing only mid-bass stabs / reese accents
- Bars 1–8: hats Timing 45–55
- Bars 9–16: hats Timing 55–70 and add extra ghost notes
- More swing in intro → straighter in drop for “machine gun” impact.
- Duplicate the hat clip for A/B sections
- Increase groove amount in the second clip
- Or commit different swing settings per section
- Keep low-end grid-tight.
- Use “negative space” swing.
- Add late reverb throws (but keep transients tight).
- Transient discipline:
- Resample a swung top loop
- Treat swing as role-based, not global:
- Use Groove Pool for consistent timing “language,” then adjust amount per element.
- Use Track Delay for final pocket control (a few ms makes a big difference).
- Arrange swing like an effect: contrast across sections = bigger drops.
---
2) What you will build
A rolling 174 BPM DnB groove with:
By the end, you’ll have a repeatable method: swing-by-role, not swing-by-project.
---
3) Step-by-step walkthrough
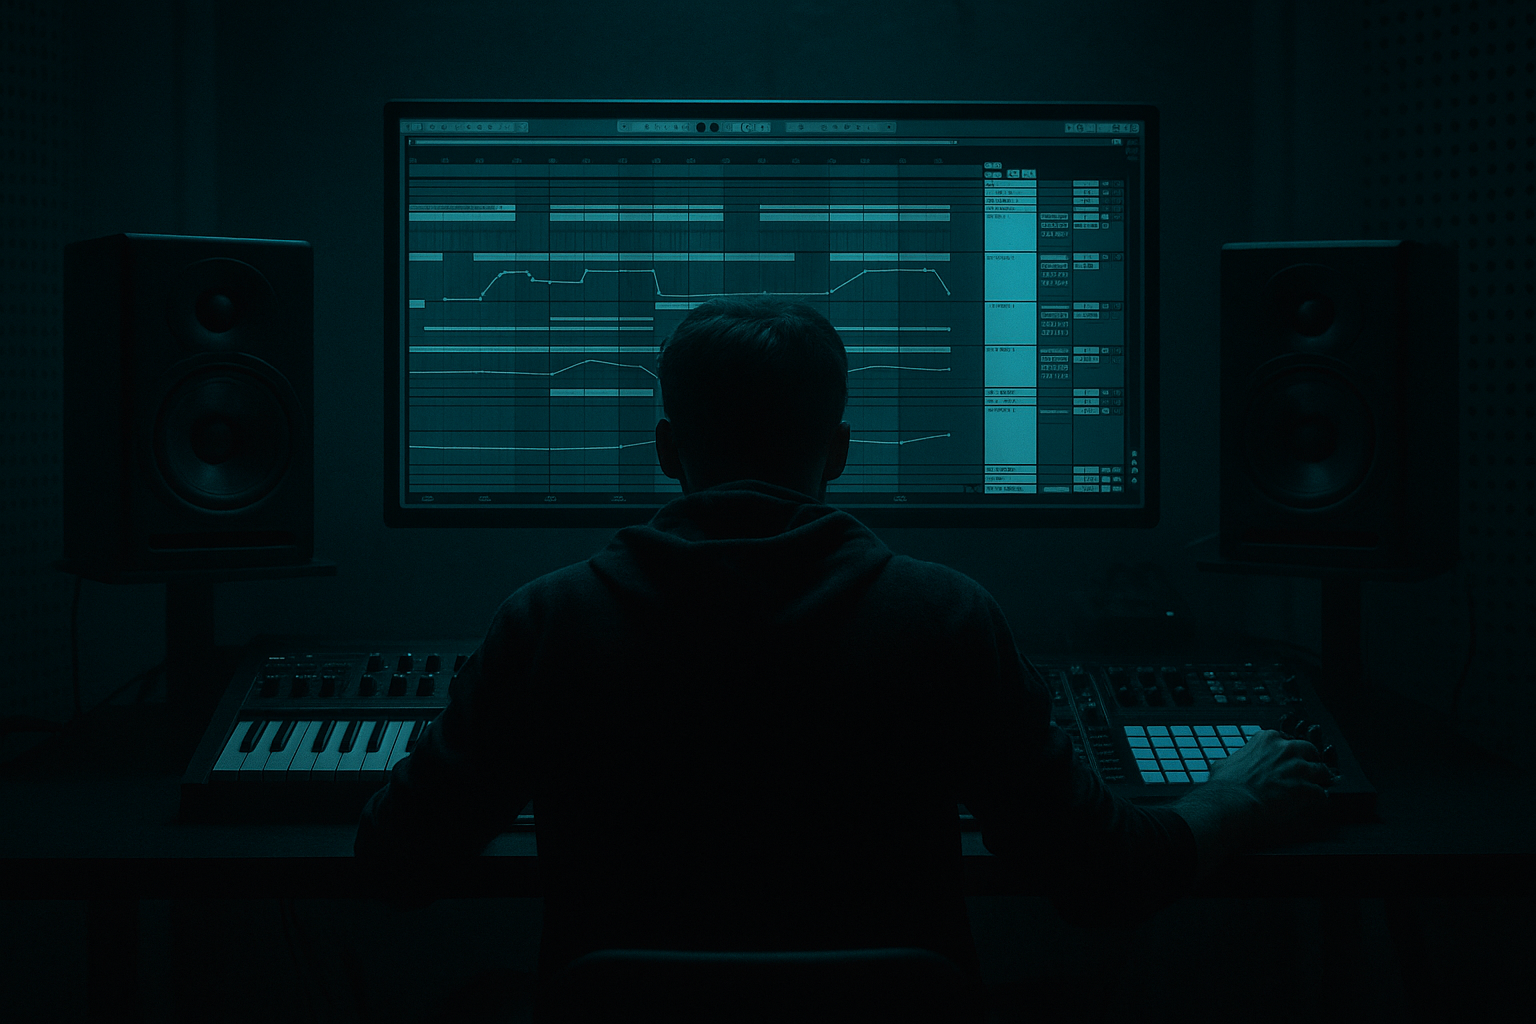
Step 0 — Session setup (so your groove decisions translate)
1. Set tempo to 174 BPM.
2. Create tracks:
- Drums (Drum Rack) – kick/snare/hat/ghosts in one rack or separate tracks (we’ll do hybrid).
- Hats (MIDI track) – separate for independent groove.
- Ghosts & Perc (MIDI track) – separate for heavier swing.
- Bass (MIDI track) – for groove relationship testing.
3. Turn on metronome and use a 1–2 bar loop.
Why separate tracks? Because Ableton’s Groove applies per clip. Separating roles gives you precision.
---
Step 1 — Build the “anchor” pattern (no swing)
Kick + Snare must be the reference grid.
1. On a Drum Rack or separate tracks:
- Kick: place on 1 (and optionally a second kick depending on your style).
- Snare: classic DnB backbeat on beat 2 and beat 4.
2. Quantize:
- Select MIDI notes → Cmd/Ctrl+U (Quantize)
- Settings: 1/16, Amount 100%
✅ Result: a rigid, dependable anchor.
Optional punch chain (stock):
Keep anchors tight before you add feel.
---
Step 2 — Choose a swing “family” in Groove Pool 🎛️
1. Open Groove Pool (click the wavy icon at bottom-left).
2. In the Browser: Grooves → Swing and Groove
3. Load 2–3 grooves to audition, for example:
- Swing 16-xx
- MPC 16-xx (often great for DnB hats)
- Logic 16-xx (can be smoother)
DnB starting point:
You are not committing globally—you’re building a palette.
---
Step 3 — Apply moderate swing to hats (the “engine” of the roll) 🎚️
Hats carry the “push-pull” without destabilizing the backbeat.
1. Program a 1-bar hat pattern:
- Closed hat on every 1/16
- Then remove a few hits for breathing, or accent every other.
2. Apply a groove:
- Drag your chosen groove from Groove Pool onto the hat MIDI clip
3. In Groove Pool, set:
- Timing: 40–70 (start at 55)
- Velocity: 0–20 (optional, subtle)
- Random: 0–10 (tiny is enough)
4. Commit or keep live:
- Keep it live while auditioning.
- Once you love it: Commit (right-click groove in clip area → Commit) so the timing becomes the actual MIDI positions.
DnB tip: Hats usually like less swing than you think, but more contrast via velocity and occasional offbeat openings.
Hat processing chain (stock):
---
Step 4 — Swing ghost snares & shuffles harder (the “human” layer) 👻
Ghost notes are where you can apply more extreme swing without compromising the groove.
1. Create a Ghosts & Perc MIDI clip
2. Add:
- Low-velocity ghost snares around 1e / 1a / 3e / 3a (depending on pattern)
- Light rimshots or clicks on off-16ths
3. Apply a stronger groove than hats:
- Use the same groove family (important) but increase intensity:
- Timing: 65–90 (start at 75)
- Velocity: 10–35 (ghost dynamics matter)
- Random: 5–15 (small jitter adds life)
4. Make sure the main snare stays untouched:
- Do not put your main snare in the same clip that’s heavily grooved unless you’re careful.
Practical approach:
Ghost processing chain (stock):
---
Step 5 — Micro-correct the pocket with Track Delay (advanced control) ⏱️
Groove gets you 80%. Track Delay gets you the last 20%.
1. Show Track Delays:
- In Mixer section, enable D (Delay) view (or right-click mixer area → show track delays).
2. Adjust in milliseconds:
- Hats: often +3 to +12 ms (later = laid-back)
- Ghosts: often +0 to +8 ms
- Kick: 0 ms (or even -1 to -5 ms in extreme “ahead” styles)
- Snare: 0 ms (keep it authoritative)
Method:
The “correct” value is the one that makes the bass feel easier to place.
---
Step 6 — Decide how bass relates: straight, swung, or hybrid 🔊
DnB bass often works best mostly straight while drums swing around it—but certain bass stabs can follow hat swing for groove synergy.
Try three options:
#### Option A: Bass straight (common in heavy rollers)
#### Option B: Bass follows hat groove (for funkier / liquid-leaning roll)
- Timing 20–40
- Random 0–5
#### Option C: Hybrid (most “pro” feeling)
Workflow:
1. Duplicate bass MIDI clip
2. Clip 1 = Sub (no groove)
3. Clip 2 = Mid stab layer (apply hat groove Timing 30–60)
4. Group them, glue with:
- Audio Effect Rack:
- Sub chain: EQ Eight (low-pass), Utility (mono)
- Mid chain: Saturator, EQ Eight, Chorus-Ensemble (optional), Utility width
- Sidechain both to kick/snare using Compressor (sidechain enabled)
---
Step 7 — Arrangement trick: swing contrast across sections 🎚️📈
To make drops hit harder, automate swing intensity by section.
In the 16-bar drop:
Or do the reverse:
Ableton tip:
Because Groove is per clip, you can:
---
4) Common mistakes
1. Swinging the main snare
Your 2 and 4 become unstable. In DnB, that’s usually a vibe-killer.
2. Using different groove types per layer
One track uses MPC swing, another uses a random shuffle—your groove “phase” fights itself.
✅ Use one groove family; vary amount, not identity.
3. Too much Random
Random is seductive. Over 10–15, hats can feel drunk instead of rolling.
4. Swing without velocity shaping
Swing alone can sound mechanical. Combine timing with intentional accents.
5. Not checking with bass + kick together
A swing that sounds cool on hats solo can wreck the low-end pocket.
---
5) Pro tips for darker/heavier DnB 😈
Sub + kick + snare: minimal swing. Use swing to animate the top.
Instead of adding more hits, swing fewer ghost notes with higher contrast—feels darker and more menacing.
Put Reverb on a send, then Gate after it (yes, gate the reverb return) for tight, snappy darkness.
If swing makes hats smear, use:
- Drum Buss transient control
- Gate with fast attack/release on noisy tops
- EQ Eight to remove low-mid cloud (300–800 Hz)
Group hats+perc → resample to audio → warp to Complex Pro or Beats mode → nudge start points for surgical pocket.
---
6) Mini practice exercise 🧪
Goal: Create three grooves using the same pattern, changing swing-by-role only.
1. Make a 2-bar loop:
- Kick + snare anchors
- 16th hats
- Ghost snare pattern
- Simple bass rhythm (2–4 notes)
2. Create three versions:
- Version 1 (Tight Roller):
- Hats Timing 45–55
- Ghosts Timing 65–75
- Bass straight
- Version 2 (Funky Jungle Lean):
- Hats Timing 60–70
- Ghosts Timing 75–90
- Bass follows hats Timing 25–40
- Version 3 (Heavy + Minimal):
- Hats Timing 35–45, plus +8 ms track delay
- Ghosts Timing 80–90 but fewer hits
- Bass straight, with swung mid-stabs only
3. Bounce each loop and label them. Listen on a break reference track and compare roll, weight, and clarity.
---
7) Recap
Anchors tight, tops swung, ghosts more swung, bass intentional.
If you want, tell me your subgenre target (rollers, jungle, dancefloor, neuro) and whether you program drums in one Drum Rack or separate tracks—I’ll suggest a role-based swing template with exact groove choices and starter values.
```

