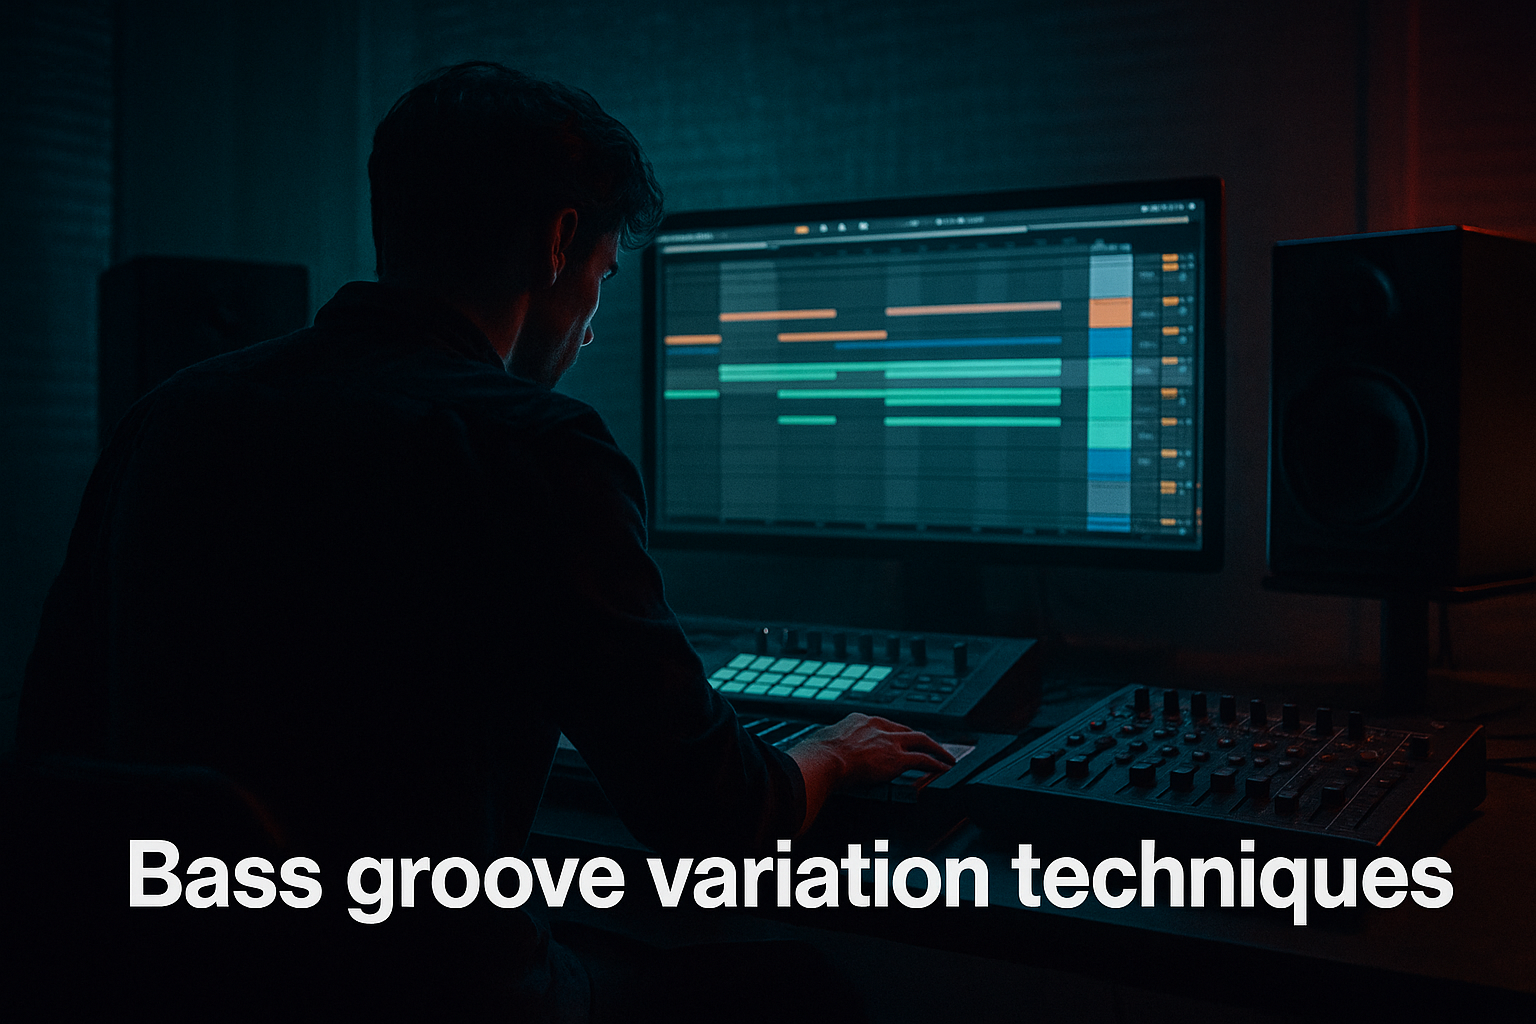
Main tutorial
Swing in Ableton Live 12: clean it for ragga-infused chaos
1. Lesson overview
Swing is one of the fastest ways to make drum and bass feel human, dangerous, and alive — but in DnB, too much swing can instantly wreck the drive. The trick is controlled looseness: enough groove to let ragga vocals, chopped breaks, and percussion dance around the grid, but still tight enough that the sub and kick stay weaponized. 🔥
In this lesson, you’ll learn how to:
- Build a clean swing system in Ableton Live 12
- Keep the drum foundation tight
- Add ragga-style shuffle and syncopation without mud
- Use Groove Pool, clip timing, and quantization intelligently
- Shape edits so they feel jumpy, jungle-ish, and modern
- A tight breakbeat foundation
- A clean swung top layer
- A sub and kick pocket that remains straight
- Ragga-style vocal chops, skanks, or hits pushed slightly off-grid
- A short 8-bar arrangement with:
- Head-nodding
- Off-grid in the tops
- Locked in the low end
- Chaotic but readable 🎛️
- 172–176 BPM for modern rolling DnB
- 168–174 BPM if you want more ragga / jungle bounce
- 174 BPM
- Time signature: 4/4
- Straight bass + swung hats
- Shuffled breaks + straight kick/sub
- Heavy ragga vocal phrasing over slightly late percussion
- Kick on 1
- Optional syncopated kick before the snare or after it depending on style
- 2 and 4 as the backbone
- a main snare
- a shorter clap
- a break snare accent
- closed hats
- ghost hats
- rimshots
- small percussion shots
- chopped break hits
- Load a break into Simpler or slice it with Slice to New MIDI Track
- Choose a classic-style break feel: think Amen-style energy, but keep it tasteful and edited
- Mode: Slice
- Trigger: Gate or Trigger
- Sensitivity: adjust until slices are clean
- Add a tiny bit of Start Offset if certain hits are late or muddy
- microtiming variation
- humanized velocity
- groove asymmetry
- Timing: 10–30%
- Random: 0–5%
- Velocity: 10–25%
- Base: usually leave at default unless matching a specific swing reference
- Timing around 15–25%
- Velocity around 10–20%
- Random very low
- hats
- ghost snares
- rimshots
- percussion fills
- vocal chops
- stab layers
- mid percussion
- break top slices
- kick
- sub bass
- snare backbeat
- main bass hits that define the drop
- Select a hat clip
- Add groove from Groove Pool
- Set Timing 20%
- Add Velocity 15%
- Keep Quantize for the clip at 1/16 or 1/8 depending on material
- Duplicate the clip
- One version straight
- One version swung
- Blend the two with volume or mute automation
- Open the clip view
- Adjust Start Marker
- Nudge the transient slightly late or early
- Keep repeats consistent
- Move notes manually by a few milliseconds
- Use Alt/Option + Arrow for fine shifts
- Try pushing certain offbeat chops:
- vocal “hey!”
- shouts
- ragga phrases
- short stab accents
- percussion fills before the drop
- shakers
- hats
- tambourine
- clave
- rim clicks
- short toms
- offbeat hats
- little 16th-note pushes
- syncopated gaps
- occasional 3-note bursts
- Timing 20–30%
- Velocity 15–25%
- Quantize strength: 70–90% if needed
- strong accents on offbeats
- weaker ghost notes leading into downbeats
- occasional dropped notes for space
- Keep note starts aligned with the kick
- Use Mono mode if needed
- In Operator, Wavetable, or Analog, keep envelopes tight
- Short attack, controlled release
- Kick and sub should “shake hands” on the grid
- Any syncopation should come from:
- filter envelopes
- volume automation
- LFOs
- note-length variation
- vocal chops
- horn stabs
- dubwise delay throws
- reverse cymbals
- tape-stop style transitions
- tiny percussion fills
- just before the snare
- after the snare
- in the 2nd half of a bar
- as pickup notes into the drop
- one vocal chop late
- one percussion hit early
- one reverse effect into the bar
- one silence gap before the snare
- groove amount
- clip density
- mute patterns
- delay throws
- filter cutoff
- percussion layers
- Intro: mostly straight, minimal swing
- Build: introduce swung hats and vocal chops
- Drop 1: full groove, clean low end
- Break: reduce swing, create contrast
- Drop 2: more aggressive edits, slightly more swing on percussion only
- Quantize some notes to 1/16
- Leave others loose
- Don’t over-quantize break material
- Use Beats mode for drums
- Preserve transients
- Adjust transient preservation if needed
- volume dips on chops
- filter changes on hats
- delay send throws on vocal edits
- keep impacts rigid
- let percussion and atmospheres sway
- Echo
- Sync: 1/8 dotted or 1/16 dotted
- Filter the repeats
- Add saturation inside Echo for grit
- clean programmed hats
- dirty break top layer
- If swing feels mushy, increase transient a little
- If it feels too stiff, reduce it slightly
- tight drums
- swung tops
- ragga attitude
- no low-end wobble
- hats are more swung
- vocal chops are less swung
- break ghosts are slightly late
- Straight and powerful in the low end
- Human and animated in the tops
- Loose and expressive in the edits
- Controlled and deliberate in the arrangement
- a step-by-step Ableton project template
- a drum rack + groove preset recipe
- or a 4-bar MIDI example for this exact swing style.
This is aimed at advanced producers, so we’ll focus on practical methods and arrangement decisions that actually work in DnB.
---
2. What you will build
You’ll create a 174 BPM jungle/DnB loop with:
- intro
- groove development
- drop
- variation with edited swing
The final feel should be:
---
3. Step-by-step walkthrough
Step 1: Set the tempo and choose your rhythmic identity
For this style, start at:
For this tutorial, use:
Now decide what your groove is supposed to do:
A useful rule:
> In DnB, swing is usually best applied to high/mid percussion and edits, not to the whole drum engine.
---
Step 2: Build a clean drum skeleton first
Create 3 MIDI tracks:
1. Kick
2. Snare/Clap
3. Top percussion / hats / break layer
#### Kick
Program a classic DnB kick pattern:
Keep the kick straight at first. No swing yet.
#### Snare
Place snare on:
If you want a jungle variation, layer:
#### Top percussion
Add:
This is where swing will live.
---
Step 3: Use a break as the swing source, not just MIDI shuffle
If you want that ragga-infused jungle motion, a sampled break is often more convincing than purely swung MIDI.
#### Good approach:
#### In Simpler:
#### Why this matters
Breaks already contain:
So instead of forcing everything to swing, you’re preserving natural motion and cleaning it up around the low end.
---
Step 4: Create the “clean swing” using Groove Pool
This is the core of the lesson.
Open the Groove Pool and load a groove from the library, or extract one from a break.
#### Good workflow:
1. Take a break loop with feel you like
2. Right-click the clip
3. Choose Extract Groove
4. Apply that groove selectively to MIDI clips or audio clips
#### Key settings to try in Groove Pool:
For DnB, the sweet spot is usually:
You want repeatable movement, not drunken chaos.
---
Step 5: Apply swing only to the right elements
This is the most important advanced move.
#### Apply swing to:
#### Do NOT heavily swing:
If you swing the kick and sub too much, the whole tune stops punching.
#### Practical method:
Then compare it with a straight version:
This gives you the illusion of depth without losing the grid.
---
Step 6: Use clip-start nudging for ragga-style phrasing
Ragga-infused edits sound best when the vocal or chop feels like it’s leaning into the beat.
Use these methods:
#### For audio clips:
#### For MIDI clips:
- late by 10–20 ms for relaxed swagger
- early by 5–10 ms for tension
#### Where this works best:
This creates that “behind-the-beat but still cutting” feeling common in jungle and ragga DnB.
---
Step 7: Build a swing layer with MIDI percussion
Create a separate track for:
#### Pattern idea:
Program a 1-bar or 2-bar pattern with:
Then add groove:
#### A good advanced trick:
Humanize the velocities, but keep note starts clean enough that the groove remains deliberate.
You want:
Space is part of the swing. 🥁
---
Step 8: Keep the low end clean with envelope discipline
If your low end is wobbling because of swing, the mix will fall apart.
#### For sub bass:
#### In practice:
- bass fills
- mids
- ghost notes
- call-and-response edits
If you want movement in the bass, use:
rather than global swing.
---
Step 9: Shape the drum bus with a tight, modern chain
On your drum bus, keep the groove alive but controlled.
#### Example stock Ableton chain:
1. EQ Eight
- HPF at 25–30 Hz
- small cut if mud builds around 200–350 Hz
2. Drum Buss
- Drive: subtle to moderate
- Crunch: low to medium
- Boom: only if needed, and carefully
3. Glue Compressor
- Ratio: 2:1
- Attack: 10–30 ms
- Release: Auto or 0.3–0.6 s
- Aim for 1–2 dB of gain reduction
4. Saturator
- Soft Clip on
- Drive lightly for density
5. Utility
- Use to manage stereo width if needed
This keeps the swing feeling intentional instead of sloppy.
---
Step 10: Add ragga chaos with edits, not groove destruction
Now bring in the ragga energy.
#### Good elements:
#### Place them:
#### Editing tactic:
Create a 2-bar loop and add:
This creates the sense of controlled mayhem.
---
Step 11: Automate groove intensity across the arrangement
Don’t keep the same swing level the whole track. That gets flat.
#### In arrangement, vary:
##### Example structure:
The contrast makes the swing feel bigger when it returns.
---
Step 12: Use Ableton’s stock tools for micro-editing
A few Live 12 tools matter a lot here:
#### Quantize
Use carefully:
#### Warp
For audio:
#### Clip envelopes
Use for:
#### MPE / Expression if applicable
For melodic chops or pitched vocal bits, slight expression changes can make swung edits feel alive.
---
4. Common mistakes
1. Swinging the kick and sub too much
This is the fastest way to lose the DnB engine.
Fix: keep low-end elements mostly straight.
2. Over-quantizing break samples
If you force a break too hard onto the grid, it loses character.
Fix: preserve transient nuance and use groove lightly.
3. Using one groove amount for every track
That makes the mix feel lazy.
Fix: different layers need different groove intensities.
4. Too much randomization
Random timing can feel broken instead of musical.
Fix: keep random low; use deliberate offsets instead.
5. Swing without contrast
If everything is shuffled, nothing feels special.
Fix: alternate straight sections with swung sections.
6. Ignoring velocities
Swing is not only timing. Dynamics matter a lot.
Fix: shape accents and ghost notes with velocity.
---
5. Pro tips for darker/heavier DnB
Tip 1: Swing the top loop, not the impact layers
For darker rollers and halftime-leaning heavy DnB:
This makes the tune feel huge and precise.
Tip 2: Use delay as rhythmic glue
A ragga vocal with delay can create swing even when the notes are straight.
Try:
Tip 3: Re-trigger break slices with intentional gaps
Chopping a break and leaving tiny holes creates more menace than packing every 16th note.
Tip 4: Push some percussion slightly behind the beat
Late hats + clean kick/snare = nasty pocket.
Tip 5: Layer one clean and one dirty groove source
Example:
Blend both. This gives modern polish with old-school attitude.
Tip 6: Use Drum Buss for glued aggression
The Transient knob can help the groove snap.
---
6. Mini practice exercise
Goal
Make a 4-bar DnB loop that feels like:
Exercise steps
1. Set project to 174 BPM
2. Program:
- kick on 1
- snare on 2 and 4
- 1-bar hat pattern
3. Duplicate hats into two layers:
- Layer A: straight
- Layer B: swung using Groove Pool
4. Add a chopped vocal phrase:
- one clip slightly late
- one clip slightly early
5. Add a break layer:
- slice it
- reduce it to ghost hits and fills only
6. Apply groove:
- hats: 20–25%
- break ghosts: 15–20%
- vocal chops: 10–15%
7. Leave kick and sub straight
8. Bounce the loop and listen:
- Does the groove dance?
- Is the low end locked?
- Do the edits feel intentional?
Challenge
Make a second version where:
Compare both and choose the one that feels more dangerous but still clean.
---
7. Recap
Swing in DnB is not about making everything lazy or loose. It’s about splitting the rhythm into zones:
If you want ragga-infused chaos, the formula is:
> Clean backbone + selective swing + smart chops + contrast
Use Ableton Live 12’s Groove Pool, clip editing, warp tools, Drum Buss, Echo, Utility, and EQ Eight to make the groove feel alive without losing impact. That’s the sweet spot where jungle spirit meets modern DnB precision. 💥
If you want, I can also turn this into:

