Main tutorial
Lesson Overview
Swing jungle subsine with an automation-first workflow is all about getting your low end and your FX motion to feel alive together, not separately. In Drum & Bass, especially jungle, rollers, and darker half-time sections, the bassline often needs to do three jobs at once: hold the sub solid, carry rhythmic swing, and evolve enough to keep a 16- or 32-bar drop interesting without overfilling the spectrum.
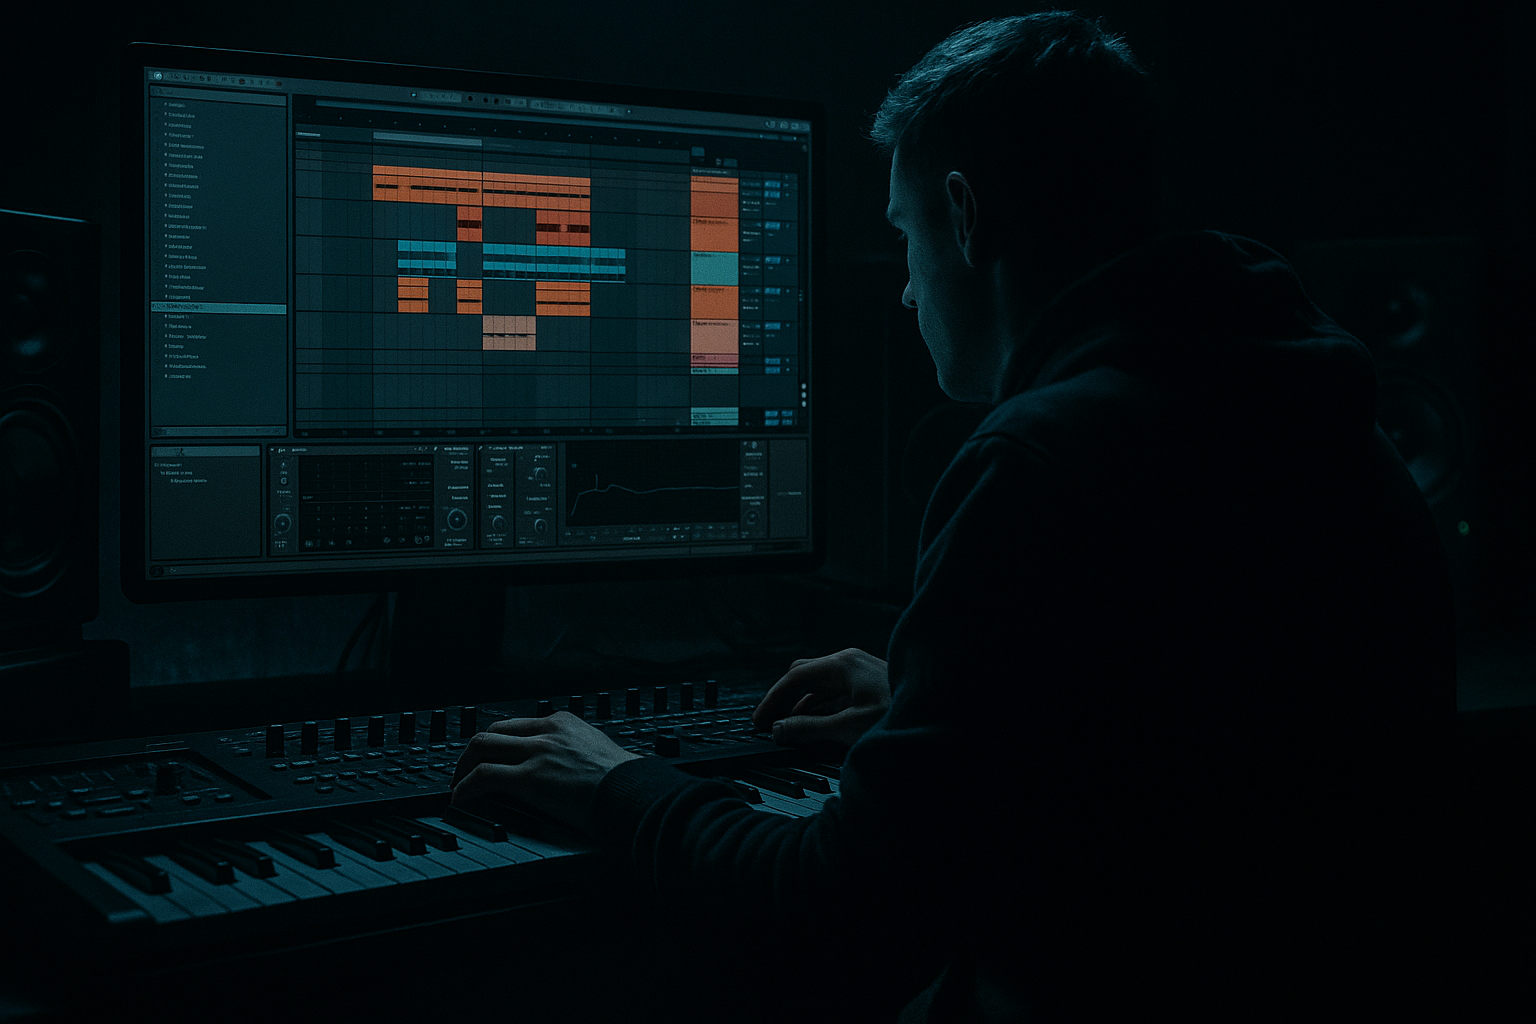
In Ableton Live 12, this approach is powerful because you can build the entire movement of the section from automation lanes first: filter sweeps, send throws, distortion drive changes, sub mutes, reverb blooms, noise risers, and edit-based transitions. That means you’re designing energy flow before you polish sound design. For intermediate producers, this is a huge upgrade: instead of making a bass sound “cool” in isolation, you make it work inside a jungle/DnB arrangement.
This lesson focuses on a practical, save-worthy workflow for creating a swung jungle-style sub sine bass that can sit under breakbeats, answer the drums, and move with automation rather than constant note density. You’ll use stock Ableton devices, keep the sub mono and controlled, and use FX automation to create tension, drops, and switch-ups without muddying the mix.
Why it matters: in DnB, the low end must stay disciplined while the arrangement stays exciting. The best basslines often feel simple when soloed, but they’re full of micro-movement, performance-style automation, and smart FX shaping in context.
What You Will Build
You’ll build a tight, club-ready jungle/DnB bass section built around:
- A mono sub sine foundation with swung note phrasing
- Subtle harmonic grit for translation on smaller systems
- Automated filter, drive, and send effects that create motion without clutter
- Break-friendly bass gaps that leave room for ghost notes, snare echoes, and fills
- A drop-ready 16-bar loop with an intro, main groove, switch-up, and transition FX
- Making the sub stereo: this causes phase issues and weakens club translation. Fix it with Utility set to 0% width and keep the true sub mono.
- Over-automating everything: if every bar has a filter sweep, reverb throw, and distortion change, nothing feels special. Leave space so the main changes hit harder.
- Writing too many bass notes: DnB needs pocket. If the bass fights the break, strip notes before adding more FX.
- Letting harmonics flood the low mids: the grit layer should add audibility, not mud. Use EQ Eight or a high-pass on the dirty layer.
- Ignoring drum context: a bassline that sounds cool alone can still destroy the groove. Always test with the break and snare in place.
- Using too much reverb on bass: reverb can blur the sub and weaken punch. Use short throws, high-pass the reverb return, and automate sparingly.
- Forgetting arrangement intent: if you don’t plan where the phrase changes happen, the loop may feel static even if the sound design is solid.
- Use very small pitch movement on the grit layer, not the sub. A subtle detune or wavetable-style motion on harmonics can add menace without damaging the low end.
- Automate Saturator Drive in tiny increments over 4 or 8 bars. Even 1–2 dB can create a sense of pressure building.
- Try parallel Drum Buss on the grit layer only, with Drive low and Crunch moderate, to add a dirty “sub weapon” character.
- Use a brief low-pass close right before a snare fill. That momentary darkening makes the drop back in feel bigger.
- In a rollers context, keep the bass phrase simpler and let automation carry the evolution. In a jungle context, use more chopped call-and-response with the break.
- For heavier neuro-leaning sections, add fast movement on the harmonic layer with Auto Filter modulation, but keep the fundamental sub stable and boring on purpose.
- Check your bass in mono at least once per session. If the idea collapses in mono, it’s too dependent on stereo trickery.
- Use a return track for Echo and Reverb instead of inserts when possible. That keeps control clean and makes automation throws faster to manage.
- Build the bass as a mono sub first, then add a separate harmonic layer for audibility.
- Keep the phrase simple and swing it with note placement, not endless fills.
- Use Ableton stock FX automation, especially Auto Filter, Saturator, Utility, Echo, and Reverb, to create movement.
- Let the drums and bass talk to each other with gaps, call-and-response, and phrase changes.
- In DnB, the best bass sections feel controlled, heavy, and evolving without losing low-end clarity.
Musically, think of a dark 170–174 BPM roller with a chopped break pattern and a bass that “talks” in call-and-response phrases. The sub holds down the root notes, but the automation creates the feeling of a living instrument. This works especially well under jungle-influenced drum edits, where the bass can tuck between kicks, snares, and hats rather than fighting them.
By the end, you’ll have a template-style workflow you can reuse for more aggressive neuro rollers, broken jungle steppers, or minimal darkside grooves.
Step-by-Step Walkthrough
1. Start with a clean bass instrument rack and keep the sub mono
Create a new MIDI track and load Operator, which is perfect for a pure sine sub in Ableton Live. Set Oscillator A to Sine, turn off the other oscillators, and lower the level so the bass doesn’t overpower the mix during writing.
Suggested starting points:
- Oscillator A: Sine
- Volume/level: around -12 to -18 dB depending on your gain staging
- Pitch envelope: off
- Unison: off
- Glide/portamento: small amount only if you want slides, around 40–80 ms
Add an Utility after Operator and set Width to 0% to force mono. This is non-negotiable for clean DnB sub. If you want a little audible edge, add Saturator after Utility with Soft Sine or Analog Clip and keep Drive gentle, around 1–4 dB.
Why this works in DnB: the sub must stay focused under fast drums and heavy bass movement. Mono sub lets your kick and sub share the center without phase problems, which is critical at 170+ BPM.
2. Program a swung jungle-style bass phrase with space built in
Write a 1- or 2-bar MIDI loop in the key of your track. Keep the notes simple: root, fifth, octave, or a minor 2nd approach note if you want darker tension. Avoid overplaying. Instead, build the groove with note length and placement.
Use Ableton’s MIDI note quantization with swing in mind:
- Start with 1/16 grid
- Move selected notes slightly late, especially off-beat notes
- Try short note lengths for bounce and a few longer held notes for weight
- Leave holes where the snare and break accents hit
Example phrasing:
- Bar 1: root on beat 1, short pickup before beat 3, held note on the “and” of 3
- Bar 2: answer phrase with octave jump or a note one semitone below the root for tension
If you’re working at 174 BPM, the bass should feel like it’s dancing with the break, not marching over it. The swing comes from note placement and articulation, not just a groove quantize preset.
3. Shape bass movement with a filter rack before you automate the FX
Add Auto Filter after the sub source or after your saturation stage if you want the movement to affect harmonics too. Use a low-pass filter for controlled opening and closing, or a band-pass if you want a more synthetic jungle texture.
Good starting settings:
- Filter type: Low-Pass 24 or Low-Pass 12
- Cutoff: around 120 Hz to 500 Hz depending on how exposed you want the bass
- Resonance: low to moderate, around 10–25%
- Envelope amount: subtle, if used at all
Then map Macro controls if you’re using an Audio Effect Rack:
- Macro 1: Filter cutoff
- Macro 2: Saturator drive
- Macro 3: Auto Filter resonance
- Macro 4: Send to reverb or delay
Keep the sound fairly plain at this stage. The point is to create a bass instrument that responds well to automation. Intermediate producers often over-design the source before arranging. Here, the arrangement and FX are doing the musical heavy lifting.
4. Build the drum-break context early and leave bass gaps for the groove
Drop in your breakbeat or programmed drums before perfecting the bass. In jungle and DnB, the bass pattern should react to the break, not ignore it. Use a classic break chop or a tighter roller pattern, then route drum groups sensibly:
- Kick/snare group
- Hats/percs group
- Break sample group
- Drum FX group
If your bass note lands on the same transient as a snare, decide whether that is intentional. If not, move it. The groove will usually improve more from subtraction than from adding more notes.
A useful arrangement move: create a 2-bar call-and-response where the bass plays under the first bar and then leaves a gap or reduced note density in the second bar for a drum fill. This gives the break room to breathe and makes the bass feel more intentional.
5. Use automation-first FX to create the drop movement
Now start automation before sound-design obsession. In Ableton Live 12, draw automation lanes directly in the Arrangement View and use them like a performance script.
Automate these stock devices:
- Auto Filter cutoff for opening sections and phrase lifts
- Saturator Drive for tension on repeats
- Utility Gain for bass throws or quick level drops
- Reverb dry/wet on a send for transition tails
- Echo for occasional slap or ping-pong throws on fills
Practical automation ranges:
- Filter cutoff: 120 Hz at the start of a phrase, opening to 1.5–4 kHz on a lead-in
- Saturator Drive: 1 dB in the main groove, pushing to 5–8 dB on a switch-up
- Utility Gain: dip by -3 to -6 dB for a pre-drop pullback
- Reverb send: 0% most of the time, then brief throws up to 15–30%
- Echo send: short hits at the end of 2- or 4-bar phrases only
This is the “automation-first” part: you’re not thinking “what extra sound can I add?” You’re thinking “what parameter change creates the next emotional shift?”
6. Add a parallel grit layer for audibility without weakening the sub
Duplicate the bass track or create a separate return/routed layer for harmonics. Keep the original sine sub clean and mono. On the duplicated layer, use Ableton stock devices like:
- Saturator
- Overdrive
- Auto Filter
- Drum Buss for extra density if needed
- EQ Eight for cleanup
Suggested grit-chain starting points:
- High-pass around 90–140 Hz to protect the sub zone
- Saturator Drive: 3–10 dB depending on how aggressive you want it
- EQ Eight: tame harshness around 2.5–5 kHz if it gets spiky
- Dry/Wet: blend in at 10–35%
This gives you that “subsine plus attitude” result that reads well on both club systems and smaller speakers. In dark DnB, that upper harmonic layer is what lets the bass still feel strong when the sub is not the main event.
7. Automate transitions and switch-ups with FX throws, not clutter
For every 8 or 16 bars, plan a movement point. That could be a bass mute, filter close, reverse hit, reverb throw, or Echo tail. Keep it simple and DJ-friendly.
Good transition ideas:
- On the last half-bar before a new phrase, automate a low-pass close and a brief Echo send
- Use a reverb throw on a single bass stab, then cut it immediately after
- Automate Utility gain down for one beat before the drop returns
- Add a short riser from a noise sample or Ableton’s stock noise through Auto Filter
- Use a drum fill with the bass muted for one bar to reset the ear
Arrangement example:
- Bars 1–8: main groove, minimal FX
- Bars 9–12: slight cutoff opening and more saturation
- Bars 13–15: bass gets sparser, Echo throw on the last hit
- Bar 16: full stop or drum fill into next section
This is very DnB-friendly because dancers and DJs need phrasing clarity. Your FX should signal section changes without destroying the low-end anchor.
8. Sculpt the low end and test against the drums in context
Bring in EQ Eight on the bass group and the drum group if needed. The goal is not to make everything loud; it’s to make the kick and sub cooperate.
Helpful moves:
- On bass: gently reduce muddiness around 180–350 Hz if the low mids cloud the break
- On drums: carve a small pocket around the fundamental area of the sub if the kick conflicts
- Keep the sub track itself mostly untouched unless there’s a problem
- Use Utility on the bass group to check mono compatibility
Also test at low volume. If the groove disappears quietly, your harmonic layer may be too low or your bass note spacing may be too busy. If the bass dominates only when loud, you probably need more midrange harmonics rather than more sub.
9. Resample the best section and create a performance-focused audio edit
Once the loop is working, resample or freeze/flatten the bass layer if you want tighter arrangement control. This is especially useful in a FX-heavy workflow because it lets you commit to the movement you’ve designed.
After resampling:
- Chop a few strong hits into audio
- Reverse one bass tail into a transition
- Add a tiny volume fade on the end of a bass stab
- Use Warp only if necessary to keep transients tight
- Place the audio edits in a new lane so you can quickly compare versions
This is a classic drum & bass workflow move: commit to a groove, then edit the performance like a break sample. It can make the bassline feel more like part of the drum arrangement instead of just a MIDI instrument.
10. Create a final 16-bar blueprint and save the rack for reuse
Finish by turning your chain into a reusable rack. Group the sub, grit layer, and FX sends into a clean preset structure with labeled macros. Save a version called something like “Swing Jungle Subsine Rack” so future tracks start fast.
Your final 16-bar structure can be:
- Bars 1–4: intro with filtered bass tease
- Bars 5–8: groove enters fully
- Bars 9–12: automation lift and added grit
- Bars 13–16: switch-up, bass gaps, and transition FX
If you can get this loop to feel good with just drums, bass, and automation, you’ve got a strong DnB section. Everything else becomes arrangement decoration rather than rescue work.
Common Mistakes
Pro Tips for Darker / Heavier DnB
Mini Practice Exercise
Set a timer for 15 minutes and build a 16-bar DnB bass section from scratch.
1. Make a mono sine sub in Operator.
2. Program a 2-bar bass phrase with only 3–5 notes.
3. Add a gritty duplicate layer with Saturator and EQ Eight.
4. Put in a breakbeat or drum loop.
5. Automate Auto Filter cutoff over the first 8 bars.
6. Add one reverb throw and one Echo throw on the final bar of each 8-bar phrase.
7. Mute the bass for one bar before the second drop or switch-up.
8. Export or resample the loop and listen at low volume, then on headphones.
Goal: make the phrase feel musical and tense without adding more notes. If it feels empty, use automation and drum interaction before adding new bass content.

