Main tutorial
Lesson Overview
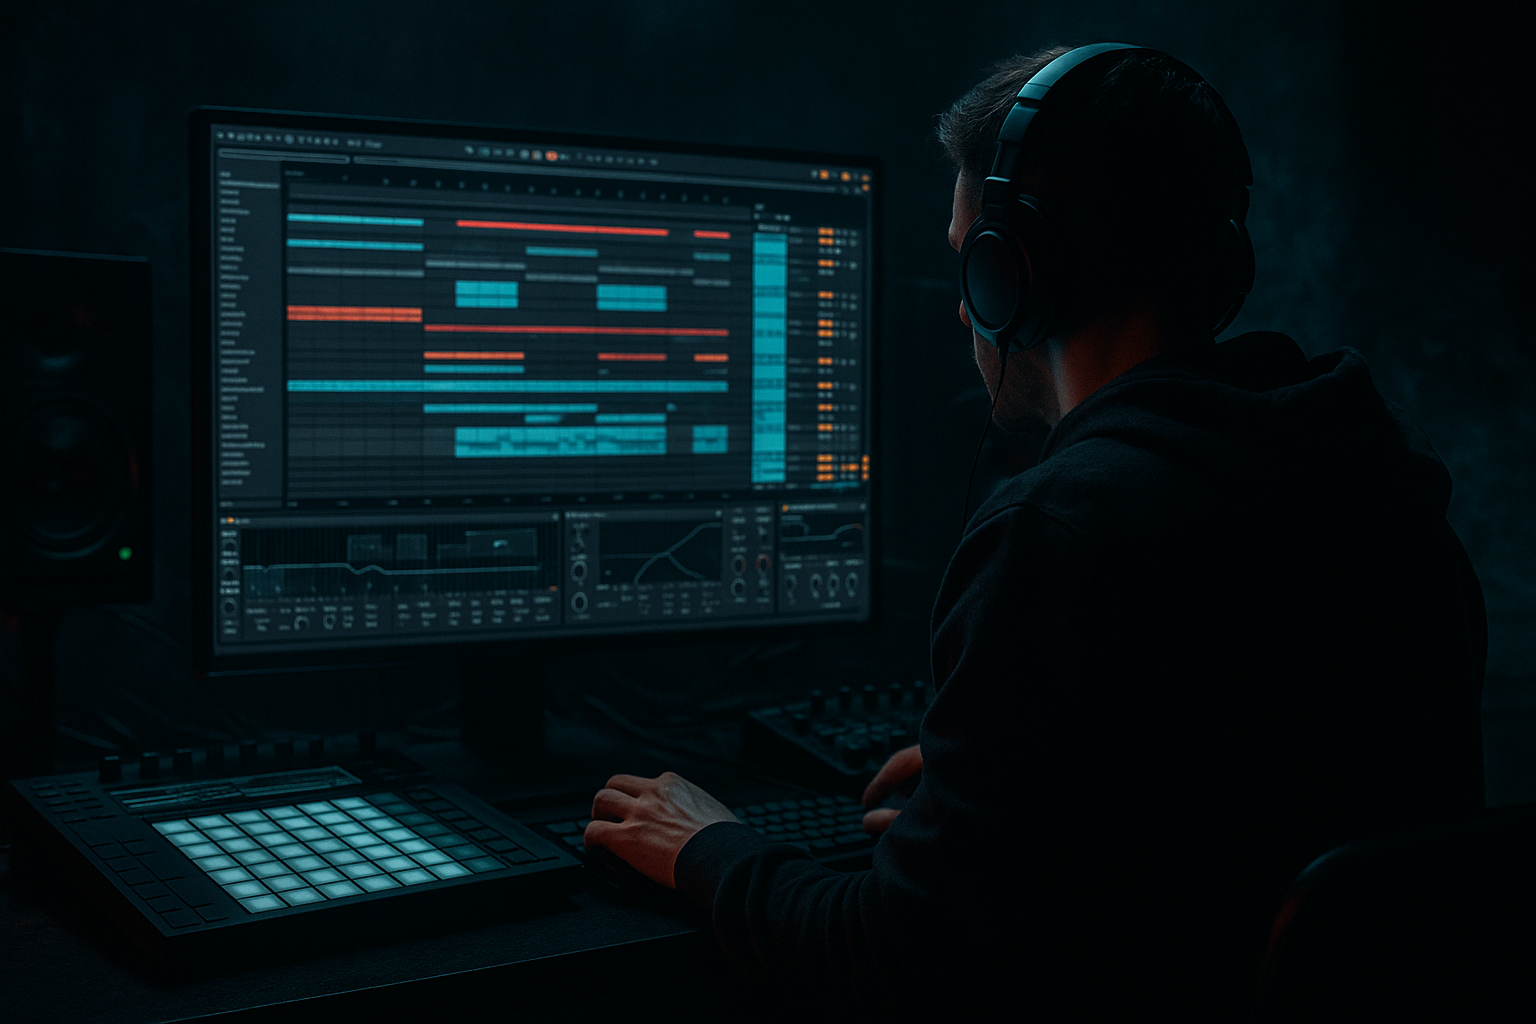
Oldskool DnB percussion lives or dies by groove. In this lesson, you’ll build a swing-heavy percussion layer that feels like early jungle and classic rollers, but with a crunchy sampler texture that sits cleanly under your drums and vocal chops in Ableton Live 12. The goal is not to replace your main break — it’s to add that extra shuffle, grit, and movement that makes the rhythm feel alive.
This technique matters because a lot of beginner DnB drums sound too straight, too clean, or too empty between the big kicks and snares. A swing percussion layer fills those gaps with ghosted hits, shuffled hats, textured ticks, and broken-up sampled noise. In older DnB and jungle, this kind of layer helped create momentum and swing without making the track feel overcrowded. In modern darker rollers, the same idea adds subtle movement under a heavy bassline and vocal hook.
Since this lesson is in the Vocals category, we’ll also make sure the percussion layer leaves space for vocal chops, spoken phrases, or a short rap-style hook. The idea is to create a bed of rhythmic energy that supports the vocal rather than fighting it. You’ll end up with something you can drop under an intro, a breakdown, or a first drop section where the vocal needs rhythmic support and attitude.
What You Will Build
By the end of this lesson, you’ll have:
- A 1- or 2-bar percussion layer with oldskool swing
- A crunchy sampler-based texture built from noise, tiny hits, or a chopped break slice
- Ghost notes and shuffled offbeats that feel natural in a DnB groove
- A simple drum rack or audio chain that can sit under vocals without clutter
- A loop that works in a jungle intro, a rolling drop, or a darker halftime-style breakdown
- A basic automation setup for filter movement and texture build-up
- Making the layer too loud
- Using too much swing
- Letting crunchy samples fill the low mids
- Making everything stereo
- Over-processing the texture
- Ignoring the vocal
- Use darker samples, not brighter ones
- Add controlled distortion before filtering
- Ghost notes create tension
- Automate texture in the build
- Use break fragments for realism
- Check mono
- Let the bass own the sub
- Build the swing layer around a strong DnB kick/snare foundation.
- Use short percussion hits, break slices, and Simpler for crunchy texture.
- Apply subtle groove and ghost notes for oldskool jungle-style movement.
- Keep the layer high-passed, controlled, and mostly centered.
- Automate filter and saturation for arrangement energy.
- Make space for vocals so the groove supports the track instead of crowding it.
Musically, think of it like this: your main snare still lands hard on 2 and 4, your kick and sub anchor the track, and this layer adds the “between-the-beats” energy. It should feel like a dusty cassette loop being pushed through a clean modern Ableton project. That contrast is what gives it character.
Step-by-Step Walkthrough
1. Set up a simple DnB drum scene
Open a fresh MIDI track and load a Drum Rack. Keep your project at a DnB-friendly tempo, usually 170–174 BPM for a classic roller or jungle feel. Start with a basic main drum pattern first so the swing layer has something to lock onto.
Put a kick on the first beat and a snare on beat 2 and 4, or use your existing DnB break/drum loop if you already have one. For this lesson, the swing layer should support the groove, not define the whole beat.
If you’re working with vocals, leave at least one or two bars of space in the main drum pattern where a vocal phrase can breathe. This will help you hear where the swing layer should be dense and where it should stay lighter.
2. Build a percussion chain inside Drum Rack
Inside your Drum Rack, add a few simple percussion sounds:
- Closed hat
- Small rim or click
- Short shaker or noise hit
- One crunchy sampled hit for texture
You can load these into separate pads or use a single sampled source and duplicate it across pads. A beginner-friendly approach is to use Ableton stock samples from the Browser: short hats, percussion hits, or even a tiny slice from an old break.
For the crunchy texture pad, use Simpler. Drop in a short audio slice — a hat fragment, vinyl noise, or a chopped break transient. Switch Simpler to Classic mode so the sample plays like a compact one-shot. Then set:
- Filter: on, low-pass around 8–12 kHz if it’s too bright
- Transpose: down -1 to -3 semitones if the sample feels sharp
- Start/End: trim the sample so it’s tight and punchy
- Voices: 1, so hits don’t blur
If the sample is too clean, don’t worry yet — we’ll dirty it later with stock effects.
3. Program a swingy MIDI pattern
Create a 1-bar or 2-bar MIDI clip for your percussion layer. Keep the rhythm simple:
- Put a hat or shaker on the offbeats
- Add a few ghost hits just before or after the snare
- Place a tiny click or rim on the “in-between” spaces
For a beginner-friendly oldskool DnB feel, try this general placement:
- Closed hat on the offbeat eighths
- Extra ghost note slightly before beat 2 or 4
- One extra hit near the end of bar 1 to create a loop pull
Then apply swing using Ableton’s MIDI groove tools:
- Open the Groove Pool
- Try a classic swing groove like a subtle MPC-style feel
- Start around 55–58% groove amount
- Keep Timing and Velocity both slightly applied rather than maxed out
Why this works in DnB: the main kick/snare grid is usually very strong and deliberate, so a slightly late or pushed percussion layer adds motion without changing the backbone. That micro-shuffle is a big part of classic jungle and rollers energy.
4. Make the percussion feel sampled, not sterile
Now add crunch. Put Saturator after the Drum Rack on the percussion group or on the crunchy pad itself.
Good starting points:
- Saturator Drive: 3–7 dB
- Turn on Soft Clip for control
- If the sound gets too harsh, lower the Output to match the original level
Next, add Redux very lightly if you want a more digital, dusty sampler feel:
- Downsample: small amount only
- Bit Reduction: subtle, not extreme
- Use it sparingly; the goal is grit, not obvious lo-fi destruction
If you want a more classic sampler edge, use Auto Filter after Saturator:
- Low-pass around 10–14 kHz
- Add a tiny resonance bump if you want the hats to “talk” a bit
- Automate the cutoff over 4 or 8 bars later
For vocals, this is useful because crunchy percussion creates a rhythmic bed that supports spoken phrases without needing lots of bright top-end. It gives the vocal a frame, not competition.
5. Shape transients and groove with simple volume control
Add Drum Buss if the percussion feels too flat. Keep it subtle:
- Drive: low to moderate
- Crunch: small amount, just enough for edge
- Transient: slightly up if you want more snap, or down if the layer is pokey
Another easy option is Utility and Auto Pan for movement:
- Use Utility to keep the percussion mostly mono if it gets wide and messy
- If you want motion, try Auto Pan very gently with:
- Phase: 0°
- Amount: low, around 5–15%
- Rate: synced to 1/8 or 1/16
Keep this layer quieter than your main hats. It should be felt more than noticed. In a full DnB mix, if the percussion draws attention away from the snare or vocal, it’s too loud.
6. Use a tiny break slice for authentic oldskool texture
If you want more jungle flavor, grab a short slice from a classic break or any break-style loop you already have. Drag it into a new Simpler pad.
Then do this:
- Trim to a tiny percussive hit
- Set the envelope tight so it decays quickly
- Add a very short Decay if needed
- Pitch it slightly down for weight or slightly up for nervous energy
A great beginner move is to take a noisy part of the break — not the full snare, just a little hat tail or rim tick — and layer it under your programmed percussion. That gives you the feeling of an edited break without needing advanced chopping.
If you’re building a vocal-led intro, this works beautifully under spoken words because it feels human and dusty, like it came from a sampler rather than a grid. That oldskool texture helps establish scene and mood before the full drop arrives.
7. Control the low end and stereo width
This layer should never fight the bassline. Add EQ Eight after your percussion chain:
- High-pass around 180–300 Hz to remove low junk
- If the sound is harsh, gently cut around 6–10 kHz
- If it feels boxy, try a small dip around 300–500 Hz
Use Utility to keep the layer narrow:
- Set Width between 0–80%
- For most darker DnB, keep this percussion layer mostly centered or only slightly wide
Why this matters in DnB: the sub, kick, and snare need clean stereo discipline. Wide noisy percussion can make the mix feel messy fast, especially once the bass enters. Narrow, controlled texture leaves room for sub weight and vocal clarity.
8. Automate movement over 8 or 16 bars
Static percussion gets boring. Add a little motion across the arrangement:
- Automate the Auto Filter cutoff
- Automate Saturator Drive slightly higher in build sections
- Bring in or remove certain ghost hits for tension
A simple arrangement idea:
- Bars 1–8: just the crunchy percussion layer with a filtered vocal phrase
- Bars 9–16: open the filter gradually
- Drop: reduce the layer slightly so the full drums and bass hit harder, then bring it back in after 4 or 8 bars
This is a classic DnB arrangement trick: don’t use every rhythmic layer at maximum all the time. If you let the percussion breathe before the drop, the main impact feels bigger. This is especially effective under vocals because the listener hears the phrase clearly, then feels the rhythm expand around it.
9. Group and balance the layer against the main drums and bass
Route your percussion tracks to a Drum Bus or group channel. This makes it easier to balance the layer as one unit.
On the group bus, you can use:
- Glue Compressor with light gain reduction if needed
- EQ Eight for final cleanup
- Saturator for a little extra cohesion
Keep your headroom healthy. Don’t push the percussion so loud that it steals from the snare or vocal. In a beginner mix, a good rule is to turn it down until you miss it, then bring it back slightly. It should feel like motion, not a separate lead part.
Check the track in context:
- Does the vocal still cut through?
- Is the snare still the main impact?
- Does the bassline still feel solid and centered?
If yes, you’ve got the right balance.
10. Save the idea as a reusable DnB rack
Once it works, save the chain as an Ableton rack so you can reuse it in future tracks.
Include:
- Drum Rack with your percussion pads
- Simpler crunchy texture pad
- Saturator
- EQ Eight
- Auto Filter
- Utility
This is a huge workflow win for DnB because you’ll want this kind of swing texture again and again. Having a ready-made “oldskool percussion layer” rack speeds up writing, which means more time on arrangement and vocal placement.
Common Mistakes
Fix: lower it until it supports the groove instead of leading it.
Fix: start subtle. In DnB, too much swing can make the beat feel sloppy instead of driving.
Fix: high-pass the layer and cut muddy frequencies around 300–500 Hz if needed.
Fix: keep the percussion mostly centered or only lightly wide so the bass and vocal stay clear.
Fix: one or two effects are often enough. Saturation + EQ + filter usually beats a long chain of heavy FX.
Fix: if a vocal phrase is important, thin out the percussion under it or automate the filter slightly down.
Pro Tips for Darker / Heavier DnB
A slightly gritty hat or dusty break slice often sits better in neuro-leaning or darker roller productions than a clean shiny percussion sample.
Try Saturator first, then Auto Filter. The filter helps tame the harmonics so the grit sounds intentional instead of harsh.
Tiny extra hits just before the snare can make the groove feel more urgent. Keep velocity low so they feel like movement, not clutter.
Increase saturation or open the filter over 4 or 8 bars before the drop. This adds energy without needing a big riser.
A chopped fragment from a classic break, layered quietly under programmed percussion, instantly gives the rhythm an older DnB identity.
If your percussion sounds huge in stereo but weak in mono, simplify it. DnB needs translation on club systems.
This layer should never steal low-end weight. Keep it high-passed and clean so your bassline can stay powerful and focused.
Mini Practice Exercise
Spend 10–20 minutes making one usable percussion loop.
1. Set your project to 172 BPM.
2. Build a basic kick/snare DnB skeleton.
3. Add one closed hat, one rim/click, and one crunchy Simpler texture pad.
4. Program a 1-bar loop with offbeat hats and 2–3 ghost notes.
5. Add Groove Pool swing at about 55–58%.
6. Put Saturator on the layer with 3–5 dB Drive.
7. Add EQ Eight and high-pass around 200 Hz.
8. Loop it with a vocal chop or spoken phrase and listen to whether the percussion supports or distracts.
9. Make one change only: either reduce clutter, add one ghost hit, or automate the filter for 4 bars.
10. Export the loop or save the rack.
Goal: create a percussion bed that feels oldskool, crunchy, and usable in a real DnB arrangement.

