Main tutorial
Switch-up Transform Blueprint for Timeless Roller Momentum in Ableton Live 12
Jungle / oldskool DnB atmospheres for advanced producers 🔥
1. Lesson overview
In this lesson, you’ll build a switch-up transform blueprint: a repeatable method for turning a rolling drum & bass loop into a new emotional state without killing momentum.
This is especially useful in jungle, oldskool DnB, and atmospheric rollers where the arrangement needs to evolve, but the groove must keep driving. The goal is not “drop a totally different song.” The goal is:
- keep the engine of the rhythm intact
- transform the space, tone, and tension
- create a switch-up that feels intentional, oldskool, and musical
- preserve roller momentum through the transition
- atmospheric transforms
- filter and resampling-based switch-ups
- midrange tension
- drum continuation during scene changes
- oldskool jungle texture tricks 🎛️
- a rolling Amen or break-based drum loop
- a sub/bass layer that stays coherent during the change
- a textural atmosphere bus for tension and depth
- a transform chain that includes:
- a resampled transition hit or reverse atmosphere
- a switch-up arrangement that uses drum edits, filter motion, and ambience to preserve momentum
- Bar 1–2: original roller groove
- Bar 3: atmosphere starts to morph, drums get more broken or tighter
- Bar 4: switch-up lands with a darker texture, but the pulse never disappears
- breakdown-to-drop transitions
- mid-track breathers
- “sub drop” switch moments
- second-drop variations
- DJ-friendly movement in long-form roller arrangements
- Kick on 1 and occasional push kicks
- Snare on 2 and 4
- Ghost hits and chopped breaks around the main backbeat
- Closed hats with slight swing
- optional Amen chop layer tucked under the main kit
- a sub sine or clean triangle layer
- a mid bass texture layer
- sidechain compression from the kick/snare if needed
- Operator for sub
- Wavetable for mid layer
- Compressor with sidechain
- EQ Eight to keep sub clean
- Oscillator: sine
- Mono: on
- Glide: minimal or off
- Filter: open
- Saturation: very light if needed
- Use saw/triangle blend
- Low-pass around 200–500 Hz depending on the patch
- Add mild drive with Saturator
- Keep stereo width controlled below ~150 Hz using Utility
- field recordings
- pads
- vocal fragments
- synth drones
- resampled break ambience
- noise beds
- reverb tails from drum hits
- reversed synth notes
- old VHS-style textures
- Auto Filter
- Echo
- Hybrid Reverb
- then Resample it
- EQ Eight
- Auto Filter
- Saturator
- Phaser-Flanger or Chorus-Ensemble
- Echo
- Hybrid Reverb
- Utility
- cut sub completely below 100–150 Hz
- tame boxy mids if the layer gets crowded
- automate cutoff from open to dark over 4 bars
- try a band-pass sweep for a classic jungle “telephone tunnel” effect
- Drive: 1–6 dB
- Soft Clip: on if you want more density
- Use this to make the atmospheres audible on smaller systems
- very subtle movement
- slow rate
- low feedback
- useful for making a static pad feel alive
- keep it tempo-locked
- use filtered repeats
- automate dry/wet upward during the transition
- use a darker algorithm setting if available
- cut lows and harsh highs inside the reverb EQ
- automate width from narrower to wider, or vice versa, to create spatial drama
- keep the full drum loop active
- bass is steady and controlled
- atmosphere is present but restrained
- no major filter movement yet
- automate a low-pass on the main atmosphere
- add a reversed texture or a filtered vocal tail
- slightly reduce drum density by removing one percussion layer
- bring in a subtle delay throw on a snare or ghost hit
- chop or mute a hat pattern for one beat
- introduce a resampled noise swell
- automate the bass mid layer down slightly, but keep sub intact
- use a quick Echo freeze-style tail or long reverb tail for tension
- add a short drum fill using break slices
- bring in the darker atmosphere bus at higher intensity
- switch the drum texture to a more broken variation
- reintroduce bass with a different filter position or timbre
- leave just enough space for the listener to feel the “new chapter”
- Redux: bit reduction, sampler-rate crunch
- Drum Buss: drive and punch, even on textures
- Gate: rhythmic chopping
- Auto Filter: movement
- Echo: spatial smear
- keep the snare anchor on 2 and 4, even if reduced
- use ghost kick or ghost snare fills
- swap one break slice every 2 bars
- keep hi-hats or ride texture lightly active
- use short drum fills in the last half-beat of bar 4
- split drum clips and mute specific hits
- use Beat Repeat sparingly for micro-fractures
- use Gate on a noise layer to pulse in time
- use Drum Rack chains to quickly swap between break variations
- main loop: clean snare and kick
- secondary break layer: low in the mix
- transition layer: one chopped Amen slice with heavy EQ and saturation
- remains mostly constant
- Mono
- minimal filter changes
- sidechained if necessary
- automate filter cutoff
- introduce texture or distortion
- mute for one beat before the switch if you want tension
- automate Wavetable position slowly
- add Saturator drive only in the transformed section
- use Auto Filter to close the top end during the switch
- use Frequency Shifter very subtly for eerie movement if you want a darker edge
- 8-bar intro
- 16-bar first groove
- 4-bar transform
- 16-bar second groove
- 8-bar variation or breakdown
- repeat with stronger contrast later
- at the end of a 16-bar phrase
- after a strong snare cadence
- where a DJ can still mix the track cleanly
- just before a new bass variation or drum edit
- atmosphere filter cutoff
- delay send amount
- reverb tail length or send
- bass filter
- stereo width on atmospheric layer
- drum bus saturation amount for the switch section
- start change over 1–2 bars
- peak at the switch
- resolve into the new groove
- limited but meaningful sound palette
- strong low-end discipline
- break edits that enhance the groove
- atmospheres that imply story without dominating
- tasteful grit and delay
- movement based on arrangement, not random LFO overload
- EQ Eight for discipline
- Auto Filter for phrase motion
- Saturator for analog-ish density
- Echo for dub/jungle depth
- Hybrid Reverb for space
- Drum Buss for weight and crack
- Utility for control
- Redux for oldschool bite
- filter sweep
- drum reduction
- delay throw
- atmosphere rise
- Auto Filter
- Saturator
- Echo
- Reverb
- Version A: more atmospheric and cinematic
- Version B: darker and more brutal, with more saturation and less reverb
- keeps the roller groove driving
- transforms the atmosphere and tonal space
- uses stock Ableton devices for practical processing
- relies on phrasing, automation, and resampling
- stays rooted in jungle / oldskool DnB language rather than generic transition tricks
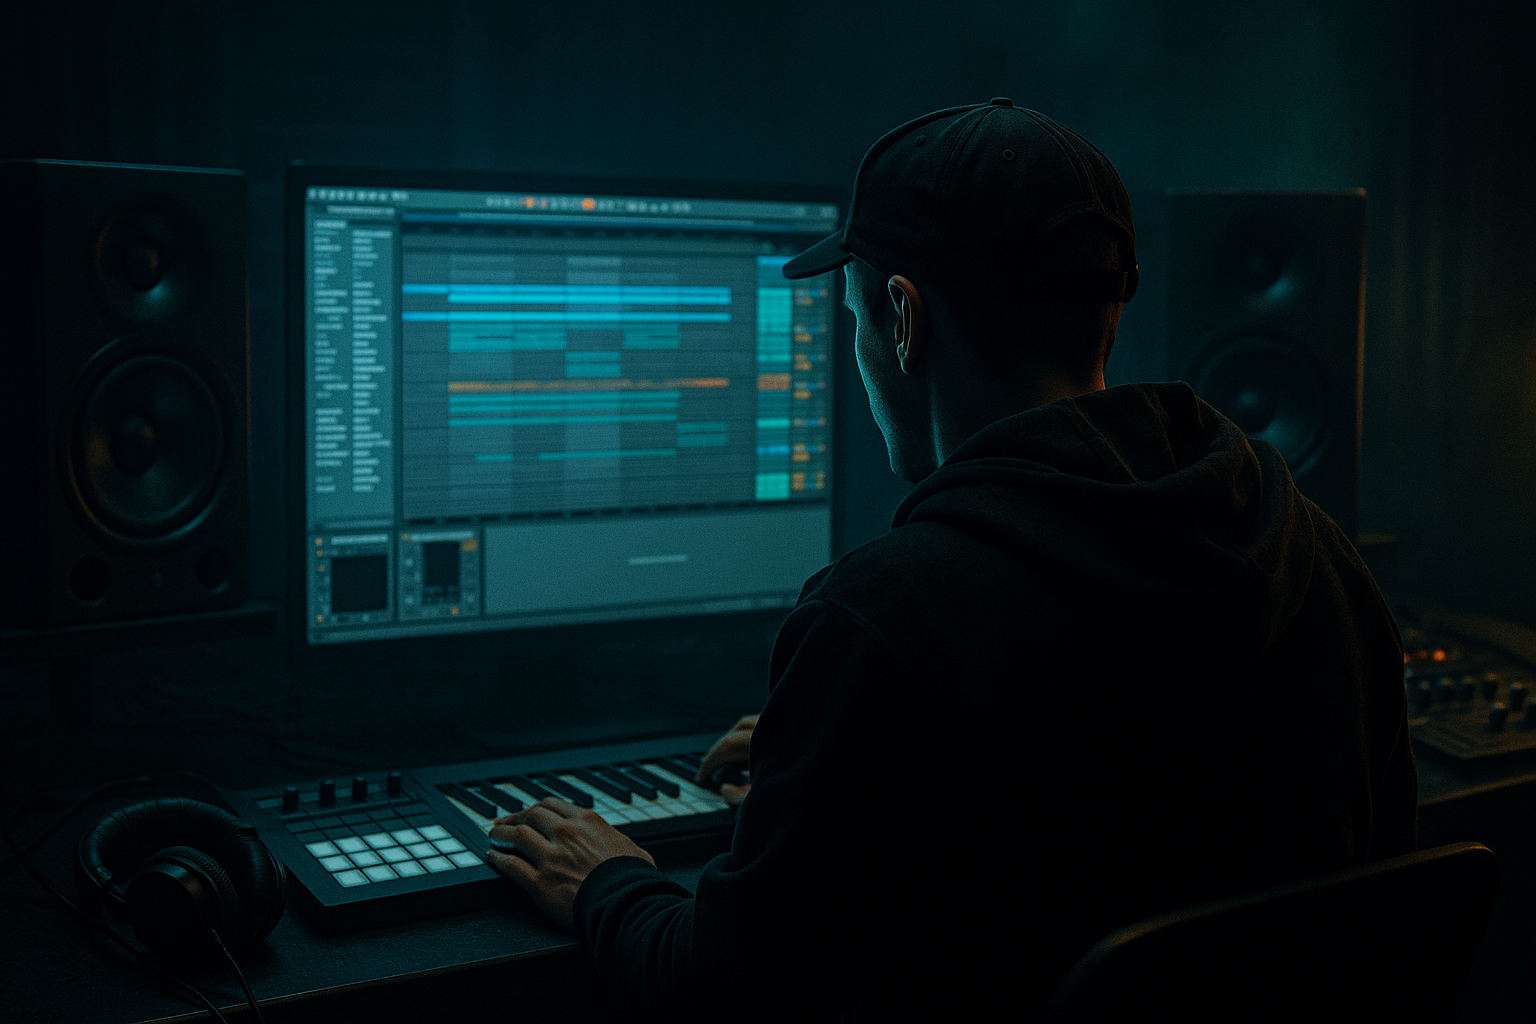
In Ableton Live 12, we’ll use stock devices and a practical arrangement strategy to create a section that feels like the track has moved to a darker alleyway, not stopped and restarted.
You’ll focus on:
---
2. What you will build
By the end, you’ll have a 4-bar switch-up section that transforms a rolling DnB loop into a darker, more cinematic jungle variation.
Core ingredients
- EQ
- Auto Filter
- Saturator
- Chorus-Ensemble or Phaser-Flanger
- Echo / Delay
- Reverb
- Utility for mono/stereo control
- optional Redux for grit
End result
A section that works like this:
This is perfect for:
---
3. Step-by-step walkthrough
---
Step 1: Build the core roller bed
Start with a loop that already has movement. This blueprint works best when the drums and bass feel like a continuous conveyor belt.
#### Drum setup
Use a classic oldskool-style approach:
#### Ableton workflow
1. Create a Drum Rack for your drums.
2. Load:
- kick
- snare
- hat
- break chops
- percussion
3. Program a 2-bar loop first.
4. Add Groove Pool swing:
- try MPC 55–58% or a light 16th swing
- keep it subtle; oldskool DnB should breathe, not wobble
#### Bass setup
For a roller, the bass should support motion rather than dominate it.
Use:
Stock devices:
#### Starting bass settings
For the sub:
For the mid bass:
Goal: create a base that can survive transformation without losing its identity.
---
Step 2: Create the atmosphere bus
This is the heart of the lesson. The switch-up transform blueprint is mostly about atmospheric motion.
Create a dedicated return or group bus called Atmosphere Transform.
#### Sound sources you can use
#### Ableton devices for the bus
Start with this chain:
1. EQ Eight
- high-pass around 120–250 Hz
- remove mud around 300–600 Hz if needed
- gentle air boost around 8–12 kHz if the source is dull
2. Auto Filter
- low-pass or band-pass mode
- automate cutoff for morphing tension
- resonance: moderate, not extreme
3. Chorus-Ensemble
- subtle widening
- keep Mix low, around 10–25%
- great for moving pads and washed textures
4. Echo
- synced delay, often 1/8 Dotted or 1/4
- Feedback low to moderate
- Filter inside Echo can darken repeats nicely
5. Hybrid Reverb or Reverb
- decay: medium to long
- pre-delay: short to medium
- low cut in the reverb to stop low-end buildup
6. Utility
- adjust width
- collapse low end to mono if needed
#### Practical atmosphere trick
Take a chopped break or vocal texture, send it through:
This creates a custom “ghost layer” that can be introduced during the switch-up.
---
Step 3: Design the transform chain
Now build a switch-up processing chain on the atmosphere bus or on a grouped section of your arrangement.
Use this as a template:
#### Atmosphere Transform chain
#### How to set it up
EQ Eight
Auto Filter
Saturator
Phaser-Flanger
Echo
Hybrid Reverb
Utility
---
Step 4: Build the switch-up as a 4-bar transformation
The key to timeless momentum is gradual morphing.
You are not abruptly changing scenes. You’re crossfading emotional states.
#### Bar-by-bar blueprint
Bar 1: establish the original roller
Bar 2: introduce motion
Bar 3: destabilize the surface
Bar 4: land the transformed state
This gives you a classic oldskool feeling: the groove continues, but the track has mutated.
---
Step 5: Use resampling for authentic jungle energy
One of the best advanced tricks in Ableton Live is resampling your own transition material.
#### Why this works
Oldskool jungle often feels alive because the texture is printed, not over-engineered. Resampling helps you commit to a sound and get that cohesive, gritty behavior.
#### Practical resampling workflow
1. Solo your atmosphere bus.
2. Record 8–16 bars of evolving material to a new audio track.
3. Slice the recording using:
- Slice to New MIDI Track
- or manual chopping in Arrangement View
4. Reorder sections:
- reverse tails
- isolate tiny fragments
- move one interesting transient earlier
5. Process the chopped result with:
- Redux for grit
- Transient shaping via Drum Buss
- Gate for rhythmic pulsing
- Auto Filter for band-limited tension
#### Great stock devices for resampled atmospheres
---
Step 6: Add drum edits that preserve momentum
A timeless roller switch-up should never feel like the drums have “stopped.” Even during a breakdown-like moment, the rhythm should keep implying forward motion.
#### Drum continuity tactics
#### Ableton techniques
#### Oldskool jungle feel
Try this:
This makes the switch-up feel like a proper jungle edit, not a modern EDM transition.
---
Step 7: Shape the bass for the switch-up
For roller momentum, the bass should transform with the atmosphere, but it should not overreact.
#### Recommended bass transform method
Use parallel layers:
Layer A: Sub
Layer B: Mid bass
#### Bass movement ideas
#### Important
Do not automate the bass so wildly that the groove collapses. In rollers, the bass should feel like it’s turning its head, not changing species.
---
Step 8: Arrange the switch-up for DJ-friendly flow
In Drum & Bass, arrangement matters. Your switch-up should support mixing, phrasing, and tension management.
#### Strong arrangement options
#### Best practice
Place the switch-up:
#### Automation priorities
Automate:
Keep the automation phrased:
---
Step 9: Make it feel timeless, not gimmicky
A timeless roller transform is about restraint. The atmosphere should feel like it belongs to the track, not pasted on top.
#### What makes it timeless
#### Ableton stock devices that help
---
4. Common mistakes
1. Over-transforming the atmosphere
If the atmosphere becomes the loudest thing in the section, the roller loses its engine.
Fix: keep atmospheres filtered, tucked, and rhythmically aligned.
2. Removing too many drums
A switch-up is not a full dropout unless you intentionally want that.
Fix: preserve at least one strong rhythmic anchor, usually snare or hat motion.
3. Letting low-end pile up in reverb
This kills clarity fast in DnB.
Fix: high-pass atmosphere and reverb returns aggressively.
4. Using huge stereo width on everything
The low end becomes vague and the mix loses punch.
Fix: keep sub mono and use Utility to manage width on upper layers only.
5. Making the transition too perfect
Oldskool jungle often sounds alive because it has rough edges.
Fix: leave some grit, chopped tails, and slight unpredictability.
6. Automating too many things at once
The listener can’t perceive the change if every parameter moves wildly.
Fix: choose 2–4 main transition gestures:
---
5. Pro tips for darker/heavier DnB
Tip 1: Use filtered noise as a fake “wind tunnel”
Layer a noise sample with:
Automate the cutoff down during the switch-up for a cold, subterranean feel. 🌑
Tip 2: Print your reverbs
Resample long tails and chop them into usable ambience hits. This gives a more physical, warehouse-like texture than endless live reverb.
Tip 3: Darken the atmosphere, not the whole mix
Use a darker atmosphere layer to create tension while leaving the drum transients clear and sharp.
Tip 4: Add controlled distortion to the return
A little Saturator or Drum Buss on the atmosphere bus can help it cut through without needing more volume.
Tip 5: Use short negative-space edits
Removing a kick or hat for a single 1/8 or 1/4 can make the next hit feel much heavier.
Tip 6: Stack a ghost break under the main groove
This is a classic jungle move. Even very low in the mix, it makes the track feel like it’s breathing and accelerating at the same time.
Tip 7: Try pitch-down atmospheres
Pitch down a resampled pad or vocal fragment by -3 to -12 semitones for a deeper, more haunted switch-up vibe.
---
6. Mini practice exercise
Exercise: Build a 4-bar roller transform
#### Goal
Create a 4-bar transition that moves from “warm roller” to “dark jungle switch” without losing the groove.
#### Steps
1. Start with a 2-bar drum + sub loop.
2. Add one atmospheric source:
- a pad
- vocal
- noise texture
- break ambience
3. Create an Atmosphere Transform bus with:
- EQ Eight
- Auto Filter
- Saturator
- Echo
- Reverb
4. Automate the atmosphere cutoff over 4 bars.
5. Remove one drum element in bar 3.
6. Add one chopped fill in bar 4.
7. Resample the atmosphere movement.
8. Slice the resample and place 2–3 fragments back into the arrangement.
9. Check the transition in context with bass and drums.
10. Bounce the section and compare it against the original groove.
#### Challenge version
Make two versions:
Listen for which one keeps momentum better.
---
7. Recap
A strong switch-up transform blueprint in Ableton Live 12 is about controlled mutation.
You built a workflow that:
Core takeaway
To create timeless roller momentum, don’t think “big drop change.”
Think: same train, different tunnel 🚆
If you want, I can also turn this into:
1. a rack-by-rack Ableton device preset plan, or
2. a 16-bar arrangement template for oldskool jungle DnB.

