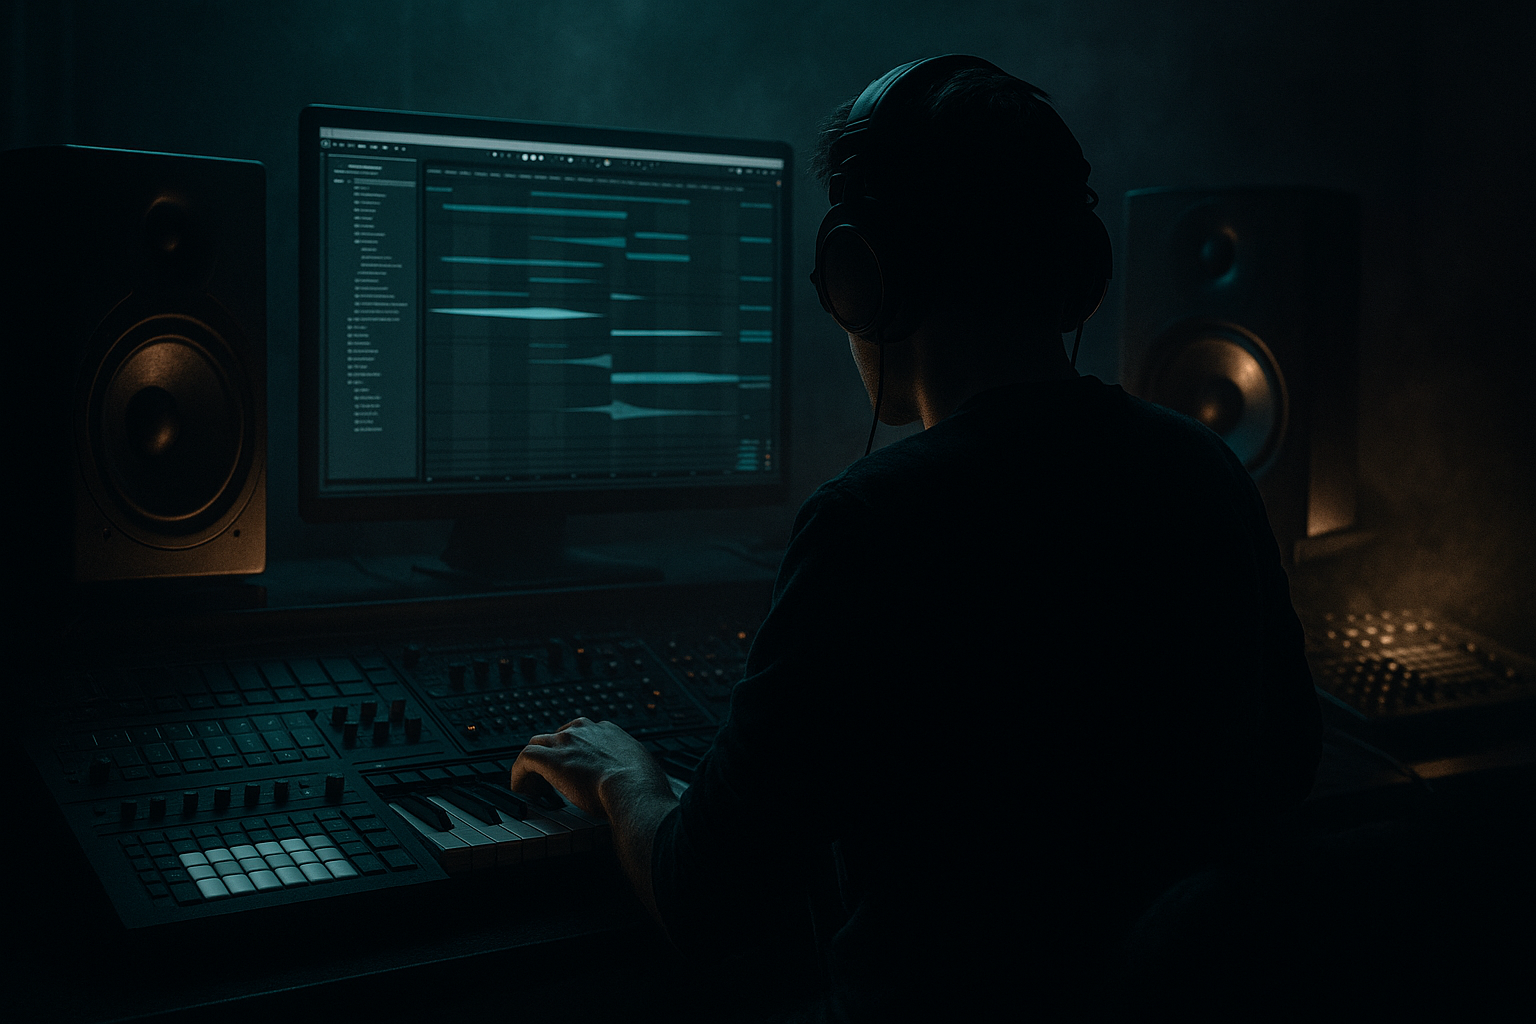
Main tutorial
```markdown
System for a Reese Patch Using Macro Controls (Ableton Live 12)
Focus: Jungle / oldskool DnB vibes • Level: Intermediate • Category: Resampling 🎛️
---
1. Lesson overview
You’re going to build a performance-ready reese bass “system” in Ableton Live 12 where Macros drive multiple parameters at once (pitch drift, detune, filter movement, distortion, width, and resampling coloration). Then you’ll print (resample) multiple passes to audio and slice/select the nastiest bits like classic jungle workflow. 🧪
This is the “play it like an instrument → resample → commit” mindset that’s all over oldskool + modern rolling DnB.
---
2. What you will build
A single Reese Rack that:
- Generates a solid reese using stock synths (Wavetable or Operator)
- Uses 8 Macros to control character and movement
- Has a parallel processing chain (clean low-end + dirty mid growl)
- Is designed for resampling multiple takes with different macro gestures
- Produces usable audio bass phrases you can arrange under breaks
- Osc 1: Basic Shapes → Saw (or “Saw” style)
- Osc 2: Saw (or Square/Saw mix)
- Warp: try Classic or FM lightly (we’ll macro this)
- Filter: LP24
- Attack: 0–5 ms
- Decay: 200–400 ms (optional)
- Sustain: 100%
- Release: 80–160 ms (avoid clicks)
- Wavetable Filter Freq
- Auto Filter Freq (MID chain)
- Wavetable Filter: 120 Hz → 3.5 kHz
- MID Auto Filter: 200 Hz → 6 kHz
- Wavetable Osc 1 Detune
- Wavetable Osc 2 Detune
- (Optional) Unison Amount
- Detune: 5 → 35 (keep it musical)
- Turn on LFO 1 → assign to Osc 1 Position OR Fine Pitch (tiny amount)
- LFO Rate (sync)
- LFO Amount (depth)
- Rate: 1/8 → 1/2 (sync)
- Amount: small → medium (avoid clown wobble)
- Roar Drive
- Roar Mix
- Drive: 0 → +20 dB
- Mix: 20% → 80%
- Noise Level
- Noise Filter (if available)
- Noise: -inf → -18 dB (just a hiss layer when pushed)
- Utility Width (MID chain)
- Chorus-Ensemble Amount/Mix
- Width: 90% → 170%
- Chorus Mix: 0% → 35%
- Auto Filter Resonance (MID chain)
- Wavetable Filter Resonance (small)
- MID Res: 0.2 → 1.2 (careful—this can scream)
- Wavetable Res: 0 → 20%
- SUB chain volume
- MID chain volume (inverse if you like)
- SUB: -6 dB → +3 dB
- MID: -12 dB → 0 dB
- Use a root note around F, F#, G (DnB sweet spot)
- Try off-beat stabs + short slides:
- Take A: mostly clean + subtle movement
- Take B: aggressive mid distortion + resonance flicks
- Take C: filtered “underwater” tone for breakdowns
- Bars 1–8: breaks + subby, filtered reese (Macro 1 low)
- Bars 9–16: introduce mid reese movement (Macro 3 up slightly)
- Bars 17–24 (drop): full mid bite (Macro 4 up), slightly wider (Macro 6)
- Bars 25–32: alternate clean/dirty phrases every 2 bars for call-and-response
- Wide sub: if anything below ~120 Hz is wide, your track will collapse in mono. Keep SUB chain at Width 0%.
- Too much resonance + distortion: Macro 7 + Macro 4 can explode levels. Use a Limiter (temporary) on the resample track while recording.
- Over-wobbling: oldskool reese is often steady with subtle life, not constant LFO theatrics.
- Not separating sub/mids: one-chain processing often makes the low-end unstable.
- Only one resample take: the magic is in printing multiple performances and picking the best moments.
- Roar routing trick: keep SUB clean, but let MID get brutal. If it’s too fizzy, add an EQ Eight after Roar and low-pass around 6–10 kHz.
- Add “metal” safely: in Wavetable, lightly increase FM/warp and resample it. The resample tames the chaos and makes it mixable.
- Phase coherence: if your SUB feels hollow, try adjusting Oscillator phases or reduce unison on the layer feeding sub.
- Clip for weight: on the MID chain, a Saturator after Roar with Soft Clip ON can glue the growl.
- Break synergy: sidechain the MID chain slightly to the kick/snare using Compressor (Sidechain input from drum bus). Keep it subtle (1–3 dB GR) so the breaks punch.
- You built a Reese System using parallel SUB + MID chains for proper DnB low-end control.
- You mapped Macros to multiple parameters for performable sound design.
- You resampled several macro performances into audio (classic jungle commitment).
- You sliced the best moments and arranged them into a rolling DnB structure.
End result: a folder of bass resamples: “Clean Sub,” “Mid Reese,” “Metallic Screech,” “Filtered Roll,” etc. ✅
---
3. Step-by-step walkthrough
Step 0 — Session setup (DnB-friendly)
1. Set tempo to 165–174 BPM (try 170 for classic vibes).
2. Create 3 tracks:
- MIDI track: `REESE (Rack)`
- Audio track: `REESE RESAMPLE`
- Drum track: your breaks (Amen/Think) or a Drum Rack loop
3. On `REESE RESAMPLE`, set:
- Audio From: `REESE (Rack)`
- Monitor: `In`
- Arm it.
> Goal: You can jam macros live and record the audio immediately. 🎚️
---
Step 1 — Build the synth core (Wavetable recommended)
On `REESE (Rack)`, add Wavetable (stock).
Wavetable settings (starting point):
- Unison: 4
- Detune: ~15–25
- Unison: 2–4
- Detune: ~10–20
- Osc 2 pitch: -12 semitones (optional for weight)
- Freq: ~250–600 Hz (start around 400)
- Res: low to moderate (5–15%)
- Drive: small amount (2–6 dB)
Amp Envelope:
Voicing tip: Set Mono + Legato ON (optional) for glide-style lines.
Add Portamento/Glide: 30–90 ms for that rolling slide 🌀
---
Step 2 — Create a parallel processing “Reese System” (Audio Effect Rack)
After Wavetable, add an Audio Effect Rack called: `REESE SYSTEM`.
Inside the rack, create two chains:
1. SUB (Clean)
2. MID (Dirty)
#### Chain A — SUB (Clean)
Devices in order:
1. EQ Eight
- Low-pass around 120–180 Hz
- Optionally small dip at 200–300 Hz if it honks
2. Saturator
- Mode: Soft Sine (or Analog Clip)
- Drive: 1–4 dB
- Output: match level (avoid clipping)
3. Utility
- Width: 0% (mono sub always) ✅
- Gain: adjust to taste
#### Chain B — MID (Dirty)
Devices in order:
1. EQ Eight
- High-pass 120–180 Hz (leave room for sub)
2. Roar (Ableton Live 12 stock) 🔥
- Start with a preset like “Bass Amp / Warm Drive” or “Aggro”
- Mix: 30–70% depending on intensity
3. Auto Filter
- LP12 or BP
- Add movement later via Macro
4. Chorus-Ensemble (or Chorus if you prefer simpler)
- Keep it subtle: aim for width, not seasickness
5. Utility
- Width: 110–160% (mid can be wide)
> This split gives you that classic: tight mono low-end + nasty moving mids.
---
Step 3 — Add 8 Macros that actually perform
Enter Rack Macro mode. Map these like a mini instrument. 🎛️
(Click Map → select parameter → Map)
#### Macro 1: “Tone (Cutoff)”
Map to:
Suggested ranges:
#### Macro 2: “Reese Detune”
Map to:
Ranges:
#### Macro 3: “Movement (LFO)”
In Wavetable:
Map Macro to:
Ranges:
Oldskool vibe: keep it subtle and “alive,” not modern wobble. 🧬
#### Macro 4: “Bite (Roar Drive)”
Map to:
Ranges:
#### Macro 5: “Air / Noise”
Add Noise inside Wavetable (or Operator noise) and map:
Range:
This is gold for jungle texture under breaks. 🌫️
#### Macro 6: “Width (Mids)”
Map to:
Ranges:
#### Macro 7: “Reso / Whistle”
Map to:
Ranges:
#### Macro 8: “Sub Balance”
Map to:
Ranges:
> Pro workflow: name macros like you’d use them live. Keep them “performance obvious.”
---
Step 4 — Write a classic rolling bass MIDI phrase
Create a 1–2 bar clip on the `REESE (Rack)` track.
Typical oldskool patterns:
- Bar 1: `F1 (1/8) - rest - F1 (1/8) - G1 (1/8) - F1 (1/8)`
- Add a ghost note one octave up briefly for bite (F2 1/16)
Timing tip: Nudge some notes slightly late for a rolling pocket—especially if you’re using shuffled breaks.
---
Step 5 — Resampling workflow (this is the whole point)
Now you’ll “perform” macro moves and record audio.
1. Arm `REESE RESAMPLE`.
2. In Arrangement View, loop 8 or 16 bars.
3. Hit record.
4. While it plays, move 2–3 macros at a time:
- Start: Macro 8 Sub Balance heavier
- Build: Macro 1 Tone opens
- Spice: Macro 4 Bite increases
- Add occasional Macro 7 Reso flicks (momentary) ⚡
- Pull back to clean for contrast
Record 3–5 takes with different “stories”:
---
Step 6 — Commit and slice the best bits
On the recorded audio:
1. Consolidate useful sections (Cmd/Ctrl+J).
2. Warp mode:
- Usually Complex Pro OFF for bass.
- Try Beats mode if it’s rhythmic; otherwise keep it minimal.
3. Create multiple clips:
- One-shots (single reese hits)
- 1/2-bar phrases
- 1-bar loops with movement
Optional: Right-click clip → Slice to New MIDI Track (slice by transients or 1/4 notes).
Now you can “play” your resampled reese as a new instrument. 🎹
---
Step 7 — Arrange it like a jungle track
Classic structure idea (32 bars):
Layer tip: let your breaks breathe—don’t fill every gap with bass movement. Space = weight.
---
4. Common mistakes
---
5. Pro tips for darker/heavier DnB 🖤
---
6. Mini practice exercise (15 minutes)
1. Build the rack as described.
2. Make a 2-bar bassline clip.
3. Record three 8-bar resample takes:
- Take 1: Macro 1 + 2 only (tone + detune)
- Take 2: Macro 4 + 7 (bite + reso flicks)
- Take 3: Macro 3 + 6 (movement + width)
4. Pick one best bar from each take and arrange:
- Bar 1: Take 1 (clean)
- Bar 2: Take 2 (dirty)
- Bar 3: Take 1 (clean)
- Bar 4: Take 3 (wide/moving)
Goal: build contrast without changing the MIDI notes.
---
7. Recap
If you want, tell me whether you’re using Wavetable or Operator and what vibe you’re after (classic Ray Keith roll, dark techstep, modern jungle), and I’ll tailor macro ranges + a few starting presets specifically for that direction. 🎚️
```

