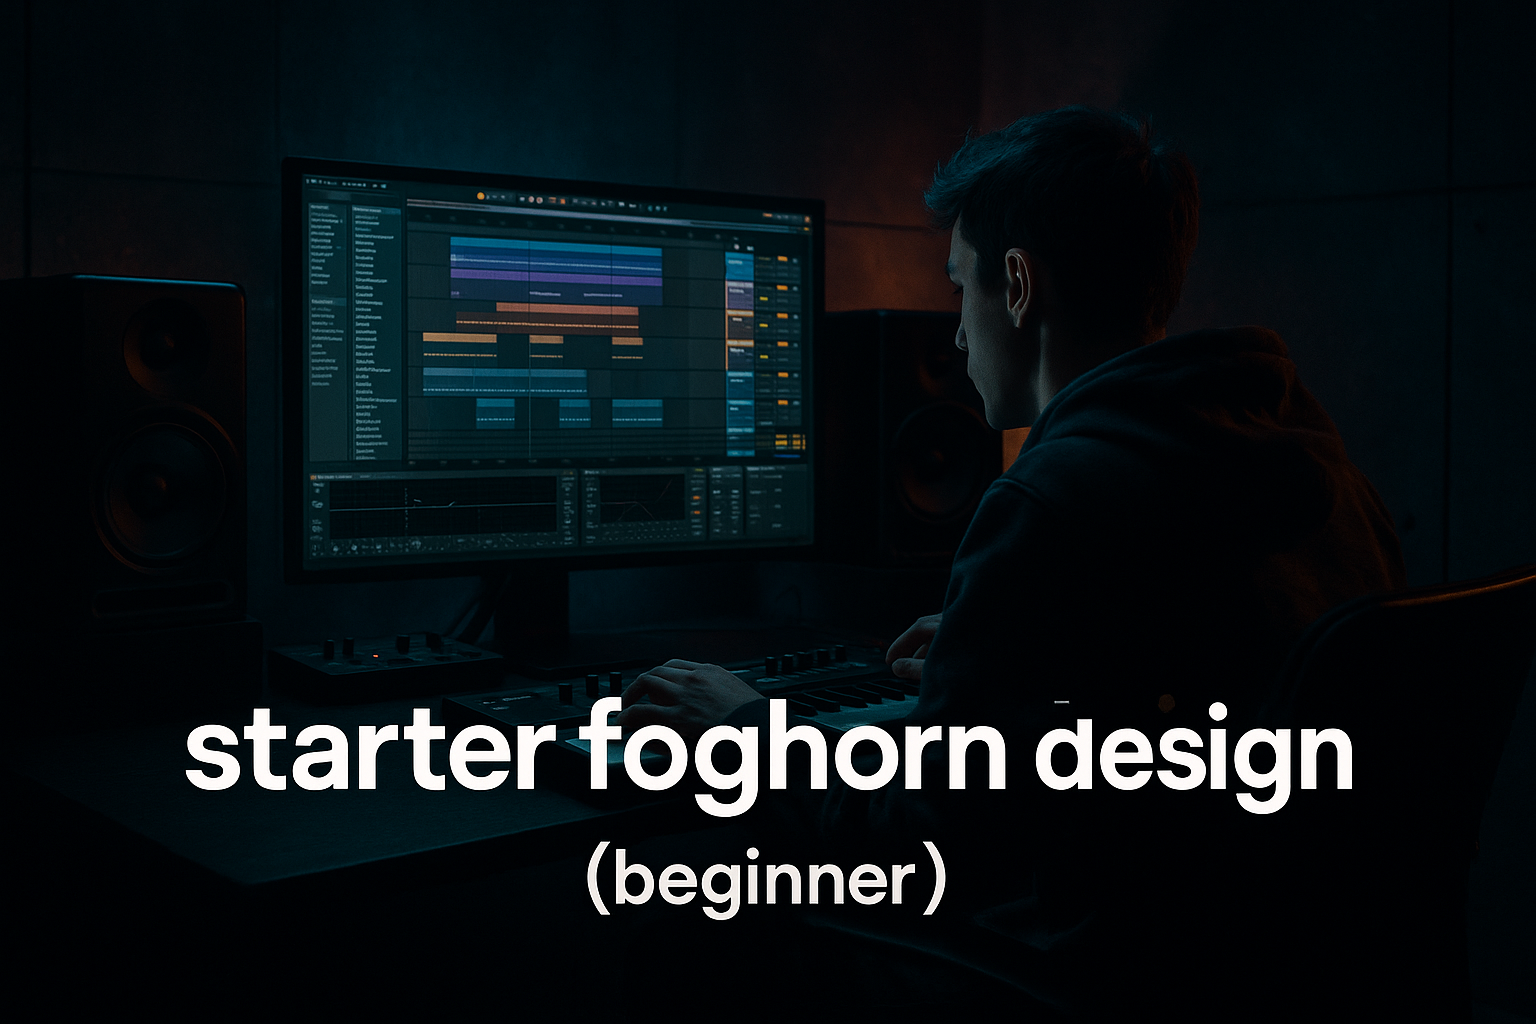
Main tutorial
System for Transition Without Losing Headroom in Ableton Live 12 for Jungle / Oldskool DnB Vibes
1. Lesson overview
In jungle and oldskool DnB, transitions are not just “nice to have” — they are part of the energy system of the track. You’re often moving between:
- half-time and break-led sections
- amen edits and full drum drop-ins
- deep sub passages and dense rewinds
- atmospheric breakdowns and high-impact re-entries
- design transitions using energy redistribution instead of just “adding more”
- use pre-transition subtraction to preserve headroom
- automate filtered sends, reverb throws, and drum mutes safely
- build a transition rack that works for jungle / DnB arrangement patterns
- avoid the classic “transition peak” that kills your master chain
- short room reverb
- tempo-locked delay
- noise rise / hiss
- impact layer
- sub-safe space management
- breaks
- ghost hits
- percussion sends
- drum bus EQ
- saturation and transient shaping
- clear low-end clutter
- remove transient overload before the transition
- use filtered buildup
- restore full energy on the drop without clipping
- 8 bars tension
- 4 bars strip-down
- 1 bar pre-drop void
- drop hit with controlled peak
- DRUMS
- BASS
- MUSIC
- TRANSITION FX
- aim for around -6 dB peak headroom
- keep the pre-master loudness conservative
- avoid any clip or bus touching 0 dBFS
- Utility on important buses to control gain
- Spectrum to watch low-end buildup
- Limiter only as a safety check, not as a crutch
- Hybrid Reverb or Reverb
- Decay: 0.4–0.9 s
- Pre-delay: 10–20 ms
- High-pass inside reverb if possible, or use EQ after it
- Add EQ Eight after reverb:
- snare throws
- hat tails
- tiny atmospheric wideners
- Echo
- Sync: 1/8, 1/4, or 3/16
- Feedback: 20–45%
- Filter the repeats:
- vocal chops
- snare fills
- breakdown stabs
- one-shot FX
- Operator with white noise
- or a sampled noise riser
- Auto Filter sweeping upwards
- Saturator very lightly for density
- pre-drop build
- atmosphere under a strip-down
- filling the high end without touching sub
- Convolution-like large space using Hybrid Reverb
- Very short send use only on transition hits
- Follow with Utility and trim if too loud
- drop impacts
- rewind hits
- crash-swells
- sub layer
- one or two mid drum elements
- sustained pad energy
- low-mid fill content
- constant hat layers
- full groove
- normal bass
- break loop running
- mute a percussion layer
- low-pass bass slightly
- reduce the break’s high-end send
- automate a tiny volume dip on the music bus: -1 to -2 dB
- remove sub or filter it down
- keep kick/snare and a top loop
- add a delay throw on the last snare
- one-beat or half-bar void
- impact + reverse + re-entry
- full drop
- move from low-pass to open
- but keep the bass level stable with Utility gain if the filter curve creates perceived jumps
- avoid opening the bass while drums and FX are also maxed out
- roll off top end slightly before a fill
- reopen on the drop
- if the break is very bright, automate a gentle low-pass from around 12–14 kHz down to 8–10 kHz
- a small Utility trim
- or reduced send levels during the sweep
- cut the Amen or break on the last beat before a drop
- use a one-hit kick/snare restart
- slice a break into 1/16 stutters for 1 bar
- reverse a snare into the drop
- use the last two hits of the break as a call-and-response fill
- Slice the break to a new MIDI track
- Use Simpler in Slice mode or keep audio and manually edit
- Use Clip Gain Envelope to shape transition hits instead of automating the entire track volume
- automate the Utility gain down by 1–3 dB in the last 2 bars before the drop
- automate a low-pass or high-pass if the arrangement needs more contrast
- mute pads on the final bar to reveal the drums
- EQ Eight
- Saturator
- send to Delay Throw
- send to Short Space
- increase delay send only on the last snare of the phrase
- slightly raise reverb send on the final fill snare
- pull the dry snare down a touch if the throw is the hero
- Don’t let sub, kick, and reverb all peak together
- If you remove sub for tension, do it cleanly and intentionally
- Keep a mono, simple sub path
- Utility
- EQ Eight
- Saturator if needed, subtle
- optional Compressor sidechained to kick
- reduce sub gain by 1–2 dB in buildup
- mute sub for a half-bar before the drop if stylistically appropriate
- bring it back on the downbeat with full confidence
- Macro 1: from 0 to 25%
- Macro 2: from 0 to 20%
- Macro 3: sweep upwards
- Macro 4: increase in the last 2 bars only
- Macro 5: one-hit spike at the drop
- Macro 6: pull the bus down slightly before the final hit
- 8-bar phrase ending with a break cut
- 4-bar tension section
- 2-bar filter open
- 1-bar drum fill
- 1-beat gap
- full drop
- “Amen keeps playing while bass disappears”
- “Atmosphere stays, drums get stripped”
- “Snare roll + delay throw + crash”
- “Reverse break hit into first drop bar”
- “Half-bar silence before the resub hit”
- mute bright pads early
- keep the top-end FX short
- let the break own the upper mids
- Drive: very low
- Soft Clip: on if needed
- mix by level, not by wet/dry if using a return
- dry, punchy pre-drop
- wide, wet transition tail
- dry, mono drop
- cut the sub for 1/2 bar
- strip the break down to a skeletal pattern
- leave a tiny FX tail
- then slam the full groove in
- 1 breakbeat loop
- 1 sub bass
- 1 atmospheric pad
- 1 snare fill
- 1 riser/noise track
- 1 impact
- full groove
- normal bass
- gentle atmosphere
- automate pad down by 2 dB
- bring in a filtered noise rise
- add a snare fill every 2 bars
- start reducing break top end subtly
- remove sub for 1 bar
- use delay throw on the last snare
- let the riser continue, but don’t increase its level too much
- strip the arrangement to drums + FX only
- half-bar silence before drop
- full drop re-entry on bar 17
- Did the master peak stay controlled?
- Did the transition feel bigger because of contrast?
- Did the drop hit harder than the build?
- build transition FX on return tracks
- keep headroom from the start
- automate subtraction before addition
- use break edits, snare throws, and silence
- high-pass your reverbs and delays
- avoid over-stacking risers and impacts
- make the drop feel bigger by making the pre-drop smaller
The problem: many producers slam every transition with extra layers, filters, risers, reverbs, and delays, then wonder why the mix collapses, distorts, or loses punch.
This lesson gives you a practical transition system in Ableton Live 12 that lets you create movement and tension without eating up headroom. The goal is to keep your mix stable, your low end controlled, and your drop impact intact. 🔥
You’ll learn how to:
---
2. What you will build
By the end, you’ll have a reusable Ableton transition system built around:
A. A transition return rack
A dedicated group of return chains for:
B. A drum bus transition strategy
You’ll automate changes on:
C. A headroom-safe drop prep routine
A method to:
D. A simple arrangement map
A proven oldskool DnB/jungle transition pattern:
---
3. Step-by-step walkthrough
Step 1: Set up your transition architecture
Before writing automation, build a clean session structure.
Recommended track groups
Create these groups in Ableton Live:
- kick
- snare
- break loop
- top percussion
- ride/shaker
- sub
- mid bass
- reese / growl layer
- pads
- stabs
- atmos
- samples/vocals
- reverse cymbal
- noise
- impact
- sweep
- fill hits
Why this matters
If transitions are scattered across the arrangement, you’ll over-process individual clips. Instead, you want group-level control so you can create movement without constantly raising peak levels.
---
Step 2: Create a headroom target before you automate anything
For jungle / DnB, your mix should feel loud, but your arrangement should not already be maxed out before mastering.
Practical headroom target
On the master during production:
Ableton check
Use:
Rule
If a transition makes the master meter jump wildly, you’re not transitioning — you’re overloading.
---
Step 3: Build a “transition-safe” drum bus chain
On your DRUMS group, use a chain like this:
1. Utility
- set gain so the drum bus sits comfortably
- use mono below if needed through a M/S tool or external plugin, but in stock Ableton keep it simple with proper panning and bass control
2. EQ Eight
- high-pass very lightly only if needed on non-kick drum content
- cut low mud around 200–400 Hz if breaks are muddy
- don’t overdo the high-pass on jungle breaks; it can thin them out fast
3. Drum Buss
- Drive: subtle, often 2–8%
- Crunch: light if you want grit
- Damp: shape brightness
- Boom: usually off or extremely restrained for oldskool DnB, unless it suits the kick
4. Glue Compressor
- slow-ish attack to preserve punch
- release timed to groove
- aim for just 1–2 dB gain reduction on busy sections
5. Utility
- final trim if needed
Why this helps transitions
When the drums are already balanced, your fills, mutes, and reintroductions can be dramatic without forcing the bus into overload.
---
Step 4: Create transition returns instead of stacking FX on inserts
This is the big one. Don’t put huge reverbs and delays directly on every track during the transition. Use Return tracks so you can automate sends intelligently.
Create these returns
#### Return A: Short Space
- HP around 250–400 Hz
- tame harshness around 3–6 kHz
Use this for:
#### Return B: Delay Throw
- low cut around 200–400 Hz
- high cut around 6–9 kHz
Use this for:
#### Return C: Noise Rise / Air
Use this for:
#### Return D: Impact / Reverb Hit
Use this for:
---
Step 5: Design your transition using subtraction first
In jungle and oldskool DnB, the best transitions often feel huge because they become momentarily empty.
The subtraction system
Before the actual change, automate away:
Practical example: 8-bar pre-drop
Bars 1–4:
Bars 5–6:
Bars 7:
Bar 8:
Why this preserves headroom
You’re not stacking more and more energy. You’re redistributing energy away from clutter so the final drop lands harder without needing excessive gain.
---
Step 6: Automate filters with intention, not just motion
Filter sweeps can destroy mix clarity if they’re too wide or too loud.
On bass
Use Auto Filter on bass groups:
On breakbeats
Use Auto Filter or EQ Eight automation:
Key point
If the filter opens and the master meter spikes, compensate with:
---
Step 7: Use drum edits as transition devices
Oldskool jungle lives and dies by break edits. Use the arrangement itself as the transition effect.
Practical edit ideas
Ableton workflow
Headroom advantage
A tightly edited break often sounds more exciting than a giant FX stack — and uses far less peak energy.
---
Step 8: Build a “drop prep” on the music bus
Put the atmospheric elements under a shared MUSIC group and automate that bus strategically.
Music bus chain suggestion
1. EQ Eight
2. Utility
3. Saturator very lightly if needed
4. Limiter as a safety net only
Automation ideas
Why this works
Instead of trying to make the drop bigger, you make the pre-drop smaller. That creates perceived loudness without adding headroom pressure.
---
Step 9: Use snare and percussion throws as your transition punctuation
In DnB, the snare often anchors the transition. Give it a role.
Snare transition chain
On the snare track or snare group:
Automation
Oldskool-style trick
Use a snare roll with rising velocity, then cut it abruptly one hit before the drop. That sudden stop often feels bigger than a continuous riser.
---
Step 10: Manage sub-bass like a transition asset
Sub is the first thing to go wrong in a transition.
Rules for sub during transitions
Ableton chain for sub
Transition automation idea
Important
If your transition feels weak, don’t immediately boost sub. Often the answer is: clear the midrange and leave the sub alone until the drop.
---
Step 11: Create a reusable transition macro rack
This is a very Ableton Live 12-friendly move.
Build an Audio Effect Rack on your FX group
Map macros to:
1. Reverb Send Amount
2. Delay Send Amount
3. Filter Frequency
4. Noise Level
5. Impact Level
6. Master FX Trim for the group
Example macro workflow
During a 4-bar build:
This keeps automation tidy and repeatable across tracks.
---
Step 12: Arrange transitions like a DJ would mix them
Oldskool jungle often feels like a set-in-the-room, not a surgical pop arrangement.
Transition arrangement ideas
Good jungle transition shapes
Key mindset
You are not trying to fill every second. You are creating rhythmic contrast and dynamic space.
---
4. Common mistakes
1. Adding too many transition layers
A huge riser, crash, reverse cymbal, snare roll, noise sweep, delay throw, and reverb tail all at once will eat headroom fast.
Fix: Choose 2–3 transition elements max and make them count.
2. Automating volume up instead of carving space
If you keep boosting everything into the build, the drop has nowhere left to go.
Fix: Pull elements down slightly before the drop, then restore full energy on impact.
3. Letting reverb collect low end
Low-frequency reverb build-up is one of the fastest ways to ruin a DnB transition.
Fix: high-pass reverb returns aggressively enough to keep them out of the sub range.
4. Over-opening the bass filter too early
The bass feels exciting, but the mix can lose punch if the full low-mid content arrives before the drop.
Fix: delay the bass open until the final bar or drop itself.
5. Using the master limiter as a transition fixer
If the limiter is clamping down during every transition, your arrangement is too hot.
Fix: manage the source levels and bus automation first.
6. Forgetting mono compatibility in transition FX
Wide noise, stereo delays, and airy reverbs can make a transition feel huge but weak in mono.
Fix: keep the core low-end mono and check stereo FX carefully.
---
5. Pro tips for darker/heavier DnB
Tip 1: Make darkness come from removal, not just more distortion
Dark DnB often hits harder when the transition pulls away harmonic clutter and leaves a colder space.
Tip 2: Use controlled saturation on returns
A light Saturator on the reverb return can make the tail audible without raising the send level too much.
Suggested settings:
Tip 3: Use transient contrast
Heavier DnB impact comes from a contrast between:
That dry/wet contrast is often more powerful than sheer loudness.
Tip 4: Build the drop from a “hole”
Before the drop:
That empty moment creates massive perceived weight. 👊
Tip 5: Put your loudest transition element on a separate lane
If the crash or impact is too big, don’t fight it on the whole mix. Put it on its own track and trim it there.
---
6. Mini practice exercise
Goal
Build a 16-bar transition into an oldskool jungle drop without increasing peak level by more than a small amount.
Setup
Use:
Task
Create this structure:
#### Bars 1–4
#### Bars 5–8
#### Bars 9–12
#### Bars 13–16
Check your work
Ask yourself:
If the answer is no, reduce layers before increasing volume.
---
7. Recap
A strong jungle / oldskool DnB transition in Ableton Live 12 is built on control, subtraction, and arrangement discipline.
Remember:
If you want the transition to slap without killing the mix, think like a drum and bass engineer:
shape the energy, don’t just pile it on.
If you want, I can also turn this into:
1. a device-chain template for Ableton Live 12, or
2. a bar-by-bar arrangement map for a full 170 BPM jungle tune.

