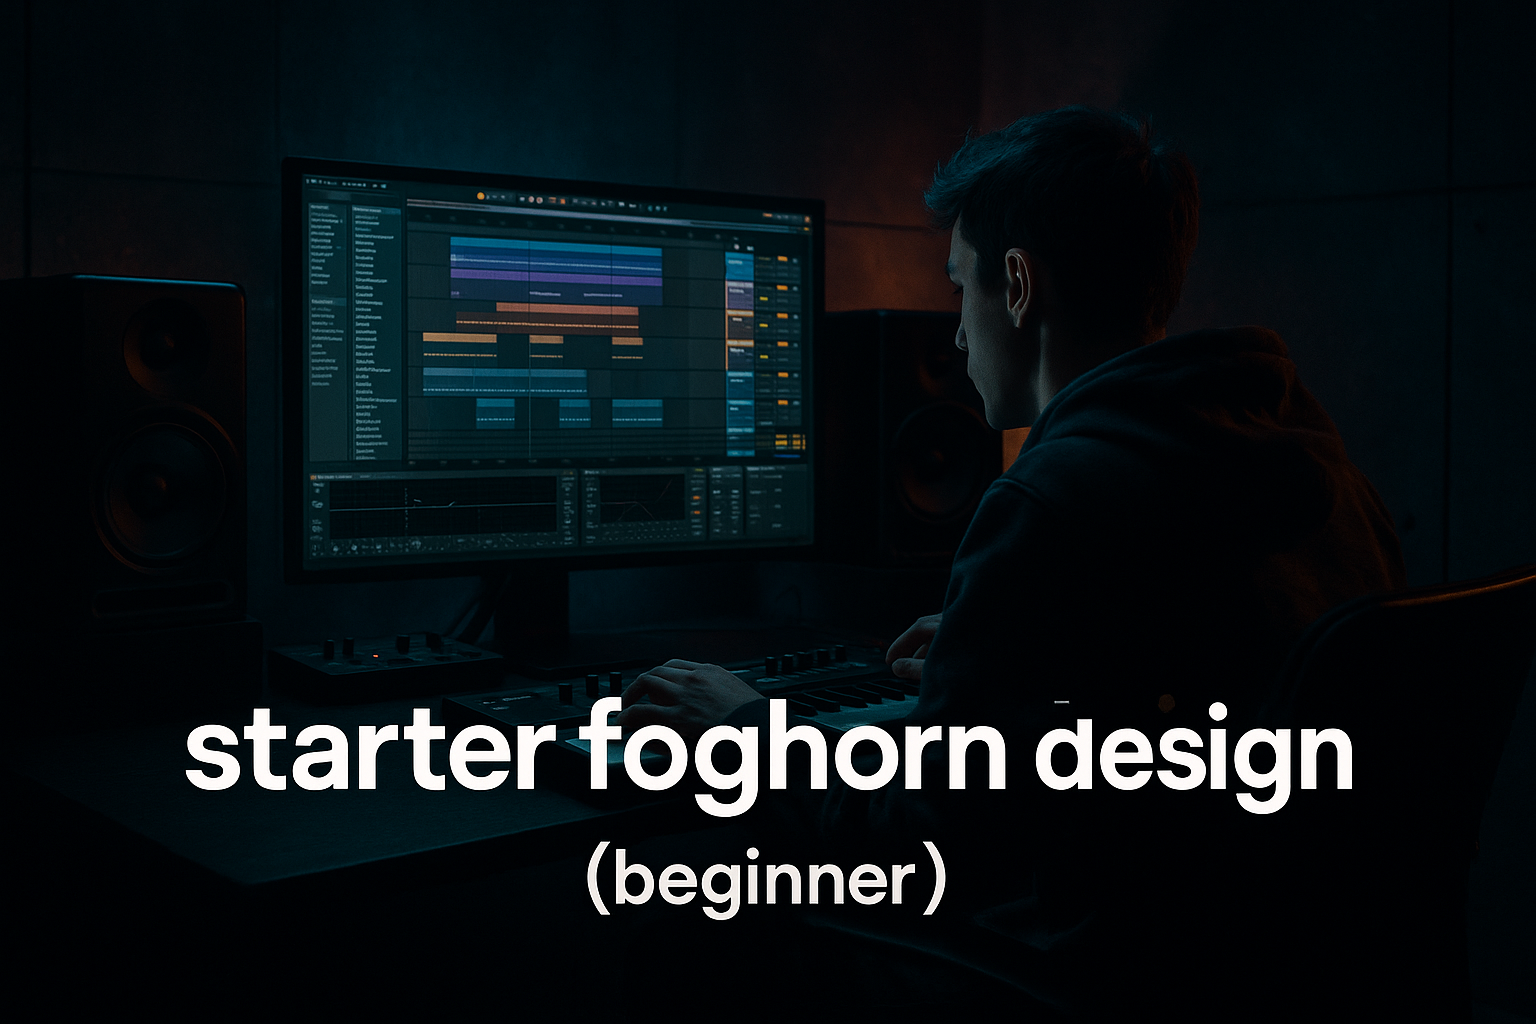
Main tutorial
Tape Dust Air Horn Hit Push Playbook with DJ-Friendly Structure in Ableton Live 12
Jungle / oldskool DnB / ragga elements — Advanced tutorial 🎛️🔥
---
1. Lesson overview
In this lesson you’ll build a DJ-friendly air horn hit that feels like a tape-dusted ragga stab dropping into a jungle / oldskool DnB arrangement without sounding cheesy or too clean.
The goal is not just “make an air horn louder.”
The goal is to create a performance-ready hit with:
- tape wear and grit
- midrange bite
- sub support without muddying the mix
- clean utility for DJ-style breakdowns and reload moments
- arrangement logic that works in a club set
- intro callouts
- switch-up moments
- MC-style breakdown phrases
- drop punctuation
- “rewind” or “pull up” energy
- ragga-inflected tension before the bass comes back in
- 4- or 8-bar callout
- pre-hit tension
- hit + tail
- gap for mix clarity
- reload-safe phrasing
- optional alternate response hit
- classic ragga horn
- air horn
- brass stab
- siren-ish horn
- short sampled shout chopped into a horn-like formant
- Drag the sample into an Audio Track
- Open Clip View
- Turn on Warp if needed, but keep it minimal
- Set start point tightly to the transient
- If the sample has a long tail, trim it now — we’ll rebuild the tail later
- In Operator:
- Erosion
- Redux
- Auto Filter
- EQ Eight
- Saturator
- Utility to keep it centered or slightly stereo if desired
- a low brass stab
- a short sine or triangle pulse
- a detuned low FM tone
- a resampled “thump” from the horn itself
- EQ Eight
- Compressor
- Saturator
- Select the 3 tracks or devices
- Group into an Instrument Rack or Audio Effect Rack
- Map these macros:
- Horn Tone → EQ high shelf / filter cutoff
- Dust Amount → Erosion amount / noise volume
- Drive → Saturator drive / Drum Buss drive
- Width → Utility width on the dust layer only
- Tail Length → reverb or delay send amount
- Level → rack output
- Gate to tighten the tail
- Transient shaping with Drum Buss
- Envelope editing in Clip View
- Automation for pre-hit swell and cut-off
- Keep the transient fast
- Avoid over-reverbing the start
- Let the dust appear slightly after the main transient if needed
- Echo
- Reverb
- short slapback
- filtered delay repeats
- dubby space before the drop
- but a clean dry hit at the main moment
- Bars 1–4: drum loop or filtered break
- Bar 5: horn tease with muted dust
- Bar 6: response hit with full tone
- Bar 7: gap or echo tail
- Bar 8: final hit or cut for drop transition
- Bar 1: silence or small drum cue
- Bar 2: horn hit
- Bar 3: repeat with variation
- Bar 4: stop-time and reload space
- leave space before the hit
- let the hit land on a strong grid point
- avoid constant horn spam
- use call / response / gap
- keep an obvious loop point for mixing and extending
- slightly lo-fi source material
- midrange-forward horns
- sampling character
- imperfect timing
- dub pressure rather than pristine synth polish
- Resample the horn through a return chain
- Use Vinyl Distortion lightly
- Add frequency warping with Auto Filter
- Use Redux sparingly
- Slight timing offset on the dust layer for a loose feel
- reducing stereo width
- rolling off extreme highs
- adding mild pre-delay to the main reverb
- resampling the hit through a cassette-style degraded chain
- land the hit against a chopped break fill
- answer the horn with snare edits or ghost hits
- use it to punctuate a bass switch
- let the tail overlap the break, but not the kick punch
- use it as a phrase marker every 8 or 16 bars
- pair it with filtered bass automation
- make it a tension signal before a full drum re-entry
- Use Auto Filter with a low-pass sweep before the hit
- Roll off some top end after the transient
- Put the delay into a darker feedback path
- Use a minor-key pitch bend or downwards resample on the horn
- Layer a short impact transient under the horn
- Use Drum Buss for snap and density
- Add subtle parallel saturation
- Reinforce with a mono low-mid layer around 120–220 Hz
- Resample the horn through a return channel with:
- Print it back into audio and chop the best result
- That often feels more authentic than building it entirely live
- Pair it with chopped Amen fills
- Use small ragga vocal throws before the hit
- Add a muted rewind cue or tape stop before the return
- Keep the horn nasty, not shiny
- Horn sample
- EQ Eight
- Drum Buss
- Utility
- Horn sample
- Erosion
- Redux
- Echo send
- Saturator
- Horn sample
- Duplicate pitched down layer
- Saturator
- Drum Buss
- Short reverb
- Sidechain the return to the kick/snare if needed
- an 8-bar intro
- a pre-drop moment
- a breakdown reload point
- Which version cuts best through the break?
- Which version feels most “oldskool”?
- Which one leaves the most room for bass re-entry?
- Start with a strong horn source
- Build character with dust, saturation, and controlled degradation
- Keep the low end disciplined
- Use Ableton stock devices like EQ Eight, Drum Buss, Saturator, Erosion, Redux, Echo, Reverb, Utility, and Auto Filter
- Arrange it with clear call-and-response phrasing
- Save the big hit for transition moments so it stays powerful
This is especially useful for:
We’ll design it in Ableton Live 12 using stock devices, and shape it so it sits naturally in jungle / oldskool / heavy rolling DnB rather than sounding like a random sample pasted on top.
---
2. What you will build
You’ll build a 3-layer horn hit rack:
1. Primary horn sample
- bright, recognisable ragga horn or air horn
- shortened and shaped for punch
2. Tape dust layer
- noise, wow/flutter, saturation, and degraded top-end
- gives the “cassette rip / old tape / dubplate” character
3. Low support layer
- very controlled sub or low mid reinforcement
- helps the horn feel weighty against a kick/snare break
You’ll then place it in a DJ-friendly structure:
By the end, you’ll have a horn that works as a repeatable structural tool in a DnB track, not just a one-off FX sound.
---
3. Step-by-step walkthrough
Step 1: Source or create the core horn
Start with a sample that already has attitude. Good starting points:
Best practice: pick a sample with strong mids and a short initial transient.
Avoid super long, polished EDM-style horns unless you’re deliberately mangling them.
#### In Ableton:
Target length:
For a DJ-friendly hit, the raw sample should behave like a single-event accent rather than a sustained lead.
---
Step 2: Clean the sample with controlled transient shaping
Use Drum Buss or Saturator to give the horn punch without flattening it.
#### Suggested chain on the horn track:
1. EQ Eight
- High-pass around 80–120 Hz
- If the horn is boxy, dip 250–450 Hz by 2–4 dB
- If it’s harsh, gently tame 3–6 kHz
2. Drum Buss
- Drive: 5–15%
- Crunch: low to moderate
- Boom: usually off or very subtle
- Transients: slightly up if you want more snap
3. Saturator
- Soft Clip: on
- Drive: 2–6 dB
- Output compensated to match level
4. Utility
- Use for gain staging and mono checking
This gives you a horn that has enough density to survive jungle drums and bass.
---
Step 3: Build the tape dust layer
This is the character layer. It’s what makes the horn feel like it came off a battered dub cassette, an old sampler, or a dusty soundsystem reel.
Create a second track or a Rack chain with noise and degradation.
#### Option A: Noise-based tape dust
Use Operator or Analog for a noise layer.
- Set oscillator to Noise
- Envelope: short decay, no sustain
- Filter: low-pass around 6–10 kHz
- Keep volume low, just enough to “kiss” the transient
Then process it with:
- Mode: Noise
- Frequency: around 2–7 kHz
- Amount: subtle to moderate
- Bit Depth: 10–14
- Downsample lightly, don’t destroy the attack
- Slow movement if you want a drifting tape feel
#### Option B: Sampled tape dust
Use a short hiss, vinyl crackle, or tape squeak sample.
Process with:
- High-pass at 2–4 kHz
Important: tape dust should be felt more than heard.
If you can isolate it immediately, it’s probably too loud.
---
Step 4: Create a low support layer
This is what makes the hit feel heavy when it lands over a break.
You can do this with:
#### Simple method:
1. Duplicate the horn
2. Pitch it down -12 semitones
3. Low-pass it at 150–300 Hz
4. Shorten the decay
5. Blend it quietly under the main horn
#### Processing chain:
- Low-pass heavily
- Remove all unnecessary upper mids
- Light control if the sub pops too hard
- A little drive to make it audible on smaller systems
This layer should support the main hit, not turn it into a bass note.
---
Step 5: Group everything into an Instrument Rack
Now put the horn, tape dust, and low layer into a Rack so you can control the whole hit like an instrument.
#### In Ableton Live 12:
1. Horn Tone
2. Dust Amount
3. Drive
4. Width
5. Tail Length
6. Level
##### Suggested macro targets:
This gives you performance control for arrangement and live tweaking.
---
Step 6: Shape the attack for DJ-friendly impact
A DJ-friendly horn hit needs to cut through a transition without masking the groove.
#### Use these tools:
##### Attack strategy:
This makes the hit feel like it’s punching through the sound system rather than floating above it.
---
Step 7: Add dub-style space, but keep it controlled
Ragga elements often live or die by space.
But in DnB, too much delay can blur the drop.
#### Suggested space chain:
- Time: 1/8, 1/4, or dotted values
- Feedback: 10–25%
- Filter the repeats: high-pass and low-pass
- Add subtle modulation for tape wobble
- Short to medium decay: 0.6–1.4 s
- Pre-delay: 10–30 ms
- High cut to keep it dark
##### Best practice:
Use returns for delay/reverb, not full insert wash.
That way you can automate send amounts per section.
For oldskool jungle vibes:
---
Step 8: Build the DJ-friendly structure
This part matters. A horn hit becomes much more useful when it’s placed like a DJ tool.
#### Structure idea:
8-bar intro phrase
#### Another useful format:
4-bar call and response
#### DJ-friendly principles:
This makes the section usable in a club set, not just in a linear arrangement.
---
Step 9: Make it sound oldskool, not generic
Oldskool jungle and ragga DnB often have a few shared traits:
#### Add controlled imperfections:
If the hit feels too modern, try:
---
Step 10: Glue the hit into the breakbeat arrangement
The horn should feel like part of the tune, not a sticker on top.
#### For jungle-style placement:
#### For rolling DnB:
A good rule:
If the horn is on, the groove should still feel in motion.
---
4. Common mistakes
1. Too much low end in the horn
This muddies the kick and bass.
Fix: high-pass the horn and reserve low support for a separate controlled layer.
2. Overlong reverb tails
This makes the hit lose its DJ utility.
Fix: keep tails short or automate them only in transition moments.
3. Too-clean processing
A pristine horn can sound out of place in jungle.
Fix: add saturation, mild degradation, and tape-style filtering.
4. Too much stereo width
Wide horns can feel disconnected from the beat.
Fix: keep the main hit near mono; widen only the dust or space layer.
5. No arrangement logic
Random horn placement gets annoying fast.
Fix: think in call/response phrases and use clear drop punctuation.
6. Overusing the horn
If it appears every bar, it loses impact.
Fix: save the full hit for transition points and switch-ups.
---
5. Pro tips for darker/heavier DnB
Make it darker
Make it heavier
Make it more “sound system”
- Echo
- Saturator
- EQ Eight
- Limiter
Make it fit darker jungle
---
6. Mini practice exercise
Build three versions of the same horn hit and compare how they work in a DnB arrangement.
Version A: Clean punch
Version B: Tape dust ragga version
Version C: Heavy reload version
#### Practice goal:
Place each version in:
Ask yourself:
Export the three and compare on different systems if possible: monitors, headphones, and a small speaker. 🎧
---
7. Recap
You’ve now built a tape-dusted air horn hit that works as a proper DJ-friendly ragga element in Ableton Live 12.
Key takeaways:
The best jungle and oldskool DnB horn moments are not random.
They’re strategic, rhythmic, and sound-system aware.
If you treat the horn like an arrangement tool, not just an FX sample, it’ll instantly feel more authentic and more dangerous. 🚨
If you want, I can also turn this into:
1. a device-by-device Ableton rack recipe, or
2. a 16-bar arrangement template for the horn hit inside a jungle intro.

