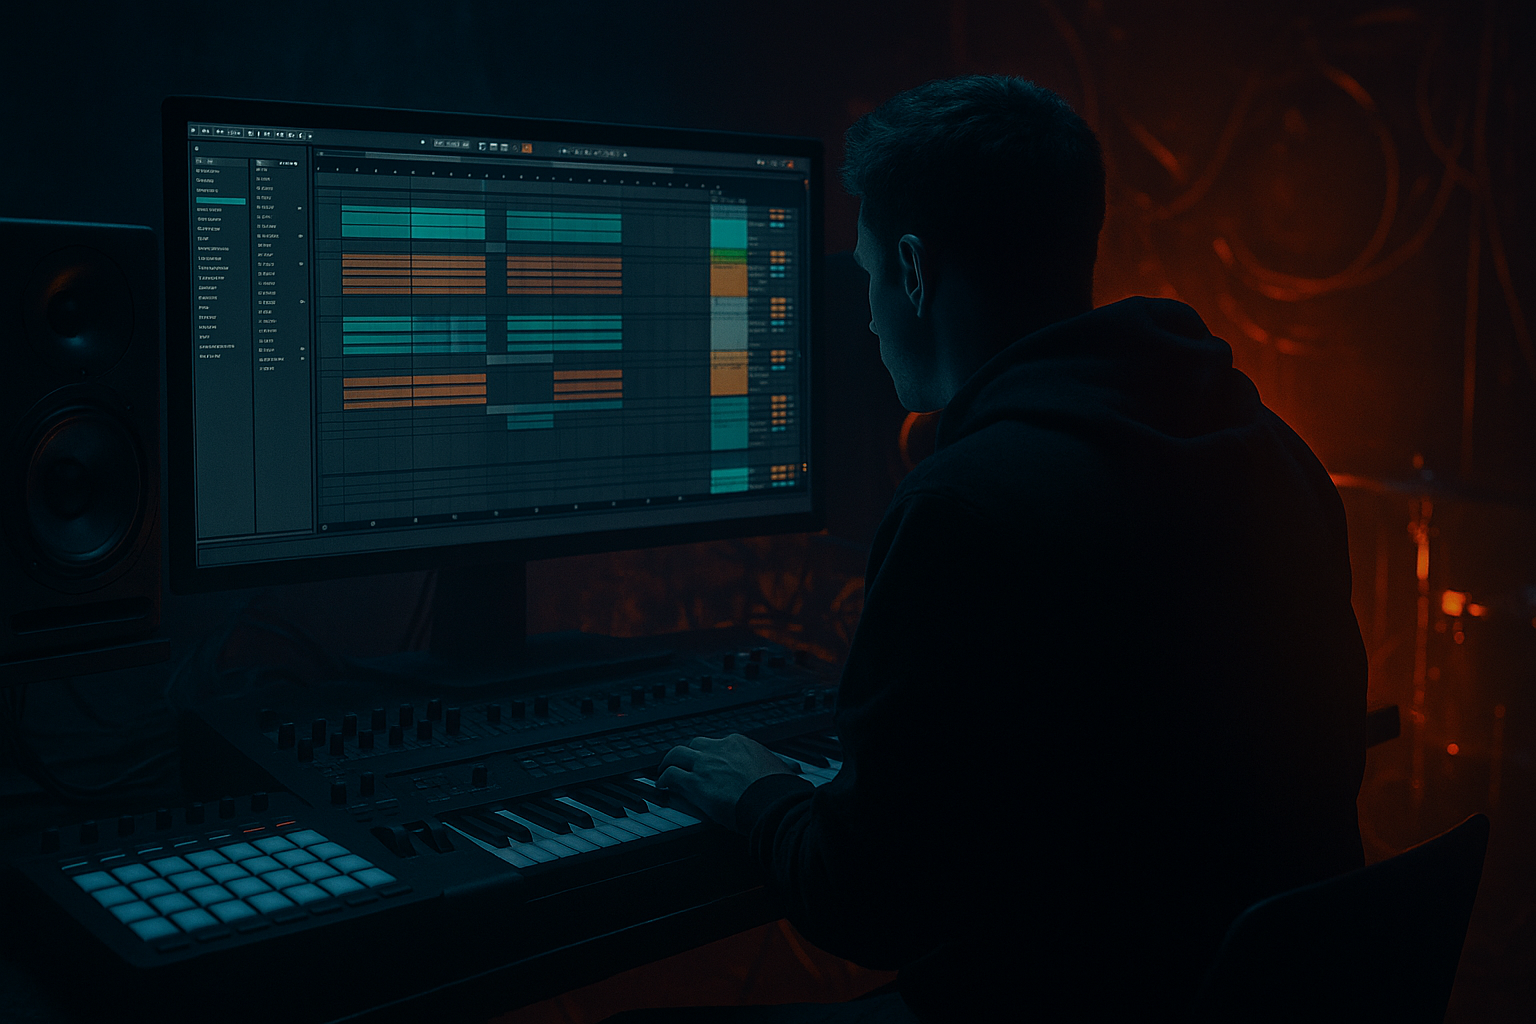
Main tutorial
Lesson Overview
This lesson is about making a Tape Dust percussion layer flip in Ableton Live 12 so your breakbeats get that VHS-rave, oldskool jungle color without losing punch. The idea is simple: take a clean breakbeat loop or chopped break, build a second percussion layer from dusty, lo-fi material, then “flip” that layer so it moves, stutters, and answers the main drums in a way that feels like classic jungle energy with a modern Ableton workflow.
In real DnB production, this kind of layer sits between your main break and your atmosphere/FX bed. It adds:
- texture on top of the break
- extra groove in the gaps
- movement for fills and transitions
- a nostalgic, tape-worn character that screams oldskool rave 🌀
- a crunchy, dusty “air” layer riding over your break
- little reversed or shuffled hits that create old tape wobble energy
- a subtle but noticeable rave-memory character, like a worn VHS recording of a warehouse set
- a useful percussion layer that can make a 2-bar drum loop evolve into a proper DnB phrase
- Put the break on its own audio track.
- Set Warp mode to Beats for rhythmic material.
- If the break is too long or messy, trim it to a tight 1-bar or 2-bar loop.
- Aim for a tempo around 160–175 BPM for jungle/DnB.
- a snare tail
- hi-hat fragments
- tiny rim shots
- percussion one-shots
- noise hits from your sample pack
- slices from an old break with the low end removed
- Duplicate a few 1/8 or 1/16 slices from the original break
- Or take a few random percussion hits and place them on the grid
- Leave gaps between hits so the layer feels animated rather than crowded
- EQ Eight
- Drum Buss or Saturator
- Redux if you want extra lo-fi grit
- EQ Eight: high-pass around 300–500 Hz to remove low-end clutter
- Drum Buss: Drive around 5–15%, Crunch low to moderate
- Saturator: Soft Clip on, Drive around 2–6 dB
- Redux: Downsample lightly, around 2–6 bit reduction only if needed
- Auto Filter
- Chorus-Ensemble or Phaser-Flanger very subtly
- Echo for a tiny smear
- optional Utility to narrow the stereo image
- Auto Filter: low-pass or band-pass, with cutoff around 3–8 kHz
- Resonance: keep it modest, around 0.5–1.5
- Echo: delay time 1/16 or 1/8, feedback 10–20%, dry/wet 5–15%
- Utility: Width around 60–90% if the layer feels too wide
- Add a tiny bit of modulation with Chorus-Ensemble
- Keep depth subtle so it doesn’t sound like an obvious effect
- The goal is “worn and moving,” not “swooshing synth pad”
- one for the first half of the phrase
- one for the second half
- Reverse a few small slices
- Move a couple of hits to different grid positions
- Delete one or two hits and replace them with quieter ghost sounds
- Nudge one slice slightly early or late for a looser feel
- Bars 1–2: dust layer plays a sparse pattern with hits on the offbeats
- Bars 3–4: the layer flips, with reversed slices and a different accent pattern
- On bar 4, add a tiny fill leading back to bar 1
- split the clip at the bar line
- reverse a selected audio clip or individual slice
- move clips with the grid
- use clip gain to make the flipped version slightly quieter or louder
- put dust hits on the gaps between kick/snare anchors
- emphasize offbeats and micro-fills
- avoid stacking too many hits right on the main snare unless it’s a deliberate accent
- choose a swing groove
- apply it subtly to the dust layer only
- start around 10–25% strength
- Glue Compressor
- EQ Eight
- optional Drum Buss
- Glue Compressor: ratio 2:1, attack 10–30 ms, release Auto or 0.3 s
- Aim for only 1–3 dB of gain reduction
- EQ Eight: make small cuts if the dust layer adds harshness around 4–8 kHz
- Drum Buss: very light Drive if you want a little more punch
- Keep headroom
- Avoid clipping
- Leave space for your sub and bass later
- Intro: main break filtered, Tape Dust introduced quietly
- Build: dust layer becomes more active, more reversed slices, tension rises
- Drop: full break and flipped dust layer together
- Switch-up: remove 1–2 hits from the dust layer or reverse the pattern for 4 bars
- Outro: strip back to break and atmosphere for DJ-friendly transition
- Bars 1–8: intro with filtered dust and a restrained break
- Bars 9–16: drop with full drums and the Tape Dust flip on bars 13–16
- Bars 17–24: add variation by muting the original dust hits and letting the flipped version answer the snare
- Auto Filter cutoff on the dust layer
- Echo dry/wet for short moments
- Saturator drive in transition bars
- Utility width for occasional narrowing
- Reverse or clip mutes for fills
- Open the filter slightly during the last 1 bar before the drop
- Push the saturation up by 1–2 dB during the final bar of a phrase
- Add a short echo throw on the last dust hit before a section change
- Too much low end in the dust layer
- Layering too many hits on top of the main snare
- Overprocessing the lo-fi layer
- Making the flipped pattern too random
- Ignoring the groove of the break
- Too much stereo width in drums
- Use darker source samples: a worn snare tail, muted hat, or tiny rim hit can sound more authentic than bright clean percussion.
- Resample your dust layer: once it feels good, bounce it to audio and re-chop it. This often makes the groove feel more intentional.
- Add very light distortion before filtering: a touch of Saturator can make the dust feel more tape-like, then the filter tames the top.
- Keep sub and dust separated: your bass should own the sub region, while the dust layer lives mostly in the upper mids and highs.
- Use short fills before drops: a reversed dust hit or tiny stutter in the last half-bar can create serious tension.
- Try call-and-response with the bassline: if your reese or roller bass leaves space on beat 3 or the “and” of 4, answer it with a dust hit or ghost percussion note.
- Dark rollers trick: keep the dust layer minimal in the first 8 bars, then slowly increase density to make the arrangement feel like it’s tightening the screws.
- Neuro-adjacent detail: even in darker bass music, a small percussive flip can create perceived complexity without adding more synth layers.
- Build your main break first, then add a separate Tape Dust percussion layer.
- Keep the layer thin, filtered, and lightly saturated for VHS-rave color.
- Flip the layer by reversing, moving, or muting small slices to create variation.
- Use the dust layer for fills, tension, and phrase movement in true DnB style.
- Keep the drum bus clean and controlled so the groove stays punchy.
- Automate small changes for energy instead of overloading the mix.
Why this matters: DnB drums live or die on movement. A solid break is important, but a second layer with tape dust, reduced fidelity, and clever flipping can make the rhythm feel alive. It also helps your track stand out in the drop, especially in jungle, rollers, and darker breakbeat-driven styles.
We’ll keep this beginner-friendly and use stock Ableton Live devices only, with a workflow you can reuse in future projects.
What You Will Build
By the end, you’ll have a two-layer breakbeat setup in Ableton Live:
1. A main drum break loop with clean transient punch.
2. A Tape Dust layer made from chopped percussion and noise-like fragments, processed to feel VHS-worn.
3. A flipped version of that layer that changes feel in the second half of the phrase.
4. A simple arrangement where the layer comes in for fills, transitions, and drop variation.
5. A drum bus that glues everything together without crushing the groove.
Musically, this will sound like:
Step-by-Step Walkthrough
1. Start with a strong breakbeat foundation
Open Ableton Live and load a simple drum rack or audio track with a breakbeat loop. For beginner workflow, use an audio loop that already has good swing, or chop a break like the Amen, Think, or a dusty funk-style break.
Keep the main break clean for now:
If your break is already busy, don’t over-process it. The tape dust layer is there to add character, not to replace the main groove.
Why this works in DnB: the core break gives you the classic rhythmic engine, while the extra layer can add texture without fighting the kick/snare fundamentals.
2. Create your “Tape Dust” source
Now make a second audio track called Tape Dust. You can build it from almost anything short and percussive:
The key is to keep it small, dusty, and lightweight. You’re not making a full drum loop here. You’re making a texture layer.
Good beginner move:
Now add these stock devices in this order:
Suggested settings:
This creates the dust without muddying the sub area.
3. Shape the layer so it feels VHS-worn
Now we make it feel like it came off a tape machine in a warehouse loft circa 1994.
Try this processing chain after the basic cleanup:
Suggested parameter ranges:
If you want a more obvious VHS flavor:
A nice trick is to automate the filter cutoff slightly over the bar, so the dust layer opens and closes with the phrase.
4. Flip the layer using simple clip editing
This is the core of the workflow: the “flip.”
Duplicate your Tape Dust clip so you have two versions:
Then flip the second clip in one of these beginner-friendly ways:
The point is to create a call-and-response inside the percussion layer.
Example:
In Ableton, you can do this directly in the clip view:
Keep the differences obvious enough to notice, but subtle enough that the groove stays unified.
5. Lock the dust layer to the break groove
Now make sure the dust layer actually supports the drum break instead of floating on top.
Do three things:
1. Compare kick and snare positions in both layers.
2. Keep the strongest dust hits away from the main snare transient if the mix gets crowded.
3. Use the dust layer to answer the break, not copy it exactly.
A good beginner approach is:
If your break has classic jungle swing, let the dust layer mirror some of that bounce. Don’t grid it too rigidly if the break itself is loose. The slight push-pull is part of the feel.
You can also use Groove Pool lightly:
This gives the layer a human feel without wrecking the main break.
6. Build a drum bus for glue, not flattening
Route your break and Tape Dust tracks to a Drum Group. This is where you glue everything together.
On the Drum Group, try:
Starter settings:
Important: do not crush the drum bus. In DnB, too much compression can kill the snap and make the break feel flat. You want the dust to sit inside the groove, not sit on top of a brickwall.
Also check the master:
7. Add arrangement movement for intro, drop, and switch-up
Now place the dust layer into a real DnB arrangement.
A practical structure:
Try a musical context example:
This is a classic jungle arrangement trick: repeating a core groove, then changing the percussion micro-pattern to keep tension moving without needing a totally new drum loop.
8. Automate the VHS-rave color
To make the tape feel alive, automate a few small parameters rather than huge FX swings.
Good automation targets:
Beginner-friendly automation ideas:
The important thing is to keep the automation rhythmic. In DnB, FX should feel like part of the drum performance, not decorative extra sauce.
Common Mistakes
Fix: high-pass the Tape Dust track around 300–500 Hz or higher if needed.
Fix: move dust hits into gaps and let the main snare breathe.
Fix: use just enough saturation, filtering, and movement to suggest age. Don’t destroy the transients.
Fix: keep the second version related to the first. A good flip feels like a variation, not a different loop entirely.
Fix: use the dust layer to support the break’s swing rather than forcing it to the grid.
Fix: keep the dust layer mostly centered or only slightly widened. DnB drums need mono discipline, especially in the low and low-mid range.
Pro Tips for Darker / Heavier DnB
Mini Practice Exercise
Spend 10–20 minutes making a two-bar Tape Dust flip over a simple break.
1. Load a breakbeat loop at 170 BPM.
2. Create a second audio track with 4–8 short percussion hits.
3. High-pass the second track and add light saturation.
4. Build a 2-bar pattern with spaces between hits.
5. Duplicate the clip and flip the second bar by reversing 1–3 slices or moving them to different grid positions.
6. Add one short filter automation move across the 2 bars.
7. Group both drum tracks and glue them lightly.
8. Loop it for 8 bars and listen for whether the flip keeps the groove interesting.
Goal: by the end, you should hear the second bar feel like a variation of the first, not a totally different beat.
Recap
If you can make a dusty percussion layer move like a living part of the break, you’ve got a powerful oldskool DnB tool you can reuse in almost any jungle or darker breakbeat track.

