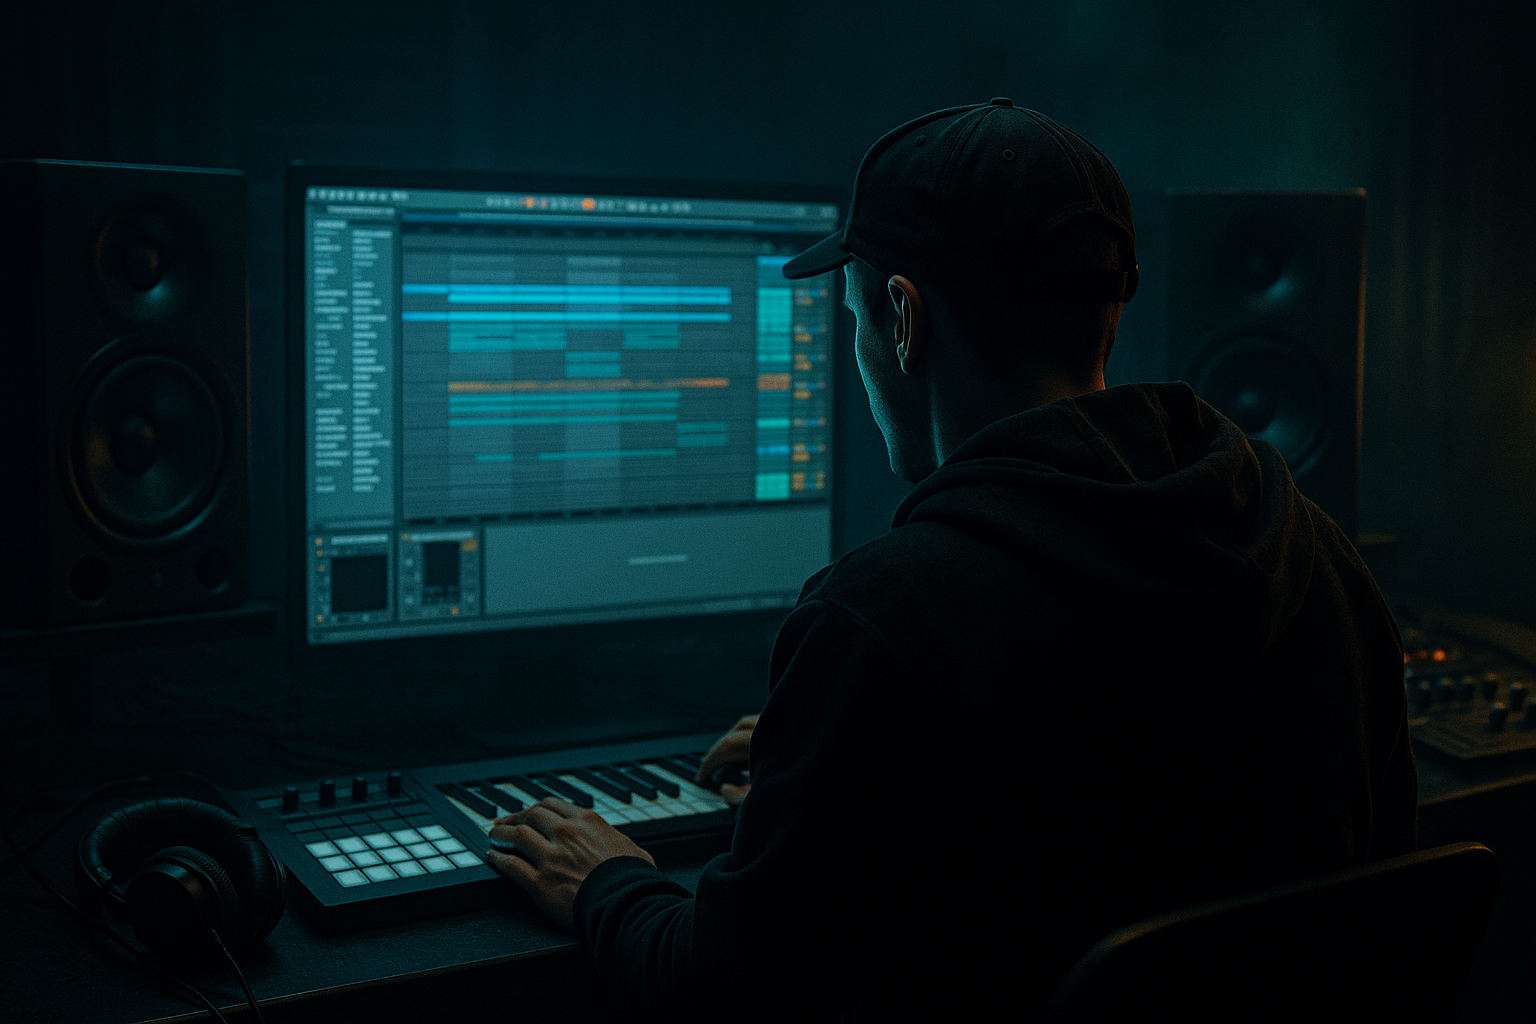
Main tutorial
Lesson Overview
Tape Dust is the kind of transition texture that makes a DnB arrangement feel like it’s been lived in, ripped, and rebuilt in a dark room at 2 a.m. The goal here is to carve transitions by resampling your own material in Ableton Live 12, then slicing, degrading, and re-layering that audio into short DJ-tool-style moments: intro wipes, pre-drop tension, switch-up glue, and outro fade-outs that feel oldskool, jungle, and authentic.
This matters because in Drum & Bass, transitions are not just “effects” — they’re functional arrangement tools. A good transition should do three jobs at once:
- move energy forward without killing the groove
- preserve the impact of the next section
- add character that feels tied to the track, not pasted on top
- a resampled audio source pulled from drums, bass, or atmospheres
- sliced micro-edit transitions that feel like broken cassette dust
- reverse and forward motion layers for intro / pre-drop / breakdown movement
- a filtered, saturated, time-stretched transition tail
- a DJ-friendly 1-bar or 2-bar carve that can be reused across the track
- optional versioning for darker, heavier, or more nostalgic jungle vibes
- a 1-bar cut before a drop where the break is pulled into tape smear
- a 2-bar transition between a roller section and a half-time breakdown
- an outro tool for DJ mixing where the energy dissolves without sounding dead
- a switch-up bridge where bass call-and-response gets framed by degraded dust and filtered break fragments
- a drum break with ghost notes and hats
- a reese stab or bass fill
- a short vocal chop or synth texture
- a one-bar phrase leading into a drop
- Auto Filter
- Saturator
- Utility
- Auto Filter: low-pass around 6–10 kHz if you want more tape-like dulling, or band-pass around 300 Hz–6 kHz for more midrange dirt
- Saturator: Drive between 2–6 dB, Soft Clip on
- Utility: width 80–100% if the source is stereo, but consider narrowing to 60–80% for heavier low-end sections
- a cleaner pass for editable transients
- a dirtier pass for the final dust layer
- use transient slicing for breaks and fills
- use 1/8 or 1/16 slices for noisy bass stabs and atmospheres
- keep a few slightly longer slices to create breathing room
- one reversed slice to pull attention
- one or two short dusty hits
- one smeared tail
- one final impact or filtered burst
- fade each audio slice by 3–10 ms to avoid clicks
- crossfade neighboring clips subtly if the slice order is dense
- Complex Pro for tonal sources and atmosphere
- Beats for break fragments when you want punchy transient preservation
- Re-Pitch if you want classic tape-style pitch drift behavior with speed changes
- reverse a 1/4 or 1/2 bar slice
- stretch it to sit over the last beat before the drop
- automate volume down on the tail so it feels like tape being pulled back rather than a clean reverse effect
- pitch the reversed slice down 1–3 semitones for darker pull
- pitch the final hit up 1–2 semitones for lift into the drop
- vary timing slightly by a few milliseconds for humanized drift
- EQ Eight
- Corpus or Resonators optional
- Saturator
- Echo
- Redux
- Utility
- EQ Eight: high-pass around 120–250 Hz to keep low-end out of the transition layer; notch any harsh 2.5–5 kHz if needed
- Saturator: 1–4 dB Drive with Soft Clip for glue
- Redux: reduce sample rate moderately, around 8–16 bit and/or 12–24 kHz range depending on how destroyed you want it
- Echo: 1/8 or 1/4 synced delay with very low feedback, around 8–18%, and filtered repeats
- Utility: automate gain down as the transition fades out
- Dust amount = Redux sample rate + Saturator drive
- Fade = Utility gain + Echo dry/wet
- Darken = Auto Filter cutoff or EQ Eight high shelf
- 1 bar before a drop
- the last 2 bars of an 8-bar section
- a 4-bar turnaround between bass phrases
- Bars 1–6: full drum and bass loop
- Bars 7–8: drop out the sub, let the break and midbass breathe, then introduce the tape dust carve on the last 2 beats
- Bar 9: hard reset into the next drop with a clean impact or full rewind-style entry
- keep kick/snare pulse intact
- fade the bass first
- let the transition layer become the last audible motion before the mix-out
- a chopped amen ghost note
- a tiny snare flam
- a filtered hat burst
- a kickless break fragment with strong top-end texture
- drum break clip high-passed above 200 Hz
- short noise burst from Operator or Wavetable
- reverse cymbal from your own drum bus resample
- bring the layer up for 1/8 note
- duck it quickly under the downbeat
- let the final tail smear into silence
- high-pass the carve above 120–250 Hz
- mono the layer if it spreads too wide
- leave sub bass intact for the main drop
- if the carve has harsh top-end, soften with EQ Eight around 6–10 kHz
- use Utility width to control space: 70–100% for atmosphere, 0–40% if the transition is rhythmic and needs center focus
- Overloading the low end in the transition layer
- Using generic risers that ignore the track’s groove
- Making the carve too clean
- Letting the transition cover the drop impact
- Too much stereo width in the wrong place
- Using too many slices with no phrasing
- Resample the bassline with distortion already baked in, then carve the midrange tail for a gritty pre-drop haze. This works especially well with reese lines and neuro switch-ups.
- Use Echo with very short synced times and low feedback to create a “ghost room” behind the transition. Keep it filtered so it doesn’t wash out the mix.
- Layer a reversed amen fragment under the dust for oldskool credibility. High-pass it and let only the top crackle speak.
- Try Redux before Saturator for a more broken digital-tape hybrid texture, especially if your track leans darker or more industrial.
- Automate Auto Filter resonance subtly at the end of the transition. A small resonance bump around 400 Hz to 1.2 kHz can add bite without turning into a cheesy sweep.
- For heavier drops, use the carve as a tension veil rather than a flashy fill: lower volume, narrower stereo, more midrange grime.
- If the bassline has call-and-response phrasing, place the carve between the “answer” and the next “call” so it acts like a rhythmic punctuation mark.
- For neuro-leaning DnB, resample a very short bass stab and distort it into texture, then slice that instead of using broad noise. The transition will feel more source-connected and less generic.
- resample from the track itself
- slice into phrase-aware fragments
- use reverse, warp, saturation, and reduction for tape-like grime
- keep the low end clear and the transition in its own lane
- place the carve around the phrase so it supports arrangement flow
“Tape Dust” works especially well in jungle and oldskool DnB because resampled audio naturally carries tape-like instability, transient blur, and harmonic grit. When you carve transitions from your own drums, breaks, bass, and atmospheres, the transition inherits the track’s identity. That is the difference between a generic riser and a believable DJ tool.
In this lesson, you’ll build a reusable Ableton Live 12 workflow for creating transition carves from resampling: think chopped noise tails, degraded break fragments, reverse washes, fluttering tape smear, and tension hits that can sit between 8-bar phrases or lead a mix into a new section.
What You Will Build
By the end, you’ll have a custom “Tape Dust Transition Carve” rack made from your own DnB material. It will include:
Musically, this can be used as:
Step-by-Step Walkthrough
1. Set up a dedicated transition resample lane
Create a new audio track called something like RESAMPLE - TAPE DUST. Set its input to Resampling, or route your full drum bus / bass bus / master pre-fader to it depending on how much of the track you want captured. For this workflow, the most useful starting point is to resample a musical moment rather than a single sound.
Best source material for DnB:
Record 1–4 bars of the section you want to carve. You are not looking for perfection here — you want movement, transients, and tonal detail. The slight mess is the point.
Why this works in DnB: resampling your own arrangement keeps the transition rhythmically locked to the groove, so the carve can preserve break feel and sync with the next phrase instead of sounding detached.
2. Print a “dirty but usable” source pass
On the RESAMPLE track, drop in Ableton’s stock devices before recording the pass if needed. A strong chain is:
Suggested settings:
Record the source twice if needed:
Advanced tip: if your arrangement already has strong sidechain, let the resample include it. That pumping can become part of the transition carve and make the audio feel glued to the track’s dynamics.
3. Slice the resample like a jungle edit tool
Drag the recorded audio into a new audio track or Simpler. For fast editing, use Slice to New MIDI Track and slice by transient or 1/16 depending on how rhythmic the source is.
For oldskool / jungle-style carves:
Build a tiny phrase from 4–12 slices:
You can use Simpler’s Slice mode to trigger fragments from a MIDI clip, or simply arrange the chopped audio manually for more control. If you want DJ-tool flexibility, manual audio arrangement often wins because you can shape the exact lead-in and tail.
Parameter suggestion:
4. Create the “tape” movement with warp and reverse discipline
Select the longer slices and experiment with Warp modes:
For the “dust” feel, reverse a few slices and place them just before the downbeat. Use these as pre-impact swells or tiny suck-in gestures.
Good workflow:
Suggested movement:
This is where the transition starts sounding like something “printed” rather than designed in a sterile way.
5. Build the transition carve with a return bus or audio effect rack
Now make the actual DJ-tool layer. Put your sliced audio onto a dedicated group or Audio Effect Rack named TAPE DUST CARVE. A clean stock chain:
Suggested settings:
If you want a more “tape machine” feel, automate Echo’s Feedback very briefly on the last slice, then cut it off. That creates a momentary smear that reads like tape dust trailing behind the transition.
Advanced move: use Macro mapping to control:
That gives you a reusable performance tool for arrangement decisions.
6. Carve the transition around the phrase, not inside it
DnB transitions work best when they respect phrase structure. Decide where your carve sits:
For a jungle/oldskool move, try this arrangement example:
You can also use the carve as a DJ-friendly outro:
This matters because DJ tools need to leave space for the next record or the next section. If the carve masks the grid or overloads the low-midrange, it becomes a production effect instead of a functional transition element.
7. Shape the groove with micro-edits and drum logic
To keep the carve sounding like DnB rather than random FX, anchor it to drum logic. Add one of these inside the transition:
Try layering a transient-friendly source under the dust:
Then use Ableton stock Envelope or Clip Volume automation to create movement:
If the groove feels stiff, nudge some slices late by 10–20 ms. That small drag can be enough to create a more human, breakbeat feel without breaking the pocket.
8. Finalize with mix discipline and a mono check
Your Tape Dust layer should support the arrangement, not compete with the bassline or drums. Keep the main low-end out of the transition carve.
Checklist:
For heavy DnB, put the carve on a send or separate group and automate its return into the mix. That keeps your main drum bus punchy while still allowing the transition to feel big.
A good test: mute the carve. If the section still functions musically, the carve is doing its job. If the whole transition collapses, it may be carrying too much structural responsibility.
Common Mistakes
Fix: high-pass the carve aggressively. Keep sub bass and kick fundamentals out of the FX lane.
Fix: resample your own drums, bass, or atmospheres so the transition inherits the same swing and texture.
Fix: add Saturator, Redux, or subtle warping instability. DnB transitions often sound better when they’re a little damaged.
Fix: pull the carve down in the last beat before the drop and let the impact breathe.
Fix: keep the low-mid core mono-ish. Save width for high-frequency dust and ambience.
Fix: build the carve in 1-bar or 2-bar logic so it lands like a musical tool, not random editing.
Pro Tips for Darker / Heavier DnB
Mini Practice Exercise
Set a 15-minute timer and do this:
1. Pick an 8-bar DnB loop with drums, bass, and at least one texture element.
2. Resample bars 7–8 into a new audio track.
3. Slice the resample into 6–10 fragments.
4. Build a 1-bar transition carve using at least:
- one reverse slice
- one filtered dust tail
- one short impact or break fragment
5. Process it with EQ Eight, Saturator, and Redux.
6. High-pass the layer above 150 Hz.
7. Place the carve before a drop or switch-up.
8. Compare two versions:
- Version A: cleaner, more musical
- Version B: darker, more degraded
Goal: make both versions usable in a real arrangement, then choose the one that best supports the track’s vibe.
Recap
Tape Dust transitions are about resampling your own DnB material and carving it into functional DJ tools with character. The key moves are:
If it sounds like part of the tune and still leaves space for the drop, you’ve nailed it.

