Main tutorial
```markdown
Template Building for DnB Sessions (Ableton Live): Session View Workflow 🚀🥁
1. Lesson overview
This lesson is about building an advanced Drum & Bass template that lives primarily in Session View, so you can:
- Jam ideas fast (rolling drums, bass variations, jungle edits)
- Capture multiple “versions” of each element (drop, breakdown, switch-up)
- Record cleanly into Arrangement when the energy is right 🎛️
- Track groups: Drums / Bass / Music / Vox-FX / Returns / Print
- Session View clip lanes: Intro, Build, Drop, Drop B, Breakdown, Outro
- Drum rack ecosystem for DnB:
- Bass system:
- Return tracks tuned for DnB spaces (short drum room, ping delay, verb washes)
- Resample + Print buses for fast committing and sound design
- EQ Eight (clean HP/LP shaping)
- Saturator (Soft Clip on, drive lightly)
- Drum Buss (transients + glue; don’t overdo)
- Utility (gain staging)
- Hats HPF: 250–500 Hz
- Breaks HPF: 80–140 Hz (depends if kick carries sub)
- Snare fundamental often around 180–220 Hz (don’t kill it with HPF)
- Wavetable or Operator
- EQ Eight (roll off above ~150–250 Hz if needed)
- Compressor (sidechain from kick/snare bus)
- Utility:
- EQ Eight (pre)
- Saturator / Roar (if you have it) / Amp
- Auto Filter (movement)
- Compressor (sidechain)
- EQ Eight (post)
- Pads/Atmos
- Stabs
- Rave/Hoover (jungle-flavored)
- Plucks/Arps
- Vox chops
- Impacts
- Risers
- Noise sweeps
- Texture loops
- Print Drums (Audio)
- Print Bass (Audio)
- Print Music (Audio)
- Print Full Mix (Audio)
- Monitor: In
- Input: from the relevant Group bus (e.g., “DRUMS”)
- Arm when printing
- Hybrid Reverb (Room / short)
- EQ Eight after reverb
- Delay or Echo
- Hybrid Reverb (Hall)
- Sidechain it:
- Saturator (or Overdrive)
- EQ Eight (shape)
- Compressor (glue)
- Drums: have 2–4 variations per section (especially fills).
- Bass: have A/B patterns and a couple of “switch” clips.
- Music: keep intro/break more spacious, drop more minimal.
- Most DnB sections feel good in 16 or 32 bars
- In Session View, use 4 or 8 bar clips for modularity.
- Use Clip Launch Quantization per clip:
- Kick: one-shot, consistent
- Snare: one-shot, consistent
- Break 1: funk/amen-style loop, chopped or looped
- Tops/Hats: programmed groove
- Glue Compressor
- EQ Eight
- Drum Buss
- Osc A: Sine
- Add slight Saturator after (Drive 1–3 dB)
- Sidechain to kick (and optionally snare)
- DRUMS group
- BASS group
- MUSIC group
- Drums: “Tightness”
- Drums: “Air”
- Bass: “Growl”
- Bass: “Movement”
- Music: “Fog”
- Over-warping breaks: too many warp markers = phasey, lifeless groove. Fix only what’s necessary.
- No dedicated sub track: you’ll lose control fast. Keep SUB clean and mono.
- Returns too wet: DnB needs clarity. Use short rooms and sidechained verbs.
- Too many scenes with no purpose: keep scenes musical (Intro/Build/Drop) rather than “Scene 12”.
- Not printing/resampling: if you never commit, you’ll drown in options.
- Parallel distortion on breaks: send breaks/snare to PARALLEL DISTORT return, then EQ the return aggressively (HPF ~200 Hz, LPF ~8–10k).
- Snare dominance: in dark DnB, the snare often “leads.” Give it:
- Bass negative space: use fewer notes, stronger tone. Let the drums roll under it.
- Mid bass resampling discipline: print 6–10 bass phrases early; build drops by arranging audio, not endlessly tweaking synths.
- Atmos with sidechain: big scary pads that duck to drums = instant cinematic weight.
- Jungle switch-ups: keep a scene with:
- Session View is your DnB idea engine: clips, variations, and scene-based structure.
- Build a template with clear groups, returns tuned for drums, and a print/resample system.
- Keep SUB clean + mono, push character into MID via resampling.
- Use macros for performance control and record your jam into Arrangement to lock in vibe.
We’ll set up a template that’s performance-friendly, mix-aware, and designed for quick resampling—a core DnB workflow.
---
2. What you will build
A reusable Ableton Live template featuring:
- Kick / Snare / Hats / Tops / Breaks / Perc
- A dedicated Ghost Snare lane for groove
- Sub (mono, clean)
- Mid bass (resampled, distorted)
- Reece/Neuro layer (optional)
Goal: You’ll be able to open Live and be 30 seconds away from writing a rolling idea.
---
3. Step-by-step walkthrough
Step 0 — Global Live settings for DnB session speed ⚙️
1. Tempo: Set 172–176 BPM (save at 174 as default if you like).
2. Global Quantization (top bar):
- Set to 1 Bar for launching scene changes cleanly.
- Optional: 1/2 Bar if you do lots of jungle-style cuts.
3. Warp settings (Preferences → Record/Warp/Launch):
- Auto-Warp Long Samples: Off (prevents weird warping on breaks).
- Default Warp Mode:
- Beats for drums
- Complex Pro for vocals/atmos
4. Metering:
- Turn on Options → Reduce Latency When Monitoring (useful when jamming bass).
- Consider -6 dB headroom target early—DnB gets loud fast.
---
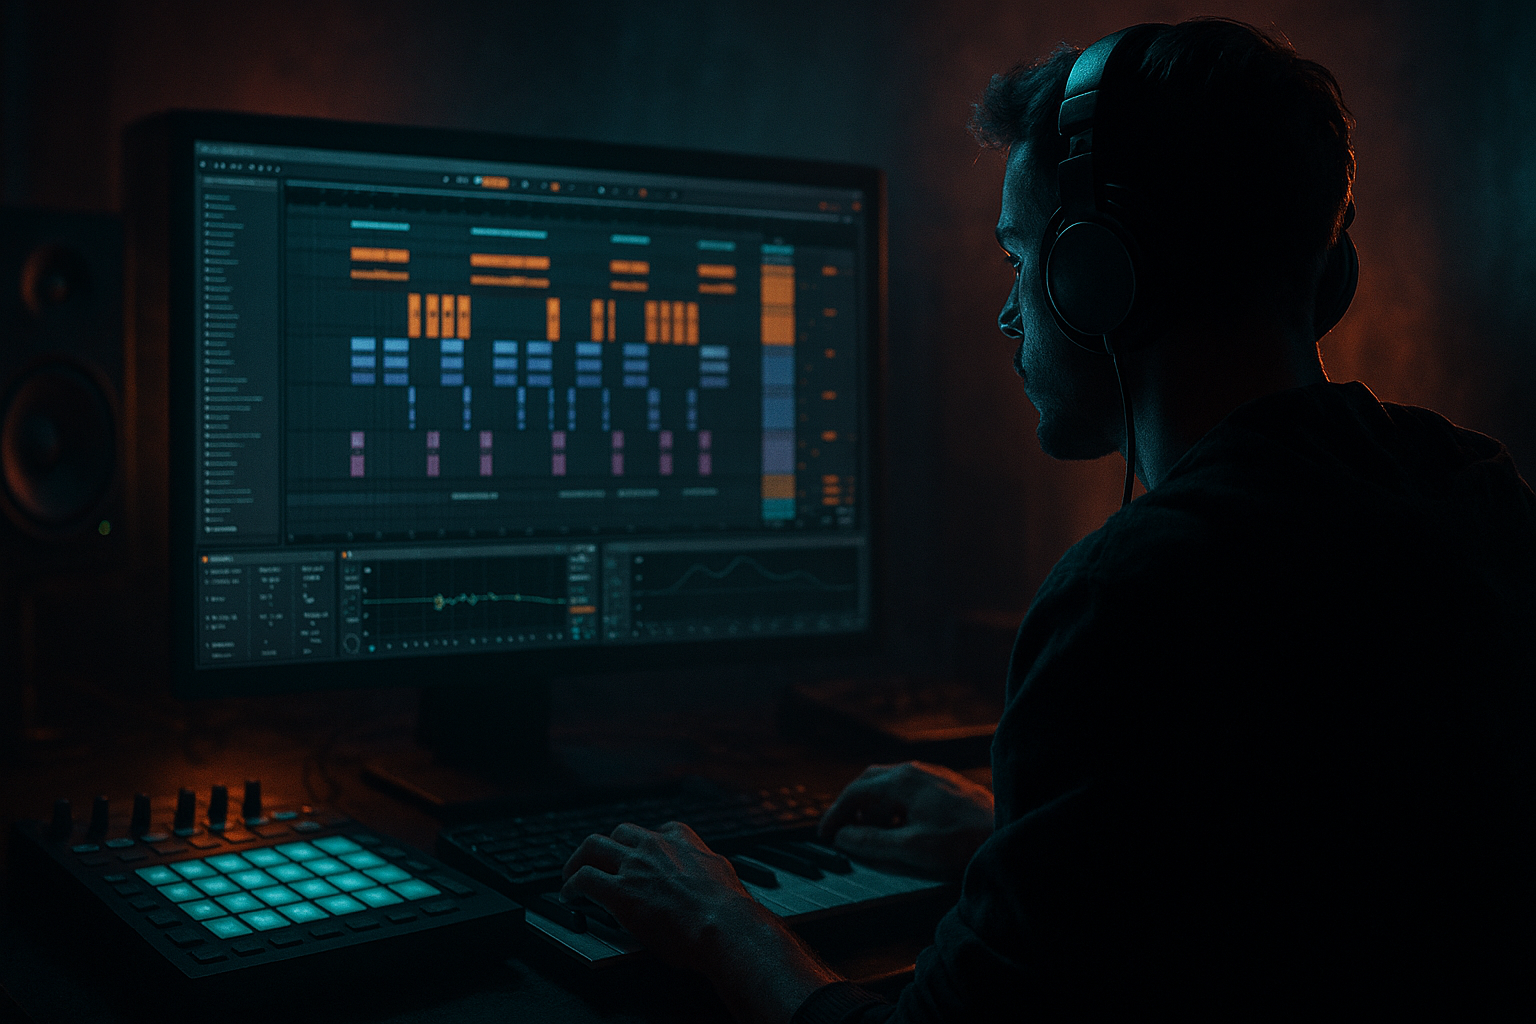
Step 1 — Build your track layout (Session View-first) 🧱
Create these Groups and tracks (names matter—be consistent for speed):
#### A) DRUMS (Group)
Inside DRUMS group:
1. Kick (Audio or Drum Rack)
2. Snare (Audio)
3. Clap/Layer (Audio)
4. Hats (MIDI with Drum Rack)
5. Tops/Shaker (Audio)
6. Break 1 (Audio)
7. Break 2 (Alt) (Audio)
8. Perc FX (Audio)
Why: DnB drums are layer + variation. Separate tracks = faster swapping and better control.
Drum processing chain (per track suggestion):
Typical starting points:
#### B) BASS (Group)
Inside BASS group:
1. SUB (Mono) (MIDI)
2. MID (Resample) (Audio)
3. REECE/NEURO (Optional) (MIDI/Audio)
4. BASS FX (Audio)
SUB chain (clean + controlled):
- Width: 0% (mono)
- Bass Mono: On (if using Utility’s Bass Mono)
MID chain (character):
#### C) MUSIC (Group)
#### D) VOX + FX (Group)
#### E) PRINT (Group) ✅
Set each Print track:
This is how you commit quickly without killing creativity.
---
Step 2 — Return tracks tuned for DnB space & energy 🌌
Create Return tracks:
#### Return A: DRUM ROOM
- Decay: 0.3–0.8s
- Pre-delay: 0–10ms
- HPF: 300–600 Hz
- LPF: 8–12 kHz
Use this on snare tops, hats, perc—keeps drums cohesive without washing out.
#### Return B: PING DELAY
- Time: 1/8 or 1/8 dotted
- Feedback: 20–40%
- Filter: HPF 300 Hz, LPF 6–10 kHz
Add on vocal chops and stabs for movement.
#### Return C: WASH VERB
- Decay: 2–6s
- Pre-delay: 20–40ms
- Compressor after the reverb
- Sidechain input: Drums (or Snare)
This gives that huge atmosphere that ducks out of the way—classic dark DnB technique.
#### Return D: PARALLEL DISTORT
Send snares, breaks, bass mid for extra aggression without wrecking the dry signal.
---
Step 3 — Session View: design your “DnB Scene Grid” 🎬
Create Scenes (rows) with consistent naming:
1. Intro
2. Build
3. Drop A
4. Drop A (Alt Fill)
5. Breakdown
6. Drop B
7. Outro
For each track, populate clips per scene:
Clip length guidance:
- Drums/Bass: 1 Bar
- FX fills: 1/4 or 1/2 for quick throws
---
Step 4 — Drum system: tight kick/snare + break control 🥁
#### A) Your “Core” DnB drum lanes
Break workflow (Session View-friendly):
1. Drop a break into Break 1 track.
2. Warp Mode: Beats
- Preserve: Transients
- Envelope: 40–70 (tune to taste)
3. Use Clip View → Warp Markers sparingly:
- Fix only the obvious timing drifts.
4. Add Gate (stock) if the break is too noisy:
- Sidechain the Gate from your Snare for rhythmic opening (advanced jungle trick).
#### B) Drum Bus (group processing)
On DRUMS group:
- Attack: 3–10ms
- Release: Auto
- GR: aim 1–2 dB
- tiny cut if boxy: 250–500 Hz
- Drive: small
- Boom: very subtle or off (DnB sub is usually dedicated to bass)
---
Step 5 — Bass workflow: sub + resample mid for rapid iteration 🔄
#### A) SUB (Operator/Wavetable)
Operator quick sub:
#### B) MID (Resample) track
This is your “commit and mangle” lane:
1. Create a MID Bass instrument track (Wavetable or Operator).
2. Route it to BASS group but also set up a resample path:
- Create MID (Resample) Audio track
- Input: Resampling (or “Audio From: MID Bass”)
3. Record different bass phrases as audio clips in Session View:
- Clip 1: clean reece
- Clip 2: distorted phrase
- Clip 3: filtered “answer”
4. Now you can:
- Slice audio to a Drum Rack (right-click clip → Slice to New MIDI Track)
- Add Redux, Corpus, Frequency Shifter, Auto Filter for movement
This is how you get that “designed” mid without over-tweaking synths forever.
---
Step 6 — Capture performance into Arrangement (the moment it’s good) 🎙️
1. Jam in Session View: launch scenes, swap bass clips, trigger fills.
2. When it feels right, hit Global Record.
3. Launch scenes live—Ableton prints the structure into Arrangement.
4. After recording:
- Go to Arrangement
- Consolidate key regions (Cmd/Ctrl+J)
- Now do detail edits (micro fills, automation polish).
This preserves the energy and spontaneity that DnB needs.
---
Step 7 — Macro controls: build “DnB performance knobs” 🎛️✨
Create an Audio Effect Rack on:
Map macros like:
- Maps to Drum Buss Transients + a tiny Glue threshold
- Maps to EQ Eight high shelf (gentle)
- Maps to Saturator drive + Auto Filter resonance
- Maps to Filter frequency + LFO amount (if using Auto Filter + LFO-style modulation)
- Maps to Reverb send amount (or a local Hybrid Reverb dry/wet)
Save racks to your User Library for instant recall.
---
Step 8 — Save as a real template ✅
1. Clean any unused tracks.
2. Color code groups (e.g., Drums = red, Bass = purple, Music = blue, FX = green).
3. Rename I/O consistently.
4. File → Save Live Set as Template…
Next session: open template, drag in samples, write immediately.
---
4. Common mistakes ⚠️
---
5. Pro tips for darker/heavier DnB 🖤
- transient clarity (Drum Buss Transients)
- controlled room (short reverb)
- a touch of saturation
- break-only (no kick)
- snare fill clip
- bass mute
Launch for 1–2 bars, then slam back into Drop A.
---
6. Mini practice exercise 🎯
In your new template, do this in 30 minutes:
1. Drums
- Create 3 clips for Drop A:
- Clip 1: straight roller
- Clip 2: extra hats + ghost snare
- Clip 3: 1-bar fill at the end (crash + snare drag)
2. Bass
- Make 2 sub patterns:
- A: steady, minimal
- B: syncopated, more gaps
- Resample 2 mid phrases to audio and slice one to Drum Rack.
3. Scenes
- Program 4 scenes: Intro, Build, Drop A, Drop B.
4. Record
- Perform a 1–2 minute jam into Arrangement using scene launches.
Deliverable: a recorded arrangement with at least one switch-up and one resampled bass moment.
---
7. Recap 🔁
If you want, tell me your preferred DnB flavor (roller, jungle, neuro, minimal, dancefloor) and I’ll suggest a scene layout + drum/bass rack starting point tailored to it.
```

