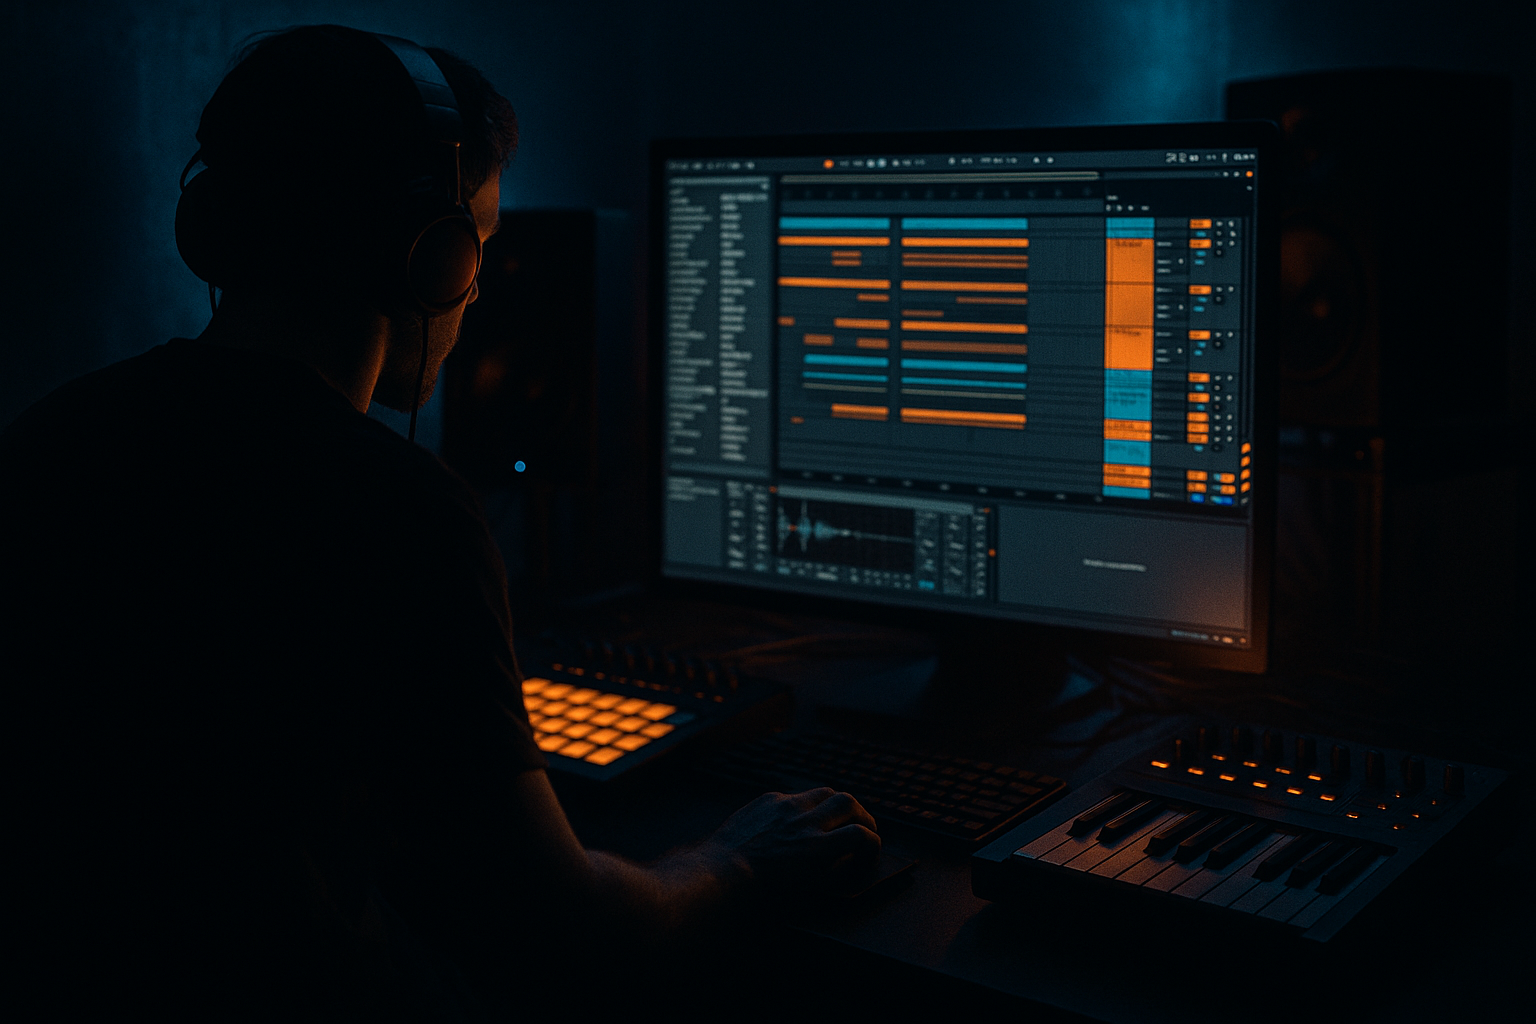
Main tutorial
1. Lesson overview
Energetic deep-dive into building an evolving Drum & Bass template in Ableton Live — one that grows with the track and can be morphed between subgenres (rolling DnB, jungle, darker/neuro). This lesson is for intermediate producers who know Live’s basics (routing, MIDI, Audio, Device view) and want a practical, reusable workflow for starting multiple tracks fast and keeping creative momentum. Expect concrete device chains, settings, mapping tips, arrangement skeletons and hands-on exercises. 🎛️⚡
Goals:
- Build a flexible DnB template in Ableton Live that you can evolve per-track or per-subgenre.
- Learn device chains (drums, bass, FX) and macro-driven morphing tricks.
- Create arrangement templates and resampling routes to speed iterations.
- Practice morphing the template into darker/heavier DnB variations.
- A reusable Ableton project template with:
- Plus instructions to evolve the same template into: rolling DnB, jungle, and darker/neuro DnB variants.
- Intro: 32 bars — atmos + filtered drums, hint of bass (low-pass)
- Build: 16 bars — open hats, rising filter automation, FX risers
- Drop 1: 32 bars — full drums, bass, main synth
- Breakdown: 16 bars — drums filtered/half-volume, FX, pads
- Drop 2: 32 bars — variation (new bass growl, drum fill variation)
- Outro: 16–32 bars — wind down
- Start drop with 2 bars drums-only, bring bass in on beat 3 for impact.
- Use automation lanes on main bass macros (SUB_LEVEL, MID_DRIVE) to evolve tone across the drop.
- Use drum fills (chopped break rolls) every 8 or 16 bars to keep energy moving.
- Over-saturating the master: don’t crush dynamics with 12 dB gain reduction on the master glue. Keep subtle and use reference tracks.
- Reverb on low frequencies: sending bass/sub to long reverb ruins clarity — always HP-filter reverb sends above ~250–400 Hz.
- Sidechain too extreme for DnB timing: DnB needs the transient punch of fast drums; too-long sidechain release smears the bass groove.
- Ignoring mono low-end: failing to sum subs to mono leads to phase cancellation on club systems — use Utility width 0% below 120 Hz.
- Too many plugin chains: more chains = slower workflow. Keep template lean; save racks and samples instead of huge unneeded processing on every track.
- Not tempo-locking delays to DnB subdivisions: use dotted/triangles (1/8T 1/16T) for syncopated delays — wrong sync makes the groove smell off.
- Parallel Distortion: duplicate mid chain, hard clip and low-pass at 6 kHz then blend under the original. Use an Audio Effect Rack to map the dirty chain send to a Macro for real-time control.
- Band-split processing: split bass into 3 bands with EQ Eight & send different bands to different processing. Example bands: Sub (20–120 Hz mono), Body (120–800 Hz mild compression), Top (800+ for distortion/wow).
- Use Multiband Dynamics to tighten the 200–800 Hz region — this is where bite happens.
- Micro-pitch modulation on mid growls: duplicate MID chain, pitch-shift one copy by +7–15 cents and pan slightly for a wide yet heavy feel.
- Aggressive transient shaping on snares for snap: Compressor with 0–1 ms attack (or use transient shaper if available), then layer a small room reverb bus with a send dedicated to snares and high-pass at 1 kHz.
- Automation tricks: automate the Bass Rack Macro “FILTER_CUTOFF” and “MID_DRIVE” together for a riser into drops. Use exponential curves for more natural-feel movement.
- Stereo width above 400–800 Hz only: use Splitting (EQ) and Utility so that sub remains mono. Any stereo imaging on sub kills club systems.
- Use resampled glitched bass hits (resample a short section to audio, then re-trigger and pitch-shift with Simpler) to create unique neuro stabs.
- Build a lean, well-organized template grouped by Drums / Bass / Synths / FX with returns for reverb/delay/distortion.
- Use Instrument Racks with parallel SUB & MID chains for bass — map macros to morph quickly between subgenres.
- Keep low-end mono, HP-filter reverb, and use sidechain compression keyed to a dedicated trigger for consistent pumping.
- Save presets: Drum Rack chains, Bass Racks and FX Chains as templates — these speed future sessions massively.
- Evolve templates by automating macro parameters and toggling alternative chains (breaks vs one-shots, SUB/MID levels) rather than rebuilding from scratch.
Tempo: 170–176 BPM (use 174 as a good middle ground). Key Live devices referenced: Drum Rack, Simpler/Sampler, Wavetable/Operator, EQ Eight, Saturator, Compressor, Glue Compressor, Multiband Dynamics, Utility, Auto Filter, Reverb, Ping Pong Delay, and Return tracks.
2. What you will build
- Organized track groups: Drums, Bass, Synths, Atmos/FX, Vocals/Chops, Master.
- Drum Rack with pre-loaded break chains (amen-style roll, punchy one-shots, jungle chop).
- Bass instrument rack with two parallel signal paths (SUB + DISTORTED MID) and Macros for morphing.
- Drum bus and master chains with stock glue, saturation and subtle multiband.
- Return tracks for convolution-style reverb, short plate reverb, tempo-synced delay, and a dedicated distortion/send.
- Arrangement skeleton for DnB-typical structure (intros, build, drop, breakdown).
- Quick resampling channel and export/stem tracks.
3. Step-by-step walkthrough
Important: save a copy of your Live Set as “DnB_Template_v1.als” before you start editing it further.
A. Project setup & global routing (5–10 min)
1. Set tempo to 174 BPM. Turn off global quantization for on-the-fly recording if you like.
2. Create groups: Drums, Bass, Synths, Atmos_FX, Vocals_Chops, MixBus.
- Color code them and freeze/flatten rarely-used groups later.
3. Create Return tracks: A = Short Plate Reverb, B = Large Hall (low-cut on), C = Delay (Ping Pong, 1/8T), D = Distortion/Drive send.
- On Reverb sends, always insert an EQ Eight before the reverb to cut everything below ~300–400 Hz (to keep reverb out of the low end).
- Example: EQ Eight HP at 300 Hz, Q wide, -0 dB slope 12 dB/oct (use High Pass).
B. Drum Rack & drum bus chain (15–25 min)
1. Create a Drum Rack in the Drums group.
2. Prepare 4 useful chains (give each a chain selector key if desired):
- Breaks chain: place an Amen or chopped break into Simpler (Slice Mode) for realtime re-slicing.
- One-shots chain: Kick, Snare, Hat, Clap loaded into simple Simplers for quick MIDI programming.
- Jungle roll chain: pre-chopped roll phrases as audio or Simpler slices.
- Percs/FX chain: extra cymbals, vinyl noise, glitches.
3. Chain processing on each drum:
- Kick chain: EQ Eight — HP 20 Hz (clean sub), boost a low bucket around 60–90 Hz +2–4 dB if needed. Glue Compressor on chain: Ratio 4:1, Attack 10 ms, Release 150 ms, Threshold to taste. Slight Saturator (Drive ~2–4) to add warmth.
- Snare chain: Transient shaping (use Compressor with fast attack 1–3 ms? Actually for snap: attack very fast ~0–1 ms for accent; but be careful). Alternate: use Utility -> Transient shaping using Envelope on Simpler (or stock Compressor with fast attack & medium release). Add EQ cut below 120 Hz.
4. Drum Bus: create Drum Bus (group the Drum Rack). On Drum Bus add:
- EQ Eight: remove 20–30 Hz garbage, gentle dip 200–300 Hz if muddy.
- Saturator: Soft clip with Drive 2–5, Mode “Analog Clip” or “Soft Sine”.
- Glue Compressor: 2–4 dB gain reduction, attack 10–30 ms, release auto, ratio 2:1–4:1 to glue hits.
- Multiband Dynamics (subtle): tighten low end transient or compress mid-high for more punch.
5. Create a sidechain compressor on the Bass track keyed to the Drum Bus’s kick/snare send (see Bass setup).
C. Bass Instrument Rack (30 min) — Parallel SUB + Distorted MID
1. Create an Instrument Rack on the Bass group with two chains:
- Chain 1 (SUB): Operator or Wavetable with a sine/triangle tuned to root, pure low content.
- Chain 2 (MID_GRIT): Wavetable (or Operator with FM) set to a more harmonically rich waveform: saw/square with bandpass, routed through distortion.
2. SUB chain processing:
- Operator: sine oscillator, octave -2 or -3, no filter. Add Utility -> Width 0% (mono below 120 Hz — enforce later).
- EQ Eight: steep low-pass 180–240 Hz to keep only sub content.
- Compressor: gentle glue (4:1, attack slow-ish 10–30 ms).
3. MID GRIT chain processing:
- Wavetable or Sampler: aggressive wavetable position modulation (LFO mapped to table position at slow rate). Use Filter (Auto Filter) with resonance taste.
- Saturator/Overdrive: Saturator Drive 4–10 (more for neuro), set Type: Analog Clip / Sine. Put a Utility and slight stereo spread via a chorus or manual mid/side width automation (only above ~400 Hz).
- EQ Eight: high-pass at 60–80 Hz to avoid interfering with sub; boost 400–1500 Hz for growl if needed.
- Multiband Dynamics on this chain to control harsh highs: compress >1kHz band lightly.
4. Map macros for quick morph:
- Macro 1: SUB_LEVEL (map to SUB chain volume). Range -12 dB → +6 dB.
- Macro 2: MID_DRIVE (map to Distortion Drive or Saturator Drive on MID chain).
- Macro 3: FILTER_CUTOFF (map to Auto Filter cutoff on MID chain).
- Macro 4: WIDTH (map to Utility width on SUB and MID opposite: SUB 0% fixed, MID 40–120%).
- Macro 5: SIDECHAIN_AMOUNT (map to Compressor threshold ratio or use a Rack macro to control an additional Compressor send).
- Create labels and color macros. Now you can morph from deep rolling sub (SUB up, MID_DRIVE down) to aggressive neuro (SUB lower, MID_DRIVE up, FILTER_CUTOFF up).
D. Bass sidechain routing (5 min)
1. Create a dedicated "Kick-Snare Trigger" audio track: send a dry copy or program a short click that follows the primary kick/snare pattern; this gives consistent transient to sidechain compression.
2. On Bass track, insert Compressor (stock) and enable Sidechain input selecting the Kick-Snare Trigger. Settings: Ratio 4:1–6:1 (for heavier duck) or 2:1–3:1 (for subtle), Attack 1–5 ms, Release 80–140 ms (shorter release for more pumping).
3. Map Bass Rack Macro 5 to the Compressor Threshold or Dry/Wet if you use a Dry/Wet compressor device in an Audio Effect Rack.
E. FX, Atmos and Resampling chain (10–15 min)
1. Atmos_FX group: create a few sampler tracks with long pads, vinyl crackle, processed percussion. Put an Auto Filter on each to automate movement and create space.
2. Resampling track: create an audio track set to “Resampling” input. Route a post-fader send from Bass or Drum Bus to dedicated Return for one-shot resamples. Label effects chains to quickly drag audio into arrangement.
3. Return D (Distortion send): Saturator -> Frequency Shifter -> Redux (bit reduce) — good for turning up and sending sound into aggressive textures.
F. Arrangement skeleton (10 min)
Create an Arrangement with markers (use Live’s locators) with these common DnB sections:
Arrangement ideas:
G. Template morphing for subgenres (10–15 min)
1. Rolling DnB:
- Drum Rack: emphasize a tight kick, snappy snare, rolling hi-hats. Use Drum Rack MIDI clips: 16-bar rolling patterns with ghost notes.
- Bass Rack: SUB_LEVEL high, MID_DRIVE low, Filter cutoff low. Mild saturation. Sidechain moderate.
- Reverb: short on drums, big reverb on pads only.
2. Jungle:
- Use chopped breaks (fine-sliced Amen roll) and introduce swung timings and extra percussive ghosting. Program break edits in Simpler Slice and map a Chain Selector to toggle pre-made break edits.
- Bass: more rhythmic stabs (short mid growls), stronger transient shaping on bass. Add noise and vinyl textures. Increase MIDI swing slightly or draw humanized offsets.
3. Dark / Neuro:
- Bass MID_DRIVE up, heavy distortion on the MID chain, more post-filter modulation (LFO mapped to wavetable pos).
- Drum Bus: increase saturation, push Glue Compressor for more character. Use Multiband Dynamics to squash mids and emphasize bite.
- Add stereo spectral effects on highs (Frequency Shifter > small detune), and long but low-passed reverb on synths. Lower SUB volume for clarity and emphasize mid growl.
H. Save and template housekeeping
1. Save the set as “DnB_Template_v1.als”.
2. Export Chain Racks you love: drag Instrument Rack to browser to save.
3. Create a copy named DnB_Template_Rolling.als etc. or keep one master and duplicate tracks into new projects.
4. Common mistakes
5. Pro tips for darker/heavier DnB 🖤🔥
6. Mini practice exercise (20–40 min)
Objective: Build a mini-track sketch from the template and morph it into a darker DnB drop.
Steps:
1. Load the template and set tempo 174.
2. Program a 16-bar drum loop:
- Use a punchy kick on beats 1 + 3, snare on 2 + 4, and chop an amen break every 8 bars as a fill.
- Add hats with 16th-note rolls and ghost accents.
3. Create a simple bass MIDI loop:
- SUB sine on whole notes (root note).
- MID growl: 4-note stab pattern that syncs with the snare hits.
4. Map Macro controls (SUB_LEVEL, MID_DRIVE, FILTER_CUTOFF) and create an automation: SUB_LEVEL rises from -6 dB to +0 dB over bars 1–4 of the drop, MID_DRIVE fades in on bar 3.
5. Insert a riser: create white noise sweep into Auto Filter cutoff from 500 Hz -> 5 kHz over 4 bars, send to reverb lightly.
6. Duplicate the drop and create a darker variant:
- Increase MID_DRIVE macro +4.
- Lower SUB_LEVEL -3 dB.
- Add more saturation on Drum Bus (increase Saturator Drive by +2).
- Add small pitch shifting to the fret stabs: duplicate the stab, pitch +12 semitones, low-pass, slight detune - this gives an unnerving texture.
7. Render two 32-bar stems: “Rolling_Version.wav”, “Dark_Version.wav”.
Deliverable: Two 32-bar versions of the same core loop: rolling (clean sub-forward) and dark (mid growl forward, more saturation). Compare and note what changed emotionally.
7. Recap
Final challenge: Save three project copies from this template — “Rolling”, “Jungle”, “Neuro” — and in each, spend one hour finishing a full 2–3 minute sketch. The point is to internalize the morphing macros and routing so you can start full tracks from a single evolving template. 🎧⚡
If you want, I can export a minimal Ableton chain layout (text-based device chain instructions) you can paste into your project or walk you through mapping macros and chain selectors step-by-step in your specific Live version. Which would you prefer?

