Main tutorial
Lesson Overview
In this lesson, you’ll build a classic DnB/jungle-style air horn hit in Ableton Live 12, but with a chopped-vinyl, oldskool edge that feels like it belongs in a proper ragga jungle intro, a roller switch-up, or a dark dancefloor drop. The goal is not just to make a loud horn sound — it’s to make a usable FX element that can punch through a mix, create tension, and add instant attitude.
This matters because in Drum & Bass, especially jungle and oldskool-inspired DnB, FX are part of the arrangement language. A single horn stab can signal a drop, answer a vocal phrase, reinforce a snare fill, or make a breakdown feel like it’s about to collapse into the tune. When you give that horn a chopped-vinyl feel, it stops sounding clean or generic and starts sounding like it came from a record, a sampler, or a dusty sound system session. That texture is gold for jungle and darker DnB.
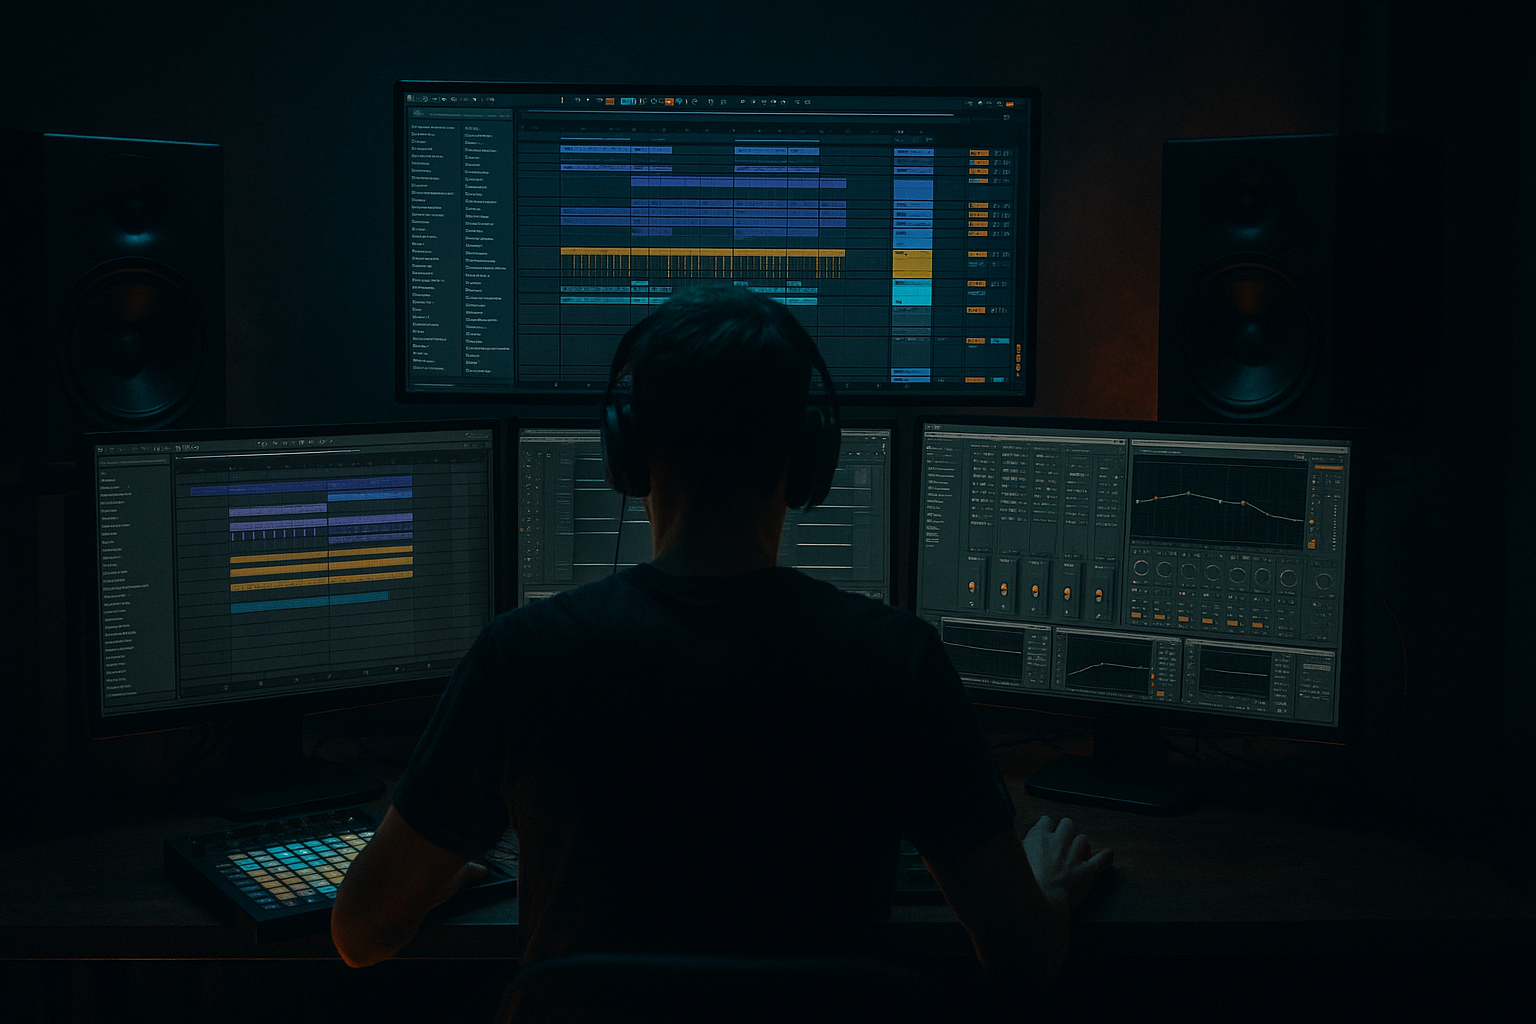
We’ll use Ableton stock devices only and keep the workflow beginner-friendly, but still authentic to real DnB production: short punchy envelopes, saturation, filtering, rhythmic chopping, and simple resampling ideas that make the sound feel lived-in. 🎛️
What You Will Build
By the end, you’ll have a one-shot air horn hit with:
- A sharp, brassy front edge
- A short chopped-vinyl tail with wobble and grit
- A band-limited lo-fi character that sounds sampled, not pristine
- A version you can use as:
- at the end of a 4-bar phrase before the drop
- on the “and” of beat 4 before a snare fill
- in a call-and-response with a Reese bassline
- under chopped breaks in an oldskool jungle intro
- kick on 1 and 3
- snare on 2 and 4
- a basic break loop or ghost-note pattern
- a simple sub note or Reese bass idea underneath
- Load a MIDI clip with a single note around C3 to G3
- Keep the clip short: 1/8 note or 1/4 note
- Leave headroom; don’t max out the track volume
- Oscillator 1: a saw-ish or brass-friendly wavetable
- Oscillator 2: slightly detuned or off
- Unison: 2 to 4 voices
- Detune: small amount, around 0.05 to 0.15
- Filter: Low-Pass 12 or 24, cutoff fairly open at first
- Amp Envelope:
- keep the note fairly short
- use a little pitch bend or envelope movement
- make it front-loaded and aggressive, not pad-like
- Pitch envelope amount: +3 to +12 semitones
- Decay: 20–80 ms
- Filter cutoff: start around 1.5 kHz to 6 kHz, depending on how bright you want it
- Envelope amount: moderate
- Decay: 100–300 ms
- Right-click the horn clip or record the horn to audio
- Drag the audio into a new Simpler instance
- Set Simpler to Classic or use it as a one-shot playback tool
- Turn on Loop only if you want a repeating chopped tail
- Use Start position movement to slightly offset the hit
- Shorten the Amp Envelope a bit if needed
- Add tiny pitch changes manually by duplicating the clip or using automation
- If you want a chopped stutter, slice the audio to MIDI and trigger fragments
- Make 3 versions of the horn hit
- Place them in a 1-bar phrase like a DJ-style callout
- Drive: 2 to 8 dB
- Soft Clip: On
- Output: trim down to match level
- Mode: Band-Pass or Low-Pass
- Frequency: automate between 500 Hz and 4 kHz
- Resonance: small to medium, around 0.2 to 0.5
- Drive: 5 to 20%
- Crunch: low to moderate
- Boom: usually off or very low for this type of FX
- Transients: slightly up if you want more bite
- High-pass around 120–250 Hz
- Cut harshness around 2.5 kHz to 5 kHz if needed
- Gentle high shelf if the horn got too dull after filtering
- Nudge some horn hits slightly early or late
- Use shorter note lengths on repeats
- Add a second tiny hit 1/16 or 1/8 later
- Use Groove Pool with a light swing if the rest of your tune has it
- Automate tiny volume dips to mimic an imperfect sampler or vinyl cut
- Put the horn on the last 1/4 beat before the drop
- Follow it with a snare fill or drum stop
- Then let the drop slam in with bass and breaks
- Auto Filter cutoff
- Reverb dry/wet
- Echo feedback
- Saturator drive
- Sample start position if you’re using Simpler or Resampling
- Make the first horn hit bright and aggressive
- Make the second horn darker and more filtered
- Make the third horn slightly shorter and more distorted
- Filter opens from 800 Hz to 3.5 kHz
- Reverb rises briefly to 10–20%, then drops back to near zero
- Echo feedback stays low, around 5–15%, so it feels like a throw, not a wash
- Route the horn track to Resampling or record it to audio
- Consolidate the best hit
- Bring the audio back into a new audio track
- warp it lightly if needed
- reverse tiny fragments
- duplicate the tail
- add a quick fade to avoid clicks
- chop the end for more rhythmic use
- Intro: chopped breaks, filtered bass tease, and a horn hit every 8 bars
- Pre-drop: horn on bar 7, then a drum fill on bar 8
- Drop: horn answers the snare or bass every 4 bars
- Switch-up: a filtered horn throw in the middle 8 to reset energy
- end of bar 4 or bar 8
- after a snare flam
- right before a bass restart
- as a response to a vocal chop
- Mono compatibility: make sure the horn still works in mono
- Low end: high-pass it if anything below ~120–200 Hz lingers
- Harshness: tame 3–6 kHz if it becomes painful
- Level: it should be loud enough to read, but not louder than the snare in the drop unless it’s a featured moment
- if the horn distracts from the kick/snare, lower it or shorten it
- if it disappears, add saturation before adding more volume
- Making the horn too long
- Too much low end in the horn
- Overusing reverb
- Static sound with no movement
- Clipping the chain
- Putting the horn everywhere
- Make it answer the bassline
- Use band-pass filtering for a more “sampled” feel
- Add subtle distortion before the filter
- Layer a quiet noise click
- Try drum buss on the horn
- Use short reverse tails
- Keep it narrow if the mix is busy
- Build the horn from a simple synth source in Ableton Live.
- Keep it short, punchy, and midrange-focused.
- Add chopped-vinyl character with resampling, filtering, and timing variation.
- Use stock Ableton FX like Saturator, Auto Filter, Drum Buss, EQ Eight, and Echo.
- Place the horn as a phrase marker, fill accent, or drop cue in a DnB arrangement.
- Keep the low end clean so the kick, snare, and sub stay dominant.
- a drop call-out
- a fill accent
- a transition hit
- a jungle rewind-style moment
- or a question/answer FX phrase over drums and bass
Musically, the horn will work best as a syncopated punctuation mark in 160–174 BPM DnB, especially:
Step-by-Step Walkthrough
1) Start with a clean Ableton track and set the context
Create a new MIDI track and load Wavetable. If you don’t want to build from scratch, you can also start with Analog or Operator, but Wavetable gives a nice beginner-friendly way to shape a brassy source.
Set your project around 170 BPM if you want classic jungle/DnB energy. Drop a simple 1-bar loop first:
Why this helps: the horn needs a rhythmic home. In DnB, FX are much easier to design when they’re built against drums, not in isolation.
Suggested starting point:
2) Build the horn source inside Wavetable
In Wavetable, choose a waveform that already has some brightness and bite. You don’t need a perfect “horn” preset; you’re making a synthetic horn hit with attitude.
Try these settings:
- Attack: 0–10 ms
- Decay: 250–600 ms
- Sustain: 0
- Release: 50–150 ms
If the horn feels too polite, push the oscillator or wavetable position toward a brighter, more harmonically busy area. If it feels harsh, back it off slightly and let saturation do the work later.
For a more classic “air horn” shape:
3) Add a fast pitch-and-filter attack for the horn punch
The signature horn character often comes from a tiny initial burst of movement.
In Wavetable, use the Pitch Envelope or modulate pitch very slightly:
This gives the sound a quick upward or downward hit at the start, which helps it feel more like a shouted horn than a plain synth tone. Keep it subtle — you want impact, not cartoon FX.
Then shape the filter envelope:
This makes the start of the note brighter than the tail, which is a big part of why DnB hits feel energetic. The attack grabs attention, the decay leaves space for drums and bass.
4) Add the chopped-vinyl character with Simpler or Sampler-style slicing
To get that oldskool chopped-vinyl feel, resample the horn and rework it like a sampled hit.
Do this:
Now create the “vinyl chop” feel:
A beginner-friendly trick:
- Version A: full hit
- Version B: shorter tail
- Version C: filtered/darker tail
This gives you the “sampled from vinyl and chopped live” energy without needing complicated editing.
5) Dirty it up with stock Ableton effects
Now put the horn through an FX chain. This is where it becomes DnB-ready.
A solid beginner chain:
1. Saturator
2. Auto Filter
3. Drum Buss or Glue Compressor
4. Echo or Delay
5. Reverb very lightly
6. EQ Eight
Suggested starting settings:
Saturator
Auto Filter
Drum Buss
EQ Eight
Why this works in DnB:
DnB mix spaces are tight. Your kick, snare, sub, and bass need the low end. A horn FX should live more in the midrange and upper mids, where it can cut through without fighting the sub. Distortion and filtering help the horn feel loud even when it’s not taking up much headroom.
6) Make it feel like chopped vinyl with timing and groove
This is where the “oldskool” feeling really appears. Don’t just trigger the horn on-grid and leave it. Add a little human, sampled feel.
Try these ideas:
A practical DnB arrangement move:
This is classic tension/release. The horn becomes the “warning shot” before the impact.
7) Automate a vinyl-style filter and throw
The chopped-vinyl effect gets stronger when the sound changes over time instead of staying static.
Automate:
One very effective arrangement trick:
Suggested movement:
This gives you that “sample chopped through a mixer” feeling that works so well in jungle intros and breakdowns.
8) Resample for final grit and control
If the horn is working, freeze it into audio. This is a very DnB-friendly workflow because it gives you control and speed.
Do this:
Once audio, you can:
This is useful because FX in DnB often need to sit exactly in the arrangement. Audio makes it easier to line up the horn with fills, snare rolls, and drop transitions.
9) Place it in a real jungle/DnB arrangement
Now use the horn musically, not just as a sound design demo.
Example arrangement context:
Good placement ideas:
If your track has a dark Reese bassline, use the horn sparingly so it feels like a signal flare, not a constant layer. In DnB, less is often more with iconic FX.
10) Balance it in the mix so it punches without clutter
Keep the horn big in attitude, but controlled in frequency.
Check:
A good beginner rule:
That keeps the mix clean while still letting the FX sound rude in the right way.
Common Mistakes
- Fix: shorten the decay/release and use a tighter audio clip. DnB FX usually work best when they hit fast and get out.
- Fix: use EQ Eight high-pass around 120–250 Hz. The sub belongs to the bassline, not the FX.
- Fix: keep reverb short and subtle. In fast DnB, long reverb can blur the mix and smear the drop.
- Fix: automate filter cutoff, distortion, or sample start. Even tiny motion makes the horn feel more alive.
- Fix: watch the gain after Saturator and Drum Buss. Use output trims so the sound stays punchy, not crushed in a bad way.
- Fix: use it like a DJ cue or arrangement punctuation. One great hit is stronger than ten random ones.
Pro Tips for Darker / Heavier DnB
- Put the horn on a gap in the bass phrase so it feels like a call-and-response. This works especially well with Reese patterns.
- A band-pass around 600 Hz to 3 kHz can make the horn feel like it came off a ragga record or a dubplate.
- This thickens the source before you carve it. Great for making a simple horn sound more urgent.
- A tiny filtered noise layer at the start can make the attack pop harder in dense neuro or rollers sections.
- A little Drum Buss can give it weight and edge without needing extra layers.
- Reverse a tiny slice into the horn hit for a nasty pre-impact swell. Great before a drop or switch-up.
- Wide FX can sound cool, but in dark DnB a more centered horn often cuts better and feels more powerful.
Mini Practice Exercise
Spend 10–20 minutes making a 3-hit horn phrase.
1. Build one horn hit in Wavetable.
2. Resample it to audio.
3. Create three variations:
- one bright and full
- one filtered and shorter
- one distorted and slightly chopped
4. Place them across 2 bars:
- Hit 1 on the last beat before the phrase ends
- Hit 2 after a snare or break fill
- Hit 3 right before the drop
5. Automate one filter sweep and one reverb throw.
6. Compare how it feels with the drums on and off.
Goal: make the horn sound like it belongs in a real DnB arrangement, not just a sound design test.
Recap
If you want, I can turn this into a matching Ableton device chain preset recipe next, or write a second lesson on how to make a chopped-vinyl jungle rewind FX in Ableton Live 12.

