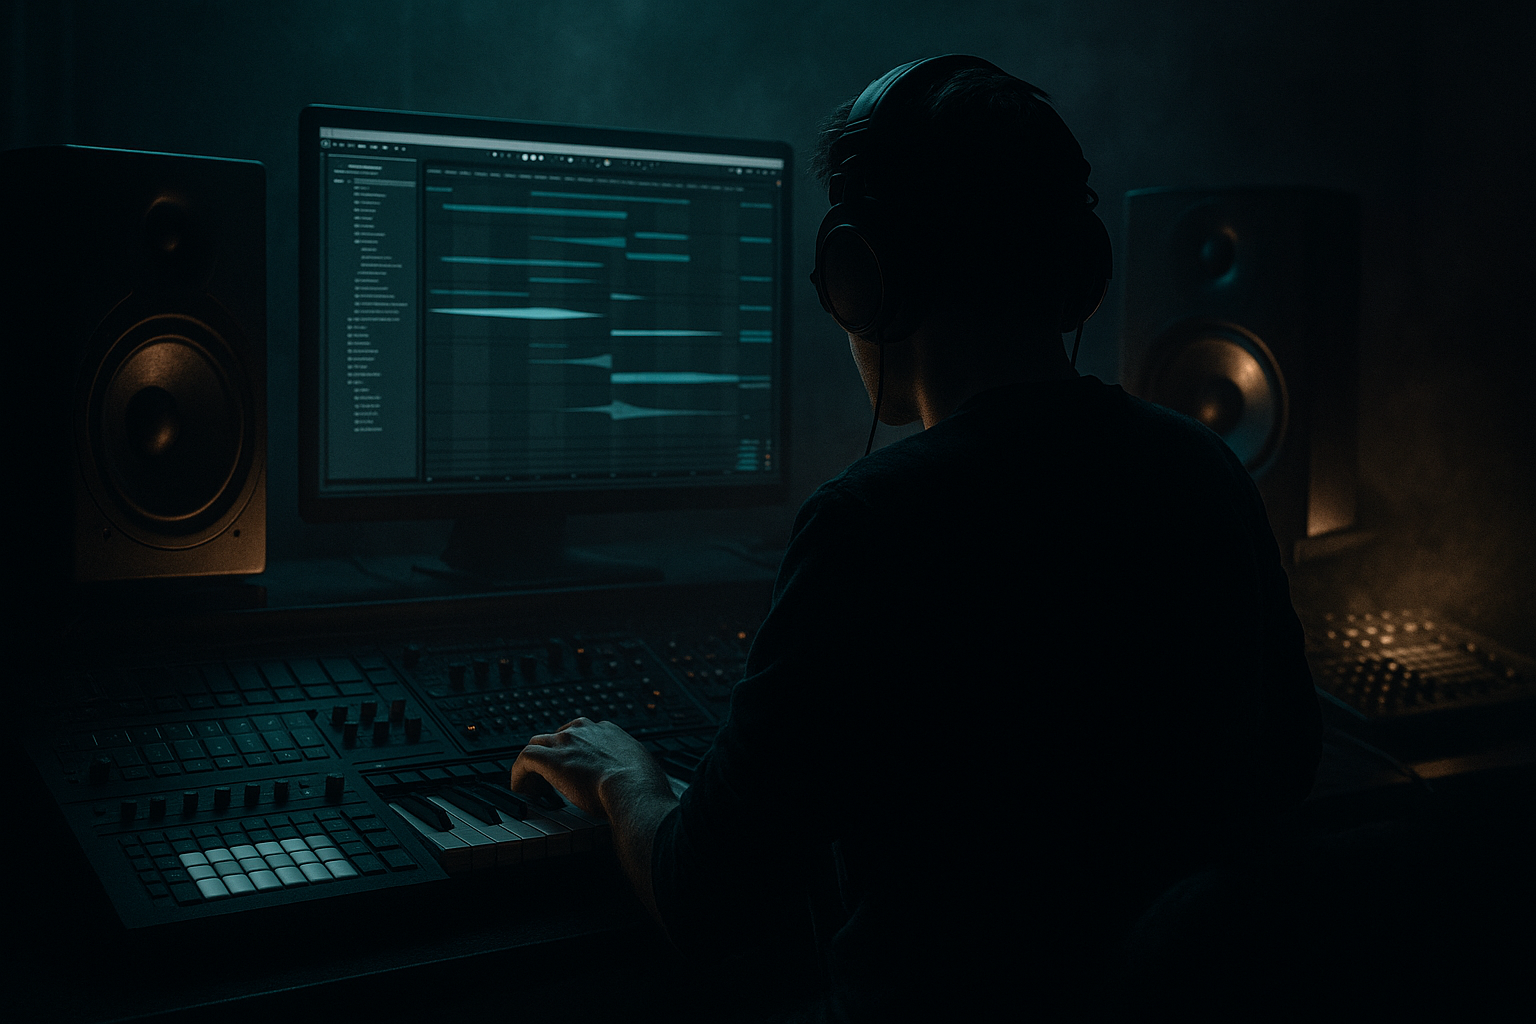
Main tutorial
Think Break Layering: for Pirate-Radio Energy (Ableton Live, DnB/Jungle) 📻🥁
1. Lesson overview
Break layering is one of the fastest ways to inject pirate-radio urgency into drum and bass: that “overdriven, hyped, slightly illegal” energy you hear in jungle, early techstep, and modern rollers with break grit.
In this lesson you’ll build a 2–3 layer break stack where each layer has a job:
- Layer A (Punch): clean transient + weight
- Layer B (Character): crunchy midrange + vibe
- Layer C (Air/Top): hiss, room, hats, edge
- A tight, modern kick/snare core
- A classic break (Amen/Think/Hot Pants style) doing the “talking”
- Extra top grit that reads on small speakers
- Built-in parallel distortion and glue
- A 16-bar pirate-radio loop with fills and drop dynamics
- Snare tone you like (boxy or cracking)
- Ghost notes (movement)
- Noisy cymbal smear (for urgency)
- Punch: modern one-shots (kick + snare) or a clean break
- Character: Think break / Amen / similar crunchy loop
- Top: a hatty, noisy break or even vinyl noise + rides
- EQ Eight
- Drum Buss
- Glue Compressor
- EQ Eight
- Saturator
- Redux (tiny bit = instant pirate grit)
- Auto Filter (movement)
- EQ Eight
- Compressor (tighten spiky hats)
- Utility
- Automate `BREAK_CHARACTER` Auto Filter: HP moves down slowly
- Keep `DRUMS_PUNCH` quieter or absent for tease
- Full punch + character + top
- Add small edits:
- Add a 1/2 bar fill at bar 16:
- Convert a break to Slice to New MIDI Track (right-click clip)
- Use Slice Preset: Built-in
- Layering full-spectrum breaks on top of each other → mud + phase issues.
- Over-warping every transient until it’s robotic.
- Too much distortion on the whole drum bus → fizzy, flat drums.
- Wide low-end from top layers messing the mono punch.
- Ignoring gain staging.
- Snare weight trick: On `DRUMS_PUNCH`, add a subtle Tone using Drum Buss or layer a low snare at 180–220 Hz, low velocity, tight envelope.
- Controlled harshness: Use EQ Eight to notch nasty resonances around 4.5–7.5 kHz (common pain zone after saturation).
- Techstep-style dirt: Put Overdrive before Saturator on `BREAK_CHARACTER`:
- Movement without reverb wash: Use Delay (stock) super short:
- Print your drum bus: Resample `DRUM_BUS` to audio when it’s feeling good. Then do micro-edits (mutes, reverses, tape stops) for that pirate broadcast chaos.
- Think break layering = job-based layers: punch, character, air 📻
- Warp for stability, but keep ghost-note life
- High-pass aggressively on non-punch layers
- Align snares, check mono, and use parallel “radio crush” for hype
- Arrange with mutes, fills, and small edits to sell pirate energy
All inside Ableton Live using mostly stock devices, with a workflow that keeps phase tight, timing intentional, and the mix loud without falling apart.
---
2. What you will build
A Break Layering Rack that gives you:
End result: rolling, aggressive DnB drums that still feel human and frantic.
---
3. Step-by-step walkthrough
Step 0 — Session setup (so you don’t fight the project)
1. Tempo: 170–176 BPM (start at 174 BPM)
2. Global Groove: leave off for now (we’ll add groove intentionally)
3. Create 3 audio tracks:
- `DRUMS_PUNCH`
- `BREAK_CHARACTER`
- `TOP_AIR`
4. Route them into a Drum Group: select all three → Cmd/Ctrl + G (name it `DRUM_BUS`)
---
Step 1 — Choose your source breaks (Think mindset)
For pirate-radio energy, Think Break style layering means: short, assertive hits + midrange chatter. Choose breaks that have:
Practical combo ideas:
Drag each loop into Arrangement View (easier for DnB edits).
---
Step 2 — Warp and lock timing (tight but alive)
For each break layer:
1. Double-click clip → enable Warp
2. Set Seg. BPM roughly correct
3. Warp mode:
- For full breaks: Beats mode
- Preserve: 1/16 or 1/8 (start at 1/16)
- Transients: default is fine
- If it gets clicky: try Complex Pro (less punch, more stable)
4. Anchor the bar start:
- Right-click first downbeat transient → Set 1.1.1 Here
- Then Warp From Here (Straight) if needed
Goal: the grid locks, but the micro swing stays. Don’t “perfect” every transient yet.
---
Step 3 — Build the PUNCH layer (modern weight + controlled transients) 💥
This layer is your club system translator. You can do it with one-shots or a clean break.
Option A: One-shots in a Drum Rack (recommended)
1. Create a MIDI track → load Drum Rack
2. Load kick + snare that fit DnB (tight kick, snare with body at 180–220 Hz)
3. Program a simple 2-step:
- Kick: 1.1, 1.3 (optional extra ghost kick at 1.2.3)
- Snare: 1.2, 1.4
4. Add Ghost snare (low velocity) at 1.3.4 for roll energy
Device chain on `DRUMS_PUNCH`:
- HP filter at 25–35 Hz
- Small dip 250–400 Hz if boxy
- Drive: 5–15%
- Boom: 30–60 Hz, Amount 10–30% (use sparingly)
- Transients: +5 to +20 (for snap)
- Attack: 3 ms
- Release: Auto
- Ratio: 2:1
- Aim for 1–3 dB gain reduction on peaks
---
Step 4 — Build the CHARACTER break (the “pirate signal”) 📻
On `BREAK_CHARACTER`, use your chosen break loop.
Clip editing (fast and effective):
1. Slice the best 1-bar section:
- Consolidate a clean bar: select → Cmd/Ctrl + J
2. Add a little “rush”:
- In Clip View → Warp Markers: nudge a couple of ghost hits slightly early (literally a few ms)
- Keep the main snare on-grid
Device chain on `BREAK_CHARACTER`:
- HP at 90–140 Hz (you don’t want low-end fighting the punch layer)
- Gentle boost 1.5–3.5 kHz (snare crack/attack)
- Optional dip 7–10 kHz if harsh
- Mode: Analog Clip
- Drive: 3–8 dB
- Soft Clip: On
- Bit Reduction: 10–12 bits (subtle)
- Sample Rate: 15–22 kHz (subtle)
- Type: HP12
- Frequency: automate between 200–500 Hz over 8 bars for “radio sweep” moments
Key concept: Character is mostly midrange. If it sounds thin solo, that’s often perfect in the full stack.
---
Step 5 — Add the TOP/AIR layer (hype + edge without harshness) ✨
This layer is “small-speaker adrenaline”: hats, room, hiss, and cymbal urgency.
On `TOP_AIR`:
1. Pick a break with bright hats or room tone
2. Warp it like before, then high-pass hard
Device chain on `TOP_AIR`:
- HP at 4–8 kHz (yes, that high sometimes)
- If needed: small notch at 6–7 kHz to tame painful resonance
- Attack: 1–3 ms
- Release: 30–80 ms
- Ratio: 3:1
- GR: 2–5 dB
- Width: 120–160% (careful)
- Bass Mono: On, set around 120–200 Hz (if any low snuck in)
---
Step 6 — Phase & alignment (this is where pros win) 🧠
Layering breaks can hollow out the snare if transients disagree.
Quick alignment workflow:
1. Zoom into a snare hit (Arrangement)
2. Compare transient start points across layers
3. If a layer is late/early:
- Nudge the entire clip by a few samples/ms (Alt + arrow can nudge in some setups, or just drag with grid off)
4. Check in mono:
- On `DRUM_BUS` add Utility → Width 0% temporarily
- If snare loses body, something’s fighting
Pro move: Align snare first. The kick can be slightly offset for groove, but snare should smack.
---
Step 7 — Glue the drum group + add pirate “broadcast” parallel
On `DRUM_BUS`, build a tight bus chain:
Suggested `DRUM_BUS` chain:
1. EQ Eight
- Gentle low shelf if needed, don’t over-EQ
2. Glue Compressor
- Attack: 1–3 ms (faster if you want aggression)
- Release: Auto or 0.1–0.3 s
- Ratio: 2:1 or 4:1
- Aim 2–4 dB GR for cohesion
3. Drum Buss
- Drive: 5–20%
- Crunch: 0–10%
- Damp: adjust to avoid fizz
4. Limiter (optional for drum print, not always on master)
- Just catching peaks (1–2 dB)
Parallel “pirate broadcast” return track (huge vibe):
1. Create Return Track A called `RADIO_PAR`
2. On Return:
- Saturator (Drive 6–12 dB, Soft Clip On)
- EQ Eight
- HP 250 Hz
- LP 6–9 kHz (telephone-ish)
- Boost 1–2 kHz a bit
- Compressor
- Fast attack, medium release, 6–10 dB GR (crush it)
3. Send mostly from `BREAK_CHARACTER` and a bit from `TOP_AIR`
Keep `DRUMS_PUNCH` send low so the low-end stays solid.
---
Step 8 — Add groove (on purpose)
Now introduce swing—don’t randomly warp everything.
1. Open Groove Pool
2. Try:
- MPC 16 Swing 54–58 (classic roll)
- Or funkier: SP1200 swing style grooves (if available)
3. Apply lightly:
- Amount 10–25
- Timing 60–85
- Velocity 0–10 (subtle human feel)
Apply groove more to breaks than the punch layer.
---
Step 9 — Arrangement ideas (16 bars of pirate energy) 🧱
Build a simple DnB structure:
Bars 1–4: intro loop (filtered character break)
Bars 5–12: main drop loop
- Mute top on bar 8 beat 4 for a “gasp”
- Add a snare flam (duplicate snare hit slightly late on character layer)
Bars 13–16: variation + fill
- Reverse a snare tail (clip reverse)
- Or stutter a break slice (see next step)
Quick stutter in Ableton (stock):
Then program quick 1/16 repeats of a snare slice into bar 16.
---
4. Common mistakes
Fix: HP the character/top layers aggressively.
Fix: lock bar starts + key snares; leave ghost timing alive.
Fix: distort in parallel (`RADIO_PAR`) and keep punch clean.
Fix: Utility Bass Mono + high-pass top layers.
Fix: keep each layer peaking around -12 to -6 dB before the drum bus.
---
5. Pro tips for darker/heavier DnB 🌑
- Overdrive: Freq 1–2 kHz, Drive 10–30%, Tone to taste
- Time: 10–30 ms, Feedback 0–10%, Filtered, very low mix
Makes drums feel “in a room” without jungle-rave reverb blur.
---
6. Mini practice exercise (15–25 minutes) 🧪
1. Pick two breaks (one clean-ish, one crunchy) + one bright hat loop.
2. Build the three layers exactly like this:
- Punch: one-shot kick/snare (Drum Rack)
- Character: break HP at 120 Hz, Saturator Drive 5 dB
- Top: break HP at 6 kHz, width 140%
3. Create a `RADIO_PAR` return and send only the character break to it (start send at -18 dB).
4. Make an 8-bar loop:
- Bar 4: tiny fill (snare stutter)
- Bar 8: hard stop for 1/8 + slam back in
5. Bounce/export the loop and listen on:
- Headphones
- Laptop speakers (top layer should still “talk”)
- Mono check (Utility width 0)
---
7. Recap
If you want, tell me what breaks you’re using (or upload a screenshot of your drum tracks/devices), and I’ll suggest exact EQ points + a tighter bus chain for your specific stack.

