Main tutorial
```markdown
Think Break Layering from Scratch (Resampling Only) — Advanced DnB Drums in Ableton Live 🥁⚡
1. Lesson overview
This lesson is all about building a Think break layer stack from scratch in Ableton Live, using resampling only as your rendering method. That means:
- No “Export Audio,” no freezing/flattening for the core workflow.
- We’ll commit to audio early, iterate fast, and end with a tight, mix-ready, rolling DnB break that still has jungle attitude.
- Control transients, tone, and stereo
- Design kick/snare weight without killing the groove
- Create multiple resampled “print stages” for fast A/B and arrangement control
- A Think break main bus (tight, punchy, tempo-locked)
- A Low layer (kick + low snare body, mono)
- A Crack layer (snare snap + hats presence)
- A Ghost/Shuffle layer (movement, swing, texture)
- A final resampled loop in audio, sliced and arrangement-ready
- 2–3 variations (fills, filtered bar, “amen-ish” ramp) for a rolling arrangement 🎛️
- Create an audio track called `PRINT_1`.
- Set Audio From: `Resampling`
- Set Monitor: `Off` (important to avoid feedback)
- Arm it when printing.
- If the Think feels “late,” don’t quantize the audio yet.
- Instead, use Clip Start nudges and a couple warp markers (minimal!) to correct drift while keeping swing.
- On `THINK_SRC`: set Audio To → THINK_PROC
- On `THINK_PROC`: set Monitor → In (so it passes audio)
- Arm `PRINT_1` (Resampling).
- Record 8 bars of the loop.
- Name the new clip: `THINK_PRINT_1_TIGHT`.
- Record into `PRINT_2_LOW` (Resampling) for 8 bars.
- Record into `PRINT_3_CRACK` for 8 bars.
- Record into `PRINT_4_GHOST` for 8 bars.
- Record into `PRINT_5_THINK_FINAL` via Resampling for 16 bars.
- This is the loop you’ll slice and arrange.
- Play variations (push ghost hits, alternate snares, rearrange hats).
- Record the Drum Rack output via Resampling into `PRINT_6_PERFORMANCE`.
- Bars 1–16: full break, small variation every 4 bars
- Bar 15–16: add a 1/8 snare drag (duplicate slice) for lift
- Every 8 bars: remove LOW for half a bar → creates drop tension
- Pre-drop (last 1 bar): high-pass automation + snare fill
- Over-warping the Think: too many warp markers kills swing. Use minimal correction.
- Low layer too wide: anything below ~150 Hz should be basically mono in DnB. Use Utility.
- Stacking saturation blindly: three stages of drive can turn snares into paper. Gain-stage and A/B prints.
- Transient overhype: Drum Buss transients too high = clicky, fatiguing hats.
- No print milestones: if you don’t print stages, you can’t easily revert or A/B. Commit early.
- Parallel “bruise” print (resample it):
- Snare brutality without harshness
- Controlled darkness
- Swing that still slaps
- Make room for the reese
- You warped the Think with restraint ✅
- You processed, then printed a clean foundation ✅
- You created LOW / CRACK / GHOST layers via filtering + targeted processing ✅
- You recombined them, glued the stack, and printed again ✅
- You sliced and performed variations, then resampled the performance ✅
You’ll learn a practical, repeatable method to:
---
2. What you will build
By the end you’ll have:
---
3. Step-by-step walkthrough
A) Session setup (commit-to-audio workflow)
1. Tempo: set 172–176 BPM (we’ll use 174 BPM).
2. Create these tracks:
- `THINK_SRC` (Audio) — your raw Think break audio
- `THINK_PROC` (Audio) — processing chain and groove control
- `THINK_LAYERS` (Group) — contains `LOW`, `CRACK`, `GHOST`
- `PRINTS` (Group) — contains resample print tracks
3. In Preferences → Record/Warp/Launch:
- Warp Mode default for drums: Beats
- Create fades on clip edges: On (helps clicks)
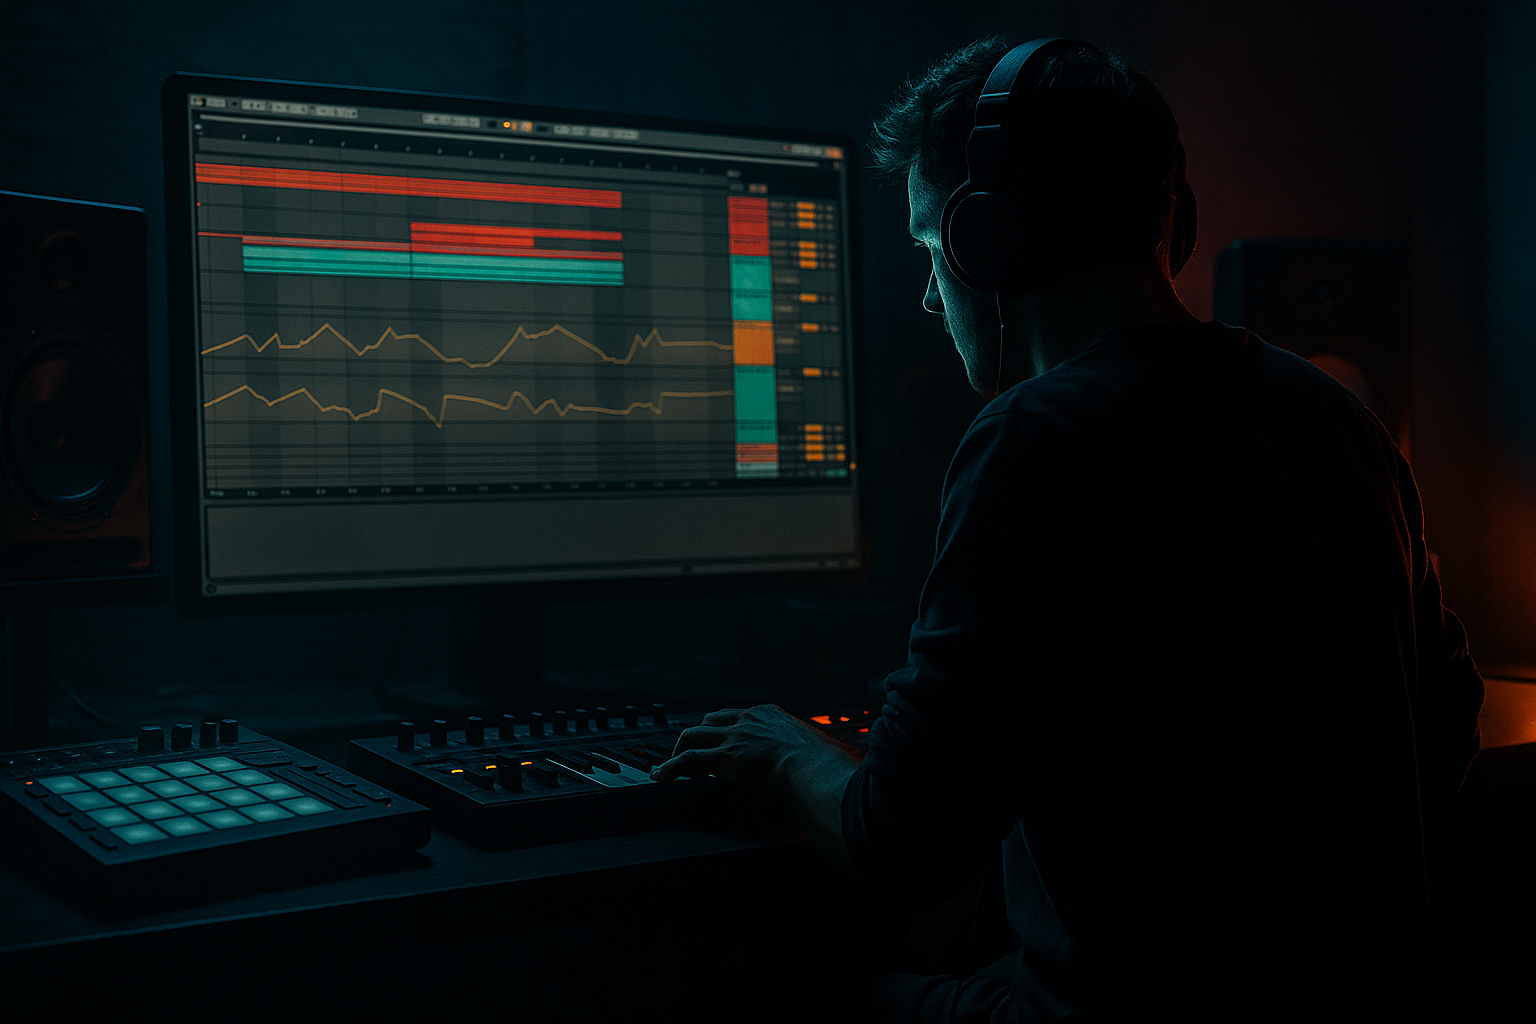
Resampling setup
> You’ll do multiple prints (`PRINT_1`, `PRINT_2`, etc.) to “lock in” stages.
---
B) Import + warp the Think break correctly (don’t ruin the groove)
1. Drop a clean Think break into `THINK_SRC`.
2. In Clip View:
- Turn Warp ON
- Set Seg. BPM to match original if you know it, but don’t obsess—focus on timing.
- Warp Mode: Beats
- Preserve: Transients
- Envelope: 0–20 (lower = tighter, higher = more “grainy”)
3. Set 1.1.1 precisely on the first transient (usually kick).
4. Find the end of the 1-bar loop, set Loop for 1 bar (or 2 bars if you want extra phrasing).
Advanced timing tip
---
C) Stage 1 processing (shape the raw break before splitting)
Route `THINK_SRC` → `THINK_PROC` for controlled processing.
Routing
Device chain for THINK_PROC (stock-only)
1. EQ Eight
- HP at 25–35 Hz (24 dB/Oct)
- Gentle dip around 250–400 Hz if boxy (1–3 dB)
- Small lift around 3–6 kHz if dull (0.5–2 dB)
2. Drum Buss
- Drive: 5–15%
- Crunch: 0–10% (keep it controlled here)
- Boom: 0–20% at 45–60 Hz (only if it helps, not mandatory)
- Damp: to taste (often 20–40%)
3. Glue Compressor
- Attack: 3 ms
- Release: Auto or 0.3 s
- Ratio: 2:1
- Aim: 1–3 dB gain reduction on peaks
4. Saturator
- Mode: Soft Sine or Analog Clip
- Drive: 1–4 dB
- Output: match level
Print it
This is your “cleanly enhanced” Think foundation.
---
D) Split into layers using resampling + filtering (audio-only mindset)
Now we build layers from the printed audio, not from the original.
1. Drag `THINK_PRINT_1_TIGHT` onto three new audio tracks inside `THINK_LAYERS`:
- `LOW`
- `CRACK`
- `GHOST`
#### LOW layer (mono weight + controlled transient)
Goal: stable low-end that doesn’t fight the sub bassline.
Device chain on `LOW`:
1. EQ Eight
- Low-pass around 140–220 Hz (steeper slope)
- Optional: small dip 60–90 Hz if it’s too kick-heavy
2. Utility
- Width: 0% (mono)
- Gain: trim to taste
3. Drum Buss
- Drive: 5–20%
- Boom: 10–35% @ 50–60 Hz (DnB dependent)
- Transients: -5 to +5 (careful: too much transient = clicky)
4. Compressor (not Glue here)
- Attack: 10–30 ms (let transient through)
- Release: 60–120 ms
- Ratio: 3:1
- GR: 2–5 dB
Print LOW
---
#### CRACK layer (snare snap + hat presence)
Goal: aggression and definition without harshness.
Device chain on `CRACK`:
1. EQ Eight
- High-pass 180–300 Hz
- Bell boost 2.5–5 kHz (snare crack) +1 to +4 dB
- Tame harshness 7–10 kHz if needed (-1 to -3 dB)
2. Saturator
- Analog Clip / Soft Clip
- Drive: 3–8 dB
- Turn Soft Clip ON if needed
3. Transient control (stock)
- Use Drum Buss Transients: +5 to +20 (this is your snap)
4. Utility
- Width: 110–140% (optional, only on highs)
- If widening, keep it subtle and check mono.
Print CRACK
---
#### GHOST layer (shuffle, tails, dirt, room)
Goal: keep jungle movement and “air,” especially in rollers.
Device chain on `GHOST`:
1. EQ Eight
- High-pass 400–800 Hz
- Optional shelf lift above 10 kHz (if needed)
2. Redux (tiny bit!)
- Bit reduction: 10–14 (subtle)
- Downsample: keep mild (too much = fizzy)
- Mix with Dry/Wet 5–15%
3. Frequency Shifter (micro movement)
- Mode: Ring
- Fine: +5 to +25 Hz
- Dry/Wet: 3–10%
4. Reverb (short room)
- Decay: 0.2–0.5 s
- Size: small
- High cut: 6–9 kHz
- Dry/Wet: 5–12%
5. Gate
- Sidechain input: (optional) from CRACK or the main break
- Tighten tails so it pumps with the groove
Print GHOST
---
E) Recombine layers into a final Think stack bus (then print again)
1. Group the three printed layers into `THINK_STACK_BUS` (Audio Group).
2. On the group bus, add:
Think Stack Bus chain
1. EQ Eight
- HP 25–35 Hz
- Tiny dip 200–350 Hz if “cardboard”
2. Glue Compressor
- Attack 1–3 ms (faster now—glue the layers)
- Release Auto
- Ratio 2:1
- GR: 1–4 dB
3. Drum Buss
- Drive 5–10%
- Crunch 0–5%
- Damp to control brightness
4. Limiter (not for loudness—just catch spikes)
- Ceiling: -0.3 dB
- Gain: minimal (0–2 dB)
Print the full stack
---
F) Slice + arrange like a DnB record (audio edits, not MIDI)
Now turn it into a playable break without leaving the resampling mindset.
1. Consolidate a 2-bar section of `PRINT_5_THINK_FINAL` (Cmd/Ctrl+J).
2. Right-click clip → Slice to New MIDI Track
- Slicing preset: Transient
- This creates a Drum Rack.
But keep it audio-minded: you’ll resample your performance.
Performance → resample
Arrangement ideas (rolling DnB)
- Use Auto Filter on the bus: HP from 80 Hz → 400 Hz over 1 bar
---
4. Common mistakes
---
5. Pro tips for darker/heavier DnB 🖤
- Duplicate THINK_STACK_BUS → call it `BRUISE`
- Chain: Saturator (hard) → Drum Buss (heavy drive) → EQ (low-pass 6–8k)
- Blend low in the mix (5–15%) for menace.
- On CRACK, boost 3.5–4.5 kHz, but control 8–10 kHz with EQ dips.
- Low-pass the Ghost layer slightly (e.g. 12–14k) so it feels smoky, not hissy.
- Add Groove Pool groove to the final performance clip lightly (Amount 10–25%), then resample again.
- Carve 120–220 Hz gently on the final stack if the bass is huge—rollers need separation.
---
6. Mini practice exercise (20 minutes) ⏱️
1. Build the three layers (LOW / CRACK / GHOST) from one Think print.
2. Print a final 8-bar `THINK_FINAL`.
3. Create two variations via slicing/performance:
- Variation A: extra ghost shuffle (more GHOST, less CRACK)
- Variation B: heavy snare (more CRACK, slightly less LOW)
4. Arrange a 32-bar drum section:
- 1–16: A
- 17–24: A + small edits
- 25–32: B + fill in bar 31
Deliverable: one audio track that plays like a real DnB drum take, not a static loop.
---
7. Recap
This is how you get authentic jungle movement with modern DnB punch, while staying fast and decisive with resampling-only discipline. 🎚️🔥
```

