Main tutorial
Lesson Overview
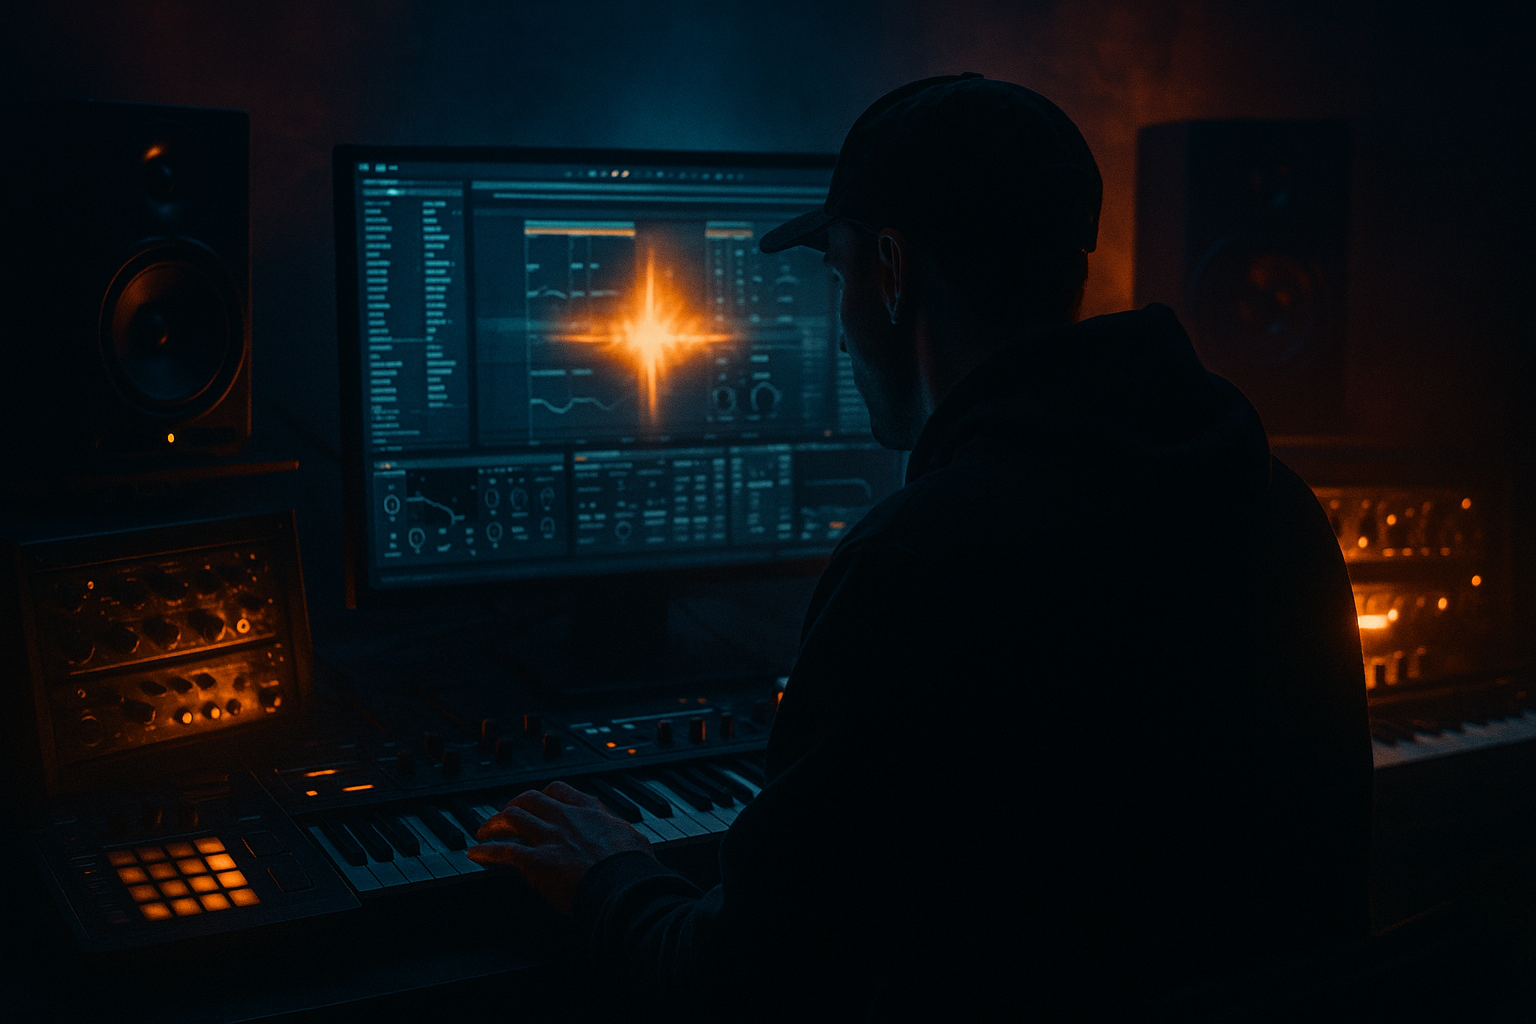
In this lesson, you’ll learn how to make a jungle break roll feel alive, swing hard, and fit naturally into a DnB arrangement in Ableton Live 12. The goal is not just to loop a break — it’s to turn it into a controlled FX-driven transition tool that adds energy between drum phrases, fills space before a drop, and keeps the groove moving without sounding messy.
This technique sits right at the heart of rollers, jungle-influenced DnB, and darker bass music. A good break roll can:
- bridge 8-bar sections smoothly,
- add tension before a drop or switch-up,
- make the drums feel more human and urgent,
- and give your arrangement that “moving forward” energy that DnB listeners expect.
- uses chopped break slices with noticeable swing
- has filtered build-up energy leading into a new section
- includes small ghost-note-style hits for realism
- sits well with a subby DnB bassline
- can be used as a transition fill, intro builder, or drop pickup
- sounds more like a proper DnB phrase than a straight loop
- Bars 1–2: chopped break starts sparse and tight
- Bars 3–4: extra hits, filter opens, reverb tail grows
- Final hit: a clean pickup into the next 16-bar section or drop
- set the project tempo to 170–174 BPM
- warp the break if needed so it sits tightly to the grid
- use Warp mode: Beats for percussive breaks
- turn on the metronome and listen for how the break sits against the click
- right-click the audio clip and choose Slice to New MIDI Track
- or keep it as audio and cut it manually in Arrangement View
- play the pads and find the most useful slices:
- build a simple 1-bar pattern first
- Beat 1: kick slice
- Beat 2: snare slice
- Beat 2.5 / 3: smaller fill slice
- Beat 4: snare or pickup slice
- drag the groove onto your MIDI clip or sliced break clip
- start with Timing around 55–60%
- use Random around 5–15%
- use Velocity around 5–20%
- Timing: 58%
- Random: 8%
- Velocity: 12%
- repeat a snare slice twice in a row
- add a ghost-note slice before the main snare
- shorten some slices so they feel more percussive
- leave one tiny gap before the next hit
- Bar 1: basic break chop
- Bar 2: add one extra hat slice near the end
- Bar 3: repeat the snare quicker
- Bar 4: add a fill slice into the transition
- Drum Buss for punch and low-end glue
- Saturator for grit and density
- EQ Eight to remove mud
- Compressor if the break is too wild
- Drum Buss Drive: 10–20%
- Drum Buss Boom: low or off at first
- Saturator Drive: 2–6 dB
- Soft Clip: on
- EQ Eight low cut around 25–35 Hz
- small dip around 200–400 Hz if the break is boxy
- a low-pass filter gradually opening over 1–4 bars
- or a high-pass filter rising slightly before a transition
- Low-pass cutoff: start around 400–800 Hz and open to 12–18 kHz
- Resonance: keep it subtle, around 5–20%
- High-pass cutoff: move from 40 Hz to 120 Hz if you want the break to thin out before a drop
- Bars 1–4: filtered break, mostly midrange
- Bars 5–6: filter opens, extra snare energy
- Bars 7–8: full brightness and tension before the drop
- Return A: Reverb
- Return B: Delay
- Decay: 1.2–2.5 s
- Pre-delay: 10–25 ms
- Low Cut: around 200–400 Hz
- High Cut: around 6–10 kHz
- short feedback
- low wet amount
- filtered repeats
- final snare before the drop
- a ghost hit in the last bar
- a transition fill at the end of a phrase
- Intro: filtered break roll every 8 bars
- Pre-drop: increase roll activity over the last 2 bars
- Drop: pull the roll back so the main drum/bass loop lands cleanly
- Switch-up: bring the roll back with a heavier filter sweep
- Bars 1–4: sparse roll, mostly drums and atmosphere
- Bars 5–6: add bass tension under the break
- Bars 7–8: full roll, riser, snare fill, then drop
- EQ Eight on the break group to reduce low-end clutter
- Utility to keep the break mono if needed
- Spectrum to visually check overlap
- Mono-ish discipline on the low end below about 120 Hz
- high-pass the break roll slightly around 90–150 Hz if the bass is active
- let the kick or sub own the true low end
- keep the roll focused in the midrange and top transients
- Freeze and Flatten the track
- or resample the roll to a new audio track
- commit to the groove
- edit audio more quickly
- add one final FX hit or reverse tail if needed
- Too much swing
- Overfilling the grid
- Too much low end in the break
- Reverb washing out the groove
- Same pattern for too long
- Filter automation that moves too fast
- Break louder than the bass
- Use subtle saturation before the filter
- Layer a short noise hit under the last snare
- Cut a tiny pause before the drop
- Automate a high-pass up into the transition
- Add Drum Buss on the break group
- Use darker EQ on returns
- Try a call-and-response shape
- Keep the kick/snare center-focused
- feel swung, not robotic
- get brighter or more intense over time
- leave space for the bass
- sound like a real DnB transition, not just a drum loop
- Build your break roll from a chopped break, not from random hits.
- Use Groove Pool for swing, but keep it subtle.
- Shape energy with Auto Filter, Saturator, Drum Buss, and Reverb.
- Arrange the roll as a tension phrase before a drop or switch-up.
- Keep the low end clean so the bass and drums work together.
Why it matters: in DnB, the drums are not just timekeeping. They are part of the arrangement language. A break roll with swing gives your track momentum and character, and in Ableton Live you can build it quickly using stock tools like Simpler, Drum Rack, Groove Pool, Auto Filter, Saturator, and Reverb. 🎚️
---
What You Will Build
By the end of this lesson, you will have a 2- or 4-bar jungle break roll that:
Musically, you’re aiming for a sound like this:
Think of it as a drum-based FX phrase, not just a drum loop.
---
Step-by-Step Walkthrough
1. Start with a clean break and place it on the grid
Open a new audio track and drag in a classic breakbeat sample. Any break with a strong snare and some hat detail will work. For beginners, the Amen-style structure is a great reference because it already has movement and accents.
In Ableton Live 12:
If the break feels too stiff, don’t worry yet. The swing comes later.
Why this works in DnB: the tempo range and percussive content match the rhythmic pressure of jungle and roller styles, so even a simple chop starts to feel genre-correct once it locks to the track.
2. Chop the break into a playable pattern
Now slice the break so you can rearrange it. You can do this in two beginner-friendly ways:
For beginners, Slice to New MIDI Track is the easiest because it turns the break into a Drum Rack with each slice on pads.
Once sliced:
- kick-heavy slice
- snare hit
- hat or shaker tail
- short ghost-note slice
A good starter pattern is:
Keep it simple at first. The roll comes from how you repeat and vary this pattern.
3. Add swing using Groove Pool
This is where the break starts feeling like jungle instead of rigid MIDI.
Open Ableton’s Groove Pool and try a swung groove from the built-in library, or use a light shuffle-style groove if you already have one available. Then:
For a beginner, keep the groove subtle. If you push swing too far, the break can feel lazy or disconnected from the bass.
A strong starting point is:
Why this works in DnB: the swing makes the break feel human and urgent without losing the driving grid-based push that DnB needs. Jungle and rollers often live in that tension between tight quantization and loose drum feel.
4. Build the roll by repeating and varying short slices
Now create the actual “roll” feel.
Duplicate your 1-bar phrase into 2 or 4 bars, then vary it slightly each time. Use these ideas:
A practical beginner pattern might look like:
If using MIDI notes in Drum Rack, keep notes around 1/16 and 1/32 spacing. Don’t overfill the grid. Jungle breaks breathe because there are little gaps between hits.
Useful workflow move: select a slice and lower its clip gain or pad velocity if it feels too loud. Break rolls sound more convincing when the accents are uneven.
5. Tighten the transient shape with stock Ableton devices
Now shape the break so it hits cleanly in a dense DnB mix.
On the break track or Drum Rack group, try these stock devices:
Starter settings:
Keep the drum roll punchy, not fuzzy. For darker DnB, a little saturation can make the break feel more aggressive, but too much low-mid distortion will fight the bass.
If the break loses snap, reduce the drive and raise the dry signal.
6. Automate filters for build-up energy
This is where the break becomes an FX phrase.
Add Auto Filter to the break track and automate:
Two simple automation ideas:
Try this in an 8-bar arrangement:
Why this works in DnB: automation turns the break into an arrangement tool. Instead of just repeating, it creates motion and anticipation, which is essential in drop design.
7. Add space and tension with reverb and delay sends
Use FX sends to make the roll feel bigger without washing out the groove.
Create two return tracks if needed:
For the reverb, use Ableton’s Reverb:
For the delay, use Echo or Simple Delay:
Send only specific hits into the FX:
This gives the roll a “tail” without muddying the main groove.
8. Arrange it like a real DnB phrase
Now place your break roll in context.
A useful beginner arrangement example:
Try this in an 8-bar section:
Keep your roll as a moment of motion, not permanent clutter. In DnB, contrast is what makes the drop feel stronger.
9. Make room for the bass
If you have a sub or reese already playing, check that the break roll is not masking it.
Use these stock tools:
Practical move:
A clean low end makes the break feel more powerful, not less.
10. Print or freeze once it feels good
Once the roll works, consider simplifying the project.
You can:
This helps you:
A resampled break roll is great because you can reverse a slice, stretch a tail, or cut the phrase exactly where the next section needs impact. That’s very common in DnB workflow: build, print, arrange, move on.
---
Common Mistakes
- Fix: reduce Groove Pool timing until the break still locks to the bass.
- Fix: leave space. Jungle energy comes from contrast, not constant notes.
- Fix: high-pass the break roll and let the sub own the bottom.
- Fix: shorten decay, raise pre-delay, and send only selected hits.
- Fix: vary one hit every 2 bars so the phrase evolves.
- Fix: use smoother 2–4 bar sweeps for better DnB tension.
- Fix: lower break group gain and check balance at low monitor volume.
---
Pro Tips for Darker / Heavier DnB
- A little Saturator makes the break feel closer and more aggressive.
- Use a very quiet noise sample or hat tail for extra tension.
- Even a 1/16 gap can make the impact feel heavier.
- This creates a “lifting away” sensation before the bass re-enters.
- A small amount of drive can make the roll feel tougher and more unified.
- Keep reverb and delay filtered so the atmosphere stays underground, not shiny.
- Let the break roll answer the bassline, then leave space for the next phrase.
- If the break has stereo width, make sure the core hits still feel solid in mono.
---
Mini Practice Exercise
Spend 10–20 minutes making a 4-bar break roll in Ableton Live 12.
Exercise goal
Create a transition phrase that moves from a filtered break to a full-energy jungle-style fill.
Steps
1. Choose one break sample and slice it to a Drum Rack.
2. Build a simple 1-bar pattern using kick, snare, and one ghost slice.
3. Copy it across 4 bars.
4. Use Groove Pool with:
- Timing: 58%
- Random: 8%
- Velocity: 12%
5. Add Auto Filter and automate the cutoff to open over the 4 bars.
6. Add Saturator with about 3 dB drive.
7. Put a short Reverb send on the final snare only.
8. Remove one or two hits in bar 4 so the ending breathes.
9. Bounce or loop it and listen in context with a sub bass note.
Success check
Your roll should:
---
Recap
The key ideas from this lesson are:
If it swings, breathes, and evolves over time, it will sound like proper DnB.

