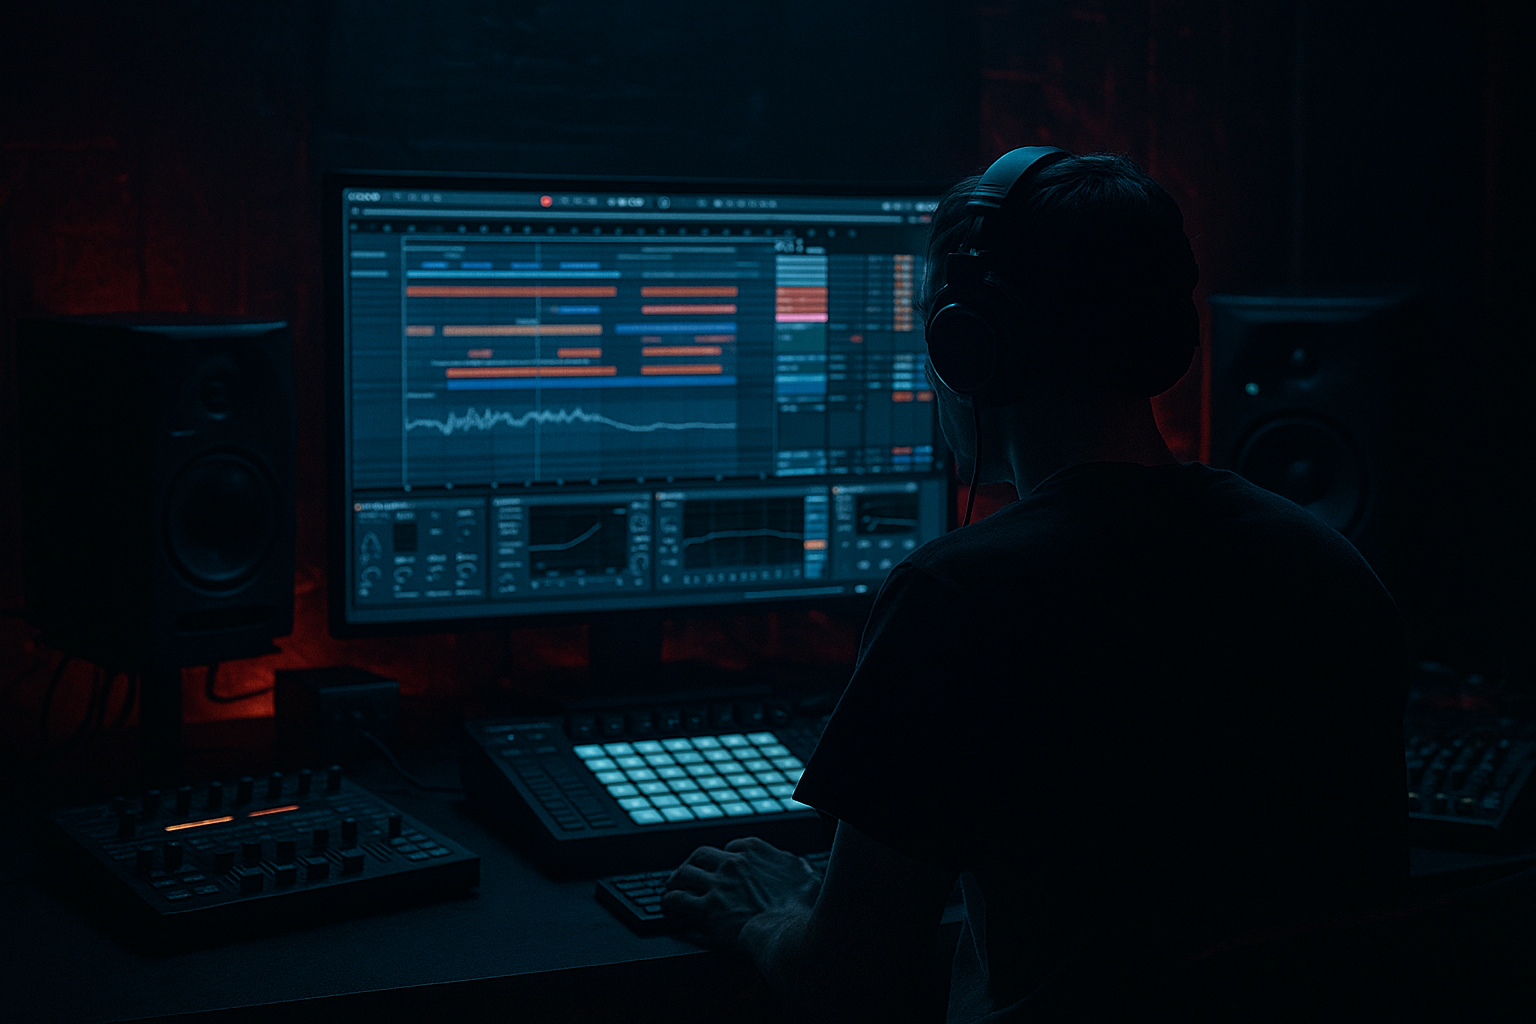
Main tutorial
Lesson Overview
A “ragga cut” in Drum & Bass is more than a vocal chop with attitude — it’s a rhythmic, call-and-response hook that feels like it was lifted from a sound system dubplate, then pushed through modern DnB arrangement logic. In this lesson, you’ll build a ragga-style sampled vocal system in Ableton Live 12 and arrange it so it behaves like a real track element: part hook, part percussion, part tension device.
This matters because DnB relies heavily on contrast. A strong ragga cut can do several jobs at once: it can define the identity of the drop, lock with the drums like a percussion loop, and create a memorable mid-track switch-up without needing a full melodic topline. In darker rollers, jungle, neuro-leaning tunes, and roots-influenced DnB, a well-designed sample cut gives you instant character while keeping the arrangement compact and DJ-friendly.
We’re not just chopping a vocal. We’re designing an instrument out of a sample, then arranging that instrument across the intro, drop, turnaround, and switch sections. The workflow will focus on Ableton stock tools: Simpler, Sampler-style manipulation inside Simpler, Warp modes, Slice to New MIDI Track, Drum Rack, Gate, Auto Filter, Saturator, Echo, Reverb, Utility, and rack-based routing. The goal is a system you can reuse across tracks with minimal friction 🔥
What You Will Build
By the end, you’ll have a playable ragga cut instrument built from a vocal phrase, arranged as a DnB hook that can:
- Hit like a rhythmic chant over a 174 BPM drum pattern
- Sit in the pocket with a break or half-step roller
- Switch between dry “call” hits, gated repeats, reverse pickups, and filtered throws
- Interact with the bassline through sidechain-like ducking and spectral separation
- Move between intro tension, drop emphasis, and breakdown fragments
- Work in a modern DnB context: jungle-flavoured tension, rollers groove, or darker neuro-adjacent momentum
- Over-chopping the sample until it loses identity
- Letting the vocal fight the snare or bass midrange
- Using too much reverb in the drop
- Making every slice equally loud
- Ignoring mono compatibility
- Building a loop instead of an arrangement
- Layer a very low-volume reverse version of the main vocal slice before the snare to create a sucking, ominous pickup.
- Put a very subtle Auto Filter envelope follower or automation on the dirty resampled layer so it snarls harder on louder hits.
- Use Echo in mono or narrow stereo for dubplate depth without crowding the sides.
- If the vocal feels too clean, resample it through Saturator and Drum Buss, then re-chop the printed audio for extra movement.
- Let the ragga cut answer the bassline rather than constantly compete with it. In neuro-adjacent DnB, that conversational rhythm is what makes the hook feel smart.
- For heavier drop sections, shorten all tails and keep the vocal mostly percussive; save the longer dubby throws for turnarounds.
- Use small pitch deviations between repeated hits, such as -2 semitones on one response and +1 semitone on the next, to create tension without sounding melodic.
- In breakdowns, strip the drums and let the vocal sit with atmospheric noise, then bring the break back under it for a classic jungle tension lift.
- Use a short, attitude-heavy vocal phrase and slice it into a playable ragga cut instrument.
- Build the hook around rhythm, not just content: call, response, ghost hits, and switch-ups.
- Keep the main cut dry and punchy; use sends and automation for selective space.
- Separate vocal, drums, and bass with disciplined EQ, mono control, and routing.
- Arrange the sample in 8-bar DnB phrases so it evolves across intro, drop, breakdown, and outro.
- Resample and dirty up a second layer for darker texture and system-like grit.
Musically, think of a phrase like “Selecta!” or “Badman sound!” chopped into 1/8 and 1/16 hits, then arranged so the first drop uses short syncopated calls, the second phrase opens into a longer tail, and the turnaround flips into reverse slices and delay throws. The result is not just “a sample,” but a performance element that can answer your drums and bassline like another player in the tune.
Step-by-Step Walkthrough
1. Set the project up for DnB phrasing and choose the right source sample
Start at 174 BPM. That tempo gives the vocal slice enough urgency to feel authentic in jungle, rollers, and darkstep contexts. Load a vocal phrase with strong consonants, attitude, and clear transient edges — a good ragga cut usually has percussive syllables, not long legato singing. Short exclamations, crowd-call snippets, or MC-style one-shots work best.
Drag the sample into an audio track and open Clip View. If the sample is not already aligned to tempo, enable Warp and try:
- Beats mode for percussive, chopped vocal material
- Complex Pro if the sample has more sustained tone and you need smoother pitch preservation
For DnB, keep the sample anchored tightly to the grid but don’t sterilize it. A slight human feel is part of the ragga energy. Set transient markers carefully around strong consonants, especially if the phrase will be chopped into smaller hits later.
Why this works in DnB: fast tempos expose timing flaws instantly. Ragga vocal cuts need to feel like they’re locked to the break, not floating above it. Tight warping lets the phrase behave like a drum element.
2. Slice the phrase into a playable instrument
Right-click the warped sample and choose Slice to New MIDI Track. In the slicing menu, use:
- Transients if the phrase has clear syllables and punchy edges
- 1/8 or 1/16 if you want a more grid-based, machine-tight approach
Ableton will create a Drum Rack with each slice mapped to pads. This is ideal for advanced arrangement because you can perform and re-edit the vocal like a beat. Rename the rack immediately and color-code the most important slices:
- Call / response hits
- Long vowel tail
- Reverse pickup
- Breath/noise slice
- Consonant stab
Now consolidate the best 4–8 slices into a narrower performance set. You do not need every fragment. The strongest ragga cuts are usually built from a small vocabulary repeated in different rhythms.
Advanced move: duplicate the Drum Rack chain and create two performance layers:
- Layer A: dry, punchy slices
- Layer B: filtered, delayed, or reversed versions
Mute one layer in the intro and reveal it later for arrangement contrast.
3. Shape each slice with Simpler or rack macros
Open the Drum Rack’s pads and inspect the individual Simpler devices. For each key slice, adjust:
- Start: trim the front edge so consonants hit immediately
- End: remove unnecessary tail unless the phrase needs room
- Fade: small 1–10 ms fades to avoid clicks
- Transpose: tune important slices to the track key where possible
For a ragga cut in D minor or F minor, you often only need two or three pitch centers. Don’t over-tune everything. Use pitch strategically:
- Main call: root or minor third
- Response hit: fifth or octave
- Throwaway phrase: one semitone up or down for tension
Add a Macro Rack on the Drum Rack and map:
- Filter cutoff
- Resonance
- Saturator drive
- Reverb send
- Delay feedback
- Transpose of the main “call” pad
Suggested starting ranges:
- Auto Filter cutoff: 180 Hz to 8 kHz
- Saturator Drive: 2 dB to 8 dB
- Reverb Send: 0% to 20% for dry lead, 25% to 40% for breakdown throws
- Echo feedback: 15% to 35% for short dub throws
This gives you performance control without overcomplicating the session.
4. Build the ragga cut as a rhythmic phrase, not just a loop
Program a 2-bar MIDI clip at 174 BPM. Start with sparse placement:
- Bar 1 beat 2: call hit
- Bar 1 beat 3a or 3e: answer fragment
- Bar 2 beat 1: stronger repeat or octave-up hit
- Bar 2 beat 4: pickup into next bar
Then create variation. In DnB, repetition needs evolution. Use note lengths to change energy:
- Short 1/16 hits for urgency
- Slightly longer 1/8 notes for emphasis
- Very short retriggers for almost-percussive phrasing
Add ghost hits with lower velocity or quieter chain volume, especially around the snare backbeat. These function like syncopated shakers or tiny MC breaths.
Musical context example: if your drums are a classic half-time roller with snare on beat 3, place the ragga call before the snare, let the snare answer it, then leave a gap after the snare so the bassline can speak. That back-and-forth is what makes the vocal cut feel integrated with the groove rather than pasted on top.
5. Design contrast with filtering, space, and movement
Create two return tracks:
- Return A: Reverb, short plate or small room
- Return B: Echo, ping-pong or mono-ish dub delay
Keep the main ragga cut fairly dry and close. DnB drops need focal clarity; too much wash turns the hook into mush. Use sends for selective throws only.
Add Auto Filter after the Drum Rack or on the group. Automate the cutoff so the phrase opens on downbeats and closes on pickups:
- Intro: high-pass around 200–400 Hz
- Drop: full-range or slightly band-limited for aggression
- Switch-up: low-pass around 2.5–5 kHz for a “telephone” or dubplate effect
For motion, automate:
- Reverb send on the final word of a phrase
- Echo feedback at the end of 2-bar or 4-bar sections
- Filter resonance briefly on a key hit to make it bark
Advanced detail: use Utility on the vocal group and automate Width down to 0% in the low-energy sections if the sample has stereo smear. Keep the lead hits mono-compatible and let the atmosphere live in the returns.
6. Make it sit with the drums and bass through routing discipline
Route the ragga cut to its own group and keep the bass on a separate bus. In darker DnB, the vocal and sub must never compete. Use EQ Eight on the vocal group:
- High-pass around 120–180 Hz to remove low junk
- Dip 2.5–4.5 kHz if the vocal fights snare crack or bass presence
- Gentle shelf cut above 8–10 kHz if the sample is too fizzy
On the bass group, carve space where the vocal sits most aggressively. If the ragga cut has strong midrange formants around 900 Hz to 2.5 kHz, make a small dynamic-minded dip there on the bass harmonic layer. Keep the sub clean and mono below about 120 Hz.
For groove interaction, use Glue Compressor or Compressor on the vocal group with subtle sidechain from the kick/snare bus if needed:
- Attack: 1–10 ms
- Release: 60–150 ms
- Ratio: 2:1 to 4:1
- Aim for 1–3 dB of gain reduction, not audible pumping
Why this works in DnB: the vocal cut becomes rhythmically glued to the drum language. If it ducks slightly around the kick/snare impact, it feels embedded in the beat rather than hovering above it.
7. Add grit, resampling, and “system” character
For authentic roughness, duplicate the ragga cut group and resample a performance pass to a new audio track. Then process that audio layer more aggressively:
- Saturator: Drive 4–10 dB, Soft Clip on if needed
- Overdrive: use lightly for nasal crunch
- Redux: tiny amounts for alias-like edge, especially on fills
- Grain Delay: sparingly for broken, torn texture
Blend this dirty layer under the clean one. You want character, not demolition.
Advanced trick: use a parallel chain with Drum Buss on the sample group, low in the mix, to thicken the consonants and create a more “sound system” feel.
- Drive: 5–20%
- Crunch: low to moderate
- Transients: add carefully if the slice is too soft
If the vocal needs more attack, try transient shaping through the Amp and Compressor combination rather than just EQ. A small amount of Amp can make the chop feel like it was played through a pushed preamp.
8. Arrange the cut like a real DnB tune
Build the arrangement in 8-bar phrases. A strong DnB arrangement gives the listener clear tension/release cycles:
- Intro: filtered ragga tease with percussion only
- First 16-bar build: increasingly frequent chopped calls
- Drop 1: main ragga motif with sparse breathing room
- 8-bar variation: pitch-shifted response, reverse pickup, or halftime pause
- Breakdown: isolated vocal line with delay and filtered atmosphere
- Drop 2: denser call-and-response with heavier drum edits
In the intro, use only the most recognizable slice and a filtered delay tail. In the drop, let the vocal hit on the “and” of 2 or just before the snare to create forward motion. For the switch-up, remove the main bass for one or two bars and let the vocal become the hook while percussion carries momentum.
DJ-friendly move: leave the first 16 or 32 bars with a relatively clear intro pattern, then place the full ragga statement at the exact point where a DJ would want the drop to land. Keep the outro stripped enough to mix out cleanly.
9. Automate punctuation, not constant motion
Advanced arrangements live or die on restraint. Don’t automate everything all the time. Instead, automate specific punctuation points:
- Filter open on the first hit of a new section
- Delay throw on the final word before a drop
- Reverse slice into a snare fill
- Reverb swell on a breakdown tail
- Pitch drop or octave flip for one final bar accent
Use Clip Envelopes for micro-variation inside MIDI clips, especially if you want one slice to open filter more than the others. For more dramatic changes, automate the rack macros at arrangement level so the entire vocal system shifts state across the tune.
A good rule: every 4 or 8 bars, change one significant thing, not five tiny things. That keeps the listener oriented while the track evolves.
Common Mistakes
Fix: keep one or two recognizable phrases intact. A ragga cut needs a memorable anchor.
Fix: carve space with EQ Eight and keep the sub completely separate from the vocal group.
Fix: use short sends and automate them only on transitions or end words.
Fix: use velocity, clip gain, and chain volume to create call-and-response hierarchy.
Fix: check Utility width and low-end mono discipline, especially if you add widening or stereo delay.
Fix: create intro, drop, switch, and breakdown states. The same sample must behave differently in each.
Pro Tips for Darker / Heavier DnB
Mini Practice Exercise
Spend 10–20 minutes building a compact ragga cut system:
1. Find one short vocal phrase and slice it into at least 5 usable hits.
2. Build a 2-bar MIDI phrase at 174 BPM using only those slices.
3. Create two versions: one dry/punchy and one filtered/delayed.
4. Arrange 8 bars:
- Bars 1–2: teaser
- Bars 3–4: main phrase
- Bars 5–6: variation
- Bars 7–8: tension or mini switch
5. Automate filter and delay so only one or two words “throw” into space.
6. Check the entire phrase in mono and balance it against a kick/snare loop and a sub bass.
Goal: make the sample feel like part of the drum arrangement, not a featured vocal track.

