Main tutorial
Lesson Overview
The goal here is to build a system approach reese patch shape in Ableton Live 12 that behaves like a real jungle / oldskool DnB bass element, not just a static synth patch. “System approach” means you design the patch as part of a larger bass system: sub, mid reese, movement, filtering, and FX behavior all working together so the sound can carry a drop, answer the drums, and survive arrangement changes without falling apart.
This technique lives in the track as a mid-bass identity layer: it sits above the sub, often between the kick/snare pocket and the wider synth space, and gives you the snarling, rotating, detuned character that makes oldskool jungle and early DnB feel alive. In a club context, it matters because the reese has to be violent enough to energize the drop but controlled enough to keep kick impact, sub weight, and mono compatibility intact.
Best fit: jungle rollers, oldskool DnB, atmospheric break-driven tunes, darker rave-influenced drops, and halftime-to-DnB transitions that need a gritty bass presence. By the end, you should be able to build a reese patch shape that sounds wide and rude in the mids, stable in the low end, and ready to be automated or resampled into phrases. A successful result should feel like a bass line with attitude: moving, tense, and musical, but still disciplined enough to sit under drums without smearing the groove.
What You Will Build
You will build a two-part reese system in Ableton Live:
- a mono-safe low foundation that protects the sub and low-mid punch
- a detuned, animated mid reese layer that gives the patch width, grind, and motion
- a dark, rude, slightly unstable character
- a rhythmic pulse that breathes with the bar
- enough movement to feel alive, but not so much that the low end collapses
- a mix-ready shape that can be dropped into a jungle or oldskool DnB arrangement immediately
- Use subtle pitch drift, not constant wobble. A tiny amount of instability can make the reese feel haunted. Keep it slow and controlled so it reads as menace, not random movement.
- Emphasize the gap before the snare. In darker DnB, a bass note that slightly relaxes before the snare can make the backbeat hit harder. Use note length or filter automation to create that opening.
- Print several versions of the same reese. One clean, one dirtier, one filtered. Then switch between them in arrangement. That gives you tension without needing a brand-new sound every 8 bars.
- Let the break own the top end. If the reese starts stealing brightness from the drum loop, darken the bass rather than brightening the whole mix. The groove should stay legible.
- Shape the second drop harder than the first. Keep the first drop slightly more restrained, then add more filter opening, extra saturation, or a higher octave answer on the second pass. That’s a proper DnB payoff.
- If the bass is too polite, distort the mids, not the sub. The sub should stay trustworthy. The aggression belongs in the upper harmonics where the system can feel it without breaking the foundation.
- Use automation like arrangement punctuation. A one-bar cutoff lift or a short reverse print into a snare can do more for tension than adding another sound layer.
- use only Ableton stock devices
- make one mono low layer and one animated mid layer
- write only a 2-bar MIDI phrase
- no more than two saturation stages total
- does the bass still sound like one intentional instrument?
- can you hear the note shape in mono?
- does the snare still crack through the bass phrase?
- does the loop feel like a real jungle/oldskool DnB idea rather than a sound-design exercise?
- Build reese bass as a system: stable low layer + animated mid layer.
- Keep the low end mono, controlled, and boring in the best way.
- Let the mid range carry detune, movement, grit, and character.
- Check the patch against drums early, not after you’ve over-processed it.
- Use automation, note length, and resampling to turn the sound into a real DnB phrase.
- In darker jungle and oldskool DnB, the win is a bass that feels alive, rude, and mix-ready without wrecking the groove.
The finished sound should have:
In track terms, it should function like a bass instrument that can do three jobs: hold a note, answer the break, and create tension before the snare lands. If you mute the drums, it should still sound like an intentional patch; if you unmute the drums, it should stop fighting them.
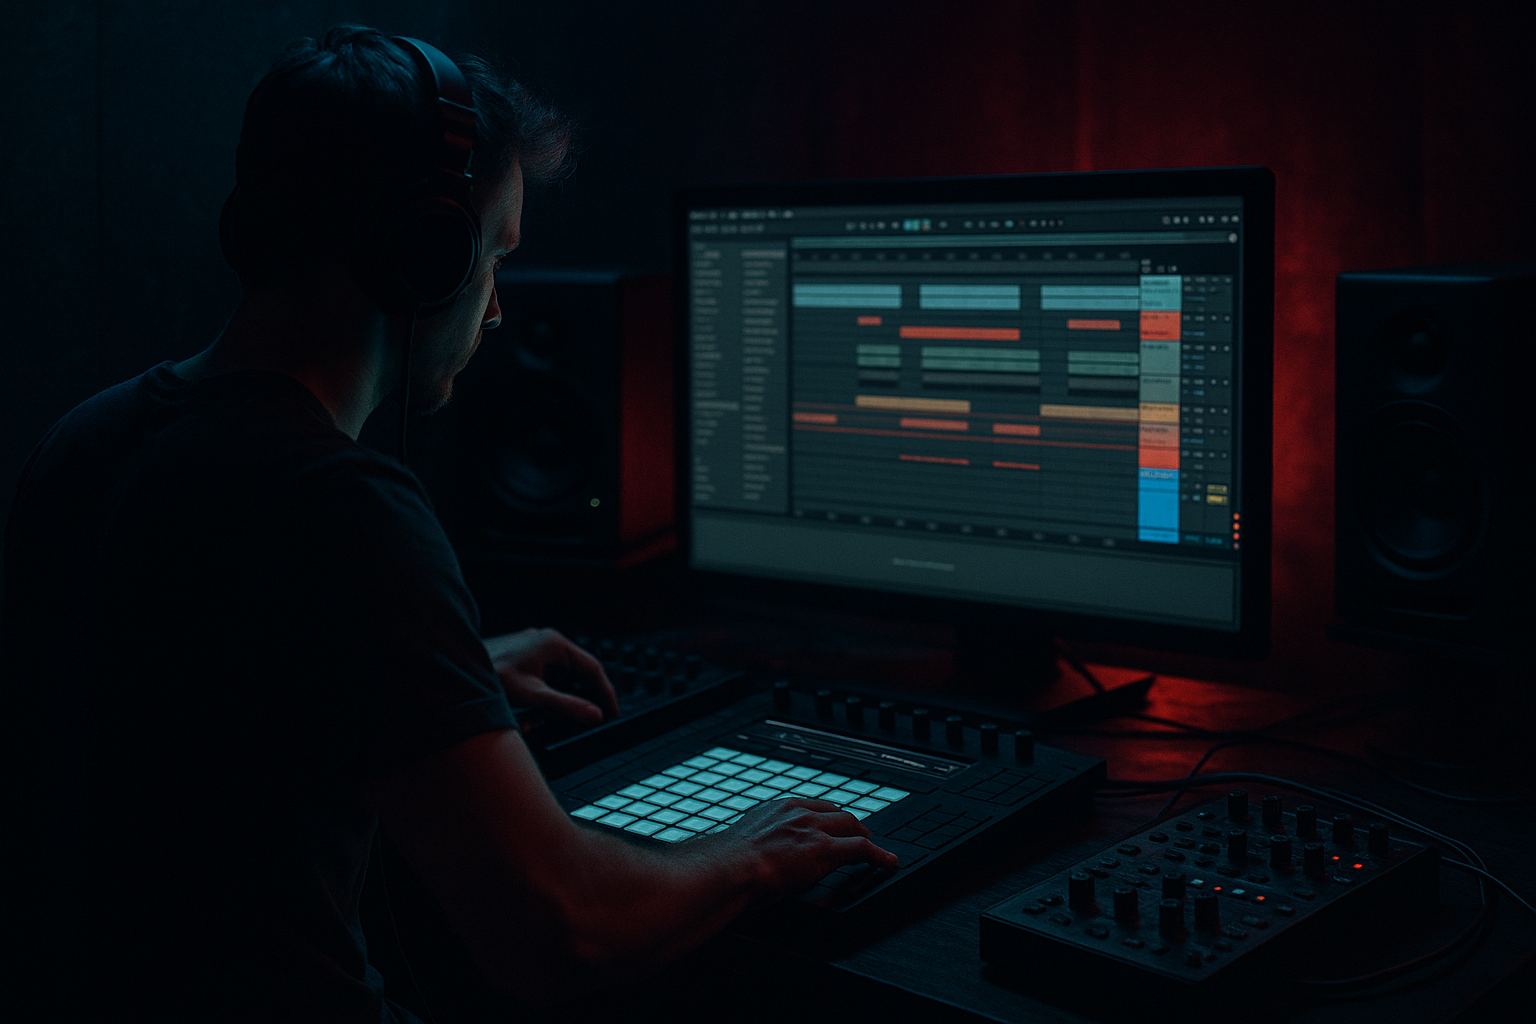
Step-by-Step Walkthrough
1. Start with a blank Instrument Rack and split the job into low and mid layers
Put an Instrument Rack on a MIDI track and create two chains: one for LOW and one for MID. This is the core “system” idea. The low chain will remain narrow and stable; the mid chain will provide the reese movement and edge.
Why this works in DnB: reese sounds usually fail when the same layer tries to be both sub-safe and wildly stereo at once. In DnB, that’s a bad trade. The club needs the low end to be predictable, while the reese energy can move above it.
Keep the low chain simple:
- Operator or Wavetable
- low-pass filtering
- gentle saturation
Keep the mid chain more aggressive:
- Operator or Wavetable
- detune / phase movement
- filter motion
- distortion or saturation
Parameter starting point:
- Low chain: keep everything below roughly 120 Hz mono and conservative
- Mid chain: let the movement live mostly 180 Hz to 1.2 kHz
If you only build one layer, you’ll constantly compromise. Splitting them early gives you control later in the arrangement.
2. Design the low layer first: a stable anchor, not a second bass
On the LOW chain, load Operator. Use a simple waveform setup: a saw or saw-ish tone with minimal complexity. Tune it to the key of the track and play a sustained note around the root and fifth in the pattern you want for the drop.
Shape it like this:
- Filter: low-pass around 90–140 Hz
- Envelope: short to medium decay, around 80–180 ms if you want a subtle push
- Saturator: light drive, around 1–3 dB
- Utility: keep it mono, or at least centered
What to listen for:
- the note should feel solid and anchored, not fuzzy
- if you solo it, it should sound boring in a good way: stable, not exciting
This is not the star. Its job is to keep the bottom of the patch from floating around.
If the low layer starts to sound too rich, you’re probably letting too much harmonic content through. In a jungle context, that can blur the kick and make the break lose its punch. Trim it back with the filter before you reach for more distortion.
3. Build the mid reese with controlled detune and phase movement
On the MID chain, load another Operator or Wavetable. This is where the personality comes from. Use two oscillators if possible, both on a saw-like or rich waveform. Detune them slightly against each other. Keep the detune modest at first.
Good starting ranges:
- oscillator detune: 5–20 cents
- unison/spread: moderate, not extreme
- filter cutoff: around 200–800 Hz to start
- resonance: low to moderate, only enough to sharpen the motion
Add an LFO or envelope movement to the filter so the tone opens and closes slightly. Keep the movement slow enough to feel like a groove, not a wobble:
- LFO rate: try 1/2, 1 bar, or 2 bars
- depth: subtle at first, then increase only if the patch still feels dead
What to listen for:
- the mid layer should sound like it is rotating or breathing
- if it becomes seasick or too synthetic, the detune depth is too high or the modulation is too fast
The classic oldskool feel comes from imperfect motion, not from heavy wobble. You want that “two oscillators not quite agreeing” character.
4. Decide between A or B: dirtier mono roar or wider stereo menace
At this point, choose the direction of the patch:
A. Dirtier mono roar
- keep the mid layer mostly centered
- use Saturator or Overdrive before widening
- good for rollers, dark minimal tunes, and heavier DJ mixes
B. Wider stereo menace
- add width only to the mid band
- keep lows mono with Utility
- good for atmospheric jungle, modernized oldskool, and more cinematic drops
If you choose A, your reese will hit more like a slab. If you choose B, it will feel more expansive, but you need stricter mono discipline.
This decision matters because in DnB, the same patch can either be a serious club weapon or a wide but weak stereo effect. For a first pass, choose based on the arrangement:
- if the drums are busy and break-driven, A is often cleaner
- if the arrangement leaves more space, B can add scale
5. Add saturation in a way that preserves the note shape
Put Saturator on the MID chain after the synth. Keep the drive moderate. You’re not trying to annihilate it; you’re trying to thicken the harmonics so the reese reads on smaller systems and through dense break layers.
Useful starting points:
- Drive: 2–6 dB
- Soft Clip: on if you want extra density
- Output: compensate so you are not fooled by loudness
If the patch feels weak, don’t automatically add more drive. First check whether the filter is too closed or the oscillators are too similar. Saturation exaggerates what’s already there; it doesn’t create character from nothing.
What to listen for:
- the reese should gain grain and urgency
- the note should still change clearly when you move it up or down the MIDI clip
If the low mids get cloudy around 200–400 Hz, reduce drive or use EQ after saturation to trim the boxiness.
6. Shape the movement with filtering and automation, not random modulation
In a real DnB drop, the reese should evolve with the phrase. Use Auto Filter on the MID chain or on the full rack output, but be careful where you place it. If you filter the entire sound too aggressively, you can starve the low anchor. If you filter only the mid chain, you preserve solidity.
Try this:
- Auto Filter cutoff around 250–1,200 Hz depending on the section
- gentle resonance, enough to emphasize the sweep without whistling
- automate cutoff in 4-bar phrases or 8-bar phrases
A useful jungle move: open the filter slightly on the last half of a 4-bar phrase so the bass “steps forward” into the snare. Close it again at the start of the next phrase to reset tension.
A versus B here:
- A: Smooth phrase motion for rollers and deeper oldskool tension
- B: Choppy automation jumps for more aggressive break edits and fake-outs
Both are valid. Smooth automation keeps the bass musical; stepped automation makes it feel more like a weapon.
7. Check it against the drums before you over-finish the sound
Now bring in your break or drum loop. This is a crucial check in context. In jungle and oldskool DnB, the bass cannot be judged in isolation because the break’s midrange activity changes everything.
Put the reese against:
- a kick/snare pattern
- a chopped break
- and, if relevant, a simple sub note underneath
Listen for two things:
- does the bass leave enough space for the snare crack?
- does the bass smear the kick transient or the break’s ghost notes?
If the bass masks the snare, reduce the reese energy around 180–250 Hz or shorten the amp envelope slightly. If it fights the break’s shuffle, simplify the MIDI rhythm so the bass lands on more intentional moments instead of every available space.
A strong result should feel like the bass is leaning into the break rather than flattening it.
8. Give the patch a rhythmic shape that fits jungle phrasing
Write a simple 2-bar or 4-bar bass phrase. Don’t make it too busy. Oldskool jungle often works best when the bassline is restrained but pointed. A good starting idea:
- Bar 1: long held note
- Bar 2: held note with a short pickup before the snare
- Bar 3: small variation or octave move
- Bar 4: turnaround note or filter rise into the next section
Use note length as a shaping tool. Shortening the final note of a phrase can make the next downbeat feel heavier. Lengthening a note into the snare can create pressure.
Arrangement example:
- Intro: filtered reese tease, no full low anchor
- Drop 1: full system approach enters with drums
- Mid-section: one bar stripped down to just break and bass tail
- Drop 2: same pattern but with more automation movement or a higher octave answer
This is where the patch becomes musical, not just sound-designed.
9. Print or freeze the sound once the shape is working
If the patch is sounding right, commit this to audio if the movement is performance-ready. In DnB, resampling is often the difference between endless tweaking and actually finishing the tune.
Print the MID chain or the whole rack to audio when:
- the movement feels good
- the filter automation is locked
- the patch is playing the right role in the section
Why commit here:
- you can edit transients and phrase starts faster
- you can reverse, chop, or pitch details into fills
- you stop the sound from drifting every time you reopen the project
Workflow efficiency tip: name your printed files clearly, like “reese_mid_print_174bpm_01”. That saves time when you’re building the second drop or making a breakdown version.
10. Finish with mix discipline: mono, low-mid control, and translation
Put Utility on the low end or the full rack as needed and check mono. If the patch loses all the attitude in mono, the width is doing too much of the musical job. In a club, that’s risky.
Practical checks:
- mono the low layer
- keep the sub under 120 Hz centered
- if the mid layer has width, make sure its core still exists in mono
- use EQ Eight to control any harsh buildup around 2–5 kHz if the reese starts biting too hard
A very usable final shape is:
- low chain: mono, clean, stable
- mid chain: slightly widened, saturated, animated
- overall output: controlled so the drums still hit first
Stop here if the bass already works with the break and the snare is landing clean. Don’t keep polishing until you remove the character. In this style, “finished” often means the sound is clear enough to survive the mix and rude enough to carry the drop.
Common Mistakes
1. Making the whole reese wide, including the low end
Why it hurts: the bass loses center weight and becomes weak in mono, which is deadly for DnB club playback.
Fix: keep the low chain mono with Utility and limit width to the mid band only.
2. Using too much detune too early
Why it hurts: the patch turns into a blurry wash instead of a controlled reese.
Fix: reduce oscillator detune to a smaller range and let saturation and filter motion create the excitement.
3. Over-filtering the entire patch
Why it hurts: you remove the note identity and the bass disappears under the drums.
Fix: filter only the mid layer, or keep the main cutoff higher and automate it more subtly.
4. Letting saturation overload the low mids
Why it hurts: the bass gets cloudy around 200–400 Hz and fights the break’s body.
Fix: back off drive, then use EQ Eight to trim mud after saturation.
5. Writing too many bass notes
Why it hurts: the reese stops supporting the break and starts competing with it rhythmically.
Fix: simplify the MIDI to longer notes and intentional pickups; let the drums do more of the movement.
6. Ignoring mono compatibility until the end
Why it hurts: the patch can sound huge in stereo but collapse in the room or on vinyl-style club systems.
Fix: check mono early, especially on the low layer and the core of the mid layer.
7. Tuning the patch without checking the full drum/bass relationship
Why it hurts: a bass that sounds strong solo may mask the snare or kick once the break comes in.
Fix: test the sound against the actual drum loop before finalizing the tone.
Pro Tips for Darker / Heavier DnB
Mini Practice Exercise
Goal: build a usable oldskool DnB reese system that works with drums, not just in solo.
Time box: 15 minutes
Constraints:
Deliverable:
A bounced 2-bar loop containing drums and your reese system, plus one filtered version for an intro or breakdown.
Quick self-check:
Mute the drums for 5 seconds, then bring them back. Ask:
If the answer to the first three is yes, the patch is doing its job.

