Main tutorial
Lesson Overview
This lesson is about rebuilding a Think-style amen variation from scratch in Ableton Live 12 and making it feel like a real DnB record element, not just a chopped break on repeat. In darker Drum & Bass, the amen is rarely left “raw” for long — it gets edited, layered, filtered, resampled, and arranged to support the drop, the vocal hook, and the bass movement.
Because this lesson sits in the Vocals category, we’re going to treat the amen variation like a rhythmic answer to the vocal: it should leave space for the phrase, accent the emotional contour, and help the track feel like it’s “speaking” in call-and-response. That’s a huge part of modern DnB arrangement. The vocal leads the listener, and the drums comment on it.
Why this technique matters:
- It gives you a signature break identity instead of a generic loop.
- It helps you build drop momentum with subtle variation instead of constant new layers.
- It creates room for vocal chops, atmospheres, and bass call-and-response.
- It makes your drums feel more intentional, especially in rollers, darkstep, and neuro-adjacent DnB.
- A tight main amen groove with edited transients, ghost notes, and punchy swing
- A variation version for the second half of the phrase with extra fills and push-pull energy
- A vocal-friendly gap structure so the break doesn’t fight a lead phrase
- A parallel drum bus with controlled saturation and glue
- A subtle resampled texture layer that makes the break feel like it belongs in a finished record
- A drop-ready arrangement where the drums can answer the vocal line and escalate into the next section
- Bar 1–4: the listener gets the base groove
- Bar 5–8: the groove shifts slightly under the vocal
- Bar 9–12: more intensity, more fills, more urgency
- Bar 13–16: a lift or a teardown that tees up the next phrase
- Over-chopping the amen
- Letting the break fight the vocal
- Too much compression on the drum group
- Bass and kick occupying the same low-end space
- No variation between phrase sections
- Using stereo effects on the low-end break slices
- Resample through saturation, not just EQ
- Use micro-mutes for tension
- Layer a noisy top with restraint
- Let the vocal dictate drum density
- Try parallel distortion on a return
- Keep the snare emotionally central
- Use automation as arrangement, not decoration
- Rebuild the amen as a phrase-aware DnB drum part, not a static loop.
- Use slicing, ghost notes, layer discipline, and resampling to create movement.
- Let the vocal shape the drum density.
- Keep the kick, snare, and low end clear with careful EQ, compression, and mono discipline.
- Add variation every 4 or 8 bars so the drop feels arranged, not repeated.
- Use Ableton stock tools like Drum Rack, Simpler, Drum Buss, EQ Eight, Glue Compressor, Auto Filter, Saturator, and resampling to make it sound like a finished record.
We’re going to rebuild the idea from scratch in Ableton Live 12 using stock tools, with a focus on tight edits, believable break motion, and vocal-aware arrangement. 🔥
What You Will Build
By the end, you’ll have a 16-bar amen-based drum variation that works like this:
Musically, think of it as:
This is the kind of drum programming that works in Think-inspired DnB, but also translates well to rollers, darker dancefloor, and jungle-informed modern writing.
Step-by-Step Walkthrough
1. Set up the session like a real DnB writing template
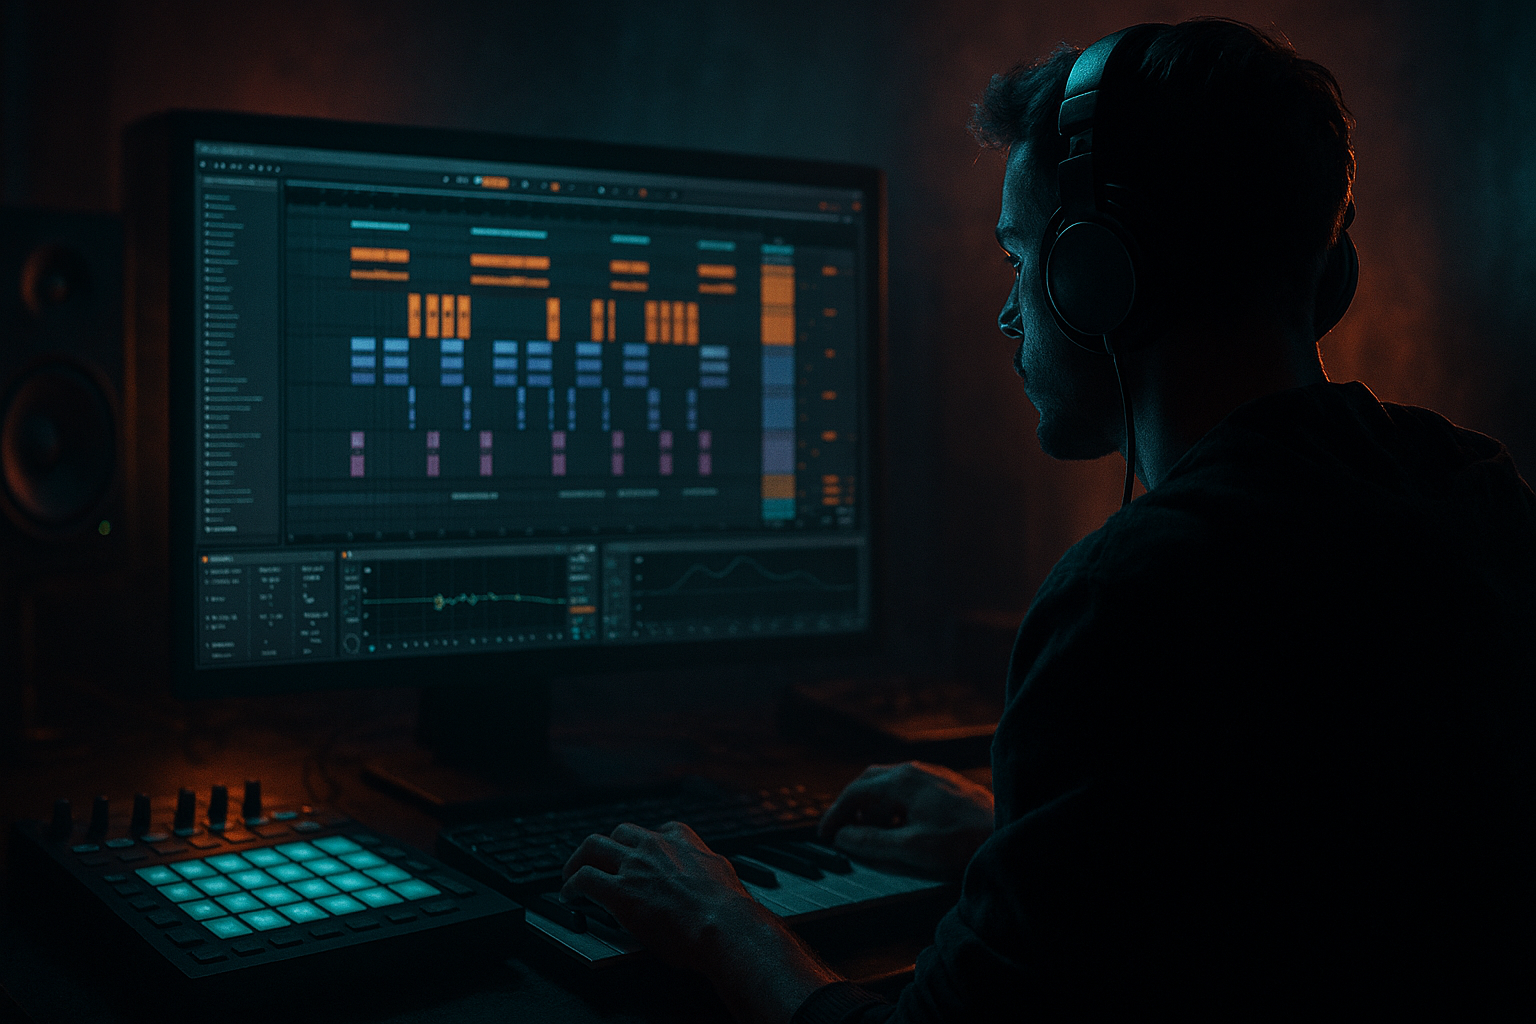
Start with a clean Ableton Live 12 project at 174 BPM. Put your arrangement markers or locators at 8-bar or 16-bar phrases right away. That makes the break rebuild feel like part of a track, not a loop exercise.
Create these tracks:
- Drum Group
- Bass
- Vocal
- FX / Atmos
- Resample Print
On the Drum Group, add a basic chain:
- Drum Buss
- EQ Eight
- Glue Compressor or Compressor if you want stronger transient control
Keep your track colors organized. For this lesson, the vocal track matters even if the vocal is just a placeholder phrase or chopped snippet. The amen variation should be built around where the voice lands.
Why this works in DnB: fast tempos punish messy arrangement. If you build the phrase map first, your drums automatically become more musical and easier to place around the drop.
2. Pull in the amen and slice it the smart way
Drop your amen into an audio track and listen for the strongest 1-bar or 2-bar phrase. Don’t just loop the first clean section — pick a bar with character, ideally one with a strong snare, some ghosting, and a bit of tail.
Right-click the clip and choose:
- Slice to New MIDI Track
- Slice by Transient or 1/16 if the break is sloppy
- Use the default slice preset if needed, then clean later
Once sliced, open the Drum Rack. You’re looking for useful pieces:
- Kick
- Main snare
- Ghost snares
- Hats
- Small cymbal hits
- Any useful tail/noise slices
Now duplicate the MIDI clip and build two versions:
- Main groove
- Variation groove
A good starting pattern:
- Keep the snare on 2 and 4
- Let the amen ghost notes fill the spaces around the vocal
- Remove any slices that clutter the phrase
- Use a few intentional gaps so the groove breathes
If the amen is too busy, use fewer slices rather than more. In DnB, restraint often sounds heavier because the important hits land harder.
3. Rebuild the kick-snare backbone with layer discipline
The amen is not always enough on its own for a modern DnB drop. Reinforce the backbone without killing its character.
Add layered one-shots in the Drum Rack:
- A tight kick under the amen kick
- A clean snare or clap layer under the main break snare
- Optional short rim or top layer for extra snap
Stock device choices:
- Simpler for one-shots
- Drum Rack for layering
- EQ Eight on each pad if needed
Practical settings:
- High-pass the snare layer around 120–180 Hz
- If the kick layer is clashing, cut some boxy mids around 250–400 Hz
- On the kick layer, keep the sub short and controlled; don’t let it smear into the bass
Use Velocity in the MIDI clip to add human movement. For ghost hits, keep velocities around 35–70. For main backbeats, push them higher, around 90–120 depending on sample headroom.
This gives you the classic “broken break + reinforced modern punch” hybrid that works in rolling and darker DnB.
4. Shape the groove with Swing, timing, and ghost-note logic
In Ableton Live 12, use the groove system with taste. Drag a groove from the Groove Pool onto the MIDI clip or audio clip if the chopped slices are behaving well.
Good starting point:
- Swing amount: 52–58%
- Keep timing adjustments subtle
- Avoid over-quantizing the break, or it will lose its push
If you’re working MIDI-only from slices, you can manually nudge certain ghost hits:
- Push a hat slightly ahead to create urgency
- Place a ghost snare slightly behind the grid for drag
- Leave one tiny pocket before the vocal phrase so the line can land clearly
Add a tiny automation move with the Clip Envelope or MIDI velocity:
- Lower the ghost notes during vocal lines
- Raise them in the gaps between phrases
This is where the lesson becomes “Think system edit” rather than generic amen chopping. The break variation should behave like a supporting line in the arrangement, not a loop trying to dominate everything.
5. Create the vocal-aware variation by carving frequency and rhythm
Now design the actual “variation rebuild from scratch” logic. This means the break changes depending on where the vocal is.
In bar sections where the vocal is active:
- Remove one or two busy hat slices
- Muted a redundant ghost snare
- Keep the main snare, kick, and one or two signature break flicks
In sections where the vocal leaves space:
- Bring back extra hat chatter
- Add a small fill before the downbeat
- Let the break become more animated
Use EQ Eight on the Drum Group to carve around the vocal:
- A gentle cut around 2.5–5 kHz if the break competes with consonants
- If the vocal is dark and intimate, leave more upper-mid air in the break
- High-pass any overly noisy slices above 120 Hz if they don’t carry body
Musical context example: if your vocal says a line like “don’t look back” on bars 5–6, let the amen pattern thin out underneath that statement. Then on bar 7 or 8, bring in a fill or extra break chop as the response. That tension-release keeps the drop moving.
6. Resample the break into a playable texture
Once the edited pattern feels right, resample it. Route the Drum Group to Resample Print or record the output to a new audio track.
Why resample:
- It freezes the groove
- It gives you a unified texture
- It makes later arrangement faster
- It lets you process the break as one performance instead of many separate slices
After recording, try these stock processing moves:
- Warp the audio carefully if needed, but avoid over-stretching
- Use Simpler in Classic mode for a chopped re-trigger feel
- Add Saturator with Drive around 1–4 dB
- Use Drum Buss with Drive 5–15%, Crunch low to moderate, and Boom only if it doesn’t interfere with the bass
Then duplicate the resampled track and make a second version:
- One clean/intelligible
- One dirtier/more crushed
Blend them lightly. This gives your amen variation that finished “record” feeling without overcooking the transient shape.
7. Build bass interaction so the drums and vocal don’t fight
Even though this is a drum-focused lesson, the break variation only works if the bass and vocal are designed around it.
For the bass track, use a stock chain like:
- Operator or Wavetable for the main bass tone
- Auto Filter
- Saturator
- EQ Eight
Practical low-end choices:
- Keep the sub mono
- Leave room for the kick transient
- Use short bass envelopes in the drop if the break is busy
- If the vocal is dense, simplify the bass rhythm during the same bars
A classic DnB call-and-response move:
- Vocal phrase in bars 1–2
- Bass response in bar 2 late phrase
- Amen fill in the last half of bar 2
- Full drum-bass hit in bar 3
This is why the technique works in DnB: the genre thrives on interlocking rhythm layers. The break variation isn’t just percussion — it’s part of the arrangement conversation.
8. Automate movement and transitions with stock Ableton tools
Add automation to make the break feel alive across the section:
- Auto Filter on the Drum Group for intro-to-drop tension
- Reverb send on selected snare hits before transitions
- Delay throws on specific vocal phrases, with drums briefly thinning out after
Useful automation ideas:
- Sweep a high-pass filter on the break from around 150 Hz down to full range into the drop
- Automate Drum Buss Drive up slightly for the second half of the drop
- Mute a hat slice for one bar before a switch-up
- Add a short reverb send to the last snare before a new phrase
If you want a darker, more cinematic transition, use an Impulse response-like feel with short reverb tails and then hard-cut the break back in. That contrast is huge in modern heavy DnB.
9. Balance the drum bus for punch without flattening the break
On the Drum Group, use Drum Buss or Glue Compressor carefully.
Starting points:
- Glue Compressor: Ratio 2:1, Attack 10 ms, Release Auto or 0.3 s, just 1–2 dB of gain reduction
- Drum Buss: Drive lightly, Transients slightly positive, Boom only if the kick needs extra weight
Then check the group in mono.
- If the hats disappear or the snare gets thin, reduce stereo widening
- If the break feels small in mono, your layer balance needs fixing, not more compression
Keep headroom in the master. Don’t chase loudness here. The goal is a groove that punches and leaves space for the bass to hit.
10. Arrange the variation into a real DnB phrase
Turn the pattern into a section that could live in a finished track.
A practical 16-bar arrangement:
- Bars 1–4: stripped vocal intro with filtered break hints
- Bars 5–8: main amen variation under the vocal
- Bars 9–12: fuller break and bass response
- Bars 13–16: fill, stop, or energy lift into the next drop
Add one switch-up:
- A half-bar break fill before bar 9
- Or a one-beat drum stop before the vocal phrase returns
In a Think-style darker DnB context, that kind of arrangement makes the drop feel deliberate and cinematic, not random. It also helps DJs mix the track because the phrasing is clear and the transitions are readable.
Common Mistakes
- Fix: keep a few recognizable break signatures instead of slicing every transient into chaos.
- Fix: thin out ghost hits during vocal phrases and carve a small midrange pocket with EQ Eight.
- Fix: aim for subtle glue, not crushed punch. If the break loses bounce, back off.
- Fix: shorten bass notes, trim sub overlap, and check the kick’s fundamental against the bass root.
- Fix: create at least one small change every 4 or 8 bars: fill, mute, hat swap, filter move, or resampled texture.
- Fix: keep the serious punch elements centered. Use width only on high percussion or textures.
Pro Tips for Darker / Heavier DnB
- A lightly driven resample often sounds more “finished” than endless corrective processing.
- Cutting one hat or ghost snare for a single hit can make the next backbeat feel massive.
- A filtered break top or vinyl-style hiss can add menace, but keep it above the core punch.
- During emotional lines, simplify. During responses, intensify. That contrast feels expensive.
- Send the Drum Group to a return with Saturator, EQ Eight, and maybe Redux very lightly. Blend in just enough grit to thicken the break.
- In heavier DnB, the snare is often the anchor. If the variation loses snare identity, the whole drop can collapse.
- A small filter move or transient lift at the right bar can do more than adding another layer.
Mini Practice Exercise
Spend 10–20 minutes and build this:
1. Set your project to 174 BPM.
2. Import an amen and slice it to a Drum Rack.
3. Make a 4-bar groove with:
- One main snare anchor
- Two or three ghost hits
- One small fill at the end of bar 4
4. Add a mock vocal phrase using any short spoken sample or a placeholder vocal chop.
5. Rebuild the groove so it leaves space for that vocal phrase.
6. Resample the result and make a second, dirtier version with Saturator or Drum Buss.
7. Arrange the two versions across 8 bars:
- Bars 1–4: simpler
- Bars 5–8: fuller or more intense
8. Check the whole thing in mono and adjust the low end so the kick and bass space is clear.
Goal: by the end of the exercise, you should have one amen variation that feels like it was programmed around a vocal, not just dropped in on top of it.

