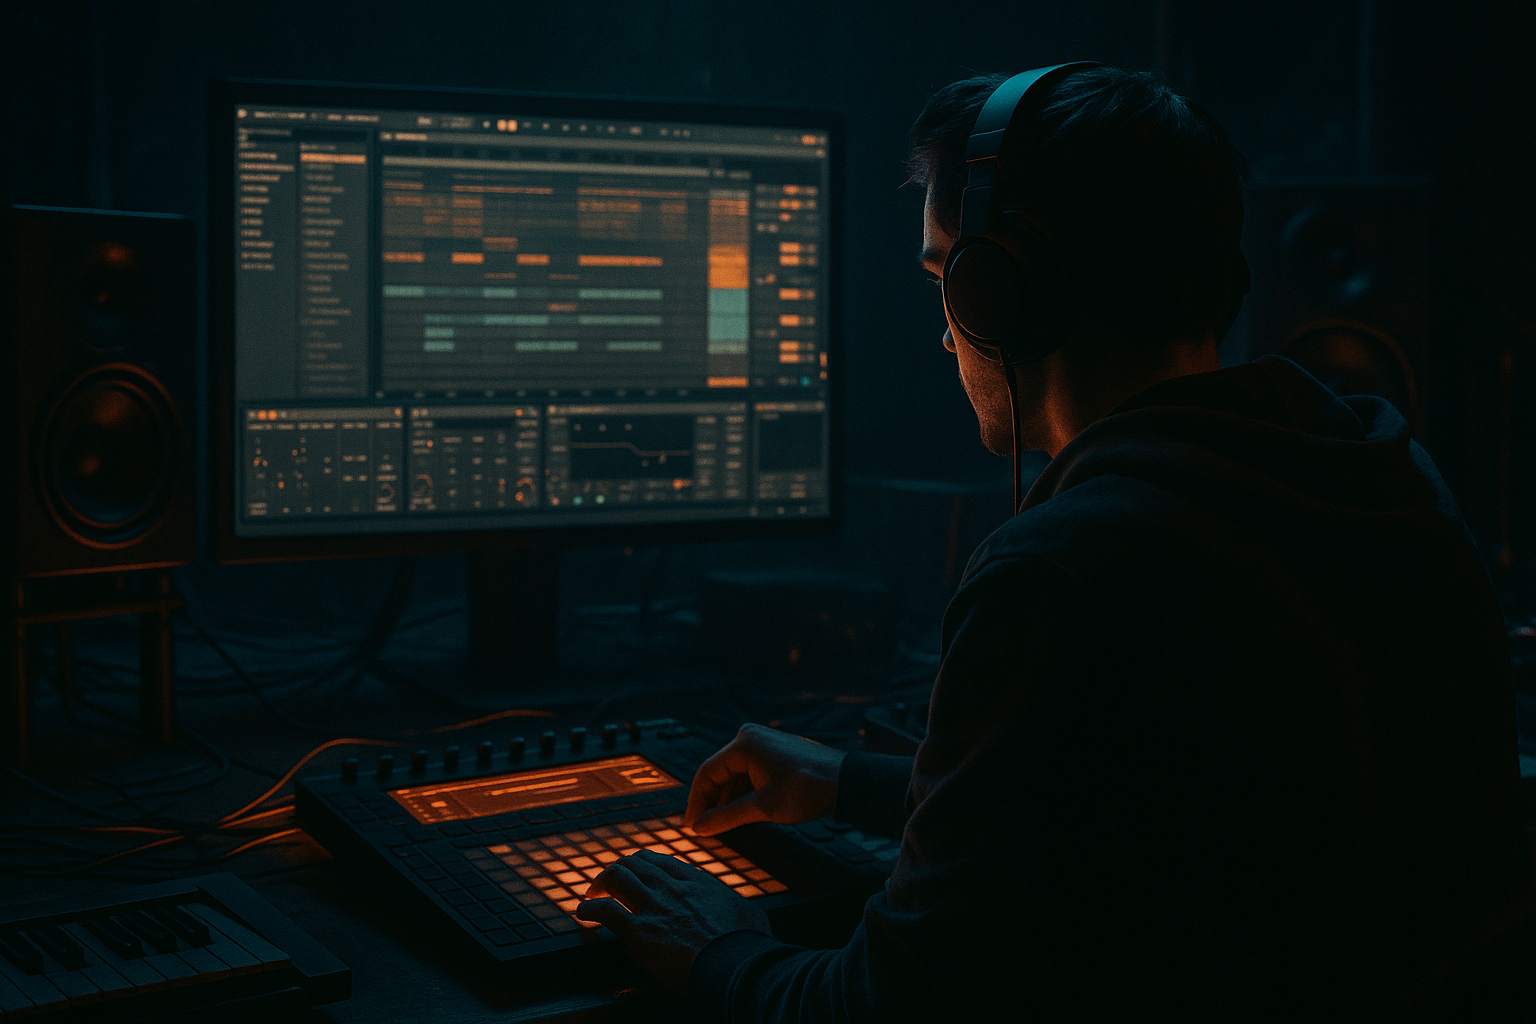
Main tutorial
Tighten an Impact with Minimal CPU Load in Ableton Live 12 for Jungle / Oldskool DnB Vibes 🥁⚡
1. Lesson overview
In jungle and oldskool DnB, an impact is more than just a kick or a hit — it’s the punchy transition element that makes a drop, fill, or phrase change feel harder, tighter, and more intentional. That could be:
- a sub-heavy impact
- a kick + tom + snare stack
- a reversed break hit
- a cinematic hit layered under a break
- a resampled “smash” used to mark a drop or turnaround
- use simple stock devices
- resample or flatten when needed
- keep transients clean
- process the impact in a streamlined chain
- shape space around it with arrangement, not lots of plugins
- drop transitions
- bar-end fills
- rewind-style hits
- impact accents over breaks
- atmosphere hits in darker rollers
- Drum Buss
- EQ Eight
- Glue Compressor
- Saturator
- Utility
- Transient shaping via envelope editing / clip gain
- optional Reverb and Limiter on returns or audio tracks
- strong transient
- controlled low end
- short decay
- mono-compatible punch
- low CPU footprint
- a snappy kick
- a short tom
- a snare layer
- a single break hit
- a resampled hit from your own drum rack
- a fast attack
- a short tail
- enough low-mid body to feel weighty
- no overly bright click unless you want that
- zoom in on the waveform
- move the start marker to the exact transient
- remove silence before the hit
- shorten the clip so it ends just after the tail
- use the Gain envelope in the clip
- or fade out the tail manually in Arrangement View
- reduce level if the sample is too hot
- aim for headroom so the chain doesn’t overload
- add a very short fade in only if there’s a click
- keep fade-ins tiny — just enough to avoid pops
- shorten the release so the tail doesn’t smear the groove
- on the bar = clean and direct
- a touch early = more urgency
- after the bar = tension / drag / reggae-influenced feel
- Width: 0% if the hit has low-end weight and you want mono solidity
- or Width: 70–100% if it’s a top-end smash that needs stereo energy
- use Gain to trim before processing
- High-pass around 25–35 Hz to remove rumble
- Cut muddy area around 200–400 Hz if the hit sounds boxy
- Small boost around 80–120 Hz if the impact needs body
- Small presence boost around 2–5 kHz if the transient needs more crack
- Band 1: HP filter at 30 Hz, 24 dB/oct
- Band 2: Bell cut at 300 Hz, -2 to -4 dB, Q around 1.2
- Band 3: Bell boost at 90 Hz, +1 to +3 dB if needed
- Band 4: Bell boost at 3.5 kHz, +1 to +2 dB for attack
- punch
- saturation
- low-end weight
- controlled transient shape
- Drive: 5–15%
- Crunch: low, around 0–10% if you want subtle grit
- Boom: use carefully
- Transient: +5 to +20 depending on the sample
- Damp: adjust to tame top-end harshness
- Transient mode: emphasize attack, not smear
- Soft Clip: ON
- Drive: 1–5 dB
- Output: compensate so you’re not fooled by volume
- Optional Analog Clip mode if it suits the rougher vibe
- Attack: 3 ms or 10 ms
- Release: Auto or 0.1–0.3 s
- Ratio: 2:1 or 4:1
- Threshold: just enough for 1–3 dB gain reduction
- Soft Clip: ON if needed
- transient remains strong
- body stays controlled
- tail doesn’t jump out too much
- place the impact at the end of a 4-bar or 8-bar phrase
- layer it with a snare fill or break chop
- use it just before the drop for tension
- double it with a reversed cymbal or reverse break hit
- bars 1–3: breakbeat variation
- bar 4: fill into impact
- next bar: drop into full rhythm and bass
- much lower CPU
- simpler session
- easier arrangement
- faster editing
- Reverb with short decay
- EQ Eight after it
- send only a small amount from the impact
- Decay: 0.4–1.2 s
- Pre-delay: 10–25 ms
- Low Cut: around 200–400 Hz
- High Cut: 6–10 kHz
- sidechain from the impact
- fast attack
- short release
- only a few dB of reduction
- Freeze the track if it’s MIDI-based
- Flatten if you want it permanently rendered
- or simply bounce to audio
- layered breaks
- Reese bass
- atmospheres
- dub delays
- FX
- try -1 to -4 semitones
- don’t overdo it or the transient can lose bite
- Saturator drive a bit harder
- Drum Buss Crunch low, but present
- avoid fizzy top-end unless it suits the tune
- dry version
- saturated version
- reverb version
- extra-thick version
- clean punch
- dirty jungle hit
- dark reese-friendly impact
- start with a short, punchy source
- trim the transient and tail
- use a minimal stock chain
- control low end with Utility + EQ Eight
- add punch with Drum Buss
- thicken with Saturator
- stabilize with Glue Compressor
- use resampling to save CPU
- place the impact musically in the arrangement
The challenge is making it tight and punchy without chewing up CPU. In Ableton Live 12, the best solution is usually:
This lesson shows how to build a clean, aggressive impact that fits jungle / oldskool DnB and stays lightweight enough for a busy project. 🔥
---
2. What you will build
You’ll create a tight drum-and-bass impact chain that can be used for:
Your final chain will use stock Ableton tools only, such as:
The goal is:
---
3. Step-by-step walkthrough
Step 1: Choose the source sound wisely
For jungle and DnB, the best impact sources are usually:
Avoid starting with a huge cinematic sample that already has long reverb tails and wide stereo junk unless you plan to strip it down.
#### Best source traits
Pick a sample that has:
If you want a classic oldskool feel, a break-derived impact is often better than a polished EDM hit.
---
Step 2: Put the impact in a Simplified Drum Rack or audio track
#### Option A: Drum Rack
Use this if you want the impact to be part of a larger break kit.
1. Load a Drum Rack.
2. Drop your impact sample into one pad.
3. Keep the pad chain simple:
- Utility
- EQ Eight
- Drum Buss or Saturator
This is great if you’re triggering the hit alongside breaks, snares, and ghost notes.
#### Option B: Audio track
Use this if the impact is a one-shot event in arrangement.
1. Drag the sample onto an audio track.
2. Trim the clip start precisely at the transient.
3. Warp only if needed — if the sample is one-shot, often Warp Off is cleaner and lighter.
For minimal CPU, audio tracks are often the leanest choice.
---
Step 3: Tighten the sample at the source
Before adding effects, do the cleanup work first.
#### In Clip View:
If there’s a long tail and you don’t need it:
#### Why this matters
A lot of “muddiness” in impact samples is actually just too much tail.
For jungle and oldskool DnB, you want impact hits to hit and move on. Let the breakbeat keep the groove flowing.
---
Step 4: Shape the transient with Gain and envelopes first
Before compression, try simple editing.
#### Use clip gain / track volume
#### If using an audio clip:
#### For arrangement impact hits:
Make sure the hit lands slightly before or exactly on the bar line depending on vibe:
For oldskool DnB, that placement matters a lot.
---
Step 5: Build a light CPU-friendly chain
Here’s a very effective stock chain:
Device chain:
Utility → EQ Eight → Drum Buss → Saturator → Glue Compressor
This is simple, powerful, and efficient.
---
5a. Utility: control width and gain
Place Utility first.
#### Settings:
#### Rule of thumb
If the impact has sub or low bass content, keep it mono.
Oldskool DnB hits feel harder when the low end is centered and tight.
---
5b. EQ Eight: clean up unnecessary frequencies
Use EQ Eight to shape the impact before enhancement.
#### Typical moves:
#### Example settings
Keep boosts subtle. In DnB, the groove is already busy.
---
5c. Drum Buss: the fast punch tool
Drum Buss is brilliant for this job because it adds:
#### Good starting settings:
#### Important DnB note
For a jungle impact, Drum Buss can make it feel more “finished” without needing multiple plugins.
If the hit already has enough sub, reduce Boom or turn it off. Too much Boom can clutter the low end in a fast breakbeat mix.
---
5d. Saturator: add density without huge CPU load
Use Saturator after Drum Buss if you want more perceived loudness and thickness.
#### Settings:
#### Why this helps
Saturation makes the impact feel closer and more aggressive without needing more compression.
For darker DnB, subtle saturation can make a hit feel like it belongs in the mix without becoming glossy.
---
5e. Glue Compressor: final control, not heavy squashing
Use Glue Compressor to keep the impact stable and coherent.
#### Starting point:
#### Goal
You’re not trying to flatten the sound. You want:
If the impact is meant to be explosive, use less compression and more transient shaping.
---
Step 6: Make it fit the breakbeat groove
In jungle and oldskool DnB, the impact should feel like part of the rhythm, not a random block of audio.
#### Practical arrangement ideas:
#### Try this classic structure:
The impact should support the transition rather than steal all the attention.
---
Step 7: Use resampling to save CPU and lock the sound in
This is one of the biggest CPU-saving moves in Ableton.
#### How to do it:
1. Set up your chain.
2. Route the track to Resampling or create a new audio track.
3. Record the processed impact.
4. Consolidate the new audio clip.
5. Disable the original device chain if you don’t need it live.
#### Benefits:
For a large DnB project with breaks, bass modulation, atmospheres, and FX, this is a huge win.
---
Step 8: Add space carefully, preferably with return tracks
If you want the impact to feel bigger, do not drown it in insert reverb.
Instead:
#### Use a Return Track:
#### Suggested reverb setup:
This keeps the punch clear while giving oldskool space.
For darker DnB, a short dark room or plate-style reverb works better than a glossy huge hall.
---
Step 9: Sidechain the impact only if needed
If the impact lands with bass or pads, sidechain it lightly so it cuts through.
#### Use Compressor or Glue Compressor on the bass bus:
But if the impact is already clean and arranged well, you may not need sidechain at all.
In DnB, arrangement often solves masking better than over-processing.
---
Step 10: Freeze, flatten, or bounce when the sound is right
Once the impact is working:
This is ideal when you’ve dialed in the perfect jungle hit and want to preserve CPU for:
---
4. Common mistakes
1. Over-processing the impact
Too many compressors, exciters, and wideners will make the hit soft or noisy.
Fix: keep the chain short and intentional.
2. Too much low end
If the impact and bass both own the sub region, the mix turns into mud.
Fix: high-pass below 25–35 Hz and use Utility to control stereo width.
3. Long tails that blur the groove
A jungle impact should support the rhythm, not smear across it.
Fix: trim the clip and shorten the tail.
4. Making it too wide
Wide low end kills punch and phase coherence.
Fix: mono the bottom, widen only the top if necessary.
5. Using heavy reverb on the insert
This wastes CPU and makes the hit less clear.
Fix: use a short send reverb and EQ it.
6. Ignoring arrangement
Even a great impact can feel weak if it lands in the wrong place.
Fix: place it at phrase changes, fills, and drop transitions.
---
5. Pro tips for darker/heavier DnB
Tip 1: Use a break fragment as the transient source
Take a chopped hit from a classic break, then layer a kick underneath it.
That gives you instant jungle character.
Tip 2: Pitch the impact slightly down
Dropping the sample a couple semitones can make it feel heavier and more ominous.
Tip 3: Add controlled grime with Saturator or Drum Buss
For darker DnB, a little edge goes a long way.
Tip 4: Keep the impact mono below the midrange
Use Utility or EQ strategy to keep the body solid in the center.
Tip 5: Layer with a reversed noise or break swell
A short reverse hit before the impact can make the drop feel huge without much CPU.
Tip 6: Use silence as impact enhancer
In oldskool DnB, a tiny gap before the hit can make it feel much bigger.
Tip 7: Render multiple versions
Create:
Then use the right one depending on section. That’s a very pro jungle workflow.
---
6. Mini practice exercise
Goal
Build one impact and make it work in a 4-bar jungle transition using only stock Ableton devices.
Exercise steps
1. Pick a short kick, snare, or break hit sample.
2. Put it on an audio track or Drum Rack.
3. Tighten the clip start to the transient.
4. Add this chain:
- Utility
- EQ Eight
- Drum Buss
- Saturator
- Glue Compressor
5. Make a version with:
- mono low end
- a small 300 Hz cut
- subtle saturation
- 1–2 dB compression
6. Place it at the end of bar 4 in a loop.
7. Add a reversed cymbal or break tail before it.
8. Compare:
- too long vs trimmed
- too wide vs mono
- too clean vs slightly saturated
Challenge
Make three variants:
Then choose the one that best supports the bassline and break rhythm.
---
7. Recap
To tighten an impact in Ableton Live 12 for jungle and oldskool DnB:
The biggest win is this:
tightness comes from editing, arrangement, and disciplined processing — not from piling on more plugins. 🎛️
If you want, I can also turn this into:
1. a rack preset recipe for Ableton Live 12, or
2. a full jungle break impact chain with exact device settings.

