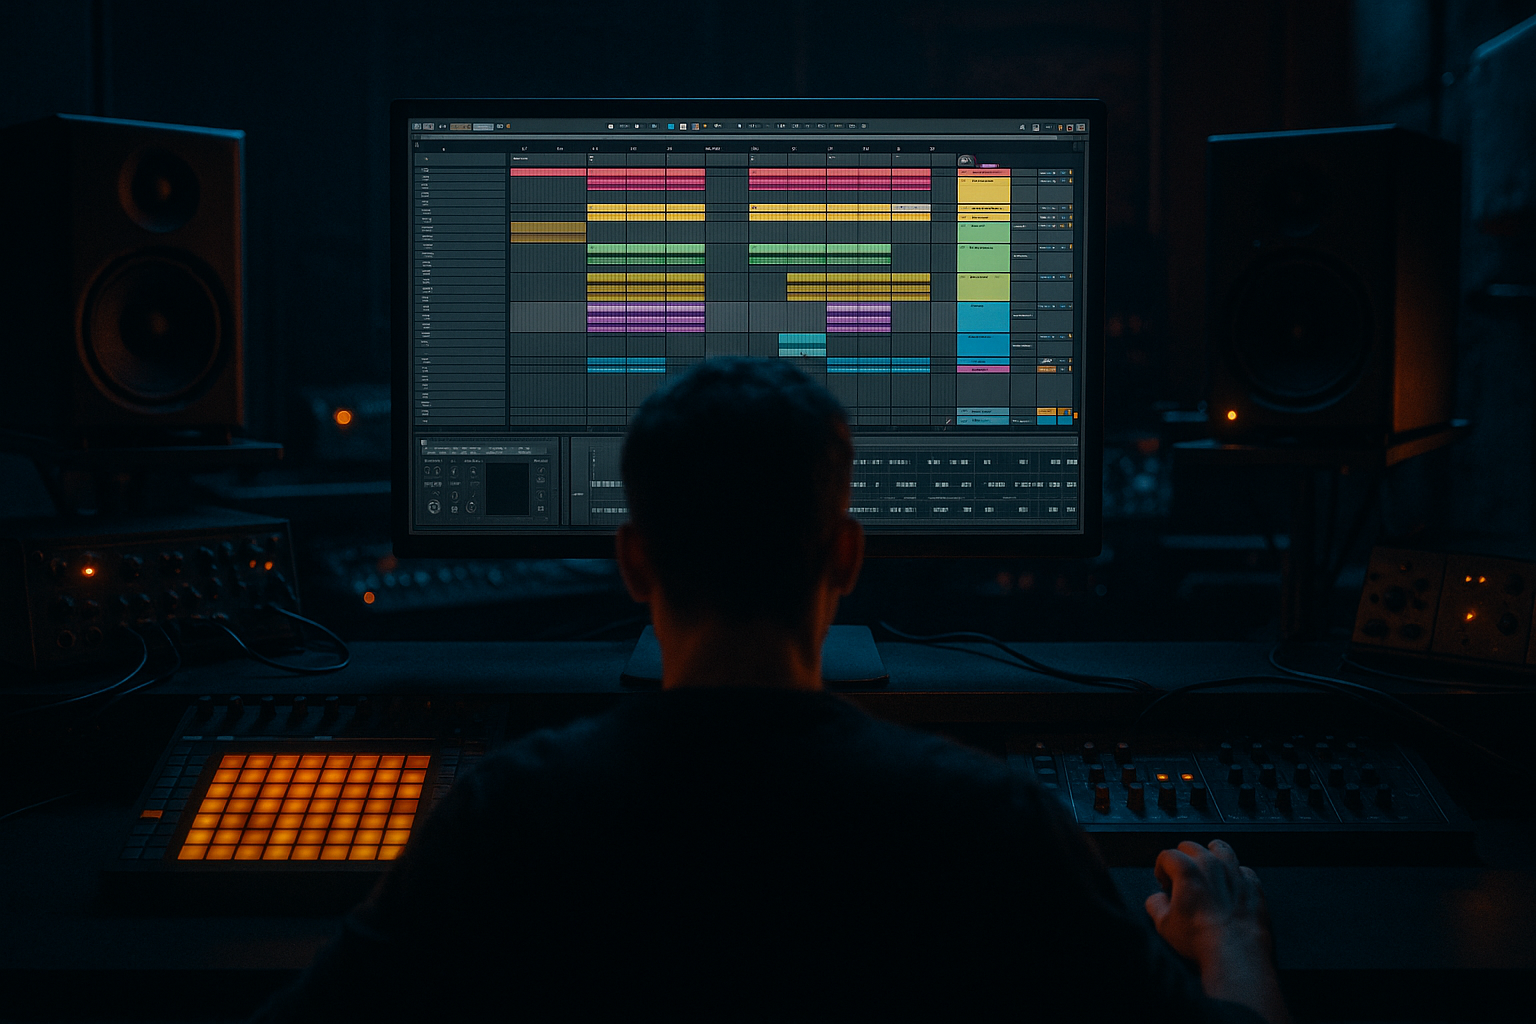
DNB COLLEGE

Drum & Bass Ableton Live 12 Tutorials

LESSON DETAIL

Tighten oldskool DnB subsine for ragga-infused chaos in Ableton Live 12 (Beginner)

An AI-generated beginner Ableton lesson focused on Tighten oldskool DnB subsine for ragga-infused chaos in Ableton Live 12 in the Basslines area of drum and bass production.

Back to lessons
Tighten oldskool DnB subsine for ragga-infused chaos in Ableton Live 12 (Beginner) cover image

Narrated lesson audio

The voice track includes the tutorial plus extra teacher commentary.

Open audio file

Main tutorial

```markdown

Tighten Oldskool DnB SubSine for Ragga-Infused Chaos in Ableton Live 12 🔊🔥

Skill level: Beginner

Category: Basslines

---

1. Lesson overview ✅

In oldskool jungle/DnB (especially ragga-infused, chaotic rollers), the sub is usually simple—but it has to be tight, consistent, and loud without flapping.

In this lesson you’ll learn how to build a clean subsine in Ableton Live 12 that:

  • Hits hard and steady under busy breaks
  • Stays in tune and doesn’t “wobble” unpredictably
  • Cuts through the mix even when the arrangement gets messy
  • Works with classic ragga patterns: long notes + quick dips + call/response
  • We’ll do this using stock Ableton devices and a practical DnB workflow.

    ---

    2. What you will build 🧱

    You’ll build a two-track bass system (classic DnB approach):

    1. SUB track (mono, pure sine, super controlled)

    2. MID/CHARACTER track (optional, adds grit/edge while the sub stays clean)

    Even if you only use the SUB track today, you’ll be set up like a proper DnB session.

    ---

    3. Step-by-step walkthrough 🛠️

    Step 0 — Session prep (DnB basics)

    1. Set tempo to 170–175 BPM (try 174 BPM).

    2. Drop in a breakbeat loop (Amen, Think, etc.) so you can hear how the sub behaves under chaos.

    3. Add a simple drum group if you want: kick + snare + break.

    Goal: build the sub while the drums play—DnB subs are about relationship with the drums.

    ---

    Step 1 — Create the SUB instrument (stock Ableton)

    1. Create MIDI Track → Instrument: Wavetable (or Operator if you prefer).

    2. Make the oscillator a Sine:

    - Wavetable: Osc 1 → Basic Shapes → choose Sine (position at sine)

    - Operator: Osc A → Sine, turn off other oscillators

    Recommended settings (beginner-safe):

  • Voices: 1 (mono behavior)
  • Glide/Portamento: Off (for now)
  • Why: Oldskool subs are typically straight sine fundamentals—the groove comes from notes and rhythm, not fancy movement.

    ---

    Step 2 — Lock it to mono + control low-end range

    On the SUB track, add this device chain:

    1. Utility

    - ✅ Bass Mono: ON (Live 12 Utility has Bass Mono)

    - Bass Mono Freq: 120 Hz

    - Width: 0% (or keep at 100% but Bass Mono handles lows—beginner-safe: set Width 0%)

    2. EQ Eight

    - HP filter OFF (don’t high-pass your sub unless you know why)

    - Add a gentle low-pass if needed:

    - Filter 1: Low-pass, around 180–250 Hz, slope 12 dB

    - Optional: tiny dip if it’s booming:

    - Bell around 60–80 Hz: -1 to -3 dB (only if needed)

    Why: Ragga jungle mixes can get dense—mono sub keeps the foundation stable in clubs.

    ---

    Step 3 — Shape the sub’s punch (the “tight” part)

    Add Saturator (stock) after EQ Eight:

    Saturator settings (starter):

  • Drive: 2 to 6 dB
  • Soft Clip: ON ✅
  • Output: reduce so you’re not louder just because of drive (match level)
  • Curve Type: “Analog Clip” or default is fine
  • Why: A pure sine can disappear on smaller speakers. Gentle saturation adds harmonics so the sub is audible without turning it into a noisy bass.

    Then add Compressor (or Glue Compressor) lightly:

    Compressor (clean control):

  • Ratio: 2:1
  • Attack: 15–30 ms (lets initial hit through)
  • Release: 80–150 ms (musical bounce)
  • Gain Reduction: aim for 1–3 dB on peaks
  • Important: We’re not “slamming” the sub—just evening it so it behaves under hectic drums.

    ---

    Step 4 — Sidechain the sub to the kick (DnB classic) 🎛️

    If your kick is strong, sidechain is your best friend for tightness.

    1. On the SUB track, add Compressor at the end of chain.

    2. Enable Sidechain:

    - Audio From: Kick track (or Drum Group kick chain)

    3. Set:

    - Ratio: 4:1

    - Attack: 0.5–3 ms

    - Release: 60–120 ms (tune it to groove)

    - Adjust Threshold until you get 2–6 dB ducking

    DnB tip: If your break has a kick inside it, you can sidechain from a ghost kick MIDI track for consistent pumping.

    ---

    Step 5 — Write a proper oldskool ragga-friendly subline 🎶

    Create a 1-bar loop first, then expand.

    Key choice: Start in F# minor or G minor (common DnB territory).

    Note range: Keep sub mostly between E1–A1 (around 41–55 Hz fundamentals). Avoid going too low unless you know your monitoring is accurate.

    Pattern idea (1 bar @ 174 BPM, 4/4):

  • Beat 1: Long note (root)
  • Beat 2 “and”: Quick dip (5th or octave)
  • Beat 3: Silence (let drums breathe)
  • Beat 4: Short stab (root again)
  • Example in G minor (notes):

  • G1 (long)D1 (short)restG1 (short)
  • Why it works: Ragga chaos = lots of vocal chops + breaks. This bass pattern gives the mix space while still rolling.

    ---

    Step 6 — Make it tight with MIDI length + fades (no clicks!)

    Clicks happen when notes start/stop at non-zero waveform points.

    Fix it in the instrument envelope:

    In Wavetable:

  • Amp Envelope
  • - Attack: 0.5–3 ms

    - Release: 40–120 ms (don’t hard-cut)

    In Operator:

  • Amp Env:
  • - Attack 1–3 ms

    - Release 60–150 ms

    Then fix MIDI notes:

  • Don’t make notes too tiny unless your release is short.
  • For “stabs”, keep note length ~1/16 to 1/8 with short release.
  • ---

    Step 7 (Optional but powerful) — Add a mid layer for “ragga bite” 🐍

    Create a second MIDI track: MID BASS.

    MID BASS chain (stock):

    1. Wavetable (or Operator)

    - Use a saw/square blend (not sine)

    2. EQ Eight

    - High-pass at 120–180 Hz (important!)

    3. Saturator

    - Drive 6–12 dB, Soft Clip ON

    4. Auto Filter

    - Low-pass around 1–3 kHz

    - Add slight envelope movement if you want subtle “yap”

    Then group SUB + MID into a Bass Group:

  • Keep SUB clean and consistent
  • Let MID be nasty and rhythmic
  • Arrangement move: Bring the MID in for fills, drops, and call/response with ragga vocal chops.

    ---

    Step 8 — Arrangement ideas for rolling jungle energy 🧨

    Try a classic structure:

  • Intro (16 bars): breaks + atmos, sub minimal (maybe only on drops)
  • Drop (32 bars): full sub pattern + occasional mid stabs
  • Variation (16 bars): remove sub for 2 bars → vocal/FX chaos → slam back in
  • Second drop: same bass but change rhythm (swap 1 note, add 1 rest)
  • DnB trick: Mute the sub for 1 bar before the drop to make the return feel huge.

    ---

    4. Common mistakes 🚫

    1. Stereo sub → weak in clubs, phase issues.

    2. Too much distortion on the sub → turns into a foggy mess and fights the kick.

    3. No sidechain → kick and sub collide; groove feels “late” and overloaded.

    4. Notes too low (below ~E1) → you won’t hear it properly; headroom disappears.

    5. Clicking notes → envelope release too short / MIDI too choppy.

    6. Overwriting → busy bass rhythm + busy breaks + ragga vox = chaos with no punch.

    ---

    5. Pro tips for darker/heavier DnB 🖤

  • Tune your kick + sub relationship: If your kick has a strong fundamental at ~50–60 Hz, choose sub notes that don’t constantly clash.
  • Use subtle saturation, not fuzz: Saturator + Soft Clip is your friend. Keep it controlled.
  • Try “negative space” basslines: Leave holes so the break transients dominate. Dark rollers often feel heavy because the sub isn’t constant.
  • Automate the sidechain release: Short release for tight sections; slightly longer for more pump on drops.
  • Add sub “drops” (pitch dips) carefully: A quick dip down a semitone (or to the 5th) can feel ragga/oldskool—just keep it musically intentional.
  • ---

    6. Mini practice exercise 🧪

    Goal: Build a 16-bar loop that survives chaos.

    1. Load a break loop (Amen/Think).

    2. Build the SUB chain: Utility → EQ Eight → Saturator → Compressor (sidechained).

    3. Write two 1-bar sub patterns:

    - Pattern A: long root + short 5th

    - Pattern B: more rests, one extra stab

    4. Arrange:

    - Bars 1–8: Pattern A

    - Bars 9–16: Pattern B

    5. Add one “impact moment”:

    - Mute sub for 1 bar before bar 9, then slam back in.

    Check yourself:

  • Does the kick read clearly?
  • Does the sub feel steady and deep without drowning the break?
  • ---

    7. Recap 🎯

  • Oldskool DnB subs are simple sine basslines, but they must be controlled.
  • Use a clean chain: Utility (mono) → EQ → Saturator (light) → Compression → Sidechain.
  • Tightness comes from envelopes, note lengths, and sidechain timing, not fancy synth tricks.
  • For ragga chaos, keep the sub steady and add aggression with a mid layer (HP filtered).

If you want, tell me your tempo + key + what break you’re using, and I’ll suggest a few subline patterns that fit classic ragga/jungle phrasing.

```

Ask GPT about this lesson

Chat with the lesson tutor, get follow-up help, or use quick actions.

Bigup 👽 Ask me anything about this lesson and I’ll answer in context.

Narration script

Show spoken script
Title: Tighten oldskool DnB subsine for ragga-infused chaos in Ableton Live 12 (Beginner)

Alright, let’s lock in an oldskool jungle-style sub in Ableton Live 12. This is the kind of sub that sounds almost too simple when you solo it… but the second you put it under a messy Amen or Think break, it suddenly feels like the whole track has a spine.

The vibe we’re aiming for is ragga-infused chaos up top, but a sub underneath that’s steady, loud, and controlled. No flapping. No random wobble. No mystery notes. Just pure weight that stays in tune and stays out of the kick’s way.

Here’s the big picture: we’re building a classic two-track bass system.
One track is your SUB: mono, pure sine, super disciplined.
The other is an optional MID or character layer: gritty, edgy, filtered so it never steals the true low end.
Even if you only finish the SUB today, you’re building your session like a proper DnB setup.

Step zero: quick session prep.
Set your tempo to the classic zone: 170 to 175 BPM. Let’s pick 174.
Now drop in a breakbeat loop. Amen, Think, whatever you’ve got. The whole point is you build the sub while the break is playing, because in drum and bass the bass isn’t just a sound… it’s a relationship with the drums.
If you want, add a simple kick and snare too, but at minimum: get a break running so you can hear what’s really happening.

Now step one: create the sub instrument.
Make a new MIDI track, and load up Wavetable. If you prefer Operator, that’s totally fine too. We’re going for a sine either way.

In Wavetable, set Oscillator 1 to Basic Shapes, and move the position until you’re on a clean sine.
In Operator, use Osc A as a sine and turn off the other oscillators so there’s no extra harmonics sneaking in.

Then do two beginner-safe settings right away.
Set voices to 1 so it behaves like a mono bass.
And turn glide or portamento off for now. We’re not doing slides yet. We’re doing tight.

Why so plain? Because in oldskool jungle and ragga DnB, the groove comes from the notes and the spaces between the notes. The sound is the foundation, not the main character.

Step two: lock it to mono and control the range.
On the SUB track, add Utility first.
In Ableton Live 12 Utility, turn on Bass Mono. Set the Bass Mono frequency around 120 Hz.
And for maximum safety as a beginner, set Width to 0%. That means everything is mono, and your sub won’t do weird stereo phase stuff that collapses in a club.

Next add EQ Eight.
Do not high-pass your sub by default. Beginners sometimes chop the sub because it looks “cleaner,” and then wonder where the weight went.
Instead, if you need to keep it focused, add a gentle low-pass. Somewhere around 180 to 250 Hz is a good range, with a 12 dB slope.
If it’s booming in your room, you can do a tiny dip around 60 to 80 Hz, like one to three dB. Only if it’s actually a problem. Don’t automatically carve holes just because you can.

Step three: make it feel tight and present.
Add Saturator after EQ Eight.
A pure sine can feel huge on big speakers, but vanish on smaller ones. Saturation is how we make it readable without turning it into fuzz.

Set Drive somewhere around 2 to 6 dB.
Turn Soft Clip on.
And very important: match the output so it’s not just louder. We want “better,” not “louder.”
The default curve is fine, and Analog Clip is also a great choice.

Now add a compressor lightly. This is not the “destroy the bass” moment. This is gentle control.
Set ratio to 2:1.
Attack around 15 to 30 milliseconds so the start of the note still has a little punch.
Release around 80 to 150 milliseconds for a musical bounce.
And aim for about 1 to 3 dB of gain reduction on the peaks.

If you’re thinking, “But DnB is aggressive,” yes, the track is aggressive. The sub is disciplined. Let the break be chaotic. Let the vocals be wild. The sub is the anchor.

Step four: sidechain the sub to the kick.
This is one of the biggest “tightness” switches in DnB.

Add another Compressor at the end of your SUB chain. Turn on Sidechain.
Set Audio From to your kick track. If your kick is inside the break and you can’t get a clean sidechain signal, make a ghost kick track later, but for now just use whatever kick you have.

Set ratio to 4:1.
Attack fast, around 0.5 to 3 milliseconds.
Release around 60 to 120 milliseconds. This is the groove knob. Too short and it’ll sound like it’s choking. Too long and it’ll feel like the sub is late.
Then lower the threshold until you see about 2 to 6 dB of ducking.

Teacher tip: if your sub feels like it’s arriving late, don’t immediately start dragging MIDI notes around. Most of the time it’s your release time smearing into the next hit. Shorten the release first. Timing second.

Step five: write a ragga-friendly oldskool sub pattern.
Start with a one-bar loop. One bar is enough to hear if it rolls.

Pick a key that sits nicely for DnB. F sharp minor or G minor are super common.
But here’s a real-world coach note: pick your home note based on your monitoring, not just theory. If your headphones or room don’t reproduce 40 to 50 Hz well, living on G1 to A1 might feel way more solid than living on E1, even if both are “correct.”
Do this test: loop the break and bass, and transpose your bass clip up or down one semitone until the low end feels most even and controlled. Choose the note that behaves best in your setup.

For note range, keep the sub mostly around E1 to A1. That’s roughly 41 to 55 Hz fundamentals. Going lower can eat headroom and become more felt than heard, which is dangerous if you don’t know what your speakers are really doing.

Now, a simple one-bar pattern that works great for ragga chaos:
On beat 1, play a long root note.
On beat 2 “and,” do a quick dip, like the fifth.
On beat 3, leave space. Literally let it breathe.
On beat 4, do a short stab back on the root.

In G minor, that could be:
G1 held on beat 1,
D1 short on the “and” of 2,
rest on 3,
G1 short on 4.

That space is not emptiness. That space is what lets the break punch and lets ragga vocals and sirens have room without the track turning into a swamp.

Step six: remove clicks and make note endings clean.
Clicks happen when the waveform is cut off suddenly. It’s not a “your synth is broken” thing. It’s just envelopes.

In Wavetable, go to the amp envelope.
Set Attack to around 0.5 to 3 milliseconds.
Set Release to around 40 to 120 milliseconds. Not too long, not too short. You want it to let go smoothly.

In Operator, same idea: attack around 1 to 3 ms, release around 60 to 150 ms.

Then check your MIDI note lengths.
If you make super tiny notes but you have a long release, they’ll blur together and feel sloppy.
For stabs, try note lengths around a sixteenth to an eighth, and keep release short enough that it doesn’t smear into the next kick.

Extra tightness tip: keep the starts consistent. In the MIDI clip, make sure you’re really landing on the grid for your main notes. You can nudge off-beat stabs slightly later, like 2 to 6 milliseconds, if they feel rushed against the break. But don’t start nudging the downbeat unless you know exactly why you’re doing it.

And here’s a “sub sanity” listening mode that saves you from bad decisions:
Solo only kick plus sub.
Turn your monitoring down. Low end lies when it’s loud.
If it still feels punchy and locked at a quiet volume, it usually translates way better in the real world.

Also, don’t trust meters alone. Drop Ableton’s Tuner after your instrument or even after the chain. Especially once you add saturation, confirm the fundamental is still reading the note you intended.

Step seven, optional but powerful: add a mid layer for ragga bite.
Make a second MIDI track called MID BASS.
Use Wavetable or Operator, but this time use a saw or square style tone. Something with character.

Then add EQ Eight and high-pass it around 120 to 180 Hz. This is non-negotiable if you want the sub to stay clean. The mid layer is not allowed to compete with the real sub.

Add Saturator with more drive, like 6 to 12 dB, Soft Clip on.
Add Auto Filter and low-pass it around 1 to 3 kHz so it becomes a talking edge, not fizzy noise.
If you want extra grit without stealing the sub, you can add Redux very lightly after the high-pass, then low-pass again to keep it controlled.

Now group SUB and MID into a Bass Group.
And treat it like this: the SUB is consistent and boring on purpose. The MID is your fill instrument. Bring it in for call and response with vocals, little hype moments, the end of an 8-bar phrase… not necessarily all the time.

Step eight: arrangement ideas so it rolls like jungle.
Try a classic structure.
Intro for 16 bars: breaks and atmos, sub minimal.
Drop for 32 bars: full sub pattern, mid stabs only when needed.
Variation: remove the sub for two bars, let the vocal chops and FX go crazy, then slam the sub back in.
Second drop: same bass sound, but change one note, add one rest, or swap the rhythm slightly.

And one of the most effective jungle tricks ever: mute the sub for one full bar before the drop. When it returns on the downbeat, it feels massive even if the sub level never changed.

Before we wrap, let’s do a mini practice assignment you can actually finish today.
Build a 16-bar loop with your break running.
Chain on the SUB should be Utility to make it mono, EQ Eight to keep it clean, Saturator for harmonics, then compression, and a sidechain compressor at the end.
Write two one-bar patterns.
Pattern A: long root with a short fifth.
Pattern B: more rests, one extra stab.
Arrange bars 1 to 8 as Pattern A, and bars 9 to 16 as Pattern B.
Then do one impact moment: mute the sub for one bar right before bar 9, then bring it back in.

Check yourself with two quick tests.
If you mute the MID layer, does the track still groove?
And if you mute the break and listen to kick plus sub, does it feel locked and clean?

Quick mistake checklist to avoid pain:
Stereo sub causes weak club translation and phase issues, so keep it mono.
Too much distortion on the sub turns it into fog, so keep saturation gentle.
No sidechain makes the kick and sub collide.
Going too low below E1 can eat headroom and vanish on most systems.
Clicks mean fix release first, then note length.
And the big one: don’t overwrite. Busy bass plus busy breaks plus ragga vocals equals chaos without punch.

Recap time.
Oldskool DnB subs are simple sine basslines, but they must be controlled.
A clean chain is Utility for mono, EQ, light saturation, compression, and sidechain.
Tightness comes from envelopes, note lengths, and sidechain timing, not fancy synth tricks.
And if you want ragga chaos, keep the sub steady and let the aggression live in a mid layer that’s high-passed.

If you tell me your tempo, key, and which break you’re using, I can suggest a few ready-to-draw sub patterns that fit classic ragga and jungle phrasing.

mickeybeam

Go to drumbasscd.com for +100 drum and bass YouTube channels all in one place - tune in!

Generating PDF preview…