Main tutorial
```markdown
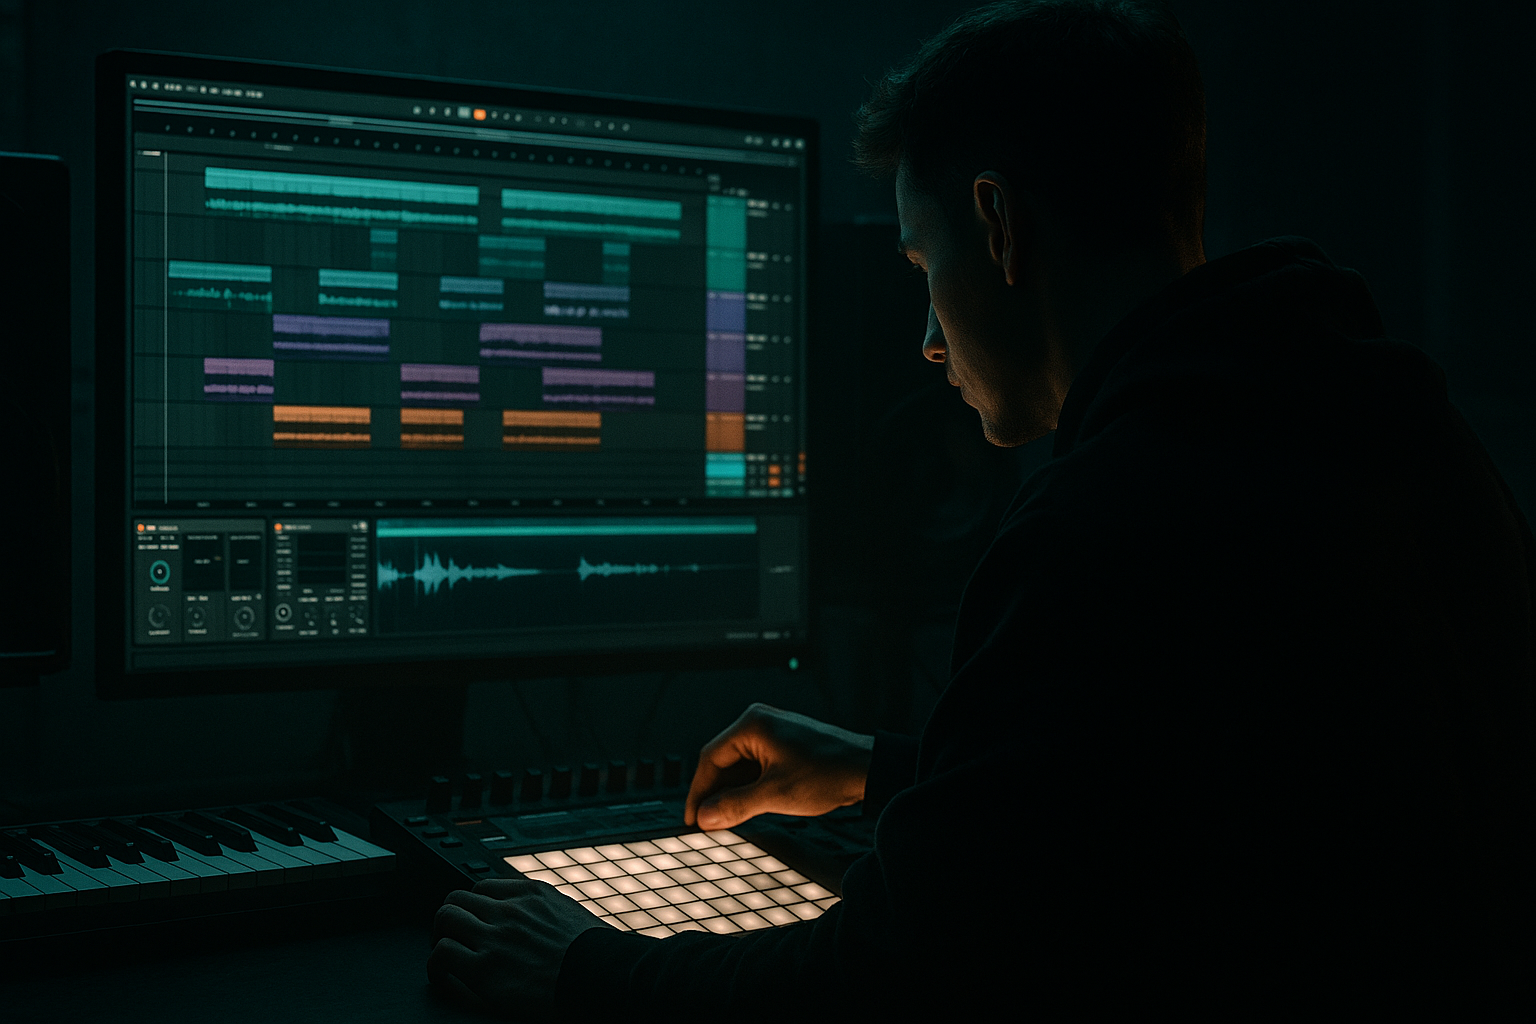
Tracking Progress Across 100 Tune Studies (DnB in Ableton Live) 🎛️🥁
1) Lesson overview
Doing 100 tune studies is one of the fastest ways to level up your drum & bass production—if you can track what you learned and turn it into repeatable skills. In this lesson you’ll build a practical “Study System” in Ableton Live that lets you:
- Capture reference tunes consistently (structure, drums, bass, mix decisions)
- Measure progress in a way that’s objective, not vibes-based
- Build a personal library of patterns, racks, and arrangement templates you can reuse 🔁
- Drum Bus chain presets (stock devices)
- Bass analysis chain presets
- Reference/A-B routing
- A “Progress Tag” method using colors, locators, and file naming
- /00_Templates/
- /01_Reference_Audio/
- /02_Studies_Projects/
- /03_Exports/
- /04_Racks_Presets/
- /05_Notes_Screenshots/
- `REF Track` (Audio)
- `REF Analyzer` (Audio, optional duplicate)
- `REF Notes` (MIDI track for writing notes in clip names)
- `DRUMS` (Group)
- `BASS` (Group)
- `MUSIC` (Group)
- `FX` (Group)
- `Study Print` (Audio resampling)
- `A/B Switch` (optional routing helper)
- Utility: Gain set to `-6 dB` (headroom)
- Limiter (optional): Ceiling `-1.0 dB`, just for safety while studying
- Utility: set Gain so reference peaks around `-6 dB` on Master.
- EQ Eight:
- Spectrum (Ableton stock) for quick visual checks
- Utility Gain (Macro 1)
- EQ Eight low shelf bypass (Macro 2)
- Mono switch (Macro 3) using Utility Width `0%`
- `Intro Start`
- `Drop 1`
- `Mid 16`
- `Break`
- `Build`
- `Drop 2`
- `Outro`
- Example locator name: `Drop 1 @ 0:48 (16 bars)`
- Green = nailed/understood
- Yellow = partial / revisit
- Orange = confused
- Purple = “steal this technique” (great idea)
- 25x Jungle / Break-driven (Amen, Think, edits)
- 25x Rolling minimal / deep (2-step + ghost notes, sub focus)
- 25x Techy / neuro-influenced (mid-bass movement, resampling)
- 25x Dark halftime / 160–170 crossovers (weight, space, impacts)
- 15 min: map structure + markers
- 30–60 min: rebuild a single section (usually 16–32 bars)
- 10 min: write notes + export
- EQ Eight
- Drum Buss
- Glue Compressor
- Saturator
- Utility
- Drop Amen/Think into Simpler → Slice by Transients
- Turn on Warp in clip if needed for tightness
- Add ghost hits at low velocity (30–60) to capture “shuffle”
- Operator: Sine wave
- Add slight drive with Saturator (Drive 1–2 dB)
- Sidechain with Compressor (from Kick or Drum Group)
- Start with two saws, slight detune
- Add Auto Filter for movement (LP 12dB)
- Add Chorus-Ensemble (subtle) for width
- Resample to audio and chop (classic DnB workflow)
- Hybrid Reverb
- Echo
- Auto Pan
- WAV, 24-bit
- Normalize OFF
- Dither OFF (unless final 16-bit)
- Study #
- Track (Artist – Title)
- BPM / Key
- Focus (Drums/Bass/Arrangement/Mix)
- 3 takeaways
- 1 weakness to target
- Score (1–5) for: Drums / Bass / Space / Arrangement / Mix clarity
- Locator names for key moments
- Clip names for notes
- A “DONE ✅” locator at the end with date + takeaway
- Listen to the last 10 exports back-to-back
- Identify 1 recurring issue:
- Create a micro-goal for the next 10 studies:
- Not level-matching the reference → you chase loudness instead of tone.
- Trying to recreate the entire tune → you burn out. Study sections.
- No consistent template → every study starts from zero.
- Ignoring arrangement timing → your drops won’t hit like real DnB.
- Overprocessing early → especially heavy limiting; you can’t hear what’s wrong.
- Not exporting → if you don’t print it, you can’t objectively compare progress.
- Control sub like a weapon
- Use parallel destruction
- Make space with short rooms, not huge tails
- Resample bass often
- Build menace with minimal notes
- Transitions: impacts + sub gaps
- Build a template once, so every study is fast and consistent.
- Track progress using locators, clip notes, exports, and a log.
- Use the 3-layer method: Structure → Drum DNA → Bass/Space.
- Export every time and review every 10 studies to set targeted goals.
- Keep it DnB-real: tight structure, ghost notes, controlled sub, and smart resampling 🔥
This is aimed at intermediate producers who can already write a loop, but want a workflow to finish more ideas, learn faster, and spot weak points (drum programming, bass movement, mix translation, etc.).
---
2) What you will build
By the end, you’ll have:
1) A Tune Study Template Project in Ableton Live
Includes track groups, analysis markers, and a “study scoreboard”.
2) A Study Log system (inside Ableton + optional spreadsheet)
Tracks BPM, key, groove notes, arrangement timing, and what you copied/learned.
3) A reusable “Study Rack” toolkit
4) A 100-study curriculum
Balanced across jungle, rollers, techy neuro, and dark minimal.
---
3) Step-by-step walkthrough
Step 1 — Set up a dedicated “100 Studies” folder structure 📁
Create a folder somewhere fast (SSD preferred):
/DnB_Studies/
Naming convention (important):
`Study_023_Artist_TuneName_BPM_Key_YYYY-MM-DD.als`
Example: `Study_023_Shibire_OffKey_174_Fmin_2026-03-21.als`
This alone will make you feel 2x more organized.
---
Step 2 — Build your Ableton Tune Study Template (one time)
Create a new Live Set and save it as:
Templates → “DnB_Study_Template.als”
#### A) Core track layout (Groups + colors)
Group 1: REFERENCE (Red)
Group 2: STUDY REBUILD (Green)
- Kick (Audio/MIDI)
- Snare (Audio/MIDI)
- Hats (MIDI)
- Break (Audio)
- Perc (MIDI)
- Sub (Instrument)
- Reece/Mid (Instrument/Audio)
- Pads/Atmos
- Stabs/Lead
- Risers/Impacts
- Noise/Sweeps
Group 3: METRICS / PRINTS (Blue)
#### B) Master chain (minimal and honest)
On Master, keep it simple:
Try not to “win loudness” during studies.
#### C) Reference routing + level match (critical) 🎯
On `REF Track`:
Level matching prevents “louder sounds better” bias.
- Optional: HP at `20–30 Hz` (12 dB/oct) to remove sub rumble (only if needed)
Pro move: Create a Macro rack called REF TOOL:
Save to `/04_Racks_Presets/`.
---
Step 3 — Build a “Study Scoreboard” inside Ableton ✅
You’ll track progress inside the project so you can’t avoid it.
#### A) Use Locators as checkpoints (Arrangement View)
Drop locators at:
Then add timing notes:
This trains your structure instincts fast for 170–176 BPM DnB.
#### B) Create a MIDI “Scorecard” clip
On a MIDI track called `REF Notes`, create a single empty clip spanning the full tune length.
Rename the clip like this (yes, the clip name is the note field):
Clip name template:
`BPM 174 | Swing? 55%? | Drum feel: tight/loose | Snare: 200Hz+3dB | Break: Amen ghosting | Bass: Reese 2 notes | Reverb: short plate`
Also add Clip Notes in the left panel (View → Detail → Notes).
#### C) Color tagging system
Pick 4 colors and stick to them:
Use colors on tracks and clips.
---
Step 4 — Choose your 100 studies curriculum (so it’s not random)
You’ll learn faster with variety + repetition.
Suggested distribution:
Timebox per study:
You’re not “finishing a release”—you’re building skill reps 🏋️
---
Step 5 — The “3-Layer Study Method” (fast + measurable)
For each tune, you must complete all three layers:
#### Layer 1: Structure & energy map (10–15 min)
1. Warp the reference:
- Set project BPM to the tune BPM (often 172–175).
- Warp Mode: Complex (fine for analysis).
2. Place locators:
- Find drop timing, breakdown length, second drop variation.
3. Write energy notes:
- “Drop 1 = dense hats, short room, bass call/response”
- “Break = highpassed drums + vocal tail + noise sweeps”
#### Layer 2: Drum DNA (30–45 min)
Rebuild the drums using stock tools.
Core DnB Drum Chain (per drum group):
- Kick: cut mud around `250–400 Hz` if needed
- Snare: check `180–220 Hz` for body, `4–7 kHz` for crack
- Drive `5–15%`
- Crunch `5–20%` (careful)
- Boom: tune around `45–60 Hz` (subby kicks) or `60–80 Hz` (punch)
- Attack `3–10 ms`, Release `Auto`, Ratio `2:1`
- Aim 1–2 dB GR on drum bus
- Soft Clip ON, Drive `1–4 dB` for density
- Keep low end mono: Width `0%` below ~120 Hz (do with EQ/utility strategy)
Break layer tip:
Use Simpler (Slice mode) for classic jungle chops:
#### Layer 3: Bass & space (30–60 min)
You’re not cloning the exact patch—you’re extracting the concept.
Sub approach (Operator)
- Ratio `4:1`, Attack `1–3 ms`, Release `80–150 ms` (tempo-dependent)
Reese/Mid approach (Wavetable)
Space toolkit (stock)
- Short plate/room for snare (decay `0.6–1.2s`)
- Ping-pong 1/8 or dotted 1/8 for stabs/vocals
- Very subtle on hats/atmos (Rate slow, Amount low)
---
Step 6 — Export and log each study (non-negotiable) 🧾
Every study ends with two exports:
1) `Study_023_REF_Audio.wav` (optional)
2) `Study_023_REBUILD_16bars.wav` or `Study_023_REBUILD_Drop1.wav`
Ableton export settings:
Then update your log.
#### Option A: Simple spreadsheet columns
#### Option B: Keep it inside Ableton
In the project, use:
---
Step 7 — Progress review every 10 studies (the multiplier) 📈
After studies 10, 20, 30… do a short review session:
- “Snare too wide”
- “Breaks too clean; not enough grit”
- “Bass masking kick at 60–90 Hz”
- “Practice ghost notes + swing”
- “Resample mid-bass into 8 variations”
- “Improve transitions: impacts + noise + reverb throws”
This turns 100 studies into actual growth, not just busywork.
---
4) Common mistakes
---
5) Pro tips for darker/heavier DnB 🖤
- Mono your sub (Utility width 0% on sub track)
- Keep sub clean; do aggression in mids
- Create a return track: Saturator → Drum Buss → EQ Eight
- Send snares/breaks lightly for grit without losing punch
- Hybrid Reverb rooms (short) give “warehouse” without washing the mix
- Print 8 bars of mid-bass → chop into new rhythms → distort again
- Two-note reese phrases + automation beats noodling
- Silence the sub for 1/8–1/4 bar before drop; it makes the drop feel heavier
---
6) Mini practice exercise (30 minutes) ⏱️
Goal: Complete one micro-study cleanly.
1. Pick a dark roller reference at 174 BPM.
2. In your template:
- Warp and set locators for Intro, Drop 1, Break
3. Rebuild only the first 16 bars of Drop 1:
- Drums: kick + snare + hats + one break layer
- Bass: sub + simple mid (Wavetable reese)
4. Add a basic transition into the drop:
- Noise riser (Operator noise or sample)
- Impact
- Reverb throw on last snare (automate send to Hybrid Reverb)
5. Export: `Study_XXX_REBUILD_Drop1_16.wav`
6. Log 3 takeaways + 1 fix for next time.
---
7) Recap
If you want, tell me your favorite sub-genre (jungle, rollers, neuro, dark minimal) and I’ll propose a first set of 10 references plus exact focus targets for each.
```

