DNB COLLEGE

Drum & Bass Ableton Live 12 Tutorials

LESSON DETAIL

Transform an Amen-style air horn hit for 90s-inspired darkness in Ableton Live 12 (Intermediate)

An AI-generated intermediate Ableton lesson focused on Transform an Amen-style air horn hit for 90s-inspired darkness in Ableton Live 12 in the DJ Tools area of drum and bass production.

Back to lessons
Transform an Amen-style air horn hit for 90s-inspired darkness in Ableton Live 12 (Intermediate) cover image

Narrated lesson audio

The voice track includes the tutorial plus extra teacher commentary.

Open audio file

Main tutorial

Lesson Overview

In this lesson, you’ll turn a bright, upfront Amen-style air horn hit into a darker, 90s-inspired DnB weapon that can live in a intro, break, switch-up, or DJ tool section inside Ableton Live 12. The goal is not just to “make it darker,” but to shape the sample so it feels like it belongs in a moody jungle / roller / darkside context: gritty, slightly degraded, tense, and rhythmically useful.

This matters because air horns are a classic tension device in Drum & Bass. In 90s jungle and early hardcore-informed DnB, horn shots often functioned like punctuation: they announce a drop, answer a drum phrase, or cut through a dense break arrangement. When transformed properly, a horn becomes more than a one-hit sample — it becomes a DJ tool element that can carry energy through transitions, reinforce call-and-response with drums and bass, and give your track that raw, warehouse edge.

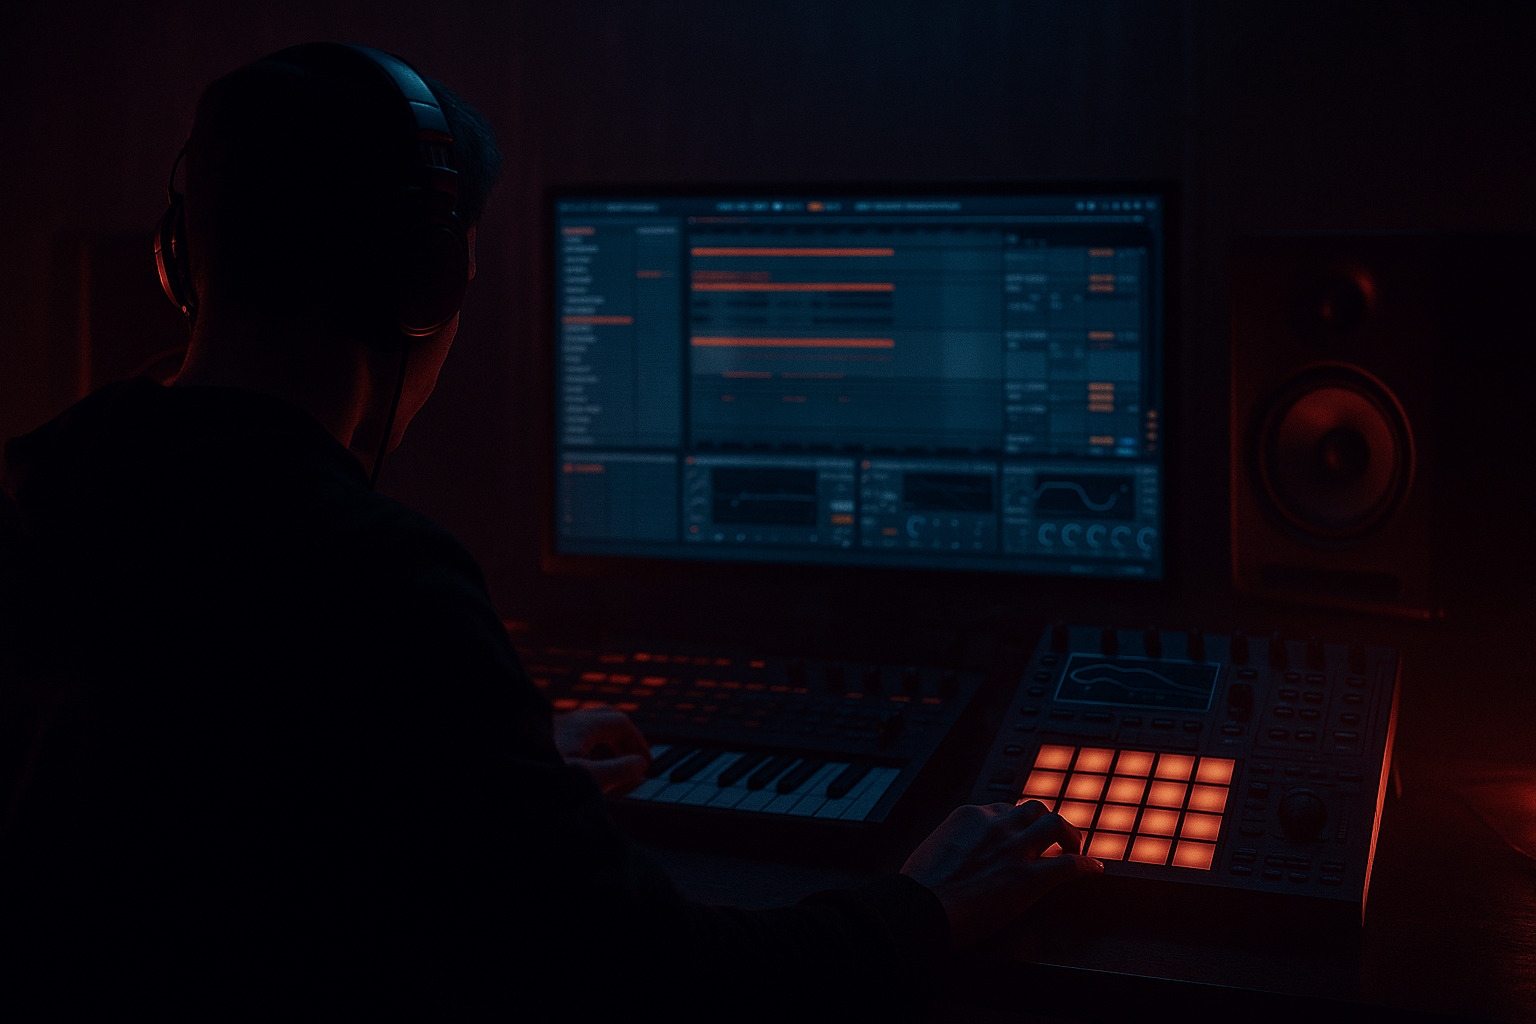
We’ll keep everything in Ableton-native workflows: Warp, Simpler, Saturator, Auto Filter, Drum Buss, Echo, Reverb, Utility, EQ Eight, and resampling. You’ll learn how to darken the tone, tighten the transient, add movement, and place the hit in a DnB arrangement so it feels intentional rather than just pasted on. 🔊

What You Will Build

By the end of this lesson, you’ll have a transformed Amen-style air horn hit that sounds like:

  • a short, aggressive horn stab with a darker midrange
  • a controlled low-mid body that sits above the sub without muddying it
  • a slightly degraded, tape-ish or worn texture
  • a wide-to-narrow movement option for intro or drop punctuation
  • a resampled version you can chop, reverse, automate, and trigger like a DJ tool
  • Musically, this can be used as:

  • a 2-bar intro motif before a roller drop
  • a response hit after a reese bass phrase
  • a transition stab before a drum edit or fill
  • a layered accent in a jungle break section where the snare and break chop are doing most of the work
  • Think of it as a dark call-and-response asset: the breaks ask the question, the horn answers with menace.

    Step-by-Step Walkthrough

    1. Load the horn and prep it for DnB timing

    Drop your Amen-style air horn sample into an audio track and switch to Warp mode if it isn’t already. For a DJ-tool style hit, you want the transient to feel locked to the grid without sounding chopped to death.

    Suggested starting points:

  • Warp Mode: Complex Pro for full, bright samples; Beats if the horn is already punchy and short
  • Transients: keep them intact if the hit has a strong attack
  • Clip Gain: trim so the peak sits comfortably, leaving headroom for processing
  • Now set the clip so the horn lands musically in your DnB phrase. In a 174 BPM track, a horn often works best on beat 1 of bar 1, the “and” of 2, or as a pick-up into bar 9 or bar 17. If you’re building a dark intro, place it on bar 5 or bar 13 so it can function like a pre-drop cue.

    Why this works in DnB: the genre lives and dies by phrase tension. A horn hit that lands with the drums and bass structure — not against it — feels like part of the arrangement language, not an afterthought.

    2. Shape the raw sample with Simpler or Clip controls

    If your horn is a one-shot sample, load it into Simpler on a new MIDI track. This gives you more control for resampling and re-triggering later. Use Classic mode or One-Shot mode depending on how long you want the tail.

    Try these settings:

  • Amp Envelope: Attack 0–5 ms, Decay 250–700 ms, Sustain 0%, Release 50–150 ms
  • Glide/Portamento: off for now unless you want a pitched stab effect
  • Filter: turn on a low-pass filter if the horn is too bright
  • If you prefer to stay on the audio clip, use the clip envelope or follow with devices after the clip. The goal here is to shorten the tail slightly so the hit feels more percussive and less like a novelty sample.

    Then loop a short section and compare the horn against your drums. In DnB, a hit that occupies too much tail can smear into ghost notes, break ghosting, or bass fills. Keep it decisive.

    3. Darken the tone with filtering and controlled saturation

    Insert Auto Filter after Simpler or after the audio clip chain. Start with a low-pass filter and sweep the cutoff until the top end loses its carnival brightness and the horn feels more ominous.

    Good starting range:

  • Low-pass cutoff: 2.5 kHz–7 kHz depending on how bright the sample is
  • Resonance: 5–20% for a little edge, avoid whistling
  • Drive: small amounts, just enough to thicken the mids
  • Follow Auto Filter with Saturator:

  • Drive: 2–7 dB
  • Soft Clip: On
  • Output: trim down to match level
  • The point is not to destroy the horn — it’s to move its energy from shiny upper harmonics into a denser, more threatening midrange. If it feels too polite, push the Saturator a little harder and then EQ the harshest top end back down.

    Optional move: add Drum Buss after Saturator.

  • Drive: 5–20%
  • Crunch: 5–15%
  • Boom: usually off or very subtle for this use case
  • Transients: slightly down if the hit is too spiky
  • This can make the horn feel more like it belongs in a grimy break section instead of a clean sample pack.

    4. Control the body with EQ Eight and keep the low end disciplined

    Now place EQ Eight after the distortion stage. This is where you clean up the horn so it behaves in a DnB mix.

    Useful moves:

  • High-pass around 120–200 Hz if the sample has low rumble or stage noise
  • Cut muddy low-mids around 250–500 Hz if the horn sounds boxy
  • Dip harshness around 2.5–4.5 kHz if the attack is stabbing too aggressively
  • Small shelf cut above 8–10 kHz if it still feels too glossy
  • A practical DnB move is to give the horn a little presence around 700 Hz–1.5 kHz while keeping the sub region empty. That lets it cut through without fighting your kick-sub relationship. For dark rollers, you want the horn to feel like it sits in the same emotional band as the reese and break, not as a separate pop sample.

    If the horn is meant to hit alongside a bass phrase, check it in mono with Utility. Narrow it if needed:

  • Width: 70–100% for the main version
  • Width: 0–50% if you want it to be a more central, DJ-style stab
  • 5. Add movement with modulation and space, but keep it functional

    For 90s-inspired darkness, movement should feel like pressure, not polish. Use Echo and Reverb sparingly to create atmosphere around the horn without washing out the punch.

    A solid chain order:

  • Echo
  • Reverb
  • Utility
  • Echo settings:

  • Time: 1/8, 1/8 dotted, or 1/4 depending on the phrase
  • Feedback: 10–25%
  • Filter: roll off highs and some lows
  • Dry/Wet: 5–18%
  • Reverb settings:

  • Decay: 0.8–2.2 s
  • Size: medium or small-medium
  • High Cut: 5–8 kHz
  • Low Cut: 200–400 Hz
  • Dry/Wet: 5–15%
  • For a darker DJ tool vibe, automate the Reverb Dry/Wet up slightly on the final hit of a 2-bar phrase, then pull it back down before the next drum phrase. That creates space without smearing the groove.

    You can also automate Auto Filter cutoff or Frequency Shifter very gently if you want the horn to feel unstable and haunted. Even a tiny cutoff sweep over 2 bars can turn a static hit into a transition element.

    6. Resample the transformed horn for edit-friendly use

    Once your horn sounds right, resample it. Create a new audio track and set its input to Resampling, then record a few versions:

  • dry dark horn
  • horn with short echo tail
  • horn with reverb swell
  • horn plus a reversed version
  • This is a huge DJ-tools workflow win in Ableton. Resampling turns a single sample into a set of playable assets you can chop, reverse, slice, and arrange quickly. It also helps when you want the horn to feel more “in the track” rather than as a static imported sample.

    After recording, consolidate the best version and cut it into useful pieces:

  • the attack only
  • the tail only
  • a reverse pre-hit
  • a double-hit variation with slight timing offset
  • You can then load the resampled audio into Simpler and trigger it from MIDI for fast arrangement ideas.

    7. Build a call-and-response phrase with drums and bass

    Now place the horn into a DnB context. The most effective dark use is usually call-and-response with breaks and bass.

    Example arrangement:

  • Bars 1–2: filtered break + horn hit on bar 2 beat 4
  • Bars 3–4: full break and bass enters with a reese answer
  • Bar 5: horn hit with a reverse tail leading into the drop
  • Bars 7–8: drum fill and horn stab layered with snare
  • If you’re making a roller, have the horn answer the bass on the end of a 2-bar phrase rather than sitting on top of every downbeat. If you’re making a jungle cut, use it more sparingly — the break should still breathe.

    A great practical move is to layer the horn with a short snare or rimshot from your break edits on the same accent. That makes the hit feel glued into the drum language of the track instead of floating above it.

    8. Automate the horn like a DJ tool, not just a sample

    This is where the lesson becomes really useful for arranging. Use automation to make the horn perform transitions.

    Good automation ideas:

  • Auto Filter cutoff closing over 4 or 8 bars for tension
  • Reverb Dry/Wet rising on a fill and snapping back
  • Echo feedback increasing for the final hit before a drop
  • Utility Width narrowing as the section gets darker
  • Saturator Drive increasing slightly in the second half of the phrase
  • For a DJ tool intro, you might start with the horn filtered and mono, then gradually open the top end as the drums get fuller. For a drop switch-up, automate a quick filter dip right before the horn hits to create a vacuum effect.

    In Ableton Live 12, keep these automation lanes organized and name your audio effects rack macros if you map them. That makes it easy to revisit later and adjust without losing the idea.

    Common Mistakes

  • Making the horn too bright
  • Fix: cut top end with Auto Filter or EQ Eight, then re-add aggression using Saturator instead of raw brightness.

  • Letting the horn fight the bass
  • Fix: high-pass below 120–200 Hz and check the low mids around 250–500 Hz. Keep the sub lane clear for the kick/sub relationship.

  • Over-widening the sound
  • Fix: keep the main hit fairly centered. Use width for atmosphere, not for the core attack.

  • Using too much reverb
  • Fix: shorten decay and reduce wet mix. In DnB, the horn must punctuate the groove, not blur it.

  • Ignoring phrase placement
  • Fix: align the hit to 2-bar or 4-bar DnB phrasing. Random placement weakens the impact.

  • Distorting without EQ cleanup
  • Fix: saturation creates useful grit, but always follow with EQ Eight to remove harsh build-up.

    Pro Tips for Darker / Heavier DnB

  • Layer the horn with a muted impact or snare ghost to make it feel like it belongs in the break grid.
  • Use a short reverse copy leading into the hit for old-school tension. This works especially well before a drop or switch.
  • Try very light Frequency Shifter movement on the resampled horn for a haunted, unstable edge. Keep it subtle.
  • Put the horn through a Return track with Echo and Reverb so you can automate sends separately from the dry hit.
  • For neuro-leaning dark rollers, duplicate the horn and process one layer with heavier saturation while keeping the other cleaner and more centered.
  • If the sample is too cheerful, pitch it down 1–3 semitones and resample again. Often that alone changes the attitude dramatically.
  • Use a narrow band cut around 3 kHz if the horn clashes with snare snap or harsh break transients.
  • For DJ intro/outro use, make a version that is just the attack and a short tail. It will cut better in blends and transitions.
  • Mini Practice Exercise

    Spend 10–20 minutes making three versions of the same Amen-style air horn hit:

    1. Version A: dark and dry

    - Filter the horn

    - Add Saturator

    - EQ out sub and harsh top end

    2. Version B: dark with space

    - Add short Echo and small Reverb

    - Automate the wet amount over 2 bars

    3. Version C: resampled DJ tool variation

    - Resample the processed horn

    - Reverse the tail

    - Chop it into a 1-bar call-and-response with your break

    Then place each version in a 16-bar DnB loop:

  • bars 1–4: intro-style placement
  • bars 5–8: response to a bass phrase
  • bars 9–16: transition into a heavier section
  • Listen back in mono and make one adjustment to each version so they sit better with drums and bass. The aim is to build instinct for how one horn can become multiple arrangement tools.

    Recap

    The core idea is simple: turn a bright Amen-style air horn into a darker, more functional DnB phrase tool using Ableton stock devices and smart arrangement placement.

    Remember the essentials:

  • trim the sample so it hits with purpose
  • darken and thicken with Auto Filter, Saturator, and EQ Eight
  • keep the low end clear for kick and sub
  • add movement with light Echo, Reverb, and automation
  • resample so you can chop, reverse, and use it like a DJ tool
  • place it in phrase-based call-and-response with drums and bass

If it feels tense, gritty, and usable in a mix, you’ve got it right.

Ask GPT about this lesson

Chat with the lesson tutor, get follow-up help, or use quick actions.

Bigup 👽 Ask me anything about this lesson and I’ll answer in context.

Narration script

Show spoken script
Alright, in this lesson we’re taking a bright, upfront Amen-style air horn hit and turning it into something darker, grittier, and way more usable in a 90s-inspired Drum and Bass context inside Ableton Live 12.

The big idea here is not just to make it “darker” for the sake of it. We want the sample to feel like it belongs in a moody jungle, roller, or darkside arrangement. That means it needs to sound a little worn, a little tense, and rhythmically useful. Think of it less like a novelty horn and more like a pressure tool. A punctuation mark. Something that can answer the drums, trigger a transition, or announce a drop with attitude.

We’re going to stay completely inside Ableton-native tools: Warp, Simpler, Saturator, Auto Filter, Drum Buss, Echo, Reverb, Utility, EQ Eight, and resampling. By the end, you’ll have a horn hit that’s darker, tighter, more controlled, and ready to behave like a proper DJ tool.

So first, load your Amen-style air horn sample onto an audio track. If it isn’t already warped, turn Warp on so it locks to the grid. For a sound like this, you want the attack to feel stable and intentional, but you don’t want to chop the life out of it. If the sample is already punchy and short, Beats warp mode can work nicely. If it’s a brighter, fuller sample, Complex Pro is often the safer choice. Just keep an eye on the transient and make sure it still feels natural.

Now get the clip positioned in phrase time. In Drum and Bass, placement matters a lot. A horn hit usually works best on the first beat of a phrase, on the and of two, or as a pick-up into a new section. In a dark intro, you might place it on bar five or bar thirteen so it feels like it’s leading toward something. That phrase awareness is part of what makes the sound feel like it belongs in the track instead of just being dropped on top.

If you want a little more control, load the horn into Simpler on a new MIDI track. That gives you more flexibility for editing and resampling later. One-Shot or Classic mode both work depending on how you want the tail to behave. Set the amp envelope so the attack is basically instant, with a short decay and no sustain. We want this to hit like a stab, not hang around like a lead synth.

A good starting point is a very fast attack, a decay somewhere around a few hundred milliseconds, sustain at zero, and a short release. If the horn feels too open or too musical, shorten the tail a bit more. In DnB, especially in darker styles, too much tail can clutter the groove fast. You want the hit to be decisive.

Now let’s darken the tone. Put Auto Filter after the sample or after Simpler, and start with a low-pass filter. Bring the cutoff down until the bright, almost carnival-like top end disappears and the sound starts feeling more ominous. You’re not trying to erase the horn’s identity, just moving its energy downward into the midrange. A little resonance can help emphasize the edge, but don’t overdo it or it’ll start ringing in an annoying way.

After that, add Saturator. This is where the horn starts to get some attitude. Push the drive a few dB, turn on soft clip if needed, and then trim the output so you’re not just making it louder. The goal is to thicken the mids and create a slightly degraded, gritty texture. If it starts sounding fizzy, don’t be afraid to back off the drive and shape it more carefully with EQ.

If you want even more grime, try Drum Buss after Saturator. A little drive and crunch can make the horn feel much more like it belongs inside a break-heavy jungle arrangement. Just keep the boom low or off, because we’re not trying to add sub weight here. We’re trying to make the hit feel tougher.

Next comes EQ Eight, and this is where the horn really gets mix-ready. High-pass it somewhere around the low end so it doesn’t fight your kick and sub. Then check the low mids. If it sounds boxy or cloudy, cut a little around the 250 to 500 Hz region. If the attack is stabbing too hard, you can tame some of the harshness in the upper mids. And if there’s still too much glossy top end, trim the highs a bit more.

A really useful mindset here is to give the horn presence without giving it sub. You want it to live in that aggressive, middle territory where it can cut through drums and bass without stepping on them. If it feels like it’s competing with the reese or the kick-sub relationship, narrow the low end and clean it up more.

You can also use Utility here to check width and mono compatibility. For the main version, a moderate stereo width is fine, but if you want a more direct DJ-style stab, keep it narrower. A more centered hit often feels heavier and more intentional in a mix. Widening is something you use for atmosphere, not for the core punch.

Now let’s add movement and space, but keep it controlled. This style wants tension, not wash. Put Echo after the tonal shaping if you want a little tail and motion. Keep the feedback modest, use a short rhythmic time like an eighth note or dotted eighth, and filter the echoes so they don’t get bright and messy. A little echo can make the horn feel like it’s throwing a shadow into the arrangement.

Then add Reverb, but use it sparingly. Small to medium spaces usually work better here than giant washed-out halls. Roll off the lows and highs inside the reverb so it sits behind the sound instead of smearing it. If you want a classic dark intro move, automate the reverb wet amount up slightly on the last hit of a phrase, then pull it back down before the next section. That gives you atmosphere without losing impact.

This is a good moment to think like a sound designer and like an arranger at the same time. One really useful next step is to treat the horn as an accent generator, not a finished lead sound. In other words, make one main processed version, then create a few micro-variations. One version can be more impact-focused, one more atmospheric, one for transitions, and one for fills.

A super efficient way to do that in Live 12 is to drop the horn into an Audio Effect Rack and map a few macros. For example, one macro can control darker versus brighter tone. Another can control transient softness. Another can control width. Another can control how wet the space gets. That turns the horn into something performable. You’re not rebuilding the chain every time — you’re shaping it like an instrument.

A very important teacher note here: watch your gain staging. If the original sample is already hot, saturation and echo can get fizzy and harsh really quickly. Sometimes the best move is simply turning the clip down earlier in the chain so the processors have room to work. Dark processing often sounds better when it’s driven a little less aggressively at the input.

If the horn loses too much punch after filtering, don’t just open the filter back up. Instead, restore a little impact with a tiny transient boost through Drum Buss, or by layering in a very short saturated version underneath. That keeps the dark character intact while giving the hit back its authority.

Once you’ve got a version that feels right, resample it. This is where the workflow gets really powerful. Create a new audio track, set the input to Resampling, and record a few versions of the same horn: one dry and dark, one with a short echo tail, one with reverb, and maybe one with a reverse lead-in. This gives you a little toolkit instead of just one sound.

After recording, consolidate your favorite takes and chop them into useful pieces. Pull out the attack, the tail, the reversed pre-hit, maybe even a double-hit variation with a slight timing offset. Then you can load those resampled chunks into Simpler and trigger them from MIDI. That makes the horn way easier to use in arrangements, fills, and transitions.

Now place it in context with your drums and bass. The most effective use is usually call and response. Let the breaks ask the question, and let the horn answer. For example, you might have a filtered break with a horn hit at the end of the phrase, then a bass response in the next section. Or you might use the horn as punctuation right before a drum fill or right before a drop.

If you’re making a roller, don’t put the horn on every downbeat. Let it answer at the end of a two-bar phrase. If you’re making a jungle cut, use it even more sparingly so the break can still breathe. And if you want it to feel really glued into the track, layer it with a short snare or rimshot from the break on the same accent. That makes it feel like part of the drum language instead of floating on top.

From there, automation becomes the final performance layer. You can automate filter cutoff to close down over four or eight bars for tension. You can bring the reverb up on a fill and then snap it back. You can increase echo feedback just before the drop. You can narrow the width as the section gets darker. You can even increase saturation slightly in the second half of the phrase so the horn feels like it’s getting more urgent.

For a DJ-tool style intro, start with the horn darker and more mono, then gradually open it up as the drums enter. For a drop switch-up, pull the filter down quickly right before the hit so it feels like the sound is sucked into a vacuum and then released. That kind of automation makes even a simple sample feel alive.

A few common mistakes to avoid here. Don’t make the horn too bright just because you want it to cut. If it needs presence, add grit and shape rather than raw top end. Don’t let it fight the bass. Keep the sub region clear. Don’t over-widen the main hit. Keep the core attack fairly centered. Don’t drown it in reverb. In DnB, the horn should punch through the groove, not blur it. And don’t ignore phrase placement, because random placement weakens the impact immediately.

If you want to push it further, try duplicating the horn and pitching one layer down an octave or up a fifth at a very low level. The lower layer can add menace, while the higher layer can create a warped alarm-like edge. You can also create a tiny timing smear by nudging a second copy a few milliseconds late. That adds a dubby, slightly sloppy feel that works really well in darker jungle and roller contexts.

Another nice trick is a reverse reveal. You don’t need to reverse the entire sound. Sometimes just reversing the tail, or a filtered duplicate, or a resampled reverb print is enough to create a strong lead-in. That’s especially useful before a drum edit or the start of an eight-bar section.

You can also make a ghost version. Lower in volume, more filtered, more saturated, a little narrower, maybe even slightly detuned. Use that as a background hit every four or eight bars. It won’t shout, but it will add atmosphere and make the arrangement feel deeper.

A great mini practice exercise is to make three versions of the same air horn. First, make a dark and dry version with filtering, saturation, and EQ cleanup. Second, make a darker version with short echo and a small reverb, and automate the wet amount over two bars. Third, resample the processed horn, reverse part of it, and chop it into a one-bar call-and-response with your break.

Then drop each one into a 16-bar DnB loop. Put one in the intro area, one as a response to a bass phrase, and one as a transition into a heavier section. Listen back in mono and make one adjustment to each version so it fits better with the drums and bass. That’s how you train your ear to hear one sample as multiple arrangement tools.

So the core takeaway is simple. Take a bright Amen-style air horn, trim and shape it, darken it with filtering and saturation, clean it with EQ, add only as much space as it needs, then resample and automate it so it behaves like a proper DJ tool. If it feels tense, gritty, and useful in the mix, you’ve done it right.

That’s the move. One horn, multiple jobs, and a much darker energy for your 90s-inspired Drum and Bass productions.

mickeybeam

Go to drumbasscd.com for +100 drum and bass YouTube channels all in one place - tune in!

Generating PDF preview…