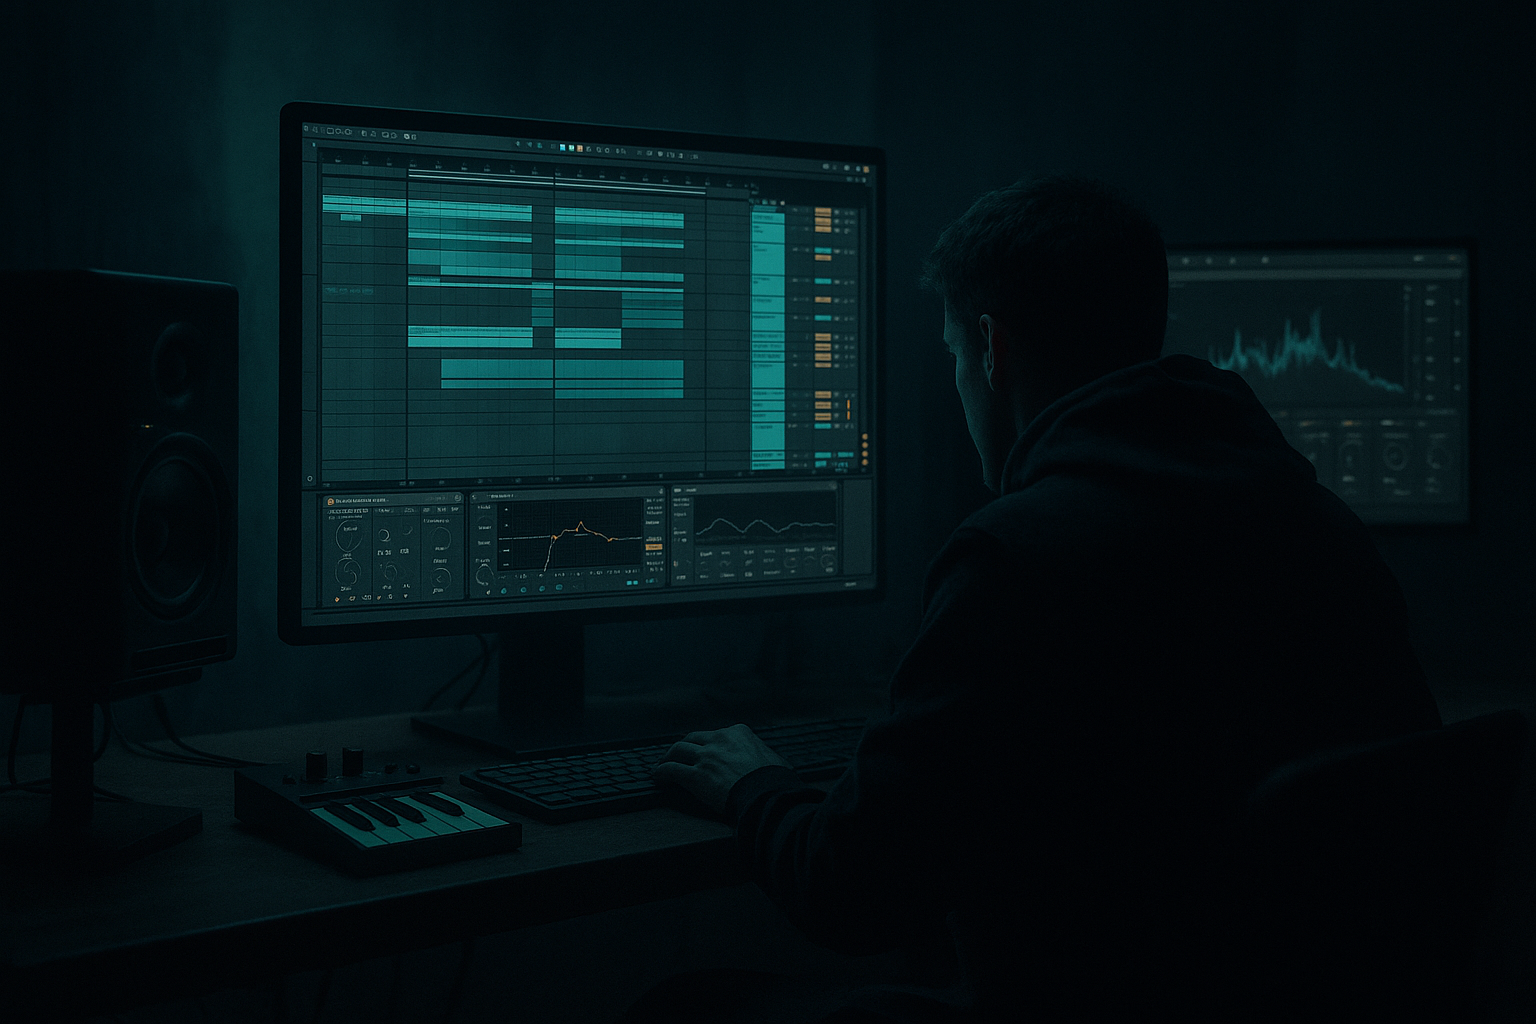
Main tutorial
```markdown
Transient Automation on Breaks Masterclass (Smoky Late‑Night Moods) 🌙🔥
Ableton Live | Drum & Bass / Jungle | Beginner | Category: Automation
---
1) Lesson overview
In rolling DnB and jungle, the breakbeat isn’t just “drums”—it’s a living texture. The secret weapon for that smoky, late-night vibe is transient automation: controlling how “spiky” or “soft” the hits feel over time, so the groove breathes and evolves without adding new samples.
In this lesson you’ll learn how to:
- Shape break transients with Ableton stock tools
- Automate transient punch and softness across an arrangement
- Make breaks feel tight in the drop, hazy in the intro, and tense in the buildup 🎚️
- A classic break (Amen-style or any crunchy break) as the main drum texture
- A clean kick/snare layer for weight and consistency
- Transient automation that evolves:
- Enable Warp
- Mode: Beats
- Preserve: Transients
- Envelope: start around 50–70
- Turn on Transient Loop Mode if the break is messy and you want it tighter.
- KICK (one-shot kick on 1 and 3, typical DnB)
- SNARE (on 2 and 4)
- EQ Eight on kick: small dip around 200–300 Hz if muddy
- Glue Compressor on snare (optional): gentle, 1–2 dB gain reduction
- Bars 1–9 (Intro): Transients around -10 to -5
- Bars 9–17 (Build): ramp from -5 up to +10
- Bars 17–25 (Drop): keep around +10 to +20
- Bars 25–33 (Variation): dip to +5, then return to +15
- Hi-hats: do they get too sharp in the drop?
- Snare ghost notes: do they disappear when transients are low?
- Intro: higher send (-10 to -6 dB)
- Drop: lower send (-inf to -18 dB)
- Between phrases: quick “ghost” pushes into the room for mood.
- Beat 1–3: Transients drop to -15
- Beat 4 (last hit): jump to +20
- Multiband Dynamics (use as a gentle shaper)
- The Amount (if you use a preset that provides it), or
- The High band parameters lightly (small moves).
- Bars 1–9: Break filtered/softened, roomier, low transients
- Bars 9–17: Add hats or shaker loop quietly, transients rising
- Bars 17–25: Full drop with punchy transients + layered kick/snare
- Bars 25–33: Drop variation with transient dip + reverb throws
- Automate “Damp” on Drum Buss along with Transients
- Transient + Saturation combo
- Sidechain the ROOM return from the kick
- Create “pressure” with pre-drop softening
- Use a short noise layer for grit (optional)
- Use Drum Buss Transients as your main macro shaper
- Pair it with reverb send automation for smoky late-night depth 🌙
- Keep the break character, but layer kick/snare so you can safely soften/punch the break over time
- Make intentional arrangement moves: soft → tense → punchy → variation
---
2) What you will build
A 32-bar DnB loop/arrangement featuring:
- Intro: softer, washed, “smoky”
- Drop: tighter, punchier, forward
- Mid-drop variation: slightly restrained to create movement
You’ll end up with a break that feels like it’s being “performed” by the mix.
---
3) Step-by-step walkthrough
Step 0 — Session setup (fast + correct)
1. Set tempo to 172–176 BPM (try 174 BPM).
2. Create a 32-bar loop in Arrangement View.
3. Find a break sample (e.g., classic jungle break, dusty break, or modern break pack).
- Drag it to an audio track called BREAK.
Warp settings (important):
> Goal: preserve the break’s bite without turning it into glitchy artifacts.
---
Step 1 — Clean the break so transient automation behaves predictably
On the BREAK track, add this stock chain:
1. EQ Eight
- HP filter around 30–40 Hz (remove rumble)
- If the break is boxy, dip 250–450 Hz slightly (1–3 dB)
2. Saturator
- Mode: Soft Sine
- Drive: 1–4 dB
- Output: reduce to match level (don’t get louder just because you can 😄)
3. Drum Buss (this is your transient “macro” tool)
- Drive: 2–8
- Crunch: 0–15% (late-night vibe = don’t over-crunch)
- Boom: 0–10% (only if needed; breaks often don’t need big boom)
- Transient: start at +5 (we’ll automate this)
- Damp: 5–15 kHz to tame harshness
Why Drum Buss?
It gives you a simple, musical transient knob that’s perfect for automation.
---
Step 2 — Add a safety layer (kick/snare) so the break can get smoky
Create two tracks:
Keep them clean and consistent—this lets you make the break hazier without losing impact.
Suggested stock processing:
> Classic move: break provides character; kick/snare provides authority.
---
Step 3 — Automate transients for “smoky intro → punchy drop”
We’ll automate Drum Buss → Transients.
1. Press A to show automation lanes.
2. On BREAK track, choose:
Drum Buss → Transients
3. Draw automation across 32 bars:
Suggested automation curve (simple + effective):
- Softer hits = hazy, “in the room next door” vibe 🌫️
- Gradual focus and tension
- Snaps forward, feels more aggressive
- Micro-dynamics = groove feels alive
Listen for:
Adjust accordingly.
---
Step 4 — Add “late-night softness” using parallel room + automated send
Create a Return Track A called ROOM:
On ROOM return:
1. Hybrid Reverb
- Algo: Room (or Convolution Room)
- Decay: 0.6–1.2s
- Predelay: 10–25 ms
2. EQ Eight after reverb
- HP at 200–400 Hz
- LP around 7–10 kHz (dark the verb)
3. Optional: Compressor (sidechain from KICK) to keep it from washing the drop.
Now automate the BREAK’s send to ROOM:
> Transients + room send automation together = pro-level movement with minimal complexity.
---
Step 5 — Micro-transient automation for fills (the “DJ-friendly” trick)
Choose 1 bar before the drop (e.g., bar 16).
Add a quick transient dip then snap back:
This makes the final hit slam into the drop without adding a riser. 🎯
---
Step 6 — Optional: tighter transient control with Multiband Dynamics
If Drum Buss transients make hats too sharp, do a frequency-aware approach.
On BREAK (after EQ Eight), add:
- Focus on High band:
- Slightly reduce peaks by lowering the Time and nudging down threshold
- Keep it subtle; you’re controlling edges, not flattening life.
Automate either:
---
Arrangement idea (simple 32 bars that feels like real DnB)
This is exactly how you keep rolling energy without changing the core loop.
---
4) Common mistakes
1. Over-automating everything
- Too many wobbly lines = messy groove. Use big intentional moves first.
2. Making the break louder instead of punchier
- Transient boost can feel louder—always level-match.
3. Harsh hats in the drop
- If transients rise, hats can pierce. Use Drum Buss Damp, or EQ Eight LP, or reduce transient peak range.
4. Destroying ghost notes
- Too negative on transients can remove the jungle swing. Back off to -5 instead of -20.
5. Not layering a clean snare
- If your break is the only snare, soft intro transients may kill impact.
---
5) Pro tips for darker/heavier DnB 🖤
- Intro: lower Damp (darker)
- Drop: open Damp slightly for presence
- Drop: +transients, slightly more Saturator drive
- But keep saturation automation subtle (1–2 dB changes).
- Keeps the vibe thick without smearing punch.
- The drop hits harder if the last bar before it is transient-reduced and roomy, then snap to dry + punchy.
- A tiny vinyl/noise layer can mask edits and enhance that late-night air.
---
6) Mini practice exercise (10–15 minutes) 🧪
1. Load any break loop and warp it properly.
2. Add Drum Buss and set Transients to 0.
3. Make a 16-bar loop:
- Bars 1–8: Transients -8
- Bars 9–16: Transients +12
4. Add ROOM return and automate send:
- Bars 1–8: send higher
- Bars 9–16: send lower
5. Bounce/export and ask yourself:
- Does bar 9 feel like it steps forward without getting louder?
- Do ghost notes still groove in bars 1–8?
If not: reduce the range (e.g., -5 to +8) and try again.
---
7) Recap
You learned a core DnB technique: transient automation to make breaks evolve like a performance.
If you want, tell me what break you’re using (Amen, Think, etc.) and whether your vibe is more liquid, minimal roller, or jungle, and I’ll suggest a tailored automation curve + device chain.
```

