Main tutorial
Lesson Overview
In this lesson, you’ll build a DnB transition that hits like oldskool jungle but still feels clean in Ableton Live 12: crisp drum transients up top, dusty mids in the body, and controlled tension that leads into the drop without washing out your mix. This is the kind of riser design that works in rollers, jungle edits, darker halftime-bass sections, and neuro-leaning switch-ups.
The core idea is balance:
- Crisp transients give the transition impact and forward motion.
- Dusty mids add texture, grit, and that tape-worn jungle character.
- Sub stays controlled or absent until the drop, so the transition doesn’t blur your low-end.
- A chopped break-based uplifter using resampled drum hits
- A dusty midrange noise layer with movement and grit
- A filtered pitch or formant lift that grows into the drop
- A controlled transient accent on the final bar to punch into the downbeat
- A mix-ready gain structure that keeps your drums and bass clear at the drop
- a drop after an 8- or 16-bar breakdown
- a switch-up into halftime or double-time drums
- a DJ-friendly intro or outro transition
- a call-and-response change where the bassline drops out and the drums take over
- Making the riser too wide or too bright
- Using only noise sweeps with no drum identity
- Letting the transition carry too much low end
- Over-compressing the whole transition
- Not matching the transition to the drum phrase
- Too-clean mids
- Use parallel dirt, not full-time distortion
- Try sidechain-style movement without a kick
- Layer a reese ghost under the riser
- Keep the sub absent until the drop
- Use broken rhythm in the last bar
- Print and edit
- Build transitions for DnB with crisp transients + dusty mids.
- Use Ableton stock devices like Auto Filter, Simpler, Drum Rack, Saturator, Utility, Frequency Shifter, and Reverb.
- Keep the sub out, and let the riser live mainly in the mids and highs.
- Automate more than just volume: filter, pitch, reverb, and movement all matter.
- Resample your transition for a more authentic jungle texture and faster workflow.
- Make the final bar hit hard, then clear the space for the drop.
In DnB, risers are not just “whoosh and hope.” They’re a phrase-based arrangement tool. A good transition creates anticipation while preserving the groove identity of the track. For jungle and oldskool-inspired cuts, that often means combining breakbeat fragments, filtered noise, resonant movement, and short atmospheric tails rather than a glossy EDM-style lift.
Why this matters in DnB: the drop only feels bigger if the pre-drop section is disciplined. If your transition is too full-range, the kick/snare punch gets masked. If it’s too sterile, you lose the dusty character that makes jungle and oldskool DnB feel alive. The sweet spot is a transition with sharp transients, midrange texture, and smart automation that teases the drop without stepping on it.
What You Will Build
You’ll create a 4-bar transition riser for a DnB arrangement that includes:
Musically, this works well before:
Think of the result as: oldskool jungle dust + modern DnB discipline.
Step-by-Step Walkthrough
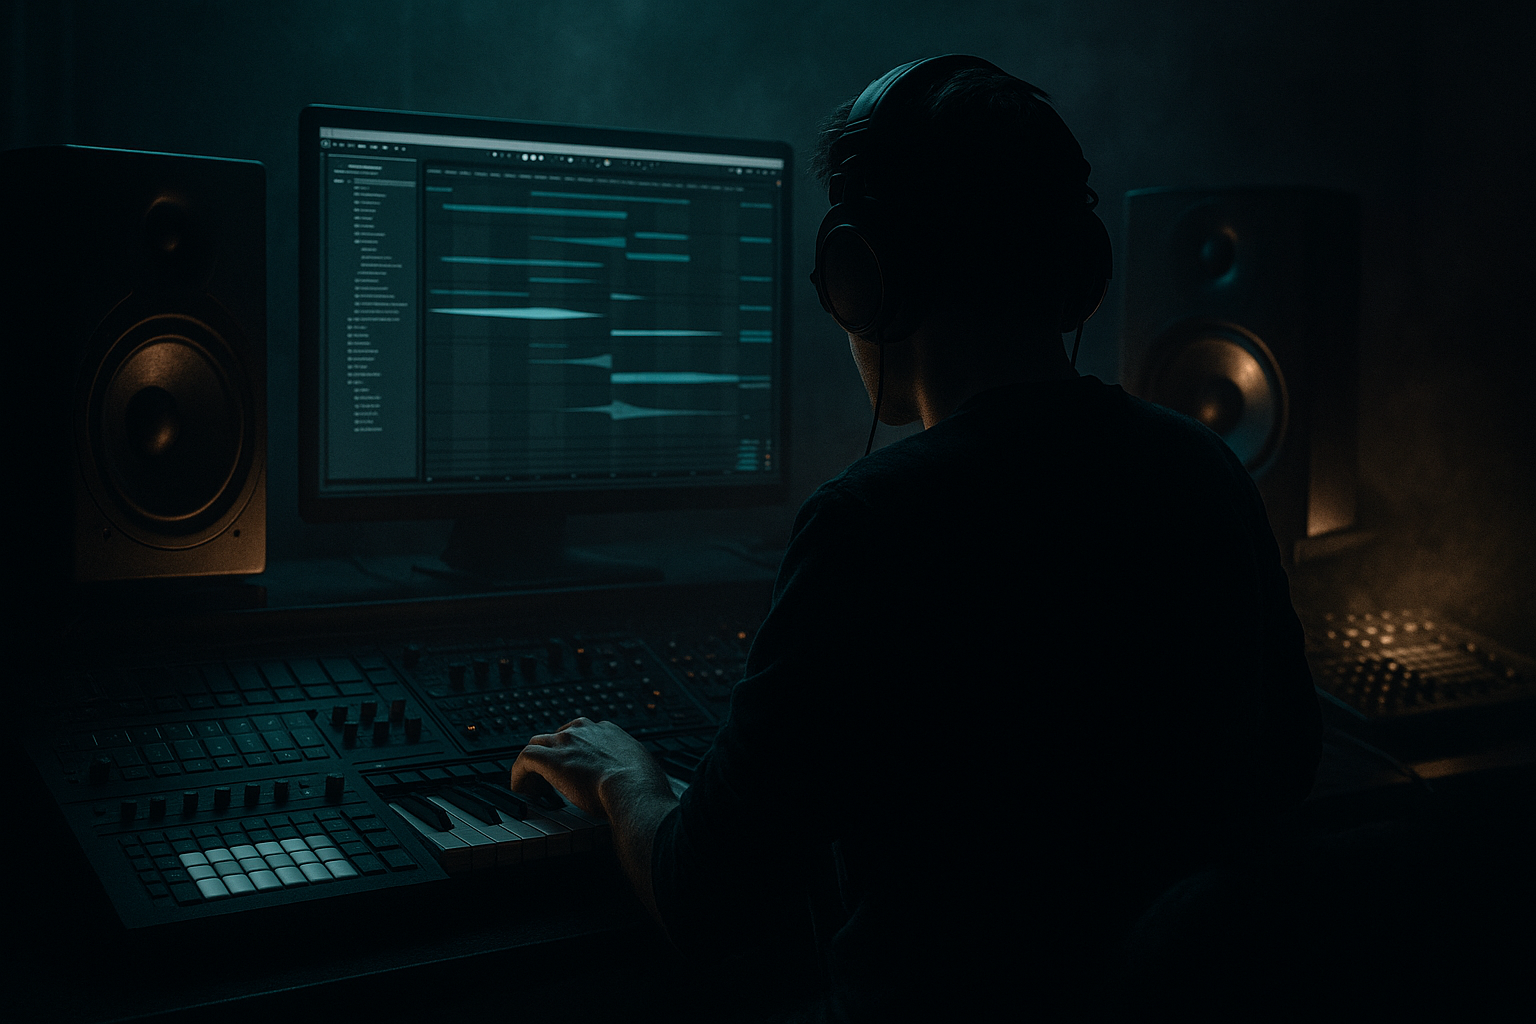
1. Set up the transition lane in Session or Arrangement view
Start with a dedicated audio or group track called TRANSITION. Keep this separate from your main drum and bass buses so you can shape the whole riser without touching the core mix too early.
In Arrangement view, place the transition over the last 2 to 4 bars before your drop. If you’re working in a classic DnB phrase structure, use:
- bars 1–2: tension buildup
- bar 3: stronger movement
- bar 4: final accent and release into the drop
Create at least two lanes inside the transition group:
- Dusty mids / texture
- Transient hits / drum fragments
This separation is important because in DnB you often want the transient hit to stay punchy while the mid texture evolves more continuously.
2. Build the dusty mid layer with a resampled break fragment
Take a classic breakbeat or a chopped section from your own drum loop and place it on an audio track. Good source material is a short 1/2-bar or 1-bar break excerpt with hats, snare room, and some tonal mess in the mids.
Now use Ableton stock tools to dirty it up:
- Add Simpler if you want to re-trigger a chopped slice
- Or keep it as audio and use Warp with transient preservation
- Add Auto Filter after it
Suggested settings:
- Auto Filter mode: Band-Pass or Low-Pass
- Cutoff start: around 300–800 Hz if you want dusty mids first
- Resonance: 10–25%
- Drive: 2–6 dB if available in your chosen filter mode
Then automate the filter open over 4 bars. Don’t open it all the way immediately. The point is to reveal more midrange detail as the riser approaches the drop.
Why this works in DnB: the break’s transient information and room tone naturally carry the oldskool jungle personality, and the filtered midrange keeps the transition gritty without cluttering the sub.
3. Make a crisp transient layer with drum hits, not a huge noise sweep
A lot of risers fail in DnB because they become all texture and no attack. For a stronger drop setup, layer a snare tick, rimshot, hat stab, or short break slice on the last 1–2 beats before the drop.
Use stock devices:
- Drum Rack for one-shot trigger control
- Simpler if you want tight transient playback
- EQ Eight to trim unnecessary low end
- Saturator for subtle edge
Good starting settings:
- EQ Eight: high-pass around 150–300 Hz
- Saturator: Drive 1–4 dB, Soft Clip on if needed
- Simpler: Trigger mode, short decay, no glide
Program the final transient pattern so it complements the drop, not competes with it. For example:
- a snare pick-up on beat 4
- a 2-hit hat push into the downbeat
- a short reverse or chopped stab just before the drop
In jungle and rollers, these micro-accents help maintain rhythmic momentum. In neuro or darker bass music, they create a sharper sense of impact.
4. Create the riser motion with automation, not just volume
Instead of relying only on a volume ramp, automate multiple parameters for a more convincing transition. Use Auto Filter, Frequency Shifter, and Reverb in moderation.
A strong Ableton stock chain for the dusty mid layer:
- Auto Filter
- Frequency Shifter
- Echo or Reverb
- Utility
Useful automation ideas:
- Auto Filter cutoff slowly rises
- Frequency Shifter fine moves subtly upward or downward by 5–30 Hz for tension
- Reverb dry/wet rises from 5% to 15–25% near the end, then gets cut before the drop
- Utility gain automates a mild lift of +1 to +3 dB only in the final bar
Keep the movement musical. A slow filter rise paired with a tiny frequency-shift drift creates a classic “something is coming” feel without sounding overproduced.
If the track is more oldskool/jungle, let the automation feel a bit rougher and less polished. If it’s more neuro or modern rollers, make the modulation tighter and more controlled.
5. Add a pitch or tonal lift for the final bar
To make the transition feel like it’s actually climbing, use a tonal element that rises in pitch or harmonic brightness. This could be:
- a synth noise layer in Operator
- a sustained note in Wavetable
- a sample in Simpler pitched upward
- a resampled break fragment pitched up a few semitones
If using Operator:
- Start with a noise or sine-based source
- Add a short amp envelope
- Increase filter or pitch automation over the last bar
If using Wavetable:
- Choose a noisy or harmonically rich wavetable
- Modulate cutoff with a slow envelope
- Keep the stereo width moderate so it doesn’t smear the center
Suggested pitch strategy:
- Rise by 2–7 semitones across the final bar
- Or use a subtle pitch bend of 1–2 semitones if you want a more understated, darker approach
In DnB, this works best when the pitch lift is supported by rhythmic drum tension. Pitch alone can feel generic; pitch plus break fragments feels like a real arrangement choice.
6. Shape the transient-dust balance with EQ and transient discipline
This is the critical mix move: keep the transients crisp while the mids stay dusty and controlled.
On the TRANSITION group, use EQ Eight to carve space:
- High-pass the whole group around 120–200 Hz if there’s any accidental low-end buildup
- If the mids get harsh, dip 2.5–5 kHz by 1–3 dB
- If the transition feels dull, add a small shelf around 6–10 kHz by 1–2 dB
For transient control:
- Use Drum Buss very lightly if the drum layer needs more smack
- Try Drive around 5–15%
- Crunch low if you want a little break character, but keep it subtle
- Transients control can be enhanced by shortening sample length in Simpler instead of over-compressing
Avoid overcompressing the whole riser. In DnB, you need the transient edge to cut through the busy mix. If the transition becomes flattened, the drop loses contrast.
7. Use resampling to create a more authentic oldskool texture
A great intermediate workflow is to resample your own transition. This gives you one cohesive audio layer instead of several separate MIDI parts fighting each other.
Route your transition group to a new audio track and record 4 bars of the result. Then edit that resample:
- Slice the audio in Simpler
- Reverse one or two slices
- Add tiny gaps or stutters
- Re-apply Warp if you want timing control
This is especially effective for jungle vibes because resampling naturally introduces a bit of glue, dirt, and unpredictability. It also speeds up decision-making: once you’ve printed the transition, you stop endlessly tweaking individual layers and start arranging like a producer.
Try this practical move:
- Print the transition
- Duplicate it
- Make one version slightly more filtered
- Make one version with more snare/transient impact
- Choose the one that hits best in context
8. Automate the final drop handoff so the transition disappears cleanly
The best DnB transitions don’t overstay. The moment the drop lands, the riser should get out of the way fast.
On the final beat before the drop:
- Cut or automate down reverb tails
- Reduce filter resonance
- Pull back Utility gain or mute the transition group
- Make sure sub and kick are fully clear on the downbeat
In Arrangement view, use a clean handoff:
- Final transition hit ends just before the drop
- The drop drum transient and bass note start with no competing tail
- Any delay or reverb is either sidechained or fully stopped
Musical context example: if your drop starts with a syncopated reese and a snare-led break pattern, the transition should leave a tiny hole so the groove enters with authority. If the transition tail still hangs over the downbeat, the drop feels smaller.
Common Mistakes
- Fix: mono-check the low mids with Utility and keep stereo width modest until after the drop.
- Fix: add chopped break slices, snare ghosts, or hats so it feels like a DnB transition, not a generic EDM build.
- Fix: high-pass around 120–200 Hz and keep sub energy out of the riser.
- Fix: use sample selection, envelopes, and clipping/saturation before compression.
- Fix: align the riser to an 8- or 16-bar phrase and place your strongest accent on the last beat before the drop.
- Fix: add light saturation, resample, or use subtle distortion to get that dusty jungle character.
Pro Tips for Darker / Heavier DnB
- Send the dusty mid layer to a return with Saturator or Overdrive, then blend it in quietly. This keeps clarity while adding underground grit.
- Use Compressor or Auto Filter envelope follower ideas so the transition breathes rhythmically, especially in rollers.
- Keep it heavily filtered and mono. A tiny amount of moving midrange reese can make the lead-in feel more neuro or menacing.
- In darker DnB, the tension grows when the low end is withheld. Let the drums and mids do the talking.
- A few off-grid hits or stutters can sound more authentic than a perfect sweep. Jungle and oldskool vibes love controlled imperfection.
- Resample your riser, then slice out 1–2 micro-gaps or reverse a hit. That tactile edit style often sounds more “real” than a pristine MIDI automation build.
Mini Practice Exercise
Spend 10–20 minutes making a 4-bar DnB transition in Ableton Live:
1. Choose a drum break or chopped hat/snare loop.
2. Build a dusty mid layer using Auto Filter and light saturation.
3. Add one crisp transient hit on the last beat before the drop.
4. Automate filter cutoff from low to open over 4 bars.
5. Add a subtle pitch rise or Frequency Shifter movement in the final bar.
6. High-pass the transition group so no unwanted sub remains.
7. Resample the result and audition it against a simple drop.
8. Make one version cleaner and one version dirtier, then pick the one that feels more authentic to your track.
Goal: finish with a transition that feels like it belongs in a jungle or oldskool DnB arrangement, not just a generic buildup.

